New Product Introduction (NPI) Manufacturing Workflow: A Step-by-Step Guide
Publié: 03/30/2026 Mis à jour: 03/31/2026
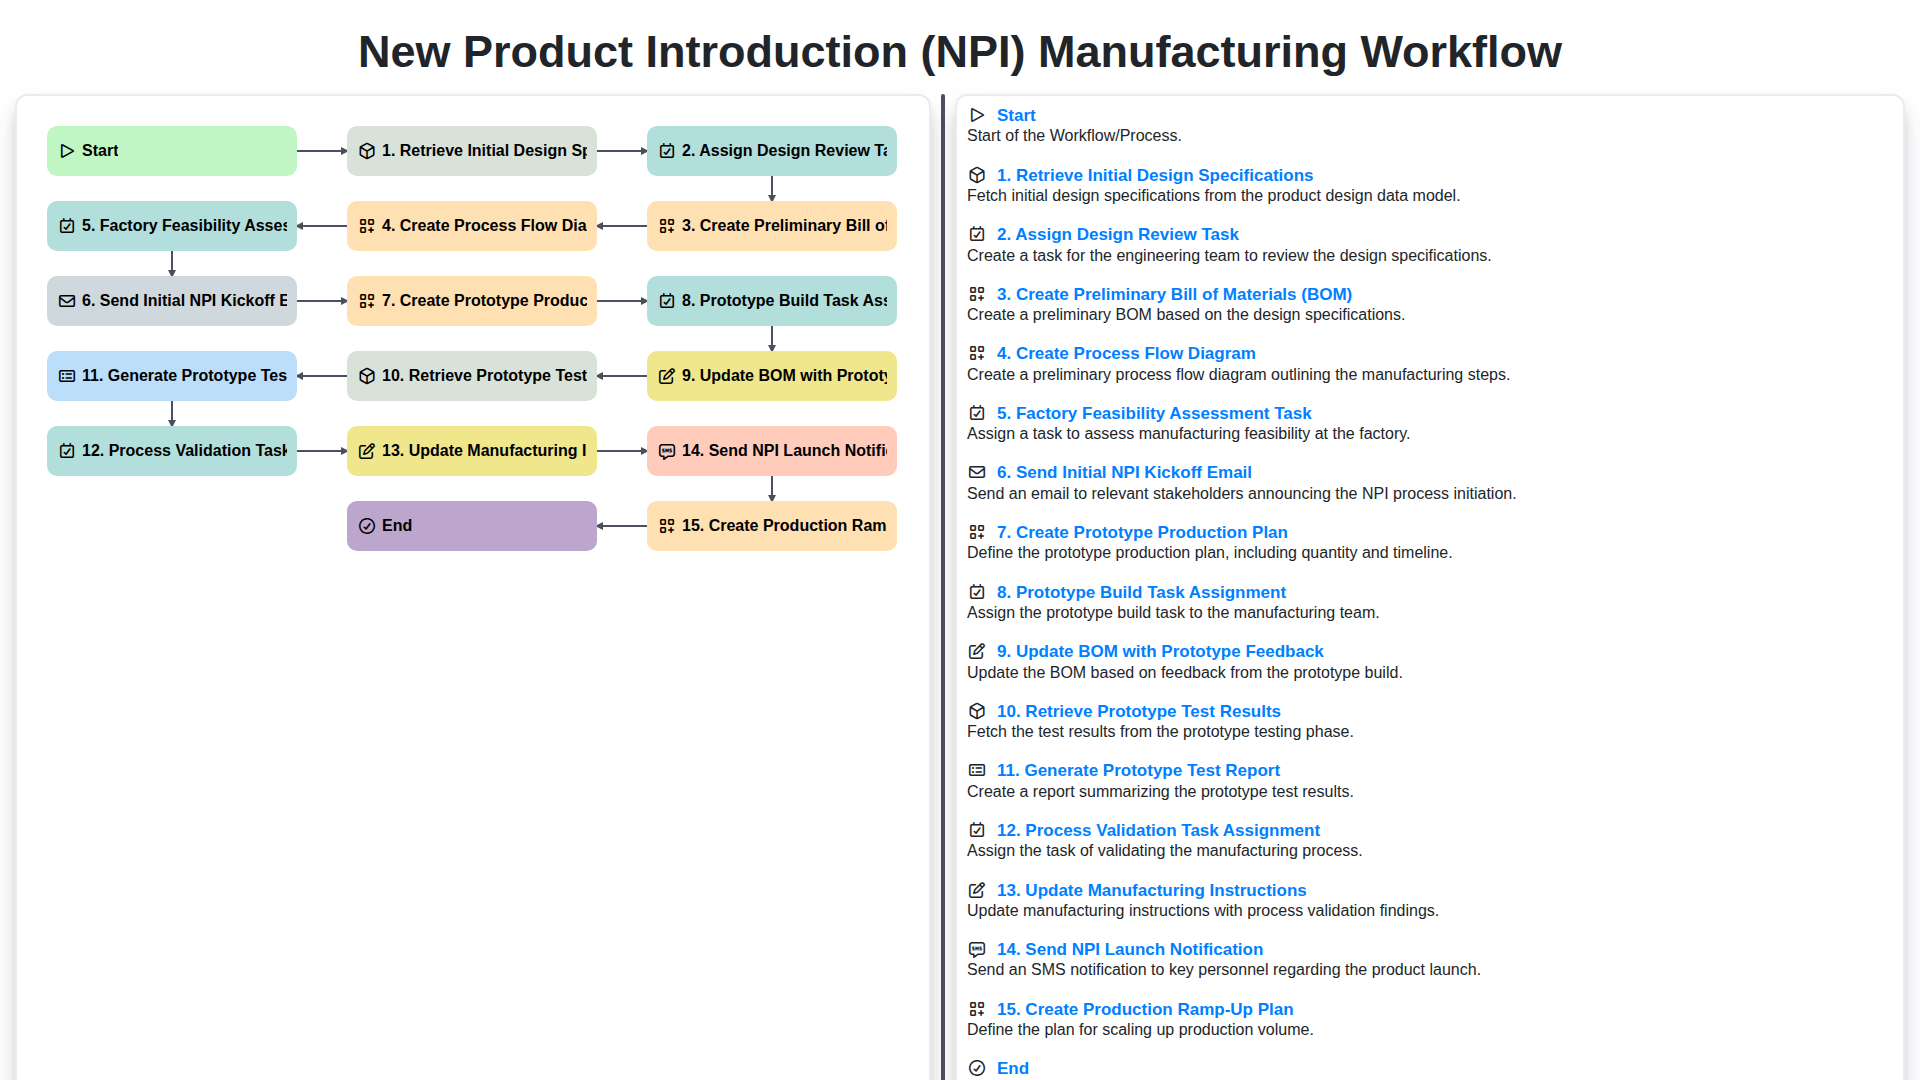
Table des matières
- Introduction: The Criticality of a Smooth NPI Workflow
- Step 1: Gathering the Foundation - Retrieve Initial Design Specifications
- Step 1.1: Assigning Design Review - Ensuring Clarity and Alignment
- Step 2: Building the Blueprint - Creating a Preliminary Bill of Materials (BOM)
- Step 3: Visualizing the Process - Creating a Process Flow Diagram
- Step 3.1: Factory Feasibility Assessment - Can We Make It?
- Step 4: Kickoff & Communication - The Initial NPI Kickoff Email
- Step 5: Laying the Groundwork for Production - Creating a Prototype Production Plan
- Step 6: Bringing It to Life - Prototype Build Task Assignment
- Step 6.1: Refining the Design - Updating the BOM with Prototype Feedback
- Step 6.2: Evaluating Performance - Retrieving Prototype Test Results & Generating a Test Report
- Step 6.3: Validation & Verification - Process Validation Task Assignment
- Step 7: Documenting the Process - Updating Manufacturing Instructions
- Launch & Ramp-Up: From Prototype to Production - The NPI Launch Notification & Production Ramp-Up Plan
- Resources & Links
TLDR: Launching a new product? This workflow provides a clear, step-by-step guide - from initial design specs to production ramp-up - ensuring a smoother, more efficient NPI process with tasks like BOM creation, feasibility assessments, prototype builds, validation, and launch notifications, minimizing risks and maximizing success.
Introduction: The Criticality of a Smooth NPI Workflow
Launching a new product is an exhilarating, but often complex, undertaking. A successful New Product Introduction (NPI) - the journey from concept to mass production - is the difference between a triumphant market entry and a costly setback. A poorly managed NPI process can lead to delayed launches, increased costs, quality issues, and ultimately, a damaged reputation.
The manufacturing phase of NPI is particularly critical. It's where the design becomes reality, and where potential issues are often revealed. A robust and well-defined manufacturing workflow isn't just about efficiency; it's about mitigating risk, ensuring quality, and building a foundation for a successful product lifecycle. This blog post will delve into a detailed NPI manufacturing workflow, outlining key steps and considerations to help you navigate this crucial stage with confidence. Ignoring or streamlining crucial steps can have profound consequences on your product's success, so understanding and implementing a thorough process is paramount.
Step 1: Gathering the Foundation - Retrieve Initial Design Specifications
Before any manufacturing can begin, we need a solid foundation. This starts with meticulously gathering and reviewing the initial design specifications. This isn't just about receiving a document; it's about ensuring we have a comprehensive understanding of the product's intended function, materials, dimensions, tolerances, and performance requirements. We're looking for clarity and detail, identifying any potential ambiguities or missing information early on. This initial review involves input from various stakeholders, including engineering, product management, and, critically, manufacturing representatives. A well-defined and understood set of design specifications is the cornerstone of a successful NPI process, preventing costly rework and delays further down the line. We're looking to answer key questions like: What does the product do? What are its critical dimensions? What materials are required? And what are the expected performance metrics?
Step 1.1: Assigning Design Review - Ensuring Clarity and Alignment
Once the initial design specifications are retrieved, the next crucial step is assigning a Design Review task. This isn't just a formality; it's a critical checkpoint to ensure everyone involved - engineering, manufacturing, quality, and potentially key suppliers - understands the design intent and potential manufacturing challenges early on.
The Design Review task should involve a structured discussion, documenting any questions, concerns, or suggested modifications. Clear action items stemming from the review are essential, assigned with owners and deadlines. This early collaboration minimizes costly rework later in the NPI process. A well-documented Design Review demonstrates a proactive approach to risk mitigation and fosters a shared understanding of the product's manufacturability. Without it, ambiguities and misinterpretations can quickly derail the entire project.
Step 2: Building the Blueprint - Creating a Preliminary Bill of Materials (BOM)
The Bill of Materials (BOM) is the foundational document for any product launch, and its creation is a critical early step in the NPI workflow. This preliminary BOM isn't final, but it's vital for initial cost estimation, sourcing planning, and understanding material dependencies. It outlines every component, raw material, sub-assembly, and consumable required to manufacture the product.
At this stage, the BOM will likely be populated based on initial design specifications, including part numbers, descriptions, quantities, and unit costs (even if those costs are preliminary estimates). Accuracy is key, but flexibility is also crucial. Expect revisions - this BOM will be a living document.
What to include in your Preliminary BOM:
- Part Number: A unique identifier for each component.
- Description: A clear explanation of the part.
- Quantity: The number of each part needed per unit of finished product.
- Unit of Measure: (e.g., each, meter, kilogram).
- Estimated Cost: Preliminary cost, used for initial budget creation.
- Supplier (Optional): If a supplier is already identified, note it here.
- Lead Time (Optional): An initial estimate of the time it takes to procure the part.
This preliminary BOM will be further refined and updated throughout the NPI process, especially after prototype feedback and test results are factored in. A well-maintained and readily accessible BOM is the backbone of a successful NPI launch.
Step 3: Visualizing the Process - Creating a Process Flow Diagram
Once the preliminary BOM is established, the next critical step is to visualize the entire manufacturing process with a Process Flow Diagram (PFD). This isn't just about drawing boxes and arrows; it's about meticulously outlining every step, from raw material arrival to finished goods ready for shipment.
A well-constructed PFD clarifies responsibilities, highlights potential bottlenecks, and facilitates proactive problem-solving. It should include details like:
- Specific Operations: Clearly define each manufacturing operation, including machining, assembly, testing, etc.
- Equipment & Resources: Identify the equipment and resources needed for each step.
- Inspection Points: Mark critical inspection points throughout the process to ensure quality control.
- Decision Points: Illustrate decision points where quality checks or adjustments might be required.
- Lead Times: Estimating lead times for each step provides insight into overall production time and potential delays.
This visual representation becomes a central reference point for the entire NPI team, allowing everyone to understand the flow, identify potential risks, and collaborate effectively. It's living document that will be refined as the NPI progresses and issues are addressed.
Step 3.1: Factory Feasibility Assessment - Can We Make It?
Once a preliminary BOM and process flow are in place, a critical step often overlooked is a thorough factory feasibility assessment. This isn't just about confirming they can build it, but evaluating how efficiently and reliably they can. This assessment dives deep, considering factors like:
- Equipment Availability: Does the factory possess the necessary machinery and tooling? If not, what's the lead time and cost for acquisition or modification?
- Material Sourcing: Can the factory easily and reliably source the required raw materials and components? Are there potential supply chain risks?
- Process Capability: Can the factory's existing processes meet the required tolerances and quality standards? Will new processes or specialized skills be needed?
- Labor Skillset: Does the workforce have the experience and training to manufacture the product, or will additional training be required?
- Cost Implications: Identifying any potential cost increases associated with the manufacturing process due to limitations or required investments.
The feasibility assessment should be a collaborative effort between the design, engineering, and manufacturing teams. It's a crucial checkpoint to identify potential roadblocks before significant investment is made in prototyping and tooling. Addressing these concerns early on minimizes costly redesigns and delays later in the NPI process.
Step 4: Kickoff & Communication - The Initial NPI Kickoff Email
The transition from design to manufacturing often feels like a bridge needing careful construction. A well-crafted initial NPI kickoff email is the first plank laid. This isn't just a heads up - it's a formal announcement of the project's commencement and a clear outlining of expectations.
This email should be sent after the Factory Feasibility Assessment has been completed and initial design specs are understood. Its purpose is to formally introduce the project to all involved parties: engineering, procurement, manufacturing, quality, and potentially key suppliers.
What should it include?
- Project Title & NPI Number: Clear identification for easy tracking.
- Brief Project Description: A concise summary of the product and its intended purpose.
- Key Dates & Milestones: Highlight critical deadlines like prototype delivery and production launch.
- Key Contacts: Provide contact information for the NPI project lead and relevant team members.
- Initial Scope & Objectives: Briefly outline what needs to be accomplished.
- Link to Project Documentation: Provide easy access to the initial design specifications, preliminary BOM, and other pertinent files (often stored in a centralized platform).
- Call to Action: Explicitly state what's expected from recipients, such as reviewing documentation or attending a kickoff meeting.
A proactive and informative kickoff email sets the tone for collaboration and minimizes misunderstandings, laying the groundwork for a smoother NPI journey.
Step 5: Laying the Groundwork for Production - Creating a Prototype Production Plan
Before committing to full-scale manufacturing, we need to validate our design and process through prototyping. This step involves crafting a detailed Prototype Production Plan, and it's more than just a list of parts. This plan outlines how we'll build the prototype, when each stage will occur, and who is responsible.
Here's what a robust Prototype Production Plan includes:
- Quantity & Iterations: Defining the number of prototypes needed (often 3-5 is a good starting point) and planning for potential design iterations based on feedback.
- Material Sourcing: Identifying and securing the necessary raw materials and components, often using alternative suppliers to mitigate risks.
- Assembly Instructions: Developing preliminary assembly instructions, even if they're simple, to guide the prototype build team.
- Testing Schedule: Defining a clear schedule for testing the prototype, including specific test points and acceptance criteria.
- Risk Assessment: Identifying potential challenges during the prototype build and outlining contingency plans.
- Timeline & Responsibilities: Clearly outlining the timeline for each task and assigning responsibilities to specific team members (engineering, manufacturing, quality).
A well-defined Prototype Production Plan not only facilitates a smoother prototype build but also provides invaluable data and insights for refining the design and process before moving to production. It bridges the gap between design and reality, paving the way for a successful product launch.
Step 6: Bringing It to Life - Prototype Build Task Assignment
Once the Prototype Production Plan is finalized, the next critical step is assigning the actual Prototype Build Task. This isn't just about handing off a plan; it's about ensuring the right team, with the necessary skills and resources, is responsible for bringing the design to physical reality.
This involves:
- Identifying the Team: Determine the specific engineers, technicians, and manufacturing personnel who will be involved in building the prototypes. Consider their expertise in relevant processes (e.g., machining, molding, assembly).
- Defining Clear Responsibilities: Each team member should have clearly defined roles and responsibilities within the build process. What components are they responsible for? What tests will they perform during the build?
- Providing Necessary Resources: Ensure the assigned team has access to all required materials, equipment, tools, and software. This might include CAD files, bill of materials, process flow diagrams, and any specialized fixtures or tooling.
- Establishing Communication Channels: Implement clear communication channels (e.g., daily stand-up meetings, project management software) to facilitate real-time updates, issue resolution, and collaboration between the assigned team and the NPI team.
- Setting Realistic Timelines: While urgency is often a factor in NPI, setting achievable timelines for the prototype build is essential for avoiding bottlenecks and maintaining project momentum.
Effective Prototype Build Task Assignment lays the groundwork for a successful prototyping phase and contributes directly to the overall success of the NPI process.
Step 6.1: Refining the Design - Updating the BOM with Prototype Feedback
The prototype build isn't just about creating something tangible; it's a crucial feedback loop for refining the design. This is where the Preliminary Bill of Materials (BOM) truly comes into its own, but also where it needs to be actively managed. As the prototype is built and tested, unexpected challenges and opportunities will surface - perhaps a specific component is difficult to source, or a design element could be simplified for manufacturability.
This feedback is invaluable and must be incorporated into the BOM. This isn't a one-time update; it's likely to involve several iterations. Ensure the BOM is a living document, easily accessible and editable by the engineering and manufacturing teams. Changes need to be meticulously tracked, noting the reason for the change, who made it, and the date. Clear version control is essential to avoid confusion and ensure everyone is working with the correct information. This iterative BOM refinement ensures the final design is optimized for both performance and efficient, cost-effective manufacturing.
Step 6.2: Evaluating Performance - Retrieving Prototype Test Results & Generating a Test Report
Once the prototype build is complete, rigorous testing is absolutely critical. This isn't just about ensuring the prototype works; it's about identifying vulnerabilities, pinpointing areas for improvement, and gathering data to validate the design and manufacturing process. The Retrieve Prototype Test Results task involves meticulously collecting all data from the testing phase. This includes functional testing, environmental stress testing, reliability testing, and any other relevant tests defined in the original design specifications.
Following data collection, the Generate Prototype Test Report task brings everything together. This report should be comprehensive and clearly present the testing methodology, the results obtained (including pass/fail rates, key performance indicators, and any anomalies), and a clear analysis of the findings. Visual aids like graphs and charts are invaluable for easy comprehension. This report isn't just a record; it's a vital communication tool to inform the design and manufacturing teams, providing the necessary insights to refine the product and process for the next iteration. It directly feeds into the BOM update and process validation phases.
Step 6.3: Validation & Verification - Process Validation Task Assignment
The prototype phase provides invaluable data, but it's not enough. To ensure consistent, repeatable, and reliable production, a formal Process Validation task is crucial. This isn't just about confirming the process works; it's about proving it will continue to work predictably under manufacturing conditions.
This task assignment involves a dedicated team (typically encompassing Process Engineers, Quality Engineers, and Manufacturing Specialists) who will meticulously document and execute a validation plan. This plan will include:
- Defining Acceptance Criteria: Clearly outlining what constitutes a 'good' process output and performance metrics.
- Executing Validation Runs: Performing multiple production runs under controlled conditions, following the documented process flow.
- Data Collection & Analysis: Gathering comprehensive data from each run and statistically analyzing it to demonstrate process stability and capability.
- Documentation: Thoroughly documenting all aspects of the validation process, including deviations and corrective actions.
Successful completion of this task provides the evidence needed to move confidently towards full production launch, minimizing risks and ensuring product quality. It's a critical step in transitioning from a prototype to a robust and scalable manufacturing process.
Step 7: Documenting the Process - Updating Manufacturing Instructions
The prototype build and testing phases invariably reveal nuances and adjustments needed for efficient and repeatable manufacturing. This is where updating manufacturing instructions becomes crucial. These instructions, often detailed workbooks or digital documents, guide production operators and technicians.
Don't just log changes; integrate them. The insights gleaned from the prototype build-clarifications on assembly steps, tooling requirements, quality control points, and common pitfalls-must be directly reflected in the manufacturing instructions. This might involve adding new steps, revising existing ones, adding cautionary notes, or updating diagrams.
Think of it as a living document. Every iteration of the prototype should inform revisions. Clearly version control these documents to maintain a traceable history of changes and ensure everyone is using the most current version. This meticulous documentation prevents errors, improves consistency, and ultimately reduces the risk of defects during full-scale production. It also serves as a valuable training resource for new team members.
Launch & Ramp-Up: From Prototype to Production - The NPI Launch Notification & Production Ramp-Up Plan
The final stages of your New Product Introduction (NPI) workflow are critical for a smooth transition from prototype to full-scale production. This isn't just about flipping a switch - it's a carefully orchestrated launch and a strategic ramp-up phase.
NPI Launch Notification: Setting Expectations and Aligning Teams
Before any production volume increases, a clear and concise NPI Launch Notification is paramount. This email should be sent to all relevant stakeholders - engineering, manufacturing, quality, sales, marketing, and key suppliers. The notification should include:
- Product Name and Part Number: Obvious, but crucial for clarity.
- Launch Date: The planned start date for production.
- Initial Production Volume: Quantify the initial run.
- Key Contacts: Identify the primary points of contact for any questions or concerns.
- Brief Overview of Known Risks/Challenges: Transparency builds trust and allows for proactive problem-solving.
This notification sets expectations, avoids surprises, and ensures everyone is aligned on the timeline and objectives.
Creating a Production Ramp-Up Plan: A Phased Approach to Success
A robust Production Ramp-Up Plan is the roadmap for moving from low-volume prototype builds to sustained high-volume manufacturing. This isn't a single, rapid jump; it's a phased approach, allowing you to identify and address potential bottlenecks along the way. Consider these phases:
- Phase 1: Pilot Production (Low Volume): Begin with a small production run to validate the manufacturing process, identify tooling issues, and fine-tune the production line.
- Phase 2: Controlled Ramp-Up: Gradually increase production volume while closely monitoring key metrics like yield, cycle time, and defect rates. Adjust processes and tooling as needed.
- Phase 3: Full Production: Transition to full-scale production volume, continuing to monitor performance and proactively address any emerging issues.
The Ramp-Up Plan should include:
- Detailed Production Schedule: Outlining volume increases over time.
- Key Performance Indicators (KPIs): Metrics to track production efficiency and quality (e.g., yield, throughput, defect rates).
- Resource Allocation: Ensuring adequate staffing, equipment, and materials are available.
- Risk Mitigation Strategies: Identifying potential roadblocks and outlining contingency plans.
Successful NPI launches require careful planning, clear communication, and a commitment to continuous improvement. By implementing a well-defined production ramp-up plan, you can minimize risks and ensure a seamless transition to high-volume manufacturing.
Resources & Links
- National Institute of Standards and Technology (NIST) : NIST provides resources and standards related to manufacturing processes, metrology, and quality control which are crucial for NPI workflows. Their publications and databases offer valuable information for optimizing efficiency and reliability.
- APICS (The Association for Supply Chain Management) : APICS offers certifications and resources focused on supply chain and operations management, which are essential for successful NPI launch and ramp-up. Their materials cover planning, scheduling, and inventory management techniques.
- International Organization for Standardization (ISO) : ISO develops and publishes international standards, including those related to quality management (ISO 9001) and environmental management. Adhering to ISO standards can significantly improve the robustness and consistency of your NPI process.
- Smartsheet : Smartsheet offers project management software that is useful for visualizing and managing complex workflows like NPI. Their templates and collaboration features aid in tracking progress and assigning tasks.
- PTC (Product Lifecycle Management) : PTC provides PLM software that helps manage product data and processes throughout the entire lifecycle, including NPI. Their platform facilitates collaboration and ensures data integrity.
- Autodesk : Autodesk offers CAD and CAM software solutions which are critical for design, simulation, and manufacturing preparation during the NPI process. Their tools enable engineers to optimize designs and prepare for production.
- Manufacturing.net : Manufacturing.net provides articles, news, and resources for manufacturing professionals. Their content covers a wide range of topics relevant to NPI, including best practices, technology trends, and industry insights.
- The Lean Enterprise Institute : The Lean Enterprise Institute champions Lean principles, which focus on minimizing waste and maximizing efficiency. Applying Lean techniques can streamline your NPI workflow and reduce time-to-market.
- Quality Digest : Quality Digest is an online publication dedicated to quality assurance and control. They provide articles, white papers, and webinars that cover a variety of NPI-related topics, such as validation and verification.
- ASQ (American Society for Quality) : ASQ offers training, certifications, and resources for quality professionals. Their materials can help you establish robust quality control measures throughout the NPI process.
Questions fréquemment posées
What is New Product Introduction (NPI) in manufacturing?
NPI is the end-to-end process of transforming a new product concept into a fully realized, mass-producible item. It involves transitioning a product from the design phase through prototyping and testing into full-scale production.
What are the key stages of an NPI manufacturing workflow?
A typical NPI workflow includes product design, prototyping, Design for Manufacturing (DFM) analysis, pilot production runs, testing and validation, and finally, full-scale mass production.
Why is Design for Manufacturing (DFM) critical to the NPI process?
DFM is crucial because it identifies potential manufacturing challenges early in the design phase. By optimizing the design for ease of production, companies can reduce manufacturing costs, minimize errors, and shorten the time-to-market.
What is the difference between a pilot run and full-scale production?
A pilot run is a small-scale production phase used to test the manufacturing process, tooling, and assembly lines under real-world conditions. Full-scale production occurs once the process has been validated and the product is ready for mass market distribution.
How can companies reduce risks during the NPI process?
Risks can be mitigated by conducting rigorous testing during the prototyping stage, performing detailed DFM and DFA (Design for Assembly) reviews, ensuring strong communication between engineering and manufacturing teams, and utilizing a structured step-by-step workflow.
Cet article vous a-t-il été utile ?
Démonstration de la solution de gestion de la production
Arrêtez de vous battre avec les paperasses et les systèmes fragmentés ! Notre solution apporte clarté et contrôle à votre processus de production. Des procédures opérationnelles standard (POS) et de la maintenance des équipements au contrôle qualité et au suivi des stocks, nous simplifions chaque étape.
Articles connexes
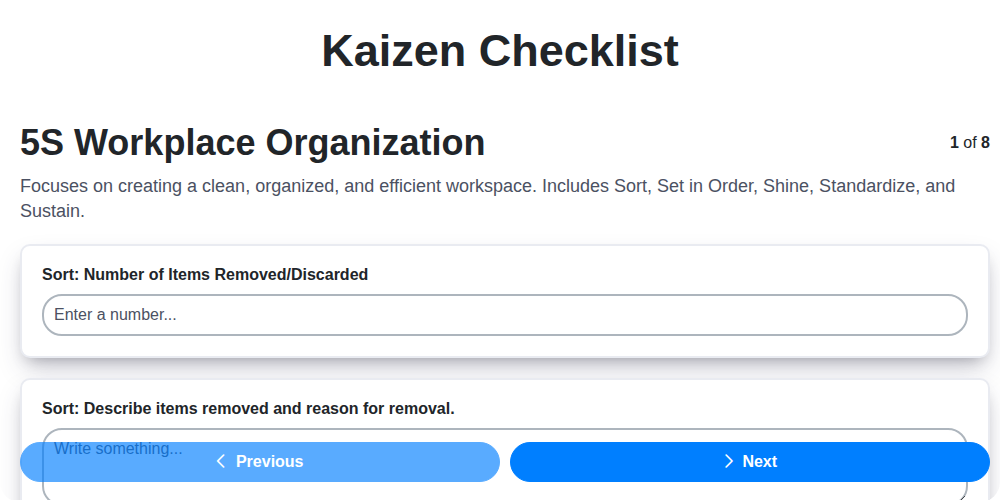
Modèle de liste de contrôle Kaizen : Votre parcours vers l’amélioration continue.

Machine Safety Audit Checklist: Your Guide to a Safer Manufacturing Workplace
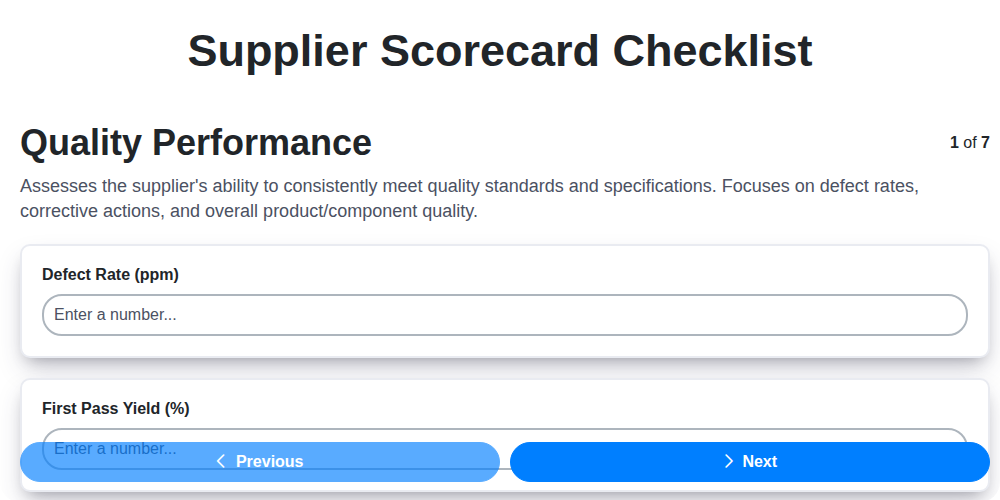
Mastering Supplier Performance: Your Free Supplier Scorecard Checklist Template
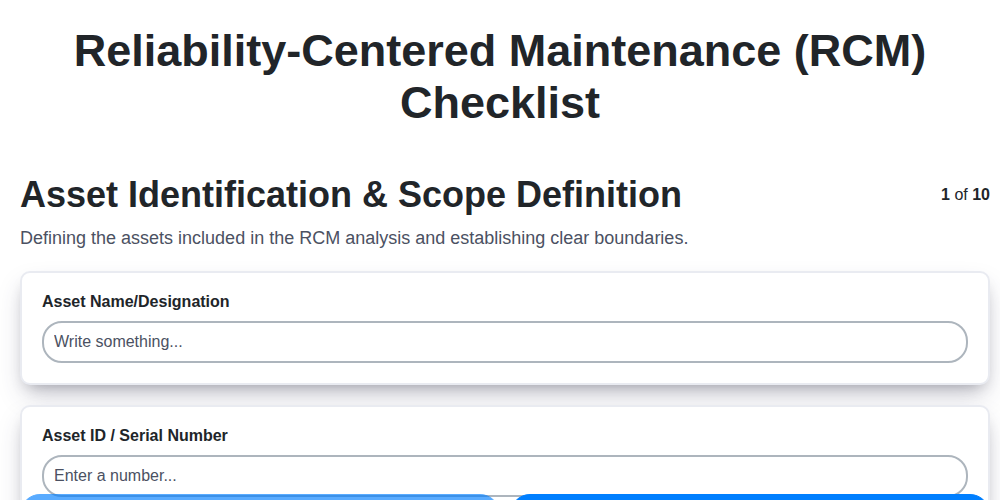
Votre modèle ultime de liste de contrôle RCM : Un guide étape par étape

Modèle de liste de contrôle LPA : Votre guide pour les audits de processus structurés

Votre modèle de liste de contrôle LOTO ultime

Your Ultimate FSC 22000 Checklist Template
Modèle de liste de contrôle d'inspection qualité : Prévenir les défauts et améliorer les processus de fabrication
Nous pouvons le faire ensemble
Besoin d'aide avec les listes de contrôle?
Vous avez une question ? Nous sommes là pour vous aider. Veuillez soumettre votre demande et nous vous répondrons rapidement.