Dental Sterilization Checklist Template: Validating Equipment & Procedures
Published: 09/10/2025 Updated: 12/13/2025
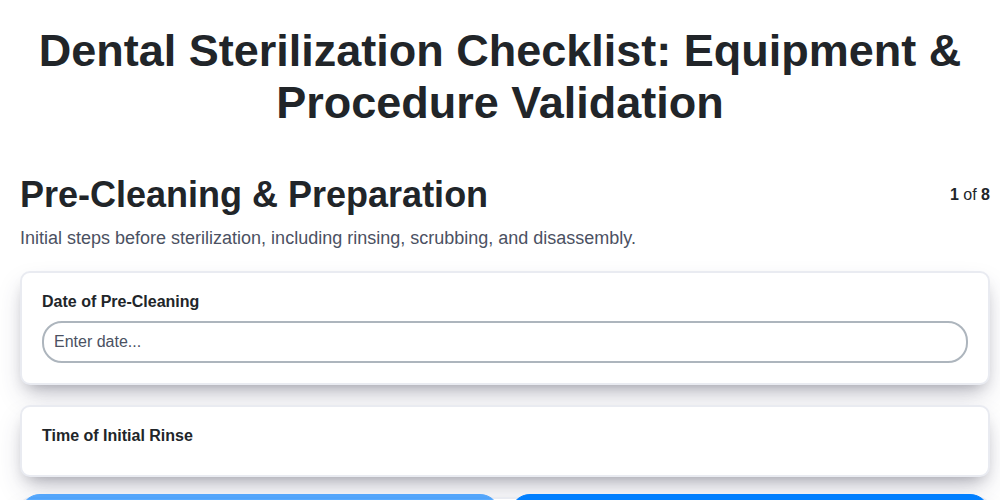
Table of Contents
- Ensuring Patient Safety: Why a Dental Sterilization Checklist is Essential
- Understanding the Core Principles of Dental Sterilization
- Equipment Validation: Preparing Your Sterilization System
- The Complete Dental Sterilization Checklist: Step-by-Step
- Pre-Cleaning and Preparation: Laying the Foundation
- Loading the Autoclave/Sterilizer: Optimizing Space and Steam Penetration
- Cycle Parameter Verification: Maintaining Accuracy and Consistency
- Biological Indicator Testing (BIT): The Gold Standard for Validation
- Chemical Indicator Monitoring: Real-Time Feedback and Traceability
- Record Keeping & Documentation: Building a Paper Trail of Compliance
- Troubleshooting Common Sterilization Challenges
- Resources & Links
TLDR: Ensure patient safety & comply with regulations! This checklist template guides you through every step of dental sterilization - from pre-cleaning to record keeping - helping you validate your equipment and procedures, minimize errors, and maintain a rock-solid sterilization program.
Ensuring Patient Safety: Why a Dental Sterilization Checklist is Essential
The stakes are high when it comes to dental sterilization. While it might seem like a routine process, a single lapse in protocol can have serious consequences for patient health. Improperly sterilized instruments can transmit infections, leading to painful and potentially life-threatening complications. Beyond the immediate health risks, a breach in sterilization protocols can also trigger legal liabilities, damage your practice's reputation, and erode patient trust.
A well-defined and consistently followed dental sterilization checklist isn't simply a procedural formality; it's a vital safety net. It establishes a standardized process, minimizing human error and ensuring that every instrument is treated with the same level of rigor. This consistency is particularly valuable in busy practices where multiple team members are involved in the sterilization process, ensuring everyone is on the same page and adhering to best practices. Ultimately, a meticulous sterilization checklist is a demonstration of your commitment to patient well-being and a cornerstone of responsible dental practice.
Understanding the Core Principles of Dental Sterilization
The foundation of effective dental sterilization rests on three core principles: destruction of all microorganisms (including viruses, bacteria, and fungi), prevention of recontamination, and traceability. Simply put, it's not enough to just kill the bugs; you must also ensure the sterilized instruments remain sterile until they're used on a patient, and you need a system that allows you to track their sterilization history.
Let's break down each of these:
- Microbial Destruction: This is the primary goal. Sterilization aims to eliminate all forms of microbial life, including highly resistant bacterial spores. This requires not just disinfection, which reduces the number of microorganisms, but complete eradication.
- Prevention of Recontamination: Sterilized instruments are only as good as the environment they're handled in. Strict protocols for handling, packaging, and storing instruments are essential to prevent them from picking up new microorganisms. This includes using sterile gloves, designated sterile storage areas, and appropriate packaging materials.
- Traceability: Knowing exactly which instrument was sterilized in which cycle, by whom, and with what parameters is crucial for accountability and patient safety. A robust traceability system allows you to quickly identify and recall instruments if a problem arises.
Equipment Validation: Preparing Your Sterilization System
Before even running your first sterilization cycle, proper equipment validation is critical. This isn't just about unboxing and plugging in; it's a structured process to confirm your sterilization system - from the autoclave itself to the loading aids - functions correctly and consistently.
Initial Validation: When a new autoclave or sterilizer is installed, a thorough initial validation is required. This typically involves a process documented by the manufacturer and may include:
- Leak Testing: Confirming the chamber is airtight and free from leaks.
- Temperature Mapping: Verifying that the temperature is uniform throughout the chamber during a cycle. This is particularly important for larger autoclaves.
- Pressure Verification: Ensuring the pressure reaches and maintains the required levels.
- Documentation: Meticulously recording the validation results and retaining this documentation for auditing purposes.
Periodic Revalidation: Validation isn't a one-time event. Periodic revalidation (typically annually, or after any significant repairs or modifications) is necessary to ensure continued optimal performance. This should include repeating key validation tests and reassessing loading practices.
Loading Aids Validation: Don't overlook loading aids like instrument trays and pouches! Validate their suitability for sterilization - ensure they don't impede steam penetration or distort during the cycle.
Manufacturer's Involvement: Engage the manufacturer's representatives for initial validation and seek their guidance for ongoing maintenance and revalidation. Their expertise ensures your system operates within its intended parameters and maintains compliance.
The Complete Dental Sterilization Checklist: Step-by-Step
1. Pre-Cleaning & Preparation: Laying the Foundation for Sterility
The cornerstone of effective sterilization is diligent pre-cleaning. Don't underestimate this step! Immediately following patient use, instruments must undergo preliminary cleaning to remove gross debris like blood, saliva, and tissue. This prevents these contaminants from baking onto the instruments and hindering the sterilization process. This involves a two-pronged approach:
- Immediate Debris Removal: Utilize a brush and enzymatic cleaning solution to dislodge visible debris. Don't delay - the longer you wait, the more difficult the cleaning becomes.
- Disassembly & Inspection: Whenever possible, disassemble instruments (e.g., separating handpiece components). This ensures every surface is accessible for thorough cleaning and disinfection. Simultaneously, visually inspect instruments for any signs of damage - cracks, pitting, or corrosion. Damaged instruments must be removed from service and replaced.
- Rinsing: Thoroughly rinse instruments under running water to eliminate any residual cleaning solutions.
2. Loading the Autoclave/Sterilizer: Strategic Arrangement Matters
Proper loading isn't just about cramming instruments inside; it's about enabling effective steam penetration. Adhere to these guidelines to optimize the sterilization cycle:
- Instrument Trays: Utilize trays specifically designed for sterilization. These trays facilitate handling and prevent accidental contamination.
- Spacing is Key: Overcrowding is a sterilization killer. Ensure adequate space between instruments and tray walls to allow steam to reach every surface. Refer to your autoclave/sterilizer's manual for recommended spacing guidelines.
- Handle Up Orientation: Position instruments with their handles facing upwards. This prevents contaminants from the working ends of the instruments from dripping onto the sterilized handles.
- Manufacturer's Guidance: Always consult the sterilization equipment's operating manual for specific loading recommendations and tray placement instructions.
3. Cycle Parameters Verification: Ensuring Optimal Conditions
The effectiveness of the sterilization cycle hinges on precise parameters. Don't rely solely on the autoclave's default settings; verify them before each cycle:
- Temperature Validation: Confirm the autoclave's temperature is set to the appropriate level (typically 250°F/121°C) as recommended for the instruments being sterilized.
- Pressure Confirmation: Verify the pressure is calibrated correctly. Pressure and temperature are intrinsically linked in steam sterilization.
- Cycle Time Monitoring: Ensure the cycle time aligns with the manufacturer's guidelines for the load size and instrument type.
- Record Keeping: Meticulously record all cycle parameters on the sterilization log.
4. Record Keeping & Documentation: Your Paper Trail for Accountability
Robust record-keeping is more than just a bureaucratic exercise; it's your defense against potential liability and a vital tool for continuous improvement.
- Cycle Logs: Maintain detailed logs for every sterilization cycle. Include date, time, operator, sterilization method, cycle parameters, and any observations (e.g., unusual noises, error messages).
- Biological Indicator (BI) Results: Regularly use BIs to confirm the autoclave's ability to kill microorganisms. Document all BI results, including expiration dates and lot numbers.
- Chemical Indicator (CI) Monitoring: Use CIs in every load to indicate that the sterilization process has occurred. While CIs don't guarantee sterilization, they provide a visual confirmation.
- Maintenance Records: Keep meticulous records of all autoclave maintenance, repairs, and calibration checks.
- Instrument Traceability: Implement a system to track individual instruments through the sterilization process. This is crucial for recall purposes if contamination is suspected.
Pre-Cleaning and Preparation: Laying the Foundation
The pre-cleaning phase is arguably the most crucial step in the entire sterilization process. Think of it as laying the foundation for a structurally sound building - a weak foundation compromises everything above it. If instruments aren't properly pre-cleaned, debris like blood, saliva, and tissue can shield microorganisms from the sterilizing agent, rendering the entire sterilization cycle ineffective.
This isn't just about aesthetics; it's about drastically reducing the bioburden - the number of microorganisms present on the instrument's surface. Ideally, this initial cleaning should happen immediately after each use. Don't leave instruments sitting in a holding tray!
The process involves several key actions:
- Initial Rinse: A quick rinse under cool running water helps remove gross debris.
- Enzymatic Cleaning: Applying an enzymatic cleaning solution breaks down protein-based contaminants that water alone can't remove. Follow the solution's instructions carefully, paying attention to contact time.
- Mechanical Cleaning: Use a soft-bristled brush to gently scrub all surfaces of the instrument, ensuring you reach all crevices and hinges. Avoid abrasive materials that can damage the instrument's surface.
- Disassembly: Where practical and instrument design allows, disassemble instruments to expose all surfaces to cleaning and sterilization.
- Final Rinse: A thorough rinse with water ensures all cleaning agents are removed before sterilization.
- Visual Inspection: Take a moment to visually inspect the instrument. Look for any remaining debris, damage, or corrosion. Damaged instruments must be removed from service immediately.
Loading the Autoclave/Sterilizer: Optimizing Space and Steam Penetration
Effective sterilization hinges not only on cycle parameters but also on how you load your autoclave or sterilizer. Overcrowding is a common culprit in compromised sterilization, hindering steam penetration and leaving instruments inadequately sterilized. Here's how to load your autoclave like a pro:
1. Tray Selection is Key: Use instrument trays specifically designed for sterilization. These trays are typically perforated to allow for efficient steam circulation. Avoid using standard trays or containers that might block steam flow.
2. Handle Up, Working End Down: Always orient instruments with their handles facing up and working ends facing down. This prevents contaminants from the handles from dripping onto the delicate working ends of the instruments.
3. Strategic Spacing: Don't pack trays too tightly! Leave adequate space (typically 1-2 inches) between instruments and trays to ensure steam can circulate freely. A general rule is to avoid touching instruments to each other or the tray walls.
4. Tray Arrangement: Follow the manufacturer's guidelines for tray placement within the autoclave. Some autoclaves have designated areas for specific tray sizes or types. Stacking trays vertically is generally preferred to horizontal loading, where possible.
5. Consider Instrument Size: Larger instruments should be placed towards the top of the chamber, while smaller instruments can be placed lower. This helps to equalize the sterilization process.
6. Wrap Integrity: If instruments are wrapped (e.g., in sterilization pouches), ensure the wraps are properly folded and secured to prevent steam leakage. Check for tears or damage before loading.
7. Avoid Blocking Ports: Be mindful of autoclave ports and vents. Ensure these are not blocked by trays or instruments, as this will impede steam circulation.
By following these guidelines, you'll maximize the effectiveness of your sterilization cycles and ensure optimal patient safety.
Cycle Parameter Verification: Maintaining Accuracy and Consistency
Ensuring accurate and consistent cycle parameters is the cornerstone of effective sterilization. Deviations, even seemingly minor ones, can compromise the entire process, leaving instruments inadequately sterilized and potentially endangering patients. This isn't about simply setting the autoclave; it's about meticulous verification and ongoing monitoring.
Here's a breakdown of what needs to be checked before every single sterilization cycle:
- Temperature Validation: Verify the autoclave's temperature setting. Many modern autoclaves have digital displays; however, manual verification with calibrated thermometers is a good practice, especially for older models. Compare the displayed temperature with the manufacturer's recommended temperature for the load being sterilized.
- Pressure Confirmation: Pressure and temperature are intrinsically linked in steam sterilization. Ensure the pressure setting is appropriate for the instruments being sterilized. Like temperature, confirm the setting matches the load requirements.
- Cycle Time Assessment: Confirm the cycle time aligns with the instruments being sterilized, the autoclave's load capacity, and the manufacturer's instructions. Overly short cycles may not achieve adequate sterilization.
- Air Removal Verification: Proper air removal from the autoclave chamber is critical for effective steam penetration. Ensure the vacuum pump is functioning correctly and that air removal is complete. Some autoclages provide visual indication of air removal.
- Documentation: Rigorously document the verified parameters on the cycle log. This provides a traceable record of each cycle, vital for auditing and troubleshooting.
Consistent verification and diligent documentation are not merely procedural steps; they are commitments to patient safety and professional responsibility.
Biological Indicator Testing (BIT): The Gold Standard for Validation
Biological Indicator Testing (BIT) represents the highest level of validation for your sterilization processes. Unlike chemical indicators that provide a visual confirmation, BIT utilizes highly resistant bacterial spores - typically Geobacillus stearothermophilus - to demonstrate the actual killing of microorganisms. Essentially, it's a worst-case scenario test.
Here's why BIT is critical:
- Confirms Sterility: BIT doesn't just indicate that conditions appeared right; it proves that sterilization actually occurred.
- Detects Failures: It can detect failures that chemical indicators might miss, such as issues with steam penetration or inadequate temperatures.
- Regulatory Requirement: Many regulatory bodies and accreditation organizations require regular BIT as part of a robust sterilization program.
- Peace of Mind: Knowing that your sterilization process has been validated by BIT provides crucial assurance for both your team and your patients.
BIT results are unambiguous: either the spores survive (indicating a failed cycle and requiring investigation) or they are eradicated (confirming a successful sterilization cycle). Always document BIT results meticulously and maintain records for auditing purposes.
Chemical Indicator Monitoring: Real-Time Feedback and Traceability
Chemical indicators offer a crucial layer of assurance, providing immediate feedback on the sterilization process. They're not a replacement for biological indicators (B.I.) - which confirm sterility - but rather a real-time checkpoint. There are several types to consider:
- Embossed Tape: Often found on sterilization pouches, this changes color (typically from red to green or black to blue) to indicate exposure to steam. It verifies that the package was subjected to heat, but doesn't guarantee sterilization occurred.
- Steam-Sensitive Tape: Similar to embossed tape, but more sensitive to steam penetration.
- Integrated Chemical Strips: These offer more detailed information, potentially including indicators for temperature and time.
- Autoclave Process Recording Indicators: These sophisticated indicators provide a detailed printout of the sterilization cycle parameters, offering a comprehensive record.
Proper placement is key. Indicators should be strategically positioned within the load to ensure they accurately reflect the conditions experienced by all instruments. Importantly, carefully document the type of indicator used, its reading, and the date/cycle number. This meticulous record-keeping contributes significantly to traceability, allowing you to quickly investigate any concerns or trace specific instruments to a particular sterilization cycle.
Record Keeping & Documentation: Building a Paper Trail of Compliance
Comprehensive record keeping isn't just a 'good practice'-it's a critical component of infection control and a vital defense against potential liability. A well-maintained paper trail demonstrates due diligence and provides verifiable proof of adherence to established sterilization protocols.
What should be included? Think beyond just cycle logs. We're talking about a holistic system encompassing:
- Sterilization Cycle Logs: These are the bedrock. Record the date, time, autoclave identification number, operator initials, cycle type (gravity, vacuum, etc.), temperature, pressure, and cycle duration for every sterilization cycle. Include any deviations from standard parameters and the reason for the change.
- Biological Indicator (B.I.) Results: Document the date of the B.I. test, the lot number of the B.I. strips, the results (positive or negative), the incubation date, and the initials of the person reviewing the results. Retain these records for the period mandated by your local regulations.
- Chemical Indicator (C.I.) Monitoring: While not a substitute for B.I.s, C.I. monitoring provides immediate feedback. Log the type of indicator used, its location within the load, and a brief description of the color change indicating sterilization.
- Autoclave Maintenance & Repair Logs: Track all maintenance activities, repairs, and calibrations performed on your sterilizers, including the date, description of work, and technician's credentials.
- Instrument Traceability: Implement a system to trace instruments back to specific sterilization cycles. This can involve unique identifiers, labeling, or a robust tracking system. This is invaluable in the event of a concern.
- Deviation Reports: Any instance where a standard procedure was altered, or a cycle was not completed correctly, must be documented with a clear explanation and corrective action taken.
Retention Policies: Familiarize yourself with your state's requirements for record retention. These typically range from several years to the patient's lifetime plus a certain number of years. Consistent and organized record keeping is not just about compliance; it's about protecting your patients and your practice.
Troubleshooting Common Sterilization Challenges
Sterilization isn't always smooth sailing. Even with diligent adherence to protocols, challenges can arise. Let's tackle some common hiccups and how to resolve them.
1. Inconsistent Chemical Indicator Changes: If your chemical indicators aren't consistently changing color as expected, it's a red flag. First, verify the indicator type is appropriate for the cycle. Second, check for obstructions within the autoclave that might be hindering steam penetration. A buildup of debris or improper tray placement can drastically impact results. Lastly, consider if the sterilization cycle parameters need adjustment - are they within the manufacturer's recommendations?
2. Biological Indicator Failures: A failed B.I. is a serious matter. Immediately quarantine any instruments from the affected load. Repeat the sterilization cycle with a new B.I., ensuring proper loading and placement. Investigate the autoclave's function, including water quality and pressure. Contact a qualified technician for a thorough inspection and potential repair. It's vital to document the failure, corrective actions, and subsequent verification.
3. Condensation on Instruments: While some condensation is normal, excessive moisture can be a sign of inadequate drying. Check the autoclave's drying cycle settings and ensure proper ventilation. Overcrowding instruments can also impede drying, so adjust loading practices.
4. Unexplained Odors: Unusual smells emanating from the autoclave can indicate contamination. Thoroughly clean the interior, paying attention to areas prone to debris accumulation. Ensure proper water quality and consider a professional cleaning service.
5. Cycle Time Discrepancies: Unexpectedly long cycle times can signal underlying issues with the autoclave's heating elements or pressure regulation. Contact a qualified technician for diagnosis and repair.
Remember: consistent monitoring, meticulous record-keeping, and proactive troubleshooting are key to maintaining a robust and reliable sterilization program.
Resources & Links
- American Dental Association (ADA) : The ADA offers comprehensive guidelines, resources, and publications related to infection control and sterilization practices in dentistry. Essential for understanding current best practices and staying updated on regulations. Check their Standards of Care and Infection Control Manual.
- Centers for Disease Control and Prevention (CDC) : The CDC provides guidelines and recommendations for infection control in healthcare settings, including dentistry. Provides information on preventing the transmission of infectious diseases.
- Occupational Safety and Health Administration (OSHA) : OSHA's website offers information on workplace safety regulations, including those pertaining to infection control and the handling of hazardous materials used in sterilization processes. Important for legal compliance.
- Association for Professionals in Infection Control and Epidemiology (APIC) : APIC provides education, resources, and networking opportunities for infection prevention professionals. Can be a valuable resource for in-depth knowledge and best practices in sterilization.
- New York State Department of Health (NYSDOH) - Infection Control : While specific to NY, many states have similar detailed guidelines. This site demonstrates the level of detail provided by regulatory bodies; useful for understanding what a comprehensive sterilization program looks like. Search your state's health department for similar resources.
- National Institute of Standards and Technology (NIST) : NIST develops standards and guidance related to measuring and validating sterilization equipment. Relevant for equipment validation and ensuring accurate cycle parameters.
- Steriltek : Supplier of sterilization equipment and supplies. Offers information and guidance on equipment validation, monitoring and maintenance.
- Midmark : Another significant supplier of dental equipment, including sterilization solutions. Provides resources, manuals and training materials for dental professionals.
- ProcureWell : Provides a marketplace for dental supplies and equipment, along with helpful guides and articles on sterilization and infection control.
- EnvisionTEC (now 3D Systems) : While known for 3D printing, their former sterilization processes and related publications can be a source of information, particularly related to validation.
- SurgiCenter : Offers products for sterilization monitoring and quality assurance, including biological indicator processing services and chemical indicator strips. Provides insights into practical monitoring techniques.
Frequently Asked Questions
What is the purpose of a dental sterilization checklist?
A sterilization checklist ensures consistent and thorough adherence to established protocols for sterilizing dental instruments and equipment, minimizing the risk of infection transmission and ensuring patient safety. It provides a documented record of each sterilization cycle and equipment validation.
Who should use this checklist?
All dental personnel involved in instrument processing, sterilization, and equipment maintenance should use the checklist. This includes dental assistants, hygienists, office managers, and anyone responsible for sterilization procedures.
What types of equipment should be included in the checklist?
The checklist should cover all sterilization equipment, such as autoclaves (steam sterilizers), chemical vapor sterilizers, and dry heat sterilizers. It should also include related equipment like spore strips, biological indicators, and cleaning supplies.
Why are spore strips and biological indicators important?
Spore strips are chemical indicators that change color to show if a certain temperature and humidity were reached during a sterilization cycle. Biological indicators (spore tests) use bacterial spores to verify the sterilization process is effective in killing all microorganisms. They provide a higher level of assurance than chemical indicators.
How often should biological indicator testing be performed?
Biological indicator testing is typically recommended every week, or after any major equipment repair or maintenance. Specific regulations and facility protocols may dictate frequency.
What should I do if a biological indicator test fails?
If a biological indicator test fails, immediately quarantine all instruments sterilized in that cycle. Investigate the autoclave for malfunctions, re-process instruments using a different, validated autoclave, and consult with a qualified service technician.
What's the difference between cleaning and sterilization?
Cleaning removes visible debris and contaminants. Sterilization destroys all microorganisms, including bacterial spores. Sterilization is the crucial final step in instrument processing following cleaning and disinfection.
How can I customize the checklist template?
You can customize the template to reflect your specific equipment models, sterilization protocols, and facility regulations. Add or remove items as needed, but always ensure you maintain compliance with applicable standards.
Where can I find relevant regulations for dental sterilization?
Refer to guidelines from organizations like the CDC (Centers for Disease Control and Prevention), OSHA (Occupational Safety and Health Administration), and your state's dental board for specific regulations and recommendations.
What is the significance of documenting equipment validation?
Equipment validation proves that the sterilization equipment is performing as intended and meets required standards. Documentation of validation procedures provides a traceable record for audits and demonstrates due diligence.
Found this Article helpful?
Dental Management Solution Demo
Simplify your dental practice & enhance patient care! ChecklistGuro streamlines appointment scheduling, patient records, and billing. Improve efficiency, reduce errors, & boost patient satisfaction. Manage it all with our Work OS.
Related Articles
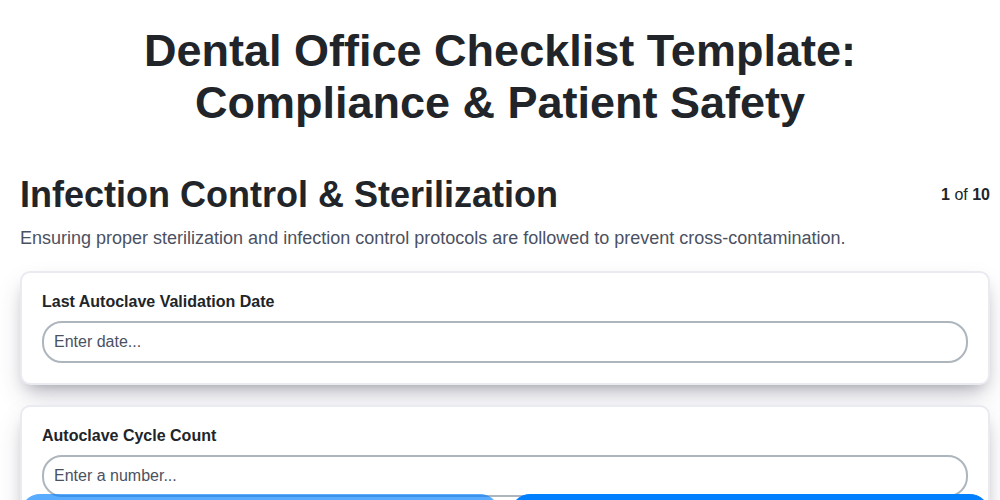
Your Dental Office Safety Net: The Compliance & Patient Safety Checklist Template
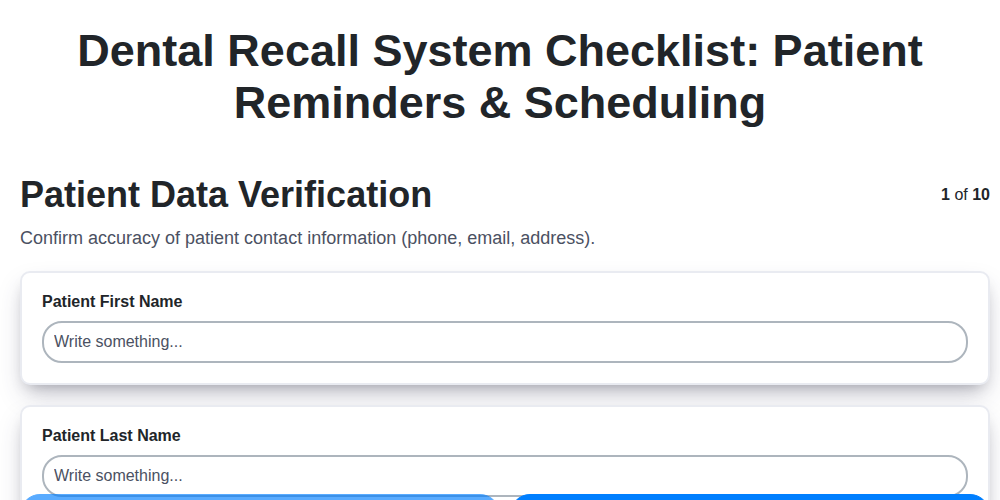
Mastering Dental Recalls: Your Ultimate Checklist Template

Mastering Dental Case Presentations: Your Checklist Template for Success

Your Dental Compliance Checklist: A State & Federal Guide
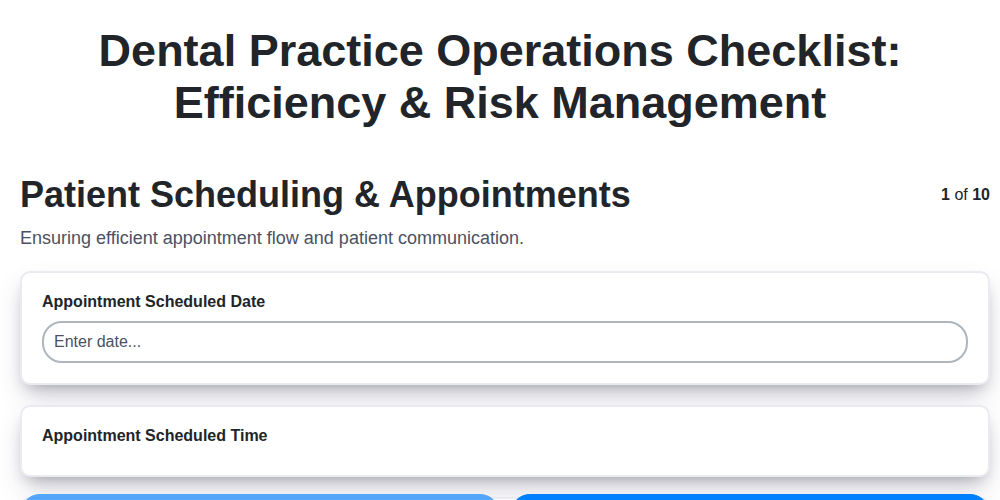
Dental Operations Checklist: Boost Efficiency & Manage Risk

The Ultimate Dental Lab Case Checklist: Fabrication & Quality Assurance

Your Complete Dental Infection Control Checklist: PPE & Surface Disinfection
Mastering Dental Exams: Your Complete Charting Checklist Template
We can do it Together
Need help with
Dental Management?
Have a question? We're here to help. Please submit your inquiry, and we'll respond promptly.