The Ultimate Dental Charting Checklist Template: A Comprehensive Guide
Published: 09/10/2025 Updated: 12/13/2025
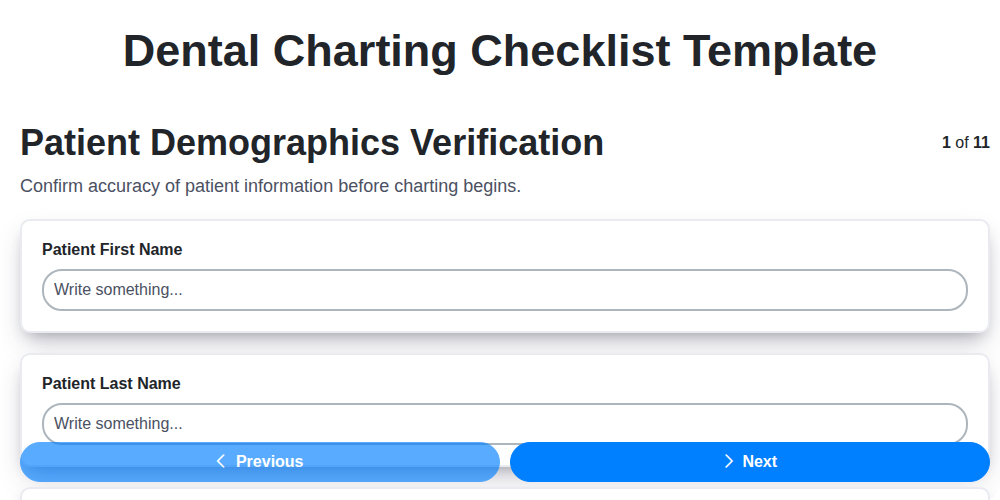
Table of Contents
- Why Dental Charting Checklists Matter
- Building Blocks: Essential Elements of a Comprehensive Checklist
- Patient Demographics & Medical History: Setting the Foundation
- Extraoral & Intraoral Examinations: A Visual Assessment
- Decoding Periodontal Health: A Detailed Evaluation
- Caries Detection & Restoration Mapping
- Occlusion & Bite Analysis: Harmony in the Mouth
- Radiographic Insights: Beyond the Surface
- Treatment Planning: From Assessment to Action
- Digital vs. Paper: Choosing the Right Tool
- Best Practices: Maintaining Accuracy & Consistency
- Resources & Links
TLDR: Need a reliable way to ensure consistent, thorough patient assessments? This guide provides a comprehensive dental charting checklist template covering everything from demographics and soft tissue exams to caries assessment and treatment planning. Download the template and streamline your charting process for better patient care and legal protection.
Why Dental Charting Checklists Matter
Think of your dental charting as the story of a patient's oral health journey. It's more than just recording what you see; it's building a foundation for informed decisions and consistent care. Without a systematic approach, important details can be overlooked, leading to misdiagnosis, ineffective treatment plans, and potential legal vulnerabilities.
A consistent checklist ensures that every patient receives the same level of thoroughness, regardless of who's performing the charting. It acts as a safety net, preventing crucial elements - like subtle signs of gum disease or early caries - from being missed. Furthermore, it's a vital tool for tracking patient progress over time. By comparing charting records from previous visits, you can objectively assess the effectiveness of treatment and adjust strategies as needed. Ultimately, a well-executed charting checklist isn't just about what's recorded; it's about building trust with your patients and providing them with the best possible care.
Building Blocks: Essential Elements of a Comprehensive Checklist
A truly comprehensive dental charting checklist isn't just a random collection of observations; it's a carefully constructed framework built on several key elements. Think of each element as a building block, contributing to the overall strength and reliability of your patient record. Let's break down these essentials:
1. Patient-Centered Language: The language should prioritize what you observe, not assumptions. Avoid subjective terms like appears healthy and instead, describe what you see - for instance, gingiva exhibits mild erythema and slight swelling.
2. Sequential Flow: A logical sequence is critical. Starting with demographics and progressing from extraoral to intraoral examinations, then to periodontal and caries assessments, creates a systematic approach that minimizes oversight.
3. Standardized Terminology: Consistency is paramount. Employing standardized dental terminology (e.g., using universally accepted probing depths) ensures that everyone on your team interprets the findings the same way. This also facilitates communication with specialists and other practitioners.
4. Objective Measurement: Whenever possible, incorporate objective measurements. Probing depths, bleeding on probing scores, plaque indices - these quantifiable data points provide a more reliable assessment compared to purely subjective observations.
5. Space for Narrative Notes: While structured data is valuable, narrative notes are equally important. Allow ample space for recording unique observations, patient concerns, and any details that don't fit neatly into the checklist's categories. These notes often provide crucial context.
6. Revision & Update Protocol: A static checklist becomes obsolete quickly. Establish a process for regularly reviewing and updating the checklist to reflect advancements in dental technology, evolving best practices, and specific needs of your practice.
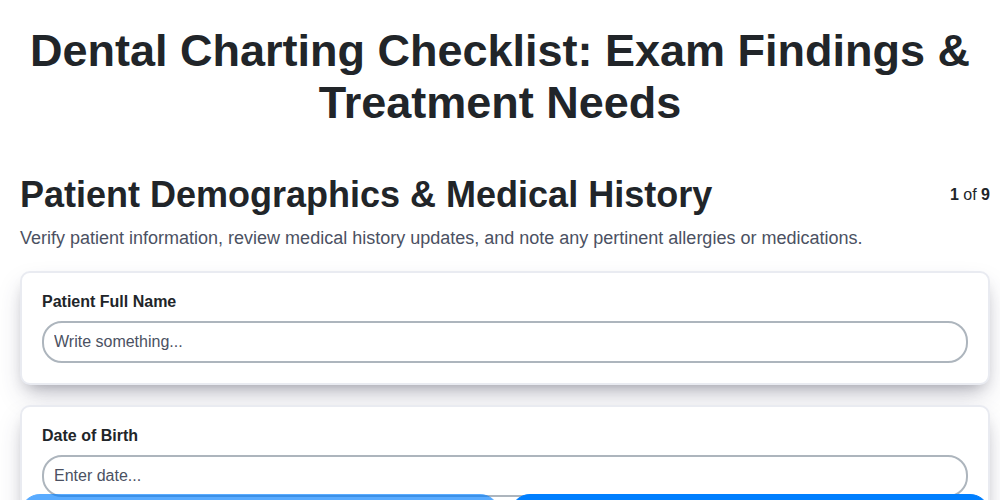
Patient Demographics & Medical History: Setting the Foundation
Accurate patient demographics are the cornerstone of quality care. More than just names and addresses, this section provides critical context for treatment planning and ensures seamless communication within the practice. Double-checking all details - full name, date of birth, insurance information, and contact details - minimizes errors and streamlines administrative processes.
However, the real power lies in the medical history component. A comprehensive understanding of a patient's past and present health conditions is vital for safe and effective treatment. Don't just ask about allergies; delve deeper into the specifics-type of reaction, severity, and any related medications. Similarly, a thorough exploration of medical history (diabetes, hypertension, heart conditions, bleeding disorders, etc.) informs treatment decisions and allows for necessary precautions. Equally important is understanding social history, including smoking habits, alcohol consumption, and dietary choices, as these factors significantly influence oral health. Encourage open communication; let patients know you're creating a safe space for them to share relevant information - and always document it clearly.
Extraoral & Intraoral Examinations: A Visual Assessment
The visual assessment is the cornerstone of a thorough dental examination. It's about seeing what's happening beyond just numbers and measurements. Let's break down what to look for, both outside and inside the mouth.
Extraoral Examination: Start by observing the patient's overall facial symmetry. Note any swelling, asymmetry, or signs of trauma. Palpate the lymph nodes in the neck, feeling for enlargement or tenderness - this can be an early indicator of infection or inflammation. Crucially, assess the temporomandibular joints (TMJs). Observe the patient's range of motion when opening and closing, listening for clicking, popping, or crepitus. Muscle palpation, particularly of the masseter and temporalis muscles, can reveal signs of tension or spasm.
Intraoral Examination - Soft Tissues: Inside the mouth, a meticulous visual inspection of the soft tissues is vital. Evaluate the color and texture of the lips, noting any lesions, ulcers, or discoloration. Carefully examine the tongue for size, color, any signs of inflammation, and ulcerations. Don't overlook the floor of the mouth and buccal mucosa; these areas are often overlooked but can harbor early signs of oral cancer. The palate should also be checked for any irregularities. Finally, assess salivary gland function by observing the quality and quantity of saliva.
Intraoral Examination - Hard Tissues: The hard tissues require a similar level of scrutiny. Evaluate the position and alignment of the teeth, noting any malocclusion or missing teeth. Examine the bone structure, looking for signs of bone loss or abnormalities. Pay attention to the occlusal plane to identify any deviations that could contribute to TMJ issues or other problems. The goal here is to identify not only existing issues but also potential future problems.
Decoding Periodontal Health: A Detailed Evaluation
Periodontal health, or the health of your gums and supporting bone, is a cornerstone of overall oral well-being. A comprehensive periodontal assessment goes far beyond simply checking for bleeding gums; it's a meticulous evaluation of multiple factors that contribute to the health and stability of your teeth. Here's a breakdown of the key areas we examine during a periodontal assessment:
Probing Depths: We use a periodontal probe, a specialized measuring tool, to record the depth of the gingival sulcus - the space between your teeth and gums. Increased probing depths often indicate a loss of supporting bone and can be a sign of progressing periodontal disease. These depths are meticulously recorded for each individual tooth.
Recession: Recession refers to the exposure of the tooth root due to gum tissue pulling back. We carefully document the amount of recession present around each tooth, as it's a significant indicator of bone loss and can contribute to sensitivity.
Attached Gingiva: The attached gingiva is the portion of the gum tissue that is firmly connected to the tooth. A reduced amount of attached gingiva can make the gums more susceptible to recession and disease. We assess this measurement to evaluate the stability of the gum tissue.
Furcation Involvement: This refers to disease affecting the area where a tooth divides into multiple roots (common in molars and premolars). We assess the extent of involvement, which can range from slight to severe, and impacts treatment planning.
Mobility: Tooth mobility, or looseness, is another concerning sign. We gently assess each tooth to determine its degree of movement, which can be indicative of bone loss and compromised support.
Bleeding on Probing (BOP): Even minor bleeding when the gums are probed can be a sign of inflammation and early disease. We carefully note the presence or absence of BOP on each tooth.
Plaque and Calculus Indices: We evaluate the amount of plaque (soft, sticky bacterial film) and calculus (hardened plaque) present on your teeth, as these contribute significantly to gum inflammation.
Radiographic Evaluation: X-rays provide a vital look at the bone level supporting your teeth. We analyze these images to identify any bone loss, which is a key indicator of periodontal disease progression.
Ultimately, a thorough periodontal evaluation provides us with a clear picture of your gum health, allowing us to develop a personalized treatment plan to prevent or manage periodontal disease and preserve your smile.
Caries Detection & Restoration Mapping
Detecting caries (tooth decay) accurately and documenting it precisely is paramount to effective treatment and long-term oral health. It's no longer sufficient to simply note caries present. A thorough approach involves a multi-faceted examination utilizing both visual and radiographic assessments.
Visual Examination: Begin with a meticulous visual inspection, utilizing good lighting and a dental explorer to carefully probe suspect areas. Note the location, size, and extent of the decay - is it enamel-based, dentinal, or involving the pulp? Use standardized notation (e.g., D1, D2, D3 classifications) to clearly define the severity and depth of the caries. For example, MOD decay on tooth #3, D2.
Radiographic Assessment: Bitewing radiographs are critical for detecting interproximal caries that may not be visible clinically. Carefully evaluate the radiographic images for radiolucent areas indicative of decay, noting the number and characteristics of the affected surfaces. Consider utilizing a caries risk assessment index (e.g., DMF index) to help inform treatment planning. When mapping restorations, clearly indicate the surfaces affected by caries on the radiograph - a dotted line or shading can effectively communicate the extent of the decay.
Restoration Mapping: Following caries removal, a detailed mapping of the restoration is essential. Record the material used (composite, amalgam, gold), the surfaces restored (MO, DO, etc.), and any unique features of the restoration. A clear and precise record allows for accurate monitoring of restoration integrity at subsequent appointments and aids in future treatment planning. For instance, Composite restoration, MO surface, on distal aspect of tooth #14. This level of detail ensures continuity of care and minimizes the potential for misinterpretation.
Occlusion & Bite Analysis: Harmony in the Mouth
A proper bite, or occlusion, is far more than just how your teeth meet. It's a complex interplay of muscles, joints, and bone, all working together to facilitate chewing, speaking, and even breathing. A misaligned bite, or malocclusion, can lead to a cascade of problems, including temporomandibular joint (TMJ) disorders, headaches, tooth wear, and even difficulties with digestion.
During occlusion analysis, we're looking for more than just whether teeth touch. We evaluate the pattern of contact - are all teeth making even contact when biting down? Are there any premature contacts that force certain teeth to bear more force than others? We assess the relationship between the upper and lower arches, noting any deviations from ideal alignment.
Specifically, we's assessing:
- Centric Occlusion: This is the ideal biting position where the jaws are aligned and comfortable.
- Occlusal Contacts: We identify areas of contact between upper and lower teeth, noting any premature or uneven contacts.
- Guidance: We observe how the teeth disengage during jaw movement, ensuring smooth and coordinated movements.
- Muscle Function: We're looking for signs of muscle strain or imbalances, which can be indicative of an occlusal problem.
This detailed examination allows us to identify any occlusal issues and develop a treatment plan to restore harmony and function in your bite.
Radiographic Insights: Beyond the Surface
Radiographs are so much more than just "pictures" for our records. They offer a window into the underlying structures of the oral cavity and surrounding areas, revealing conditions that aren't visible during a clinical exam. Bitewings, for example, are crucial for detecting interproximal caries (cavities between teeth) which can be easily missed. Periapical radiographs allow us to assess the roots of the teeth and surrounding bone, identifying potential infections or abnormalities. A panoramic radiograph (Panorex) provides a broader overview, revealing impacted teeth, jaw cysts, and other significant anomalies. Beyond the routine, advanced imaging like cone-beam computed tomography (CBCT) offers three-dimensional views, invaluable for implant planning, endodontic procedures, and assessing complex pathology. Careful interpretation of these images, combined with clinical findings, paints a complete picture of a patient's oral health.
Treatment Planning: From Assessment to Action
The charting process isn't an end in itself; it's the foundation for a comprehensive and personalized treatment plan. A thorough assessment, meticulously documented in your charting checklist, provides the roadmap for achieving optimal patient oral health.
Here's how the information gathered translates into actionable steps:
Prioritization is Key: Not all issues demand immediate attention. Your assessment will reveal the most pressing concerns - perhaps a rapidly progressing cavity, a painful TMJ issue, or severe gum disease. These become your top priorities. Consider factors like patient comfort, functional needs, and overall health when establishing a treatment order.
Evidence-Based Recommendations: Treatment options should be supported by current scientific evidence. For example, addressing early-stage gingivitis might involve scaling and root planing combined with improved oral hygiene instruction. A larger restoration might require a crown or onlay. Always present the rationale behind your recommendations to the patient.
Patient-Centered Approach: Treatment planning isn't a one-way street. Open communication with your patient is crucial. Explain the diagnosis in clear, understandable terms, discuss the proposed treatment options (including the pros and cons of each), and address any questions or concerns they may have. Consider their lifestyle, budget, and personal preferences when tailoring a plan.
Phased Treatment: Complex cases often benefit from a phased approach. Breaking down the overall treatment into smaller, manageable steps can reduce patient anxiety, improve compliance, and allow for periodic reassessment of progress.
Documentation of Consent: Always document the patient's understanding of the treatment plan and their informed consent. This protects both the patient and the practice.
Ultimately, effective treatment planning transforms assessment findings into a clear, patient-centered plan of action, paving the way for a healthier and more confident smile.
Digital vs. Paper: Choosing the Right Tool
The age-old debate: paper charting or embracing the digital realm? Both approaches have their merits, but the modern dental practice increasingly leans towards digital solutions. Let's break down the key differences to help you decide which best suits your team and workflow.
Paper Charting: The Familiar Comfort
The appeal of paper is undeniable. It's a tangible, familiar tool - often comfortable for those accustomed to traditional methods. There's no learning curve, and it doesn't rely on technology. However, paper charting presents challenges. Space is a premium in most dental offices, and paper records can be difficult to organize and retrieve. Sharing information between team members can be slow and prone to errors. Plus, let's not forget the ongoing cost of paper, ink, and storage.
Digital Charting: Efficiency and Integration
Digital charting systems offer a wealth of benefits that paper simply can't match. Data is instantly accessible to authorized team members, fostering better communication and collaboration. Integration with practice management software streamlines administrative tasks, from scheduling appointments to billing. Digital records are easily searchable, allowing you to quickly retrieve patient history. Many systems offer features like automated reminders, perio charting tools, and even photo documentation capabilities. While there's an initial learning curve and ongoing software costs, the long-term gains in efficiency and accuracy are often significant. Furthermore, cloud-based digital charting offers enhanced data security and disaster recovery options.
Ultimately, the right tool depends on your practice's individual needs and preferences. However, the trend is clear: digital charting is transforming the dental landscape, offering a pathway to a more efficient, connected, and data-driven practice.
Best Practices: Maintaining Accuracy & Consistency
A checklist is a fantastic foundation, but true accuracy and consistency in charting stem from a broader commitment across your entire team. It's about more than just ticking boxes; it's about developing a shared understanding and dedication to meticulous observation. Here are a few key practices to embed within your workflow:
- Standardized Training: Regularly train all charting personnel on the checklist's nuances, emphasizing the rationale behind each step. Consistent training ensures everyone interprets findings similarly and documents them uniformly.
- Peer Review & Calibration: Implement a system of peer review, where experienced clinicians periodically review the charting of others. This "calibration" helps identify areas for improvement and reinforces best practices.
- Second Opinion Protocol: For complex cases or ambiguous findings, establish a protocol for seeking a second opinion from a more senior colleague. This reduces the risk of misdiagnosis or missed details.
- Continuous Improvement: Periodically review the checklist itself. Is it still relevant? Are there areas that need refinement based on evolving clinical understanding or new technologies?
- Open Communication: Foster a culture where team members feel comfortable asking questions and raising concerns about charting procedures or findings.
- Documentation of Anomalies: If a deviation from the standard process occurs (e.g., a patient was unable to undergo a specific examination), document the reason and any potential impact on the assessment.
- Embrace Technology: Utilize digital charting software that offers features like drop-down menus, standardized terminology, and automated alerts to minimize errors and enhance efficiency.
Resources & Links
- American Dental Association (ADA) : The ADA is the leading professional organization for dentists in the United States. Their website offers resources on dental charting standards, clinical guidelines, and continuing education - crucial for understanding best practices and terminology used in dental charting.
- MouthHealthy.org (ADA) : A patient-focused website from the ADA, MouthHealthy.org contains information on oral health conditions, preventive care, and comprehensive dental exams, useful for understanding the purpose and patient context of dental charting.
- Dental Deep Training : Offers courses and resources on clinical examination and charting techniques, including hands-on practice and comprehensive overviews of periodontal assessment and caries detection. Useful for deeper technical understanding.
- Pearcey Dental : Pearcey Dental offers training and resources for dental professionals, including materials related to comprehensive charting, restorative dentistry, and periodontal care. They often feature guides and videos on examination techniques.
- Colgate Dental Professionals : Colgate provides resources and guidance for dental professionals, covering various aspects of oral healthcare, including clinical assessment and patient management, which is relevant to charting.
- Dental Data Metrics : A provider of dental practice management software and data analytics. Their site provides insights into the importance of accurate data collection, which is directly tied to good charting and informed treatment planning. Useful for understanding the value of charting in a practice.
- Hu-Friedy : A manufacturer of dental instruments. Understanding instrument use and proper examination techniques is vital for accurate charting. Their site often has information on instrument usage and best practices.
- National Society for Prosthetic Dentistry (NSPD) : If the article touches on occlusion or restorative work, understanding principles of occlusion and prosthodontics is helpful. The NSPED offers resources and guidelines in that area.
- Dental Hygiene Products, Inc. (RDH) : RDH magazine and website provides continuing education articles and resources for dental hygienists, frequently addressing clinical assessment and periodontal charting techniques.
- Digital Dentistry World : This website is focused on digital dental technology and techniques, including digital charting. Useful for understanding the benefits and functionality of digital charting systems.
- Carestream Dental : A leading provider of dental imaging and practice management solutions. Their website offers insights into digital radiography and charting, highlighting the benefits of technology in improving accuracy and efficiency.
Frequently Asked Questions
What is dental charting and why is it important?
Dental charting is a detailed record of a patient's oral health, including tooth condition, gum health, and other observations. It's vital for tracking changes over time, diagnosing problems, planning treatment, and providing continuity of care. Accurate charting allows dentists and hygienists to monitor progression of disease and tailor treatment plans effectively.
Who is this charting checklist template for?
This template is designed for dentists, dental hygienists, dental assistants, and anyone involved in documenting a patient's oral health. It can be used by experienced professionals as a reference or by newer practitioners to ensure comprehensive charting.
What sections are included in the charting checklist template?
The template typically includes sections for tooth numbers and condition (caries, restorations, etc.), periodontal charting (probing depths, recession, bleeding), occlusal assessment, soft tissue assessment (lips, cheeks, tongue), and observations about existing restorations or appliances. Specific sections may vary based on practice needs.
What does 'CAMI' stand for in dental charting?
CAMI stands for Caries, Amalgam, Composite, Inlay. It's a common shorthand notation used to indicate the type of restoration on a specific tooth. C indicates caries (decay), A indicates amalgam, M indicates composite, and I indicates inlay.
How do I customize the template to fit my practice's specific needs?
The template is designed to be flexible. You can add or remove sections, modify notations, and adjust the layout to match your preferred charting system. Most templates allow for adding notes and custom symbols.
What are some common notations used in dental charting that are explained in the guide?
The guide explains common notations for caries (c), restorations (a, m, i, etc.), periodontal charting (probing depths, recession), and soft tissue abnormalities. You'll also find explanations for occlusion assessments and other relevant observations.
Can I use this checklist template digitally or is it only for paper charting?
While this guide is geared towards understanding the principles of charting, the template itself can be adapted for both paper and digital charting. Many dental software programs allow you to create custom charting forms based on the principles outlined in the checklist.
How frequently should dental charting be performed?
The frequency of charting depends on the patient's oral health status. New patients typically receive a comprehensive charting upon their initial visit. Existing patients may require charting at every recall appointment, with the frequency adjusted based on their individual needs and risk factors.
What is 'furcation involvement' and how is it documented in the checklist?
Furcation involvement refers to the progression of periodontal disease into the area between tooth roots. The checklist template typically includes a notation system (e.g., class I, II, III, IV) to document the degree of furcation involvement on multi-rooted teeth.
Where can I find more detailed information about specific dental charting notations?
While the guide provides an overview, for more in-depth information on dental charting notations, refer to resources like the American Dental Association (ADA) guidelines, dental textbooks, or online educational platforms focused on dental hygiene and dentistry.
Found this Article helpful?
Dental Management Solution Demo
Simplify your dental practice & enhance patient care! ChecklistGuro streamlines appointment scheduling, patient records, and billing. Improve efficiency, reduce errors, & boost patient satisfaction. Manage it all with our Work OS.
Related Articles
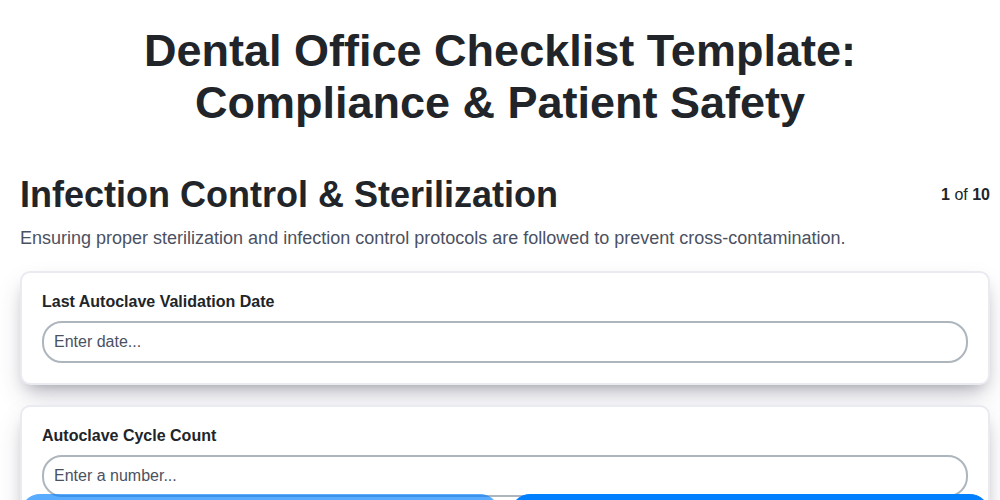
Your Dental Office Safety Net: The Compliance & Patient Safety Checklist Template
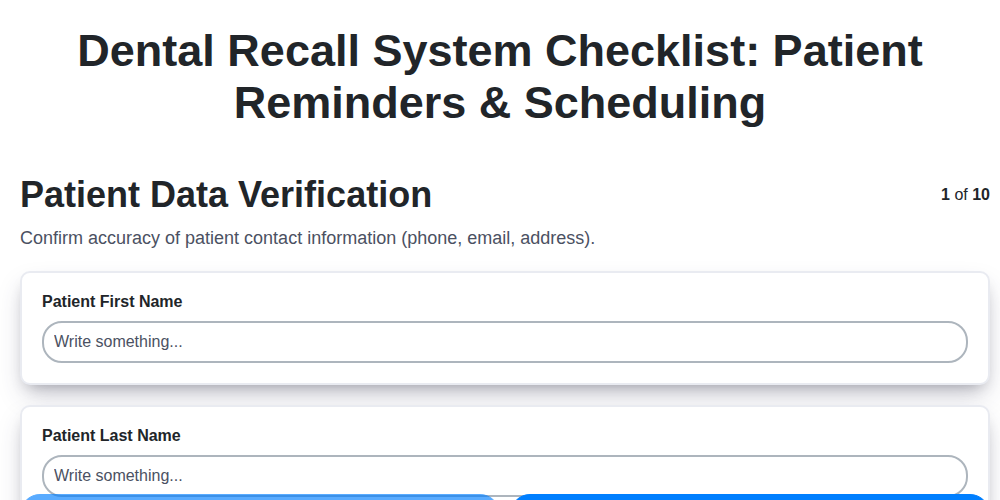
Mastering Dental Recalls: Your Ultimate Checklist Template

Mastering Dental Case Presentations: Your Checklist Template for Success

Your Dental Compliance Checklist: A State & Federal Guide
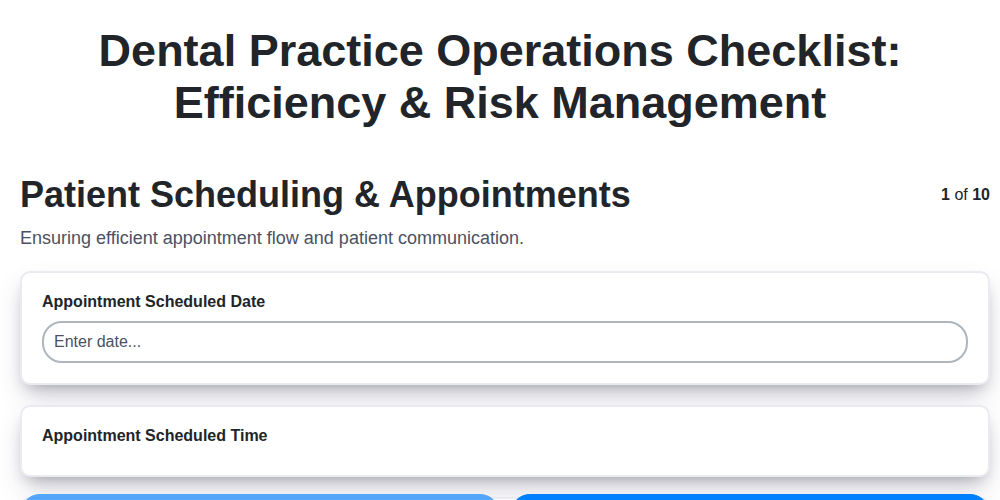
Dental Operations Checklist: Boost Efficiency & Manage Risk

The Ultimate Dental Lab Case Checklist: Fabrication & Quality Assurance

Your Complete Dental Infection Control Checklist: PPE & Surface Disinfection
Mastering Dental Exams: Your Complete Charting Checklist Template
We can do it Together
Need help with
Dental Management?
Have a question? We're here to help. Please submit your inquiry, and we'll respond promptly.