Clothing Store Steaming & Garment Care Checklist Template
Published: 09/02/2025 Updated: 12/13/2025
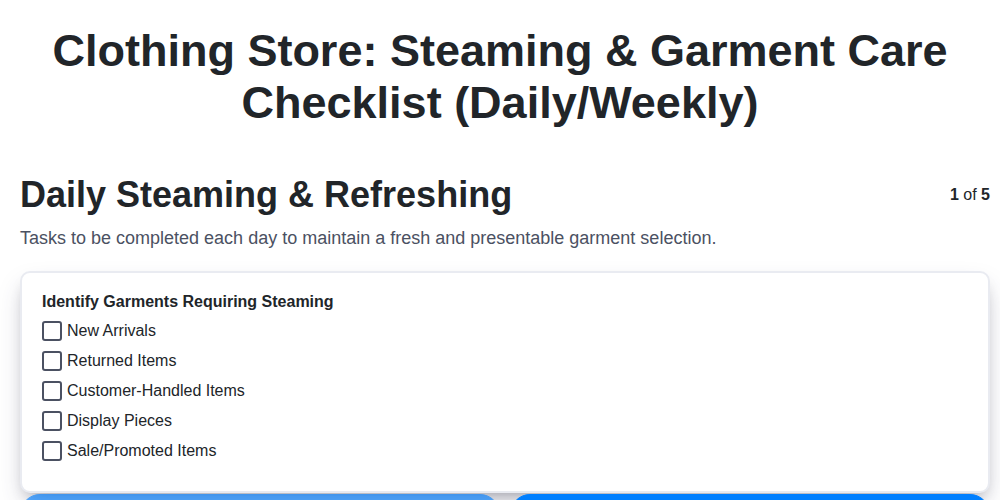
Table of Contents
- Introduction: Why Garment Care Matters
- Daily Steaming & Refreshing: Quick Wins for a Polished Look
- Weekly Deep Steaming: A Comprehensive Routine
- Fabric-Specific Steaming Techniques
- Steaming Equipment Maintenance: Keeping Your Tools in Top Shape
- Specialty Garment Care: Handling Delicate Items
- Inventory & Supplies: Ensuring You're Prepared
- Dealing with Common Garment Issues (Pilling, Snags)
- Creating a Staff Training Program
- Setting Up a Steaming Station
- Integrating Steaming into Daily Operations
- Troubleshooting Steaming Problems
- Resources & Links
TLDR: This checklist template is your secret weapon for keeping clothes looking their best! It guides your team through daily refreshes, weekly deep cleans, equipment maintenance, and special care, ensuring a polished store and happy customers. Download it and simplify garment care!
Introduction: Why Garment Care Matters
In the world of retail fashion, presentation isn't just about the clothes themselves; it's about the experience. Customers aren't just buying an item; they're investing in a feeling, an image, a promise of looking and feeling their best. And that first impression is powerfully shaped by how those garments are displayed. Wrinkled, dusty, or poorly cared-for merchandise immediately diminishes your store's image, detracts from the perceived value, and ultimately impacts sales.
Beyond the aesthetic, proper garment care demonstrates respect for your merchandise and your customers. It extends the life of your inventory, reduces waste, and reinforces your brand's commitment to quality and attention to detail. Investing in a consistent garment care routine isn't just about appearances; it's about protecting your investment, enhancing your reputation, and creating a positive shopping experience that keeps customers coming back.
Daily Steaming & Refreshing: Quick Wins for a Polished Look
It's easy to let wrinkles and dust accumulate throughout the day, but a few minutes of daily effort can make a huge difference in how your store looks and feels. Think of this as your preventative maintenance - stopping small issues before they become big problems.
Focus on High-Impact Zones: Prioritize areas that customers see first: window displays, mannequins, and the front section of your store. These are your visual ambassadors, and they need to make a strong first impression.
Spot Steaming is Your Friend: Don't have time to steam everything? That's where spot steaming comes in! Quickly address any noticeable wrinkles or creases on individual garments. A handheld steamer makes this super easy.
Fabric Know-How: Remember, not all fabrics are created equal.
- Delicates (Silk, Lace, etc.): Gentle is key. Use a low steam setting and hold the steamer further away from the fabric to avoid damage.
- Wool & Knits: These can shrink! Steam from a respectful distance.
- Cotton & Linen: These generally handle more direct steam, but always test in an inconspicuous area first.
Don't Forget the Dust! A quick dusting with a soft brush or cloth can remove surface dust and instantly brighten up the appearance of your merchandise. This simple step is often overlooked, but it's a surprisingly effective way to elevate the overall look of your store.
Mannequin Makeovers: Give your mannequins a quick steam and dusting too. Neatly arrange their clothing to create visually appealing displays that inspire customers. A well-presented mannequin is a silent salesperson!
Weekly Deep Steaming: A Comprehensive Routine
Beyond the quick daily refresh, your weekly deep steaming session is the bedrock of impeccable garment presentation. This isn't just about removing wrinkles; it's about revitalizing fabrics, enhancing colors, and preventing long-term damage. Here's a detailed breakdown of your weekly routine:
1. Pre-Steaming Inspection & Sorting (15-30 minutes):
- Full Store Sweep: Don't just focus on high-traffic areas. Conduct a thorough sweep of every section. Look beyond wrinkles-inspect for dust accumulation, spots (potential stains), pilling, and any signs of distortion or damage.
- Fabric Categorization: Group garments by fabric type (cotton, linen, silk, wool, synthetics). This dictates steaming temperature and technique. Keep a handy reference guide for common fabric care instructions.
- Delicate Handling: Items needing extra care (vintage pieces, heavily embellished garments, items with delicate prints) are flagged for either professional cleaning or specialized handling. Do not steam these without careful consideration and knowledge!
2. The Steaming Process (45-90 minutes, depending on store size):
- Start with the Heaviest Fabrics: Begin with thicker materials like denim, corduroy, or wool to prevent moisture transfer to lighter fabrics.
- Temperature Control is Key: Refer to your fabric guide to set the steamer to the appropriate temperature. Too hot can scorch, too cool is ineffective.
- Maintain Distance: Hold the steamer nozzle 6-12 inches from the fabric, especially for delicate materials.
- Slow and Steady: Move the steamer head slowly and evenly across the garment, working in sections. Avoid prolonged exposure to one area.
- Inside Out for Dark Colors: Steaming dark-colored garments inside out helps prevent discoloration and spotting.
- Hang or Lay Flat: Allow garments to cool and dry completely while still hanging or laid flat on a clean surface. This prevents new wrinkles from forming.
3. Post-Steaming Touch-Ups & Arrangement (15-30 minutes):
- Folding/Hanging Perfection: Refold or rehang garments with meticulous attention to detail. Ensure consistent folds and hanger alignment.
- Spot Check for Missed Areas: Take a final look to ensure all wrinkles have been addressed.
- Fabric Refresher Application (Optional): A light mist of fabric refresher can help eliminate odors and freshen fabrics. (Test in an inconspicuous area first!)
- Dusting & Cleaning of Display Areas: While garments are cooling, quickly dust and tidy display areas to present a cohesive and appealing aesthetic.
This routine, while time-consuming, provides a powerful investment in your store's image and garment quality.
Fabric-Specific Steaming Techniques
Not all fabrics react the same way to steam. Treating delicate silks the same way you handle sturdy cottons is a recipe for disaster! Here's a breakdown of how to approach steaming various fabric types:
Delicates (Silk, Lace, Chiffon, Rayon): These fabrics are notoriously sensitive. Use the lowest steam setting and hold the steamer further away - at least 12 inches - to avoid damage. A gentle mist is all you need. Test a small, inconspicuous area first. Avoid direct steam; instead, allow the steam to warm the fabric from a distance.
Wool & Knits: These fabrics are prone to shrinkage. Again, use a low steam setting and maintain a distance of 6-10 inches. Quick, light passes are best. Avoid saturating the fabric with steam. Consider using a pressing cloth for added protection, especially with darker colors.
Cotton & Linen: These fabrics are more resilient and can handle more direct steam. However, linen, in particular, can be stiff. Use a medium steam setting and keep the steamer about 4-6 inches away. For stubborn wrinkles in linen, try a slightly higher steam setting and a damp pressing cloth.
Polyester & Synthetics: While generally wrinkle-resistant, these fabrics can benefit from a quick refresh. Use a low steam setting and keep the steamer at least 8 inches away. Excessive heat can melt or distort synthetic fibers.
Velvet & Corduroy: These textured fabrics require extra care. Avoid direct steam, as it can crush the pile. Instead, use a gentle mist from a distance and use a soft brush to restore the pile's texture afterward. Always test in an inconspicuous area first.
Denim: Denim can handle a medium steam setting, but be cautious with dark washes as steam can cause bleeding. Use a pressing cloth to prevent color transfer.
Steaming Equipment Maintenance: Keeping Your Tools in Top Shape
Your steamer is your most valuable asset - treat it right! Neglecting maintenance can lead to decreased steam power, damage to the unit, and ultimately, costly replacements. Here's a breakdown of essential upkeep tasks:
Daily Quick Checks:
- Empty the Water Tank: Never leave water sitting in the tank, as this encourages bacteria growth and mineral buildup.
- Wipe Down: Quickly wipe the steamer head and cord to remove any residue or debris.
Weekly Deep Cleaning:
- Descaling is Key: This is arguably the most important maintenance task, especially in areas with hard water. Mineral deposits (scale) reduce steam pressure and can permanently damage the heating element. Follow your steamer's instructions for descaling - typically involving a solution of vinegar and water.
- Inspect the Cord: Carefully check the power cord for any signs of fraying, cracking, or damage. Replace it immediately if you notice anything concerning.
Monthly Tasks & Long-Term Care:
- Reservoir Cleaning: Periodically clean the water reservoir with a diluted vinegar solution (again, check your manufacturer's instructions first). This helps remove any buildup and odors.
- Filter Replacement: Many steamers have filters to prevent mineral deposits from being released. Replace these filters according to the manufacturer's recommendations.
- Professional Servicing: Consider having your steamer professionally serviced annually to ensure optimal performance and longevity.
Regular upkeep might seem like a small investment, but it will pay off in the form of a reliable steamer and reduced long-term costs.
Specialty Garment Care: Handling Delicate Items
Some garments demand a more delicate touch than a standard steam. These are often vintage pieces, items with intricate embellishments, or fabrics known for their fragility. Improper handling can lead to irreversible damage, so understanding how to care for these treasures is vital.
Here's a breakdown of specialized techniques:
- Vintage & Antique Clothing: These pieces are often irreplaceable. Avoid steaming altogether. Instead, refresh them by gently brushing and airing them out in a clean, dry environment. Consider professional cleaning by a specialist experienced in vintage textiles.
- Sequins, Beads & Embellishments: Direct steam can melt or loosen these delicate features. Always place a clean, soft cloth between the steamer head and the garment to protect embellishments. Spot clean any residue or loose threads with a gentle, pH-neutral cleanser.
- Silk & Lace: These fabrics are incredibly sensitive to heat. Use the lowest steam setting and hold the steamer well away from the garment. Test a small, inconspicuous area first to ensure colorfastness.
- Leather & Suede: Steaming is generally not recommended. Use specialized leather and suede cleaners and conditioners. Brush with a soft brush designed for these materials. Avoid excessive moisture.
- Embroidered Items: Like sequins, embroidery is susceptible to damage. A cloth barrier is essential during steaming, and gentle brushing is preferable for refreshing.
- Delicate Prints: Some prints can bleed or fade with heat or moisture. Spot-test cleaning solutions on a hidden area before applying to the entire garment.
Inventory & Supplies: Ensuring You're Prepared
Running out of distilled water mid-steam? A frantic search for a garment brush when a mannequin needs a quick refresh? These scenarios aren't just inconvenient; they disrupt workflow and potentially impact your store's presentation. A proactive approach to inventory and supplies is just as vital as the steaming itself.
Here's a breakdown of essential items and how to keep them flowing:
- Steamer Water (Distilled is Best): This is your number one priority. Determine your average water consumption and order accordingly. Consider having a second jug on hand as a backup.
- Cleaning Supplies: Gather a stock of garment brushes (soft bristle for most fabrics, specialized brushes for delicate materials), microfiber cloths (multiple!), leather cleaner (if applicable), fabric refresher spray, and descaling solution (check steamer instructions!).
- Garment Bags: Keep a variety of sizes on hand to protect stored items and isolate pieces needing special care.
- Replacement Parts & Filters: Check your steamer's manual for recommended filter replacements or other maintenance parts. Create a recurring reminder to order these before they're needed.
- Organization is Key: Designate a storage area for all supplies, clearly labeled and easily accessible to staff. Implement a system (e.g., a checklist or spreadsheet) to track inventory levels and trigger reordering.
Regularly auditing your supplies - a quick visual check once a week - prevents those frustrating, last-minute scrambles and ensures a consistently polished store environment.
Dealing with Common Garment Issues (Pilling, Snags)
Even with the best care, garments can sometimes develop frustrating issues. Knowing how to address these small problems quickly can significantly extend the life of your merchandise and maintain its presentation.
Pilling: Those Little Bobbles
Pilling is the formation of small balls of fiber on the surface of a fabric, most common on knits and blends. It's a natural result of friction and abrasion. While some pilling is unavoidable, you can minimize its appearance.
- Gentle Removal: Invest in a fabric depiller (also known as a sweater shaver). These tools carefully remove the pills without damaging the fabric. Use a light touch and follow the grain of the fabric.
- Prevention: Choose garments made from higher-quality fibers that are less prone to pilling. Encourage customers to wash delicate items in mesh laundry bags to reduce friction.
Snags: Those Unwanted Loops
Snags occur when a thread or loop pulls out of a fabric. They can look messy and weaken the garment.
- Small Snags: For very small snags, you might be able to gently pull the thread back into the fabric using a fine-tipped needle or a specialized snag repair tool. Be extremely careful not to pull too hard, which could create a larger hole.
- Larger Snags: For more significant snags, a small patch or embroidery floss matching the fabric color can be used to secure the loose thread. Hand-sewing the thread back into the fabric is usually the best approach.
- Professional Repair: If the snag is large or in a critical area, consider recommending a professional tailor or seamstress for repair.
Remember, addressing these issues promptly demonstrates your commitment to quality and helps maintain a polished store appearance.
Creating a Staff Training Program
A pristine store is only as good as the team maintaining it. A well-structured training program isn't just about teaching techniques; it's about instilling a culture of care and attention to detail. Here's how to build a program that empowers your staff to become garment care pros.
1. The Basics - Beyond the Steamer:
Don't assume everyone knows the nuances of fabric care. Start with the fundamentals. Cover topics like:
- Fabric Identification: Teach staff to identify common fabrics (cotton, linen, silk, wool, synthetics) and their specific care requirements. Provide fabric swatch examples for hands-on learning.
- Care Label Decoding: Explain how to interpret garment care labels and the meaning of symbols. This is the first line of defense.
- Gentle Handling: Emphasize the importance of handling garments with care to prevent damage and maintain their shape. Demonstrate proper folding, hanging, and display techniques.
2. Mastering the Steaming Techniques:
- Equipment Introduction: Thoroughly introduce staff to the store's steaming equipment. Explain its parts, operation, and safety precautions.
- Distance & Heat Control: A key element! Train staff on the importance of maintaining appropriate distance and heat levels when steaming different fabrics. Demonstrate the consequences of excessive heat.
- Spot Steaming Practice: Provide ample opportunity for practice with spot steaming on scrap fabric and then on less visible areas of actual garments.
- Specialty Fabric Handling: Dedicate specific training modules for delicate fabrics like silk, lace, and wool, highlighting unique challenges and techniques.
3. Ongoing Reinforcement & Assessment:
- Regular Refresher Sessions: Garment care best practices evolve. Schedule brief refresher sessions (15-30 minutes) monthly or quarterly to reinforce key concepts.
- Performance Observation: Regularly observe staff's garment care practices. Provide constructive feedback and address any areas for improvement.
- Steaming Champion: Consider designating a "Steaming Champion" - a staff member who excels in garment care and can serve as a resource and mentor for others.
- Feedback Loop: Encourage staff to share feedback on the training program and suggest improvements.
Setting Up a Steaming Station
Creating a dedicated steaming station optimizes workflow and ensures consistent results. It doesn't need to be elaborate - functionality is key. Here's how to set yours up:
- Location, Location, Location: Choose a space with easy access to power outlets and adequate ventilation. Back rooms, stock rooms, or even a corner of the sales floor (if space allows) can work.
- Stable Surface: The steamer needs a stable, heat-resistant surface. A sturdy table or cart is ideal. Consider a folding cart for portability and space-saving.
- Water Source: Proximity to a water source (sink or bucket) will simplify refilling the steamer.
- Essential Tools within Reach: Keep everything you need close at hand: steamer, soft cloths, garment brushes, fabric refresher, distilled water, and any specialized cleaning solutions.
- Garment Hanging Space: A nearby clothing rack or hooks allow for immediate re-hanging after steaming, ensuring garments remain wrinkle-free.
- Cord Management: Use cord clips or ties to keep the power cord neatly organized and prevent tripping hazards.
- Lighting: Good lighting is essential for spotting wrinkles and imperfections. A small task light can be a valuable addition.
- Safety First: Ensure the area is clear of clutter and any potential hazards. A fire extinguisher nearby is a smart precaution.
Integrating Steaming into Daily Operations
It's easy for a good idea to become just that - an idea - if it isn't actively integrated into your daily workflow. Simply having a checklist isn't enough; you need to build steaming and garment care into the rhythm of your store's operations. Here's how to do it:
1. Assign Responsibilities: Don't leave steaming as an afterthought. Clearly assign steaming tasks to specific employees, either on a rotating basis or as part of their regular duties. This ensures accountability and prevents tasks from being overlooked.
2. Schedule Dedicated Time: Blocking out specific time slots for steaming is key. This could be 15 minutes before opening, during a quieter period in the afternoon, or even as part of the closing routine. Consistency is paramount.
3. Train and Empower Your Team: Equip your employees with the knowledge and skills they need to perform steaming tasks effectively. Include this training in onboarding and offer refreshers periodically. Empower them to spot and address garment care issues as they arise, not just during scheduled steaming times.
4. Make It Visible & Accessible: Keep steaming equipment and supplies readily accessible and visible. This serves as a constant reminder to staff and encourages proactive garment care.
5. Leverage Technology (Optional): Consider using task management software to assign and track steaming tasks. This can improve accountability and provide insights into team performance.
6. Incorporate Customer Feedback: Regularly solicit feedback from customers and staff regarding the appearance of the merchandise. This helps identify areas for improvement and ensures customer satisfaction.
7. Regularly Review & Adjust: Don't be afraid to experiment with different approaches and adjust your routine based on your store's specific needs and feedback. A living process is a more effective one.
Troubleshooting Steaming Problems
Even with the best equipment and routines, you're bound to encounter steaming hiccups from time to time. Here's a guide to tackling common issues and getting your steamer back on track.
1. Weak Steam or No Steam at All:
- Low Water Level: This is the most common culprit. Ensure the water tank is filled to the appropriate level.
- Mineral Buildup: Hard water leaves behind mineral deposits that clog the steamer. Descale your steamer according to the manufacturer's instructions. (See Equipment Maintenance section for details).
- Clogged Nozzle: A blocked nozzle restricts steam flow. Carefully clean the nozzle opening with a small brush or pin (after the steamer has cooled completely).
- Faulty Heating Element: If none of the above works, the heating element might be damaged. This requires professional repair or replacement.
2. Steam is Wet or Damp:
- Insufficient Heat: Allow the steamer to heat up for the recommended time before use. Some steamers require a longer preheating period.
- Low Water Temperature: The water may not be reaching the optimal temperature for producing dry steam. Ensure the steamer is placed on a stable, level surface.
- Overfilling: Too much water in the tank can lead to wet steam. Fill the tank to the indicated level.
3. Steamer Leaking Water:
- Loose Connections: Check all connections (water tank, hose, nozzle) to ensure they are properly secured.
- Damaged Tank or Hose: Inspect the water tank and hose for cracks or leaks. Replace any damaged parts.
- Overpressure: Some steamers have pressure release valves. Ensure the valve is functioning correctly and not leaking excessively.
4. Unpleasant Smell Coming from the Steamer:
- Residue Buildup: Fabric residue and minerals can cause an unpleasant odor. Thoroughly clean the water tank and steamer head.
- Vinegar Solution: A diluted vinegar solution (follow manufacturer's instructions) can help neutralize odors.
- Distilled Water: Switching to distilled water can help prevent future odors.
Important Safety Reminder: Always unplug the steamer before attempting any troubleshooting or cleaning. Allow the steamer to cool completely before handling. If you're unsure about any repairs, consult a qualified technician.
Resources & Links
- The Spruce : A comprehensive home improvement and lifestyle website with numerous articles on cleaning, laundry, and garment care. Provides basic garment care guidance and some fabric-specific tips, useful for the introduction and daily refreshing sections.
- Good Housekeeping : Offers reliable cleaning and laundry advice, including steaming techniques and fabric care guides. Good for referencing general steaming recommendations and addressing common garment issues like pilling and snags.
- Maytag : While a brand site, Maytag offers helpful articles and guides on laundry and garment care, including steaming tips. Good for understanding general garment care principles and spotting potential issues.
- Dry Cleaner Supply : A supplier of garment care equipment and chemicals. Their website contains resources, including product information and potentially some basic garment care knowledge useful for specialized garments and equipment maintenance.
- Steamery : A brand specializing in garment steamers, Steamery provides detailed information about garment care and steaming. Excellent for demonstrating and explaining best practices and highlighting equipment maintenance.
- Silk Charme : Specializes in silk products and offers extremely detailed care instructions for delicate fabrics like silk. Crucial for the 'Specialty Garment Care' section; provides specific instructions not typically found elsewhere.
- Fabric Care Institute : A research and education organization dedicated to textile care. Offers technical information on various fabric types and care methods; useful for understanding the 'why' behind garment care recommendations.
- YouTube : While not a specific website, YouTube is invaluable. Search for videos on 'garment steaming techniques,' 'clothing store steaming,' and 'staff training garment care' for visual demonstrations and real-world examples to supplement the written content.
- Shopify : Shopify is a platform for online stores. Search their blog for articles on retail operations, staff training, and setting up efficient workflows. Helps inform the 'Creating a Staff Training Program' and 'Integrating Steaming into Daily Operations' sections.
- Uline : A supplier of shipping, packaging, and industrial supplies. Useful for sourcing equipment like garment racks, steaming station carts, and storage containers, mentioned in the 'Inventory & Supplies' section.
- PDC Group : Professional Dry Cleaning Equipment supplier, offering expert advice on garment care equipment and maintenance. Useful for deep dive into equipment maintenance and troubleshooting issues.
Frequently Asked Questions
What is this checklist template for?
This checklist template is designed to help clothing stores streamline their steaming and garment care processes. It ensures consistent quality and helps employees follow best practices for different fabrics and garment types.
Who is this template for?
This template is primarily for clothing stores, dry cleaners, tailors, and any business that provides steaming and garment care services. It can also be useful for retail staff who need to prepare clothing for sale.
What information does the checklist template include?
The template typically includes sections for garment type, fabric type, steaming requirements (temperature, distance), spot treatment instructions, pressing instructions, and notes. It also includes space for employee initials and dates.
Can I customize the checklist template?
Yes! The template is designed to be customizable. You can add or remove sections, adjust instructions, and tailor it to your store's specific needs and the types of garments you typically handle. We recommend adding your store's logo and specific policies.
What fabrics does the checklist cover?
The template provides a general guideline for common fabrics like cotton, linen, silk, wool, polyester, and blends. It's important to consult specific fabric care labels for detailed instructions and always test a small, inconspicuous area first.
What does 'spot treatment' refer to?
Spot treatment involves addressing stains or blemishes on garments before or after steaming. The checklist includes guidance on appropriate cleaning solutions and techniques, always emphasizing gentle application and testing.
Why is the steaming distance important?
The distance between the steamer head and the garment is crucial to prevent damage. Too close can scorch fabric, while too far won't effectively remove wrinkles. The checklist provides recommended distances for different fabric types.
What should I do if a garment has a care label?
Always prioritize the instructions on the garment's care label. The checklist provides a general guide, but the care label dictates the specific cleaning and care methods to be used. Document any deviations from the care label in the 'notes' section.
How can this checklist improve my store's efficiency?
By standardizing the garment care process, the checklist reduces errors, ensures consistent quality, and speeds up the steaming and pressing workflow. Training new employees becomes easier and overall operational efficiency increases.
Is there a digital version of the checklist available?
While we primarily offer a printable checklist, the principles outlined can be adapted to a digital form using spreadsheet software or a dedicated task management tool. Check our website for updates on digital versions.
Found this Article helpful?
Retail Management Solution Demo
Boost retail efficiency! ChecklistGuro simplifies store operations, inventory management, and employee training. Improve customer experience and maximize profitability. Manage it all with our Work OS.
Related Articles
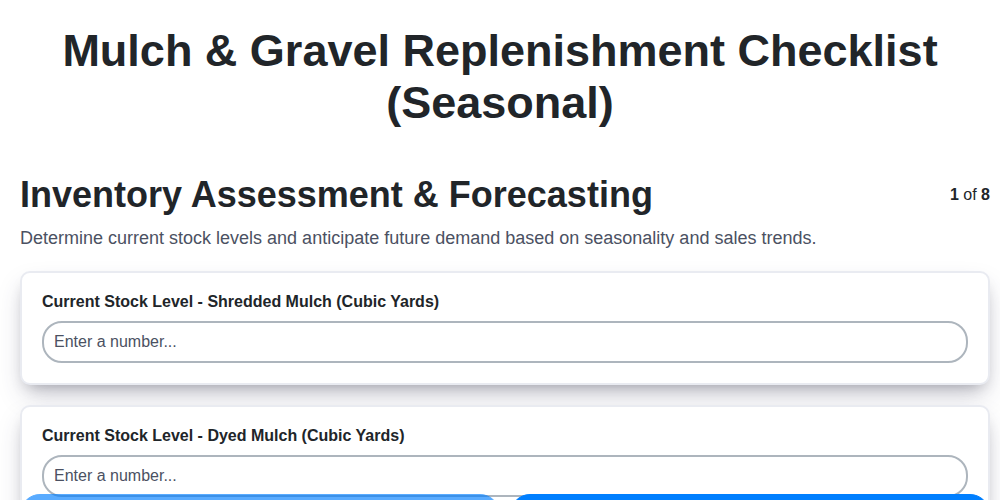
Seasonal Mulch & Gravel Checklist Template: Stay Stocked & Ready
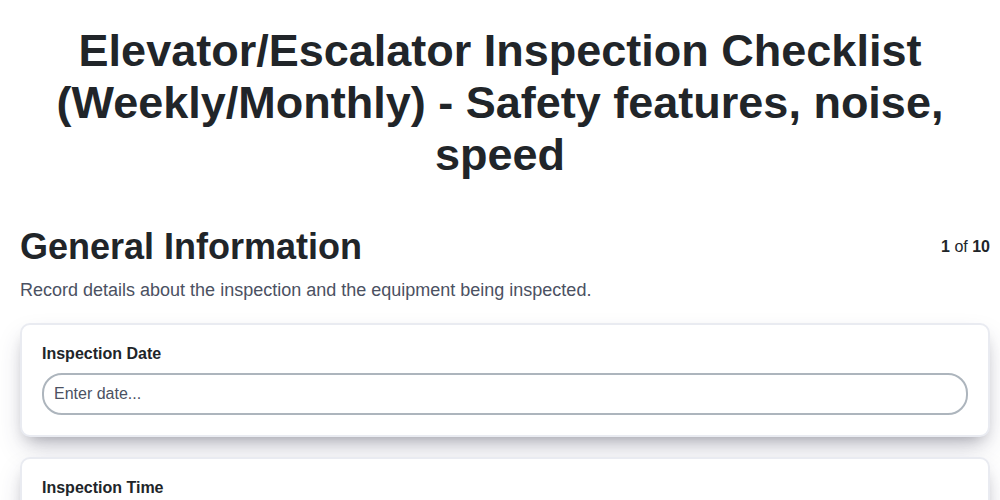
Elevator & Escalator Inspection Checklist Template: Your Guide to Safety & Compliance
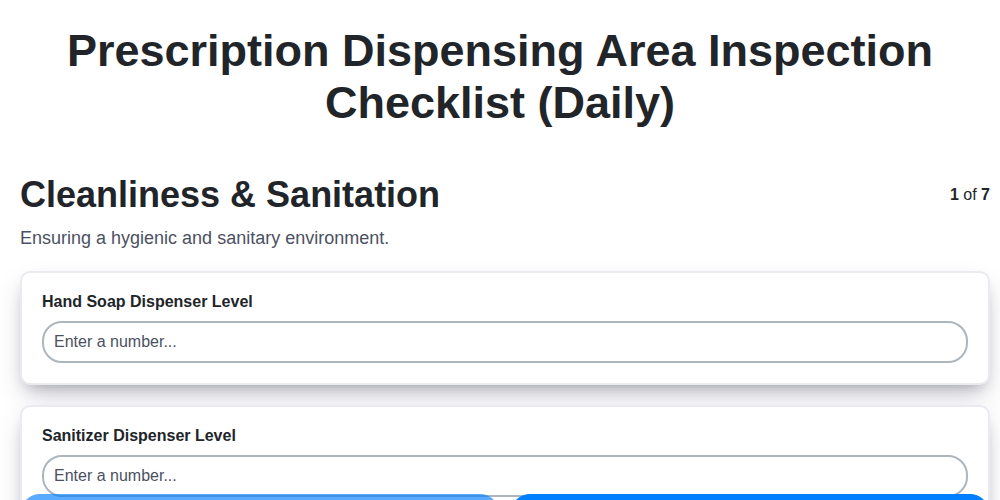
Daily Prescription Dispening Area Inspection Checklist Template

Weekly Waste Management & Recycling Checklist Template
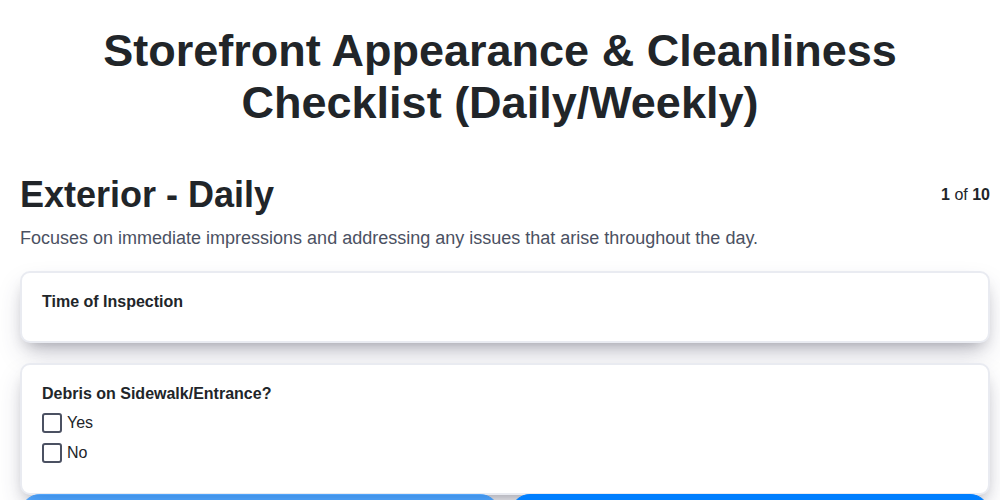
Keep Your Storefront Sparkling: Your Daily & Weekly Cleaning Checklist Template

Your Ultimate Landscaping & Groundskeeping Checklist: Weekly & Monthly Templates
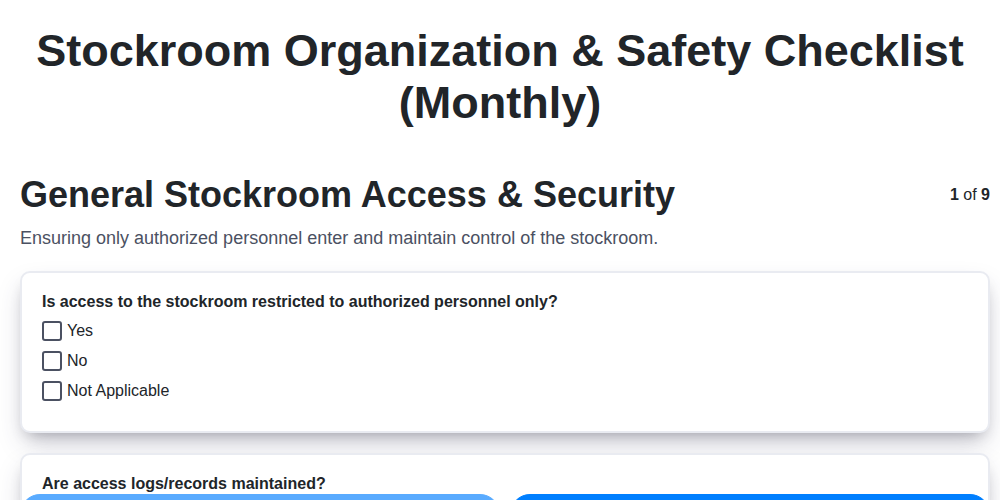
Monthly Stockroom Organization & Safety Checklist Template

Daily Dairy Case Inspection Checklist Template
We can do it Together
Need help with
Retail?
Have a question? We're here to help. Please submit your inquiry, and we'll respond promptly.