Your Ultimate FMEA Checklist Template: Proactive Risk Management
Published: 08/24/2025 Updated: 12/13/2025

Table of Contents
- Introduction: Why FMEA Matters
- Understanding the Fundamentals of FMEA
- Step 1: Defining Your Process Scope
- Step 2: Mapping Your Process Flow
- Step 3: Identifying Potential Failure Modes
- Step 4: Analyzing Failure Effects
- Step 5: Determining Failure Causes
- Step 6: Rating Severity, Occurrence, and Detection
- Step 7: Calculating the Risk Priority Number (RPN)
- Step 8: Implementing Corrective Actions
- Step 9: Verifying and Updating Your FMEA
- Step 10: Maintaining and Reviewing Your FMEA
- Conclusion: Mastering Proactive Risk Management
- Resources & Links
TLDR: This free FMEA checklist template simplifies risk management! It guides you through identifying potential process failures, assessing their impact, and implementing solutions - all to prevent problems *before* they happen. Download it now to proactively improve your processes and avoid costly mistakes.
Introduction: Why FMEA Matters
In today's competitive landscape, preventing problems is far more valuable than reacting to them. Imagine the frustration - and the costs - of a product recall, a production line shutdown, or a customer complaint stemming from a preventable error. That's where Failure Mode and Effects Analysis (FMEA) comes in.
FMEA isn't just about identifying what could go wrong; it's about proactively prioritizing the risks that matter most. It's a systematic approach to building more robust processes, improving product quality, and ultimately, enhancing customer satisfaction. By shifting from a reactive to a proactive mindset, you can minimize disruptions, reduce waste, and build a more resilient operation. Whether you're designing a new product, optimizing an existing process, or striving for continuous improvement, FMEA provides a structured framework to safeguard your efforts and drive success.
Understanding the Fundamentals of FMEA
At its core, FMEA isn't just about finding problems; it's about a structured mindset shift. It demands you actively consider "what could go wrong?" and then systematically evaluate the potential consequences. Let's break down the key concepts.
The Failure Mode Concept: A failure mode describes how a process or product can fail. It's not the cause of the failure, but the way the failure manifests itself. For example, in a manufacturing process, a failure mode could be "incorrect dimensions" or "surface scratches." In a software application, it might be system crash or data corruption. Identifying the mode is the first step toward understanding and preventing it.
Effects, Causes, and Severity: These three elements form the foundation of the FMEA analysis. The effect is the consequence of the failure mode. The cause is what triggers the failure mode. Finally, the severity reflects the magnitude of the impact of the failure on the customer or the process itself. Understanding the relationship between these elements is key to developing effective mitigation strategies.
Proactive vs. Reactive: Traditional quality control is often reactive - waiting for problems to arise and then addressing them. FMEA, however, is proactive. It anticipates potential failures before they occur, allowing you to implement preventative measures and minimize risk.
Teamwork and Perspective: An effective FMEA isn't a solo effort. It requires a team with diverse perspectives and expertise. This ensures a more comprehensive assessment of potential failure modes and their impact. Don't just rely on the person who designed the process; include operators, maintenance personnel, and even customer representatives if appropriate.
The Living Document: Think of an FMEA not as a one-time project but as a living document. It needs to be reviewed and updated regularly as processes change, new information becomes available, or lessons are learned from past failures.
Step 1: Defining Your Process Scope
Before you can effectively analyze a process, you need to define exactly what you're analyzing. This isn't just about stating the process name; it's about establishing clear boundaries and scope. A common mistake is attempting an FMEA on a process that's too broad, leading to an overwhelming amount of data and little actionable insight.
Think of it like drawing a circle. If your circle is too large, it encompasses everything, making it difficult to focus. Instead, narrow your focus. For example, instead of an FMEA on Order Fulfillment, you might focus on Order Fulfillment - from Order Receipt to Shipment Confirmation.
Consider these key questions when defining your process scope:
- Start and End Points: Precisely where does the process begin and end?
- Included Steps: Which specific activities are within the scope of the analysis? Be explicit.
- Excluded Activities: What activities are outside the scope, and why?
- Process Variation: If the process has variations (e.g., different customer types, product lines), will the FMEA cover all variations or focus on a representative subset?
- Objectives: What are you trying to achieve with this FMEA? Defining clear objectives will help ensure the scope remains focused and relevant.
A well-defined scope is the foundation for a successful FMEA - so invest the time upfront to get it right!
Step 2: Mapping Your Process Flow
Before you can identify potential failures, you need a clear, shared understanding of how your process actually works. That's where process flow diagrams come in. Don't worry, you don't need to be a cartographer to create a helpful one - the goal isn't artistic perfection, but functional clarity.
Why a Diagram?
A process flow diagram provides a visual representation of each step, input, decision point, and output within your process. It highlights dependencies and reveals potential bottlenecks that might not be obvious through written descriptions alone. It's also a fantastic communication tool, ensuring everyone involved has the same picture of what's happening.
Simple Symbols, Powerful Communication:
While complex notations exist, a simple set of symbols will suffice for most FMEAs:
- Oval/Ellipse: Represents a start or end point.
- Rectangle: Represents a process step or activity.
- Diamond: Represents a decision point (a yes/no question or a choice).
- Arrow: Shows the direction of the flow.
- Parallelogram: Represents an input or output.
Building Your Diagram:
- Gather Your Team: Include individuals who directly perform, oversee, and review the process.
- Start at the Beginning: Identify the initial trigger or input to the process.
- Document Each Step: Sequentially list each activity, using the appropriate symbols. Be specific - avoid vague descriptions. For example, instead of Handle Customer Order, use Verify Customer Credit, Enter Order into System, etc.
- Highlight Decision Points: Clearly indicate any points where a decision needs to be made, and outline the possible paths based on the decision.
- Keep it Linear (Initially): While loops and complex branching might exist, start by creating a straightforward, linear representation. You can add complexity later if needed.
- Validate and Refine: Walk through the diagram with your team to ensure it accurately reflects the real-world process. Be prepared to revise it based on feedback.
Example:
Let's say you're analyzing a simple order fulfillment process. Your initial diagram might look like this:
- (Oval) Customer Places Order
- (Rectangle) Verify Customer Credit
- (Diamond) Credit Approved? (Yes/No)
- (Yes) (Rectangle) Enter Order into System
- (No) (Rectangle) Notify Customer of Credit Issue
- (Rectangle) Pick and Pack Order
- (Rectangle) Ship Order
- (Oval) Order Delivered
Step 3: Identifying Potential Failure Modes
This is where the real brainstorming begins. For each of the process steps you outlined in Step 1 and visualized in Step 2, you need to ask: What could possibly go wrong here? Don't be shy; aim for quantity over quality at this stage. The goal is to generate a comprehensive list of potential failure modes, no matter how unlikely they might seem initially.
To help spark ideas, consider these categories of potential failure:
- Defects: Is there a chance the output will be incorrect or flawed?
- Delays: Could a step take longer than expected, impacting timelines?
- Incorrect Information: Could data be entered incorrectly, or misinterpreted?
- Equipment Malfunctions: Could a machine or tool break down, causing a disruption?
- Human Error: Could an operator make a mistake?
- Material Issues: Could the raw materials or components used be faulty or of poor quality?
- Environmental Factors: Could temperature, humidity, or other environmental conditions impact the process?
Example: Let's say a process step is Packaging Product. Potential failure modes could include: Incorrect label applied, Box damaged during packaging, Product not securely packaged, or Wrong quantity of product packaged.
Record each potential failure mode clearly and concisely. Don't worry about analyzing the causes or effects just yet - that comes later. Simply focus on identifying what could fail. The more comprehensive your list of potential failure modes, the more effectively you can mitigate risk.
Step 4: Analyzing Failure Effects
Understanding the effects of a failure is arguably the most critical step in FMEA. It's not enough to simply know what might go wrong; you need to grasp the consequences. This is about moving beyond abstract descriptions and painting a clear picture of the potential impact.
Consider these factors when analyzing failure effects:
- Customer Impact: How will this failure affect the customer's experience? Will it lead to dissatisfaction, complaints, returns, or even lost business? Be specific. Instead of customer dissatisfaction, consider "delayed shipment leading to a missed deadline and customer contract breach."
- Operational Impact: How will the failure affect your internal processes? Will it disrupt production, create bottlenecks, or require rework?
- Safety Impact: Could the failure pose a safety hazard to employees or customers? This should be prioritized above all else.
- Financial Impact: What will it cost to correct the failure, rework the product, or deal with customer complaints?
- Reputational Impact: Could the failure damage your company's reputation or brand image?
- Regulatory Impact: Does the failure violate any regulations or compliance standards?
Document these effects clearly and concisely, avoiding vague or ambiguous language. Use a consistent format to ensure everyone on the team understands the potential consequences. Remember, a thorough analysis of failure effects is the foundation for prioritizing risks and developing effective mitigation strategies.
Step 5: Determining Failure Causes
Identifying potential failure modes and their effects is just the first step. Now, we need to understand why those failures are happening. This step is all about root cause analysis - peeling back the layers to find the underlying issue, not just the symptom.
Think of it like diagnosing a car problem. Seeing smoke pouring from the hood (the failure effect) doesn't tell you why it's smoking. It could be a blown head gasket, a cracked block, or a myriad of other issues. We need to investigate further.
Here's how to systematically determine failure causes:
- Brainstorming: Encourage your team to freely brainstorm potential causes. No idea is too small or seemingly insignificant at this stage.
- The 5 Whys Technique: This simple yet powerful technique involves repeatedly asking Why? to drill down to the root cause. For example:
- Problem: Product is failing inspection.
- Why? The paint is chipping.
- Why? The paint isn't adhering properly.
- Why? The surface wasn't properly prepped.
- Why? The cleaning process was rushed.
- Why? Operators were under pressure to meet production targets.
- Problem: Product is failing inspection.
- Fishbone Diagram (Ishikawa Diagram): This visual tool helps categorize potential causes into major categories like Manpower, Machines, Methods, Materials, Measurement, and Environment.
- Consider all aspects: Don't limit your thinking to obvious causes. Explore potential issues with equipment maintenance, training procedures, material quality, supplier performance, and environmental factors.
- Document thoroughly: Clearly document all potential causes considered and the rationale for inclusion or exclusion. This transparency is critical for future review and analysis.
Step 6: Rating Severity, Occurrence, and Detection
This is the core of quantifying your risk. We're moving beyond simply identifying potential failures; now we're assigning numerical values to represent the impact, likelihood, and ability to detect them. Establishing clear, consistent rating scales before you start is absolutely critical. Without defined criteria, your FMEA will be subjective and less valuable.
Severity (S): The Impact of Failure
Consider the consequences if the failure actually occurs. How much damage would it cause? Think beyond immediate impact and consider long-term effects on customer satisfaction, brand reputation, and regulatory compliance. Here's an example scale; customize it to your organization:
- 1 - Minor: Slight inconvenience, easily corrected.
- 2-3 - Moderate: Noticeable inconvenience, requires some corrective action.
- 4-6 - Significant: Requires considerable effort to correct, potential for moderate customer impact.
- 7-9 - Serious: Major disruption, significant customer impact, potential for regulatory issues.
- 10 - Catastrophic: Severe consequences, potentially hazardous, widespread impact, unacceptable risk.
Occurrence (O): How Likely is it to Happen?
This isn't about predicting the future; it's about estimating the frequency of the failure mode based on historical data, experience, or best guesses. Be realistic; overly optimistic ratings will render the FMEA ineffective.
- 1 - Remote: Extremely unlikely to occur.
- 2-3 - Unlikely: Low probability of occurrence.
- 4-6 - Moderate: Occasional occurrence.
- 7-9 - Likely: Frequent occurrence.
- 10 - Almost Certain: Expected to occur frequently.
Detection (D): Can We Catch it Before it Affects the Customer?
This rating assesses your current controls and processes for preventing or detecting the failure mode before it impacts the customer or another affected party. A high detection rating means you have robust controls in place; a low rating means you're relying on luck.
- 1 - Almost Certain: Failure is almost always detected before it reaches the customer.
- 2-3 - High: Failure is usually detected before it reaches the customer.
- 4-6 - Moderate: Failure may or may not be detected before it reaches the customer.
- 7-9 - Low: Failure is rarely detected before it reaches the customer.
- 10 - Almost Impossible: Failure is almost never detected before it reaches the customer.
Step 7: Calculating the Risk Priority Number (RPN)
The Risk Priority Number (RPN) is your key metric for prioritizing action. It's a simple calculation, but its implications are significant. The formula is straightforward: RPN = Severity (S) x Occurrence (O) x Detection (D).
Let's break down what each component represents:
- Severity (S): How bad is the effect if the failure happens? (Remember, you're working with pre-defined rating scales.)
- Occurrence (O): How likely is this failure mode to occur? Be honest in your assessment.
- Detection (D): How likely are you to catch this failure before it reaches the customer or impacts the process negatively?
Understanding the RPN:
The resulting RPN value helps you rank failure modes. While a precise cut-off point varies by organization, generally:
- Low RPN (1-10): Requires monitoring but typically doesn't demand immediate action.
- Moderate RPN (11-40): Consider actions to reduce risk, but might be lower priority.
- High RPN (41+): These are your high-priority risks that must be addressed with corrective actions.
Important Considerations:
- RPN is a Guide, Not a Law: Don't solely rely on RPN. Consider the potential consequences of even a low-RPN failure if it's particularly devastating.
- Focus on Reducing Inputs: Instead of just trying to lower the RPN number, concentrate on reducing the Severity, Occurrence, or Detection ratings. Improving the process itself is more valuable than artificially manipulating the numbers.
- Document Your Rationale: Always document why you assigned specific Severity, Occurrence, and Detection ratings. This helps ensure transparency and provides context for future reviews.
Step 8: Implementing Corrective Actions
The RPN provides a clear roadmap - those high-number failures demand immediate attention. But assigning an action is only the first step; successful implementation is where the real impact is realized. This stage moves beyond analysis and into concrete action.
Beyond the Brainstorm: The 'Recommended Actions' section should contain well-defined solutions, not just vague ideas. For example, instead of Improve training, specify Develop a revised training module on [specific topic] and require refresher training for all operators within [timeframe].
The 5 Ws & H (and a little more): To ensure implementation goes smoothly, consider these key elements for every corrective action:
- Who: Clearly assign responsibility to a specific individual or team. Avoid ambiguous assignments like Operations team - name a specific person.
- What: Detail the action to be taken. Be specific and measurable.
- When: Set a realistic deadline for completion. Consider dependencies on other tasks.
- Where: Identify the location where the action will be implemented.
- Why: Briefly reiterate the reason for the action - linking it back to the failure mode and RPN. This reinforces the importance.
- How: Outline how the action will be carried out. What steps are involved? What resources are needed?
Tracking Progress & Accountability: Establish a system for tracking action implementation. Regular check-ins and progress reports hold individuals accountable and ensure actions are completed on time. Use a simple spreadsheet, project management software, or integrate with existing tracking systems.
Resource Allocation: Don't underestimate the resources - time, personnel, budget - required to implement corrective actions. Advocate for the necessary support to ensure successful execution.
Communication is Key: Keep stakeholders informed about action implementation progress, challenges encountered, and any adjustments to the plan. Transparent communication builds trust and fosters collaboration.
Step 9: Verifying and Updating Your FMEA
Implementing recommended actions is only half the battle. To ensure your FMEA remains a living, breathing document that effectively guides your process improvement efforts, rigorous verification and periodic updates are essential.
Verification: Did it Work?
Verification isn't just a formality; it's a critical opportunity to confirm that your implemented actions have genuinely reduced the risk associated with the identified failure modes. This process involves a two-pronged approach:
- Direct Observation & Measurement: Where possible, use measurable data to assess the impact of your changes. This might involve tracking defect rates, cycle times, or customer feedback scores after the action's implementation.
- Process Monitoring: Closely monitor the process to identify any unintended consequences of your changes. Sometimes, a solution to one problem inadvertently creates another.
Updating the FMEA: Recalculating the RPN and Reflecting Changes
Once you've verified the effectiveness of your actions, it's time to update the FMEA. This includes:
- Reassessing Ratings: Based on your verification results, re-evaluate the Severity, Occurrence, and Detection ratings for the affected failure modes. Be honest and objective; if your action didn't have the desired impact, adjust the ratings accordingly.
- Recalculating the RPN: With the updated ratings, recalculate the RPN for each failure mode. This will reveal whether your actions have successfully lowered the risk level.
- Documenting Changes: Thoroughly document all changes made to the FMEA, including the rationale behind the adjustments. Clearly indicate the date of the update and the individuals responsible.
- Communicating Updates: Ensure that all relevant stakeholders are informed of the changes made to the FMEA. This promotes transparency and ensures that everyone is working with the most current information.
Remember, the FMEA is not a one-time exercise. Continuous verification and updating are vital to maintaining its accuracy and effectiveness in safeguarding your processes and achieving your quality objectives.
Step 10: Maintaining and Reviewing Your FMEA
An FMEA isn't a set it and forget it document. Its effectiveness hinges on ongoing maintenance and periodic review. Think of it as a living document, adapting to changes in your process, your environment, and your understanding of potential risks. Here's why and how to keep your FMEA valuable:
Why Review?
- Process Changes: Any modification to your process - a new machine, a different supplier, a revised workflow - introduces new potential failure modes.
- New Information: Experience, customer feedback, or data analysis can reveal previously unknown risks.
- Effectiveness Validation: Ensure your implemented actions are truly working as intended and haven't introduced unintended consequences.
- Regulatory Compliance: Many industries require periodic FMEA reviews to maintain certification or meet regulatory standards.
How to Review Your FMEA:
- Establish a Schedule: A yearly review is a good starting point, but consider more frequent reviews (e.g., semi-annually) for processes with high risk or frequent changes.
- Team Involvement: Gather the original FMEA team - and any new personnel involved - for the review. Fresh perspectives are invaluable.
- Document Changes: Meticulously record all changes made during the review, including the date, the individuals involved, and the rationale for each modification. This creates an audit trail and helps understand the evolution of your risk assessment.
- Re-evaluate Ratings: Reassess the Severity, Occurrence, and Detection ratings for all failure modes, considering any new information or observed changes.
- Verify Action Effectiveness: Confirm that the implemented actions are still effective and haven't created new problems.
- Feedback Loop: Encourage feedback from operators, customers, and other stakeholders to identify potential gaps in your FMEA.
- Version Control: Implement a robust version control system to track changes and maintain access to previous iterations of the FMEA.
Conclusion: Mastering Proactive Risk Management
The journey through an FMEA checklist might seem detailed, but the rewards are substantial. It's more than just ticking boxes; it's about cultivating a proactive mindset within your organization. By consistently applying this framework, you're not just identifying and mitigating risks-you're building a culture of continuous improvement and preventative action. This shift empowers your team to anticipate challenges, refine processes, and ultimately, deliver superior results. Remember, mastering proactive risk management isn't a one-time project; it's an ongoing commitment to excellence and a key differentiator in today's competitive landscape. Embrace the power of FMEA, and transform your processes from reactive to resilient.
Resources & Links
- National Institute of Standards and Technology (NIST) : NIST provides guidance and standards related to quality management, risk management, and process improvement, which are all relevant to FMEA implementation. Explore their publications and resources for foundational knowledge.
- Automotive Industry Action Group (AIAG) : AIAG is a key resource for FMEA, particularly in the automotive industry. They offer FMEA guidelines, templates, training, and best practices. Many FMEA methodologies are derived from or influenced by AIAG's work.
- American Society for Quality (ASQ) : ASQ is a leading global authority on quality. They offer training, certifications, publications, and a wealth of information on various quality tools, including FMEA. Useful for understanding the broader context of quality management.
- Reliability Tools : This website provides articles, tutorials, and tools related to reliability engineering and quality management. Often includes specific guidance on FMEA and its application to different industries.
- The Lean Enterprise Institute : While not directly FMEA focused, Lean principles often go hand-in-hand with robust risk management. Understanding Lean thinking can help identify process inefficiencies and contribute to a more effective FMEA process.
- Six Sigma Quality : Many Six Sigma methodologies incorporate FMEA as a crucial tool for preventing defects and improving processes. This site provides resources and information on how FMEA fits within the broader Six Sigma framework.
- iSixSigma : A comprehensive online resource for Six Sigma and process improvement methodologies. Search for articles and case studies related to FMEA for practical examples and insights.
- Quality Management Institute (QMI) : Offers certification and training programs in quality management, including FMEA. Explore their course outlines and resources for a structured learning approach.
- All About ISO : This site covers ISO standards, including ISO 9001 (Quality Management Systems), which often requires the use of FMEA. Understanding these standards is vital for compliance and demonstrating a commitment to quality.
- The Management Center : Offers a range of management training courses, including those covering quality management and risk management techniques that include topics related to FMEA.
Frequently Asked Questions
What is FMEA and why should I use it?
FMEA (Failure Mode and Effects Analysis) is a proactive risk management tool used to identify potential failures in a process, design, or product *before* they occur. It helps you understand how things can go wrong, assess the severity and likelihood of those failures, and implement preventative actions. Using an FMEA checklist template streamlines this process, making it more efficient and consistent.
What's the difference between Design FMEA and Process FMEA?
Design FMEA focuses on potential failures in the *design* of a product or system. It evaluates the function and performance of the design. Process FMEA, on the other hand, analyzes potential failures in the *process* used to manufacture or deliver a product or service. It looks at process steps and identifies potential issues that could impact quality or efficiency.
Can this checklist template be customized?
Yes, the template is designed to be flexible. You can add or modify columns, rating scales, and criteria to suit your specific needs and industry requirements.
Found this Article helpful?
Manufacturing Management Solution Demo
Stop chasing paperwork and wrestling with disconnected systems! Our solution brings clarity and control to your production process. From standard operating procedures (SOPs) and equipment maintenance to quality control and inventory tracking, we simplify every step.
Related Articles
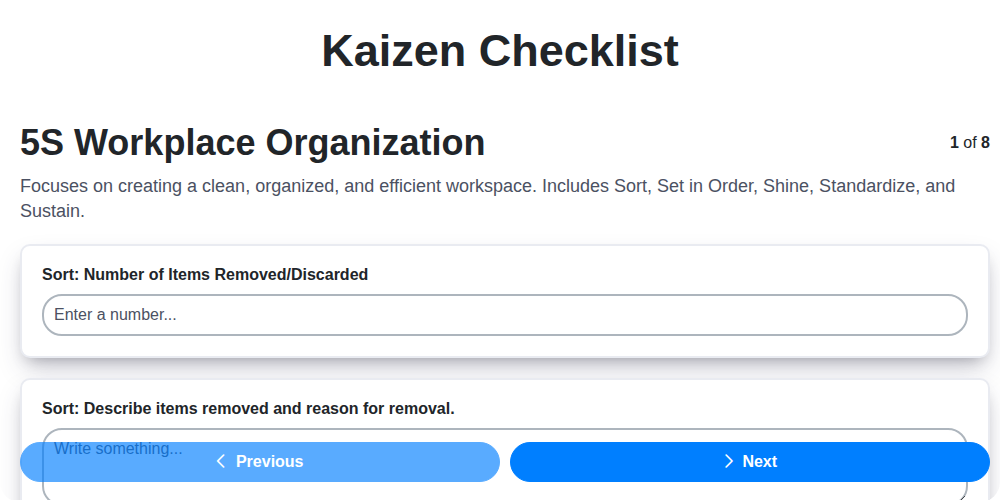
Kaizen Checklist Template: Your Path to Continuous Improvement

Machine Safety Audit Checklist: Your Guide to a Safer Manufacturing Workplace
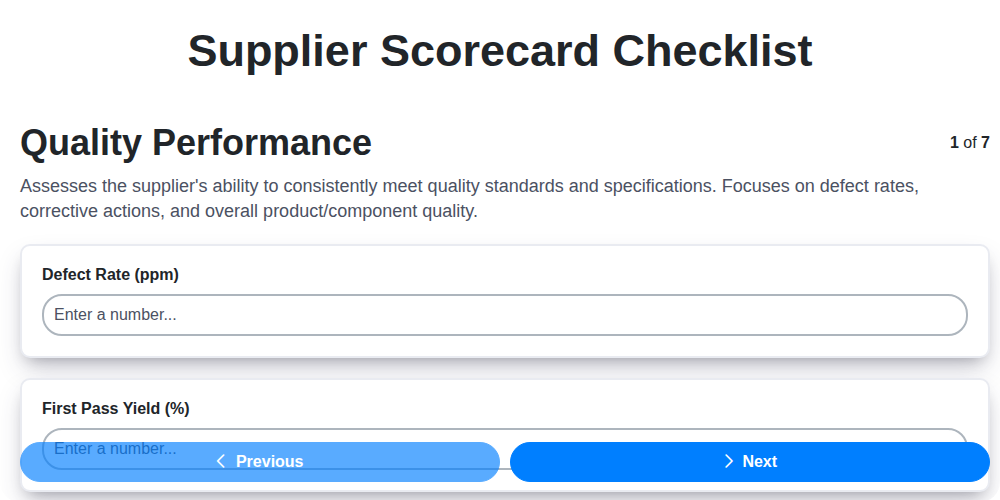
Mastering Supplier Performance: Your Free Supplier Scorecard Checklist Template
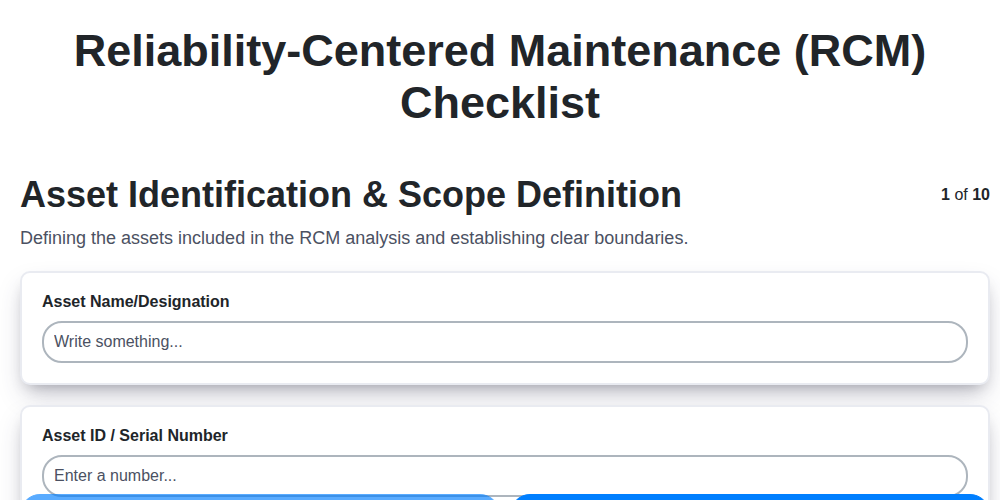
Your Ultimate RCM Checklist Template: A Step-by-Step Guide

LPA Checklist Template: Your Guide to Layered Process Audits

Your Ultimate Lockout/Tagout (LOTO) Checklist Template

Your Ultimate FSC 22000 Checklist Template
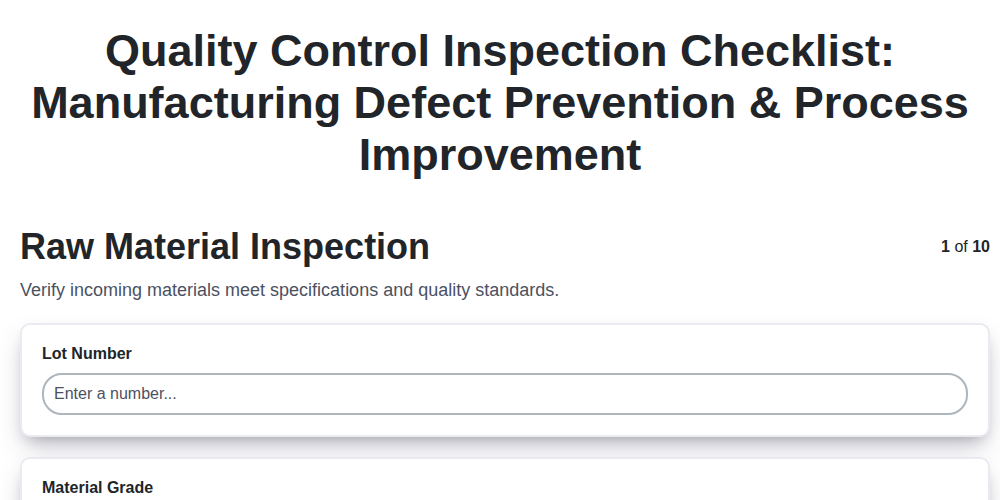
Quality Control Inspection Checklist Template: Prevent Defects & Improve Manufacturing Processes
We can do it Together
Need help with
Manufacturing?
Have a question? We're here to help. Please submit your inquiry, and we'll respond promptly.