Weekly Reset: Your Mannequin & Fixture Placement Checklist Template
Published: 09/02/2025 Updated: 12/13/2025
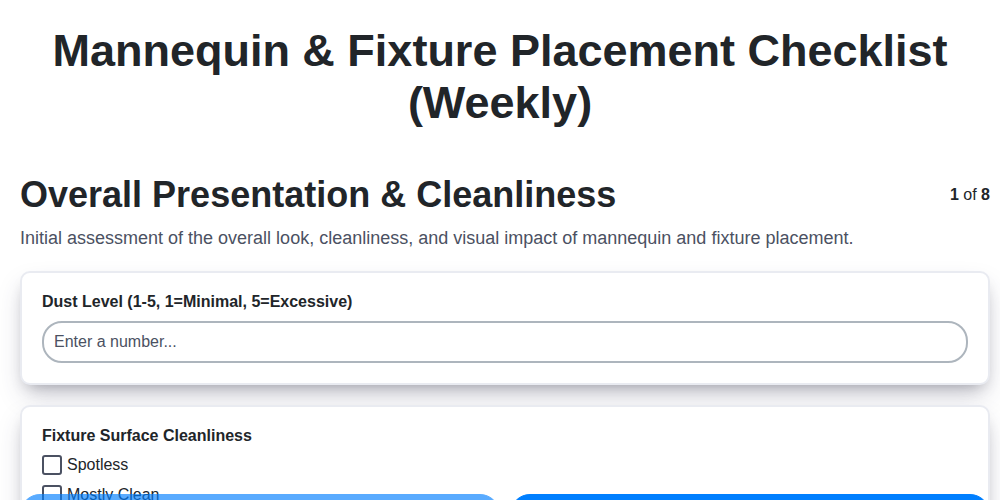
Table of Contents
- Why a Weekly Reset is Essential
- Your Printable Checklist Template
- 1. Assessing Overall Store Presentation
- 2. Mannequin Styling & Placement: Telling Your Brand's Story
- 3. Fixture Arrangement & Product Display Optimization
- 4. Enhancing Customer Flow & Accessibility
- 5. Aligning with Seasonal Promotions & Campaigns
- 6. Routine Maintenance & Damage Control
- 7. Lighting and Visual Impact
- 8. Signage Clarity and Messaging
- 9. The 'Pause': A Critical Observation
- Resources & Links
TLDR: Get a free, printable checklist template to easily reset your store's visual presentation weekly! It covers everything from mannequin styling and product displays to cleanliness and accessibility, ensuring a fresh, appealing, and customer-friendly retail space.
Why a Weekly Reset is Essential
A weekly reset isn't just about making things look pretty - it's a strategic investment in your business's performance. Think of it as preventative maintenance for your retail space. Skipping this routine can lead to a snowball effect of issues. A slightly crooked mannequin today might become a distracting eyesore tomorrow, impacting customer flow and ultimately, sales.
Beyond aesthetics, a consistent weekly reset reinforces operational efficiency. It ensures your team stays on top of minor repairs and restocking needs before they escalate into bigger problems. It also offers a valuable opportunity to evaluate the effectiveness of your merchandising strategies. Are certain product displays consistently outperforming others? Is a particular mannequin placement driving more engagement? By observing and adjusting each week, you create a continuous cycle of improvement, ensuring your store is always presenting its best. Ultimately, a well-executed weekly reset demonstrates a commitment to customer experience and a keen eye for detail - qualities that resonate with shoppers and drive brand loyalty.
Your Printable Checklist Template
Ready to put these practices into action? We've created a handy, printable checklist to streamline your weekly resets. This template consolidates all nine key areas - from overall presentation to signage and communication - into a simple, easy-to-follow format.
Click the link below to download your free PDF checklist! It's designed to be printed and used directly on the sales floor, making it a valuable tool for your team. We've also included space for notes and observations, allowing you to customize the checklist to fit your store's specific needs and track progress over time.
Don't just read about it - implement it! This checklist is your roadmap to a consistently attractive, well-organized, and customer-friendly retail environment. Happy resetting!
1. Assessing Overall Store Presentation
The first impression is everything. Before diving into specific product displays or mannequin styling, take a moment to step back and truly see your store as a customer would. This isn't about nitpicking-it's about creating a welcoming and visually appealing environment that encourages browsing and ultimately, buying.
Begin by walking the perimeter of your store, then move through the aisles, consciously observing everything from the entrance to the checkout area. Don't just glance; actively notice. Are there any immediately obvious issues that detract from the store's appeal?
Consider these key elements:
- Window Displays: Do they grab attention and entice customers to enter? Are they clean, well-lit, and seasonally appropriate?
- Entryway: Is the entrance clear and inviting? Are there any obstacles blocking the way? Does the flooring look clean and maintained?
- Cleanliness: Beyond a quick sweep, look for dust on shelves, smudges on mirrors, and any debris that's accumulated.
- Smell: Does the store have a pleasant aroma? Unpleasant odors can be a major deterrent.
- Music: Is the music appropriate for your brand and customer base? Is the volume at a comfortable level?
- Overall Ambiance: Does the store feel organized, welcoming, and aligned with your brand's identity?
Even small details can make a big difference. This initial assessment sets the foundation for a successful weekly reset.
2. Mannequin Styling & Placement: Telling Your Brand's Story
Mannequins aren't just stands for clothes; they's actors in a silent play, narrating your brand's story with every pose and outfit. It's about far more than just putting garments on a form. It's about crafting an aspiration, demonstrating a lifestyle, and connecting with your customer on an emotional level.
Understanding Your Customer Avatar: Before you even touch a garment, consider your ideal customer. What are their values? What are their aspirations? What kind of lifestyle do they lead? Your mannequin styling should reflect these qualities. Are you targeting the adventurous outdoorsman? The sophisticated urban professional? The free-spirited bohemian?
More Than Just Trends: Aligning with Your Brand DNA: While staying current with fashion trends is important, don't sacrifice your brand identity. A fleeting trend might drive short-term interest, but a consistent brand message builds loyalty. Ask yourself: Does this outfit feel like our brand? Does it reflect our core values?
The Power of Pose: The way a mannequin is positioned speaks volumes. A confident, upright pose conveys strength and sophistication. A relaxed, leaning pose can create a sense of approachability and comfort. Consider the story you want to tell. Is it a moment of exploration, a celebration of achievement, or a quiet reflection?
Accessorize Strategically: Accessories aren't just add-ons - they's integral to the narrative. A carefully chosen hat, scarf, or piece of jewelry can elevate an outfit and reinforce a specific lifestyle. Don't overcrowd, but choose pieces that complement the overall look and add personality.
Creating a 'Shop the Look' Experience: Consider how your customer will translate your mannequin display into their own wardrobe. Can they easily identify and purchase the key pieces? Grouping similar items together and clearly displaying pricing encourages them to recreate the look themselves.
Ultimately, mannequin styling is an ongoing process of experimentation and refinement. By understanding your customer, staying true to your brand, and paying attention to detail, you can transform your mannequins into powerful brand ambassadors.
3. Fixture Arrangement & Product Display Optimization
It's tempting to think fixture arrangement is simply about putting products somewhere. But truly optimized displays tell a story, guide the customer's eye, and ultimately, drive sales. It's about creating an experience, not just filling space.
Here's how to move beyond basic shelf placement and create displays that truly resonate:
- Create Visual Hierarchy: Think about what you want customers to notice first. Place high-margin or featured items at eye level and in prominent locations. Use lighting and signage to draw attention to key products. Less important items can be placed lower or further back.
- Group Like with Like (and Occasionally, Surprise): Categorize products logically - by type, color, style, or price point. This makes it easier for customers to find what they need. However, occasionally break the pattern with carefully curated cross-merchandising - pairing complementary items together unexpectedly (e.g., a scarf with a winter coat, or a candle with a cozy blanket). This sparks interest and suggests new outfit or home styling ideas.
- The Power of the Triangle: Visually, the human eye naturally follows triangles. Use this to your advantage! Arrange products in triangular formations to guide the customer's gaze across the display.
- Consider the Rule of Three: Displays that incorporate odd numbers, particularly three items, are often perceived as more visually appealing and dynamic. Experiment with grouping products in threes to add interest.
- Elevate and Layer: Don't just line products up on a flat surface. Use risers, pedestals, and tiered displays to add dimension and visual interest. Layering products creates a sense of abundance and allows customers to see more items at a glance.
- Embrace Negative Space: Resist the urge to cram every inch of display space. Strategic use of negative space (empty areas) allows the eye to rest and highlights the products that are present. It creates a sense of calm and sophistication.
- Regular Rotation is Key: Don't let your displays become stagnant! Rotate your merchandise and rearrange your fixtures regularly to keep things fresh and engaging for returning customers.
4. Enhancing Customer Flow & Accessibility
Creating a retail space that's both visually appealing and functionally smart is a delicate balance. While a beautiful display can draw the eye, it's just as important to ensure customers can move freely and easily throughout your store. Poor flow leads to frustration, missed sales opportunities, and a generally negative shopping experience.
Here's how to enhance customer flow and accessibility:
- Identify Bottlenecks: Spend time observing how customers navigate your store. Are there any areas where they tend to cluster or slow down? These are your bottlenecks. Common culprits include narrow aisles, displays placed directly in walkways, and entrances that aren't clearly defined.
- Widen Aisles (Where Possible): Aim for a minimum aisle width of 48 inches (122 cm) to comfortably accommodate shoppers with carts or strollers. Even widening aisles by a few inches can significantly improve flow.
- Strategic Display Placement: Avoid placing large or popular displays directly in high-traffic areas. Angle displays to encourage a natural flow rather than blocking pathways. Consider "island" displays that are accessible from multiple sides.
- Clear Signage & Wayfinding: Use clear and concise signage to guide customers to different departments or product categories. Use floor markings or directional signs to subtly nudge them in the desired direction.
- Prioritize Accessibility: Ensure your store is accessible to all customers, including those with disabilities. This includes ramps, wider doorways, accessible restrooms, and well-placed seating areas.
- De-clutter Regularly: A cluttered store is a confusing store. Regularly remove excess merchandise from display areas and pathways to maintain a sense of spaciousness.
- Consider Sightlines: Ensure customers have a clear view of what's available. Strong sightlines encourage exploration and reduce anxiety about missing out on something.
5. Aligning with Seasonal Promotions & Campaigns
Beyond simply displaying seasonal products, true alignment means weaving promotions and campaigns into the very fabric of your store's visual presentation. Think of your space as a storyteller - each display should contribute to a larger narrative.
Beyond the Pumpkins & Pine Cones: It's tempting to just dump a pile of Halloween decorations or Christmas trees in a corner. Instead, consider a cohesive theme. Are you highlighting a specific product line within your seasonal offerings? Perhaps your cozy sweater collection could be staged around a fireside chats vignette, complete with warm lighting and rustic props.
Campaign Integration is Key: Don't let your marketing efforts exist in a vacuum. If you're running a "Back to School" promotion, incorporate that messaging directly into your displays. Showcase bundles, highlight savings, and create a sense of urgency. Use impactful signage and eye-catching visuals that instantly communicate the offer.
Consider the Customer Journey: Think about how customers will experience your seasonal promotions. Create a wow moment as they enter the store, then guide them through thoughtfully curated displays that showcase key items and offers. Use directional signage to direct traffic and highlight special areas.
Don't Forget the Details: Small touches can make a big difference. Incorporate seasonal colors, textures, and props to create a festive atmosphere. Update window displays regularly to keep things fresh and exciting. A consistent and well-executed seasonal approach strengthens your brand identity and drives customer engagement.
6. Routine Maintenance & Damage Control
Ignoring a chipped corner, a wobbly mannequin, or a flickering light bulb might seem insignificant in the moment, but these small issues compound over time, creating a negative impression and potentially leading to costly repairs. Routine maintenance isn't just about aesthetics; it's about protecting your investment in your fixtures, mannequins, and overall retail environment.
Here's a breakdown of what to look for and how to address common maintenance concerns:
- Fixture Checks: Regularly inspect shelves, tables, and displays for scratches, dents, or loose hardware. Tighten screws, apply touch-up paint to minor blemishes, and address any structural instability immediately. A wobbly table not only looks unprofessional but also poses a safety hazard.
- Mannequin Care: Dusting is a start, but a thorough check is vital. Examine joints for looseness, bases for stability, and any signs of cracking or damage to the surface. Many mannequins have specific cleaning recommendations - consult the manufacturer's guidelines to avoid damaging the material.
- Lighting Issues: Replace burned-out bulbs promptly. Check for flickering or dimming lights, which could indicate a wiring problem. Consider investing in energy-efficient LED bulbs to reduce energy costs and extend the lifespan of your lighting fixtures.
- Signage & Graphics: Check for faded or peeling graphics. Replace damaged or outdated signs. Ensure pricing labels are accurate and securely attached.
- Floor Protection: Inspect for scuffs and wear marks. Regularly clean or replace mats in high-traffic areas.
- Proactive Repairs: Keep a small toolkit on hand for quick fixes. Schedule more extensive repairs with qualified professionals when needed. Addressing issues promptly prevents them from escalating into larger, more expensive problems.
By incorporating these simple maintenance checks into your weekly routine, you'll create a more appealing and functional retail space, extend the lifespan of your assets, and ultimately improve the customer experience.
7. Lighting and Visual Impact
Lighting isn't just about illumination; it's a powerful tool for shaping perception and driving sales. The right lighting can highlight your best merchandise, create a specific mood, and even make your store feel larger and more inviting. Conversely, poor lighting can make products look dull, create shadows that obscure details, and leave customers feeling uncomfortable.
Beyond Basic Brightness: Think beyond simply ensuring every corner is lit. Consider the type of light. Warm lighting (yellowish tones) creates a cozy and inviting atmosphere, ideal for apparel or home goods stores. Cooler lighting (bluish tones) can feel more energetic and modern, suitable for electronics or a contemporary lifestyle brand. Layered lighting - combining ambient (general), task (focused), and accent (highlighted) lighting - is the key to a truly impactful visual experience.
Highlighting Key Areas: Accent lighting is your secret weapon. Use spotlights to draw attention to featured products, window displays, or promotional areas. Consider using track lighting to easily adjust the focus. Under-shelf lighting can illuminate merchandise in a subtle and elegant way. Don't forget about the power of backlighting to create depth and drama.
Color Rendering Index (CRI): This is a crucial metric! CRI measures how accurately a light source renders colors compared to natural sunlight. Higher CRI values (closer to 100) mean colors will appear more vibrant and true-to-life. This is especially important for apparel and cosmetics.
Regular Maintenance: Dust accumulation on light fixtures drastically reduces their effectiveness. Schedule regular cleaning to ensure optimal brightness and color accuracy. Replace burnt-out bulbs promptly - a mismatched set of bulbs can create a jarring and unprofessional look. Finally, assess your lighting regularly to ensure it aligns with your current visual merchandising strategy and the ever-evolving trends in retail design.
8. Signage Clarity and Messaging
Effective signage isn't just about looking pretty; it's a vital communication tool within your retail space. Confusing or cluttered signage leads to frustrated customers and missed sales opportunities. Let's break down how to ensure your signage is working for you.
Beyond the Basics: More Than Just a Price Tag
While accurate pricing is paramount (and a frequent source of customer queries!), consider the broader messaging your signs convey. Are you communicating your brand's values? Highlighting a unique selling point? Guiding customers towards specific promotions?
Key Areas to Scrutinize:
- Price Tags: Are they easily visible, legible, and consistently applied? Double-check for accuracy and ensure they remain attached securely.
- Promotional Signs: Are they current and prominently displayed? Outdated signage is a major credibility killer. Rotate regularly and ensure messaging aligns with current marketing campaigns.
- Directional Signage: Does it clearly guide customers to different departments or key product areas? A well-placed "New Arrivals" or "Sale Items" sign can significantly impact traffic flow.
- Brand Messaging: Incorporate your brand's voice and personality into your signage. Short, impactful phrases can reinforce your brand identity and create a more memorable experience.
- Material Consistency: Use consistent fonts, colors, and signage materials to create a cohesive and professional look.
Pro Tip: Regularly solicit feedback from staff and even observe customers' interactions with your signage. Are they able to easily understand the message you're trying to convey? Don't be afraid to experiment and refine your approach based on real-world results.
9. The 'Pause': A Critical Observation
It's easy to get caught up in the tasks - dusting, re-styling, rearranging. But before you declare the weekly reset complete, dedicate just 5-10 minutes to observe. Don't actively do anything; simply watch. Watch how customers move through your space. Do they gravitate towards certain displays? Are they avoiding others? Do they linger in particular areas? Are they interacting with the mannequins as intended?
This "pause" is your opportunity to see your store through a customer's eyes. It's a chance to validate your efforts and identify subtle issues you might have missed during the execution of the checklist. Sometimes, a simple observation - a slight adjustment to a mannequin's pose, a repositioning of a promotional sign - can have a surprisingly large impact on the overall customer experience. It's the small, often overlooked details that truly elevate a retail space from functional to engaging. Trust your instincts; this quiet observation is a vital step in ensuring your store consistently delivers a positive and compelling experience.
Resources & Links
- Shopify Retail : Shopify's retail resources offer insights into visual merchandising, store layout, and customer experience, relevant to weekly resets and overall store optimization. They cover topics like planograms and customer journey mapping.
- Retail Customer Experience : This website features articles, case studies, and expert advice on retail trends and customer experience, helpful for understanding how your store presentation impacts sales and customer loyalty. Look for articles on visual merchandising and store design.
- National Retail Federation (NRF) : NRF provides industry insights, research, and best practices for retailers, which can inform your weekly reset strategy. Their resources cover a broad range of retail topics, including visual merchandising and store operations.
- Visual Merchandising & Display Society : This organization dedicated to visual merchandising provides educational resources, certifications, and networking opportunities. While membership-based, their website has articles and resources that highlight best practices.
- Retail Design Blog : This blog showcases innovative retail design and store concepts from around the world. It can spark ideas for fixture arrangement, mannequin styling, and overall store aesthetics, moving beyond the typical 'checklist' approach.
- Pinterest (Search for 'retail visual merchandising' or similar) : Pinterest is a fantastic source for visual inspiration. Search for specific keywords like 'mannequin styling', 'store layout', 'fixture displays' to discover numerous ideas and examples. This is great for brainstorming.
- Bustler - Retail Design : Bustler features architectural and design competitions, including many focused on retail spaces. Provides a look at cutting-edge retail design and presentation concepts; useful for 'big picture' inspiration.
- The Balance Small Business - Visual Merchandising : This site provides a good overview of visual merchandising fundamentals and how they impact the customer experience; good for background understanding of key concepts.
- MindTools - The Power of Pause : Aligning with the 'Pause' section in the post. This resource explains the importance of mindful observation and taking breaks to assess situations, particularly helpful for evaluating the effectiveness of your resets.
- Retail Insider : Provides in-depth analysis and insights into the retail landscape. Relevant articles can inform your decisions about promotions, campaigns, and customer flow.
Frequently Asked Questions
What is a Weekly Reset and why is it important for mannequins and fixtures?
A Weekly Reset is a dedicated time (typically Monday) to refresh your store's visual merchandising. It involves rearranging mannequins, fixtures, and displays to keep your store looking fresh, engaging, and aligned with current promotions or seasonal changes. It's important to prevent visual fatigue in customers and keep them interested.
What kind of information is included in the checklist template?
The template covers essential areas like mannequin styling checks (pose, clothing, accessories), fixture organization (neatness, product placement), display maintenance (dusting, cleanliness), and promotional updates. It includes specific tasks to ensure consistency and a polished look.
Who is this checklist template for?
This template is designed for store managers, visual merchandisers, and retail staff responsible for maintaining store presentation. It's useful for both large retail chains and smaller boutiques.
Can I customize the checklist template?
Absolutely! The template is designed to be a starting point. Feel free to add, remove, or modify tasks to better suit your store's specific needs, product categories, and visual merchandising style.
What kind of tools or supplies will I need to use this checklist?
You'll likely need basic cleaning supplies (dusting cloths, glass cleaner), a measuring tape (for fixture alignment), possibly a step stool or ladder, and any necessary tools for adjusting fixtures or mannequins. A pen or digital device to mark tasks as complete is also essential.
How long should a weekly reset typically take?
The time required varies depending on the store size and complexity of the displays. A smaller store might take 1-2 hours, while a larger store could require 3-5 hours or more. Proper planning and a well-defined checklist (like this template) will help streamline the process.
Found this Article helpful?
Retail Management Solution Demo
Boost retail efficiency! ChecklistGuro simplifies store operations, inventory management, and employee training. Improve customer experience and maximize profitability. Manage it all with our Work OS.
Related Articles
Seasonal Mulch & Gravel Checklist Template: Stay Stocked & Ready
Elevator & Escalator Inspection Checklist Template: Your Guide to Safety & Compliance
Daily Prescription Dispening Area Inspection Checklist Template

Weekly Waste Management & Recycling Checklist Template
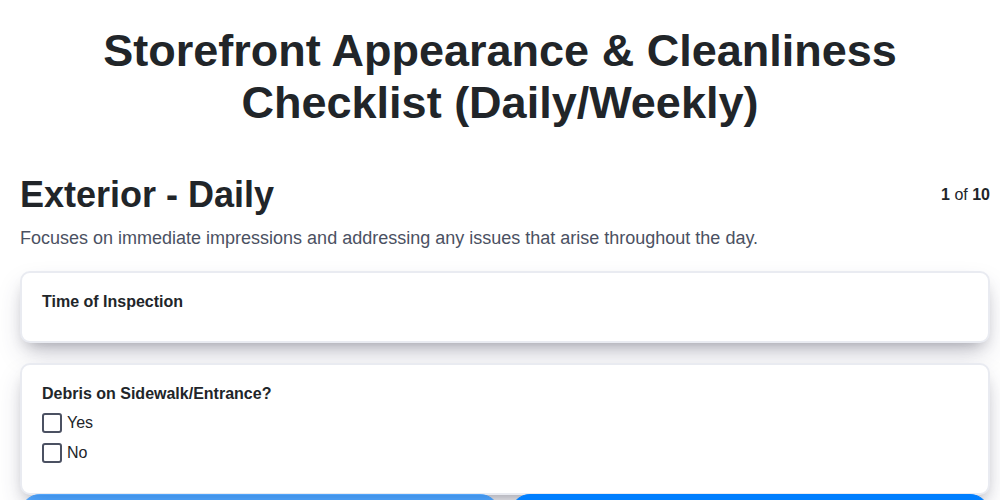
Keep Your Storefront Sparkling: Your Daily & Weekly Cleaning Checklist Template
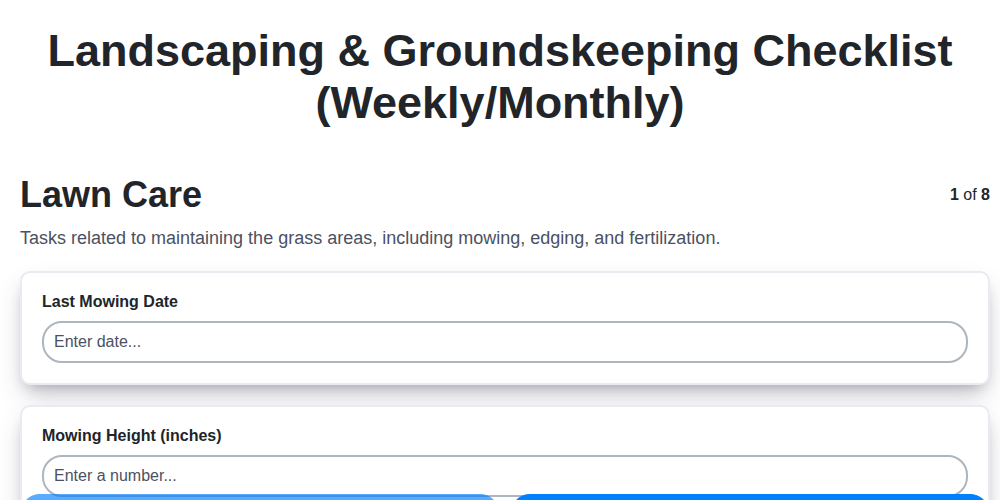
Your Ultimate Landscaping & Groundskeeping Checklist: Weekly & Monthly Templates
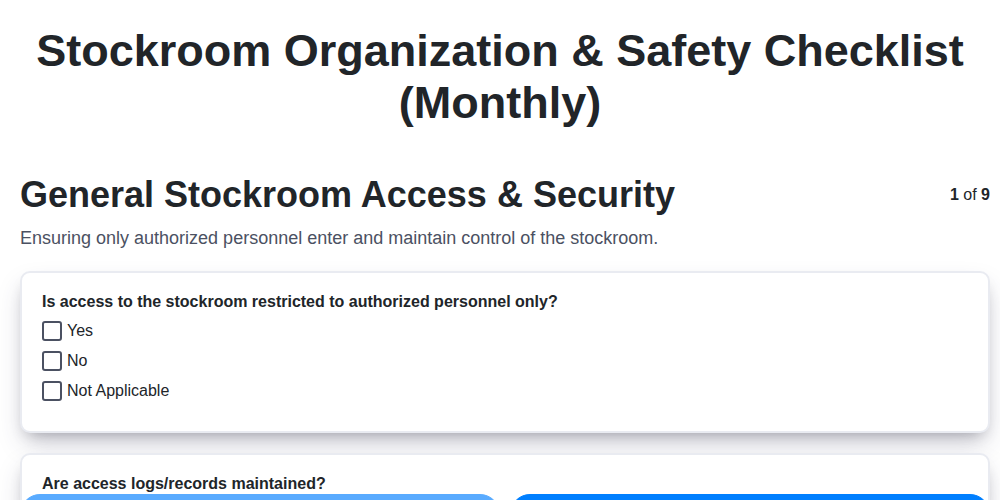
Monthly Stockroom Organization & Safety Checklist Template

Daily Dairy Case Inspection Checklist Template
We can do it Together
Need help with
Retail?
Have a question? We're here to help. Please submit your inquiry, and we'll respond promptly.