Daily Vehicle Inspection Checklist for Public Transport Drivers
Published: 09/26/2025 Updated: 12/13/2025
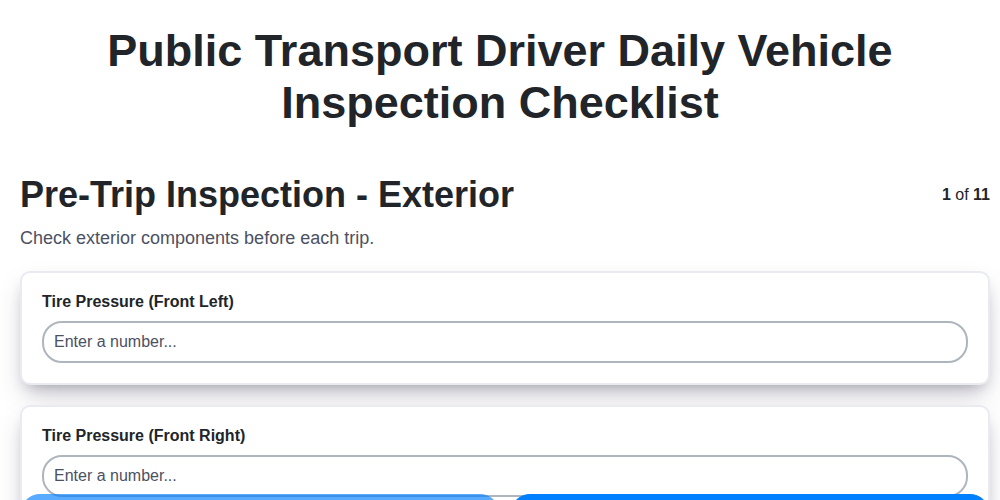
Table of Contents
- Why Daily Vehicle Inspections Matter
- Pre-Trip Exterior Inspection
- Interior Checks: Passenger Safety First
- Under the Hood: Engine Compartment Inspection
- Fluid Levels: A Quick Check
- Brake System Examination
- Tire Condition and Pressure
- Lights and Signals: Ensuring Visibility
- Steering and Suspension Assessment
- Accessibility Equipment (If Applicable)
- Post-Trip Inspection: A Brief Overview
- Resources & Links
TLDR: Need to keep your public transport vehicle and passengers safe? This checklist walks you through a daily inspection - from tires and lights to engine fluids and accessibility equipment - ensuring everything's running smoothly and compliant with regulations. Use it as a guide, always consult your vehicle's manual, and report any concerns!
Why Daily Vehicle Inspections Matter
Beyond simply ticking boxes, daily vehicle inspections are a cornerstone of a safe and reliable public transport operation. They're not just about complying with regulations; they're about actively protecting the lives of your passengers and the wellbeing of your team. Think of it as preventative medicine for your vehicle - addressing small issues before they snowball into major, costly breakdowns and, more importantly, potential accidents.
A thorough inspection helps identify wear and tear, fluid leaks, mechanical faults, and compromised safety equipment that could otherwise go unnoticed. Catching these problems early minimizes downtime, reduces repair expenses, and, crucially, prevents incidents that could jeopardize passenger safety. A well-maintained vehicle inspires confidence in your riders, contributes to a positive public image for your transport service, and demonstrates a commitment to the highest standards of safety and operational excellence. Ultimately, a diligent daily inspection is a proactive investment in a safer, more efficient, and more sustainable transportation system.
Pre-Trip Exterior Inspection
Before your passengers even step aboard, a thorough exterior inspection is your first line of defense. Don't rush this - a quick, observant scan can reveal issues before they escalate into safety hazards. Start at the front of the vehicle and work your way around, paying close attention to detail.
Begin with the windshield and windows. Check for any cracks, chips, or excessive scratches that could impair visibility. A compromised windshield can significantly reduce driver safety. Next, inspect the mirrors, ensuring they are clean, securely mounted, and adjusted to provide a clear view of the surrounding traffic. A dirty or improperly positioned mirror can lead to blind spots and accidents.
Then, examine the bodywork. Look for any signs of damage - dents, scratches, or rust - that could indicate a structural weakness. Even seemingly minor cosmetic issues can be indicators of more serious underlying problems. Pay particular attention to the door seals, verifying they are intact and sealing properly to prevent water leaks and drafts. Check the operation of all exterior doors, ensuring they open and close smoothly and latch securely. Don't forget to test the emergency exit doors - familiarize yourself with their operation and ensure they're easily accessible.
Finally, take a look at the lighting system. Briefly check the functionality of your headlights (high and low beams), turn signals, brake lights, hazard lights, and reverse lights. A faulty light can significantly reduce visibility and increase the risk of an accident.
Interior Checks: Passenger Safety First
The interior of your vehicle is the passengers' immediate environment, and ensuring its safety and functionality is paramount. A well-maintained interior isn't just about aesthetics; it's a vital component of passenger comfort and security.
Start by inspecting the seating. Look for any tears, fraying, or loose upholstery. These aren't just cosmetic issues - they can pose a trip hazard. Check the flooring for excessive wear, damage, or loose sections. A secure floor is essential for stability, especially during sudden stops.
Next, carefully examine the handrails. These provide crucial support for passengers, particularly when boarding and alighting. Ensure they are firmly attached and free from damage.
Don't overlook the passenger communication system. Test the PA system and microphone to confirm they're working correctly - this is essential for announcements and emergency situations.
Finally, verify the accessibility of emergency equipment like fire extinguishers and first aid kits. Passengers need to be able to access these items quickly and easily in case of an emergency. A clean and organized interior contributes to a safer and more comfortable travel experience for everyone.
Under the Hood: Engine Compartment Inspection
The engine compartment is the heart of your vehicle, and a quick visual check can prevent major headaches down the road. Safety is paramount here - always ensure the engine is cool before opening the hood. Use caution and wear appropriate gloves if available.
Start with a general scan. Look for anything obviously out of place: puddles of fluid (note the color - it can indicate the source), disconnected hoses, or damaged wiring.
Specifically, pay close attention to:
- Belts and Hoses: These rubber components are vital for various functions. Look for cracks, fraying, or signs of wear. A shiny belt often indicates glazing, which reduces grip and can lead to slippage.
- Wiring: Frayed or damaged wiring can create a fire hazard. Inspect the insulation for cracks and breaks. Look for any signs of rodent damage - a surprisingly common problem!
- Fluid Leaks: Even small leaks can signal a bigger issue. Identify the fluid (oil, coolant, brake fluid) and note its location. Report any leaks immediately.
- Battery Terminals: Check for corrosion. Corrosion hinders electrical flow and can lead to starting problems. Clean terminals with a wire brush if necessary (disconnect the battery first!).
- Air Filter: Visually assess the air filter's condition. A heavily soiled filter restricts airflow and reduces engine efficiency. Replacement is often part of routine maintenance.
Remember: If you're unsure about anything you see, err on the side of caution and report it to maintenance personnel.
Fluid Levels: A Quick Check
Fluid levels are the lifeblood of your vehicle, and a quick check can prevent major breakdowns. Here's what to look for:
Engine Oil: This is arguably the most critical. Use the dipstick - pull it out, wipe it clean, reinsert it fully, then pull it out again to get an accurate reading. The oil level should be between the "min" and "max" marks. Low oil can cause severe engine damage.
Coolant: Check the coolant reservoir. The level should be between the min and max lines when the engine is cool. Never open the radiator cap when the engine is hot - it's under pressure and can cause serious burns.
Brake Fluid: This is vital for safe stopping. The level should be near the "max" line. Low brake fluid often indicates a leak, which needs immediate attention.
Power Steering Fluid: A lack of power steering fluid can make steering difficult. Check the reservoir and top off if necessary.
Transmission Fluid: (If accessible). Many modern transmissions are sealed and don't have a dipstick. If yours does, check the level and condition (color). A burnt smell or dark color indicates potential transmission issues.
Important Note: If you notice any leaks or consistently low fluid levels, report it immediately to your maintenance team. Don't just top it off - investigate the root cause!
Brake System Examination
The brake system is arguably the most critical safety component of your vehicle, and a thorough examination is paramount. A malfunction here can have catastrophic consequences. This section outlines the key areas to inspect, but remember to always consult your vehicle's specific maintenance manual for detailed procedures and specifications.
Visual Inspection & Pedal Check:
Begin with a visual inspection of the brake lines, hoses, and master cylinder for any signs of leaks, cracks, or damage. Pay close attention to connections and points where hoses connect to the system. Next, depress the brake pedal; it should feel firm and have consistent travel. Excessive sponginess or a pedal that travels too far indicates a potential problem. Listen for any unusual noises (hissing, squealing) while pressing the pedal.
Brake Light Confirmation:
With the engine running and someone assisting, depress the brake pedal and visually confirm that all brake lights (tail lights and center high-mounted stop lamp - CHMSL) illuminate brightly and evenly. A faulty brake light is a significant safety hazard.
Brake Fluid Level:
Check the brake fluid reservoir level. It should be within the "min" and "max" lines. Low fluid levels often indicate a leak somewhere in the system. Never attempt to diagnose or repair a leak yourself unless you are properly trained and equipped.
ABS System (If Equipped):
If your vehicle is equipped with an Anti-lock Braking System (ABS), check for any warning lights illuminated on the dashboard. Consult your vehicle's manual for specific ABS troubleshooting steps.
Parking Brake:
Engage and disengage the parking brake to ensure it operates smoothly and holds the vehicle securely. Listen for any unusual noises during operation.
Note: Any inconsistencies or concerns regarding the brake system should be immediately reported to qualified maintenance personnel for further investigation and repair. Do not operate the vehicle if you suspect a brake system defect.
Tire Condition and Pressure
Your tires are the only point of contact between your vehicle and the road, making them absolutely critical for safety and performance. Regularly checking their condition and pressure is one of the most important steps in your daily inspection.
What to Look For - Tire Condition:
- Tread Depth: Legally, tires need to have at least 2/32 of an inch of tread. A simple test is the "penny test": insert a penny upside down into the tread groove. If you can see all of Lincoln's head, your tread is too low and the tire needs replacement. Even if it's above the legal minimum, consider replacing tires with significantly reduced tread for improved traction, especially in wet conditions.
- Sidewall Integrity: Carefully inspect the sidewalls for any cuts, bulges, cracks, or abrasions. Even seemingly minor damage can compromise the tire's structural integrity and lead to a blowout.
- Uneven Wear: Look for signs of uneven wear patterns, such as more wear on the edges or center of the tire. This can indicate alignment or suspension problems that need to be addressed.
Maintaining Proper Pressure:
- Check the Placard: The correct tire pressure (PSI - pounds per square inch) is not usually found on the tire itself. It's typically listed on a sticker located on the driver's side doorjamb or in your vehicle's owner's manual.
- Cold Inflation: Check tire pressure when the tires are cold - meaning they haven't been driven on for at least three hours or have only been driven a short distance (less than a mile). Driving heats up the tires, which increases the pressure and gives an inaccurate reading.
- Use a Reliable Gauge: Invest in a good quality tire pressure gauge for accurate readings.
- Inflate to Recommended PSI: Inflate your tires to the pressure listed on the placard, not the maximum pressure printed on the tire sidewall. The sidewall number is the maximum pressure the tire can handle, not the recommended operating pressure for your vehicle.
Lights and Signals: Ensuring Visibility
Properly functioning lights and signals are absolutely crucial for safe operation, especially in varying weather conditions and during peak traffic hours. This isn't just about meeting legal requirements; it's about ensuring that other drivers, cyclists, and pedestrians can clearly see your intentions.
Here's a breakdown of what to check:
- Headlights (High & Low Beam): Test both settings to ensure proper brightness and direction. Aiming issues can significantly impact visibility for others.
- Turn Signals (Front & Rear): Verify that all front and rear signals are working correctly and blinking at the appropriate speed. A malfunctioning signal can lead to misunderstandings and accidents.
- Hazard Lights: Activate your hazard lights and walk around the vehicle to confirm that all signals are flashing simultaneously.
- Brake Lights: Have a colleague or carefully observe your brake lights in a reflective surface to verify that they illuminate brightly and consistently when the brake pedal is pressed.
- Reverse Lights: Shift into reverse and ensure the rear lights illuminate clearly, warning those behind you of your maneuver.
- Stop Lights: Confirm that the stop lights illuminate brightly when the brakes are applied.
Regularly cleaning your headlights and taillights is also vital. Dirt and grime can significantly reduce their effectiveness. A simple wipe-down can make a big difference in nighttime visibility.
Steering and Suspension Assessment
A properly functioning steering and suspension system is critical for vehicle control, passenger comfort, and overall safety. Here's what to look for during your assessment:
Steering:
- Steering Wheel Play: Grip the steering wheel and attempt to move it back and forth with force. Excessive play (more than a quarter turn) can indicate worn components like tie rod ends or steering gear issues.
- Steering Effort: Notice the ease of turning the wheel. Excessive effort required to steer, especially at low speeds, suggests a problem with the power steering system or potentially binding in the steering components.
- Unusual Noises: Listen for popping, groaning, or squealing noises while turning the steering wheel. These sounds often point to worn bushings, ball joints, or a failing power steering pump.
- Steering Return: When you release the wheel after a turn, it should naturally return to center. An inconsistent or slow return can indicate alignment problems or worn steering components.
Suspension:
- Bounce Test: Push down firmly on each corner of the vehicle and release. It should rebound and settle quickly, not bouncing excessively. Excessive bouncing indicates worn shock absorbers or struts.
- Visual Inspection: Carefully inspect the suspension components, including springs, struts, shock absorbers, control arms, ball joints, and bushings, for signs of damage, wear, or leaks. Look for cracks, rust, or looseness.
- Listen for Noises: While driving over bumps or uneven surfaces, listen for clunking, rattling, or squeaking noises. These sounds often indicate worn bushings, ball joints, or loose suspension components.
- Tire Wear: Uneven tire wear patterns can sometimes be a symptom of suspension problems.
Always document any concerns and report them to maintenance personnel for further inspection and repair.
Accessibility Equipment (If Applicable)
Ensuring the safety and comfort of all passengers, including those with disabilities, is paramount. If your vehicle is equipped with accessibility features, a thorough inspection is vital.
Here's what to check:
- Ramps/Lifts: Operate the ramp or lift through its full range of motion, verifying smooth and consistent performance. Listen for unusual noises, and check that any safety mechanisms (like sensors and alarms) are functioning correctly. Ensure the deployment area is clear of obstructions.
- Wheelchair Securement Areas: Inspect the wheelchair securement points (tie-downs, straps, and anchors) for damage, wear, and proper functionality. Verify that restraints are securely fastened and in good working order.
- Audio/Visual Announcements: Confirm the clarity and audibility of audio announcements and the visibility of visual displays, especially those providing route information or stop announcements.
- Priority Seating: Ensure priority seating areas are clearly marked and accessible, free from obstructions.
- Handholds/Grab Bars: Check handholds and grab bars for secure attachment and condition.
Post-Trip Inspection: A Brief Overview
The post-trip inspection isn't about a deep dive - you're already done with that thorough check. Think of it as a quick scan, a final opportunity to catch anything new that might have developed during your route. This brief assessment is crucial for identifying issues that may have arisen after your initial pre-trip check. Focus on these key areas:
- Under the Vehicle: Do a quick walk-around, looking for any fresh fluid leaks (oil, coolant, brake fluid). Even a small puddle can indicate a developing problem.
- Listen Carefully: As you park, listen for any new or unusual sounds - squeals, rattles, or hisses that weren't present before.
- Check Lights Briefly: A quick visual check of headlights, taillights, and brake lights ensures they're still functioning correctly after a full day's use.
- Report, Report, Report: Anything out of the ordinary, even if seemingly minor, should be documented and reported to maintenance. Early detection prevents bigger issues down the road.
Resources & Links
- Federal Motor Carrier Safety Administration (FMCSA) : The FMCSA is the primary regulatory body for commercial vehicles in the United States. Their website provides a wealth of information, including regulations, guidelines, and best practices related to vehicle inspections and driver qualifications. Crucial for understanding legal requirements.
- National Highway Traffic Safety Administration (NHTSA) : NHTSA focuses on vehicle safety standards and recalls. Useful for understanding safety recalls affecting vehicles and for general information on vehicle safety technology and recommendations.
- AAA (American Automobile Association) : AAA provides consumer information and resources related to vehicle maintenance and safety. Their website includes articles, checklists, and advice for drivers - many focusing on preventative maintenance.
- Centers for Disease Control and Prevention (CDC) : While seemingly unrelated, the CDC's information on infectious disease control and ventilation can be relevant for maintaining a safe passenger environment, especially important during public health concerns. Consider ventilation systems in buses.
- U.S. Department of Transportation (DOT) : DOT's website offers broad information on transportation safety, infrastructure, and regulations. Provides context for the importance of vehicle inspections within the larger transportation system.
- School Bus Fleet : This website is dedicated to the school bus industry and often publishes articles and resources related to vehicle maintenance, safety inspections, and best practices for school bus drivers. Although focused on school buses, many principles apply to other public transit vehicles.
- International Roadside Motor Carrier Safety Inspection Station (RMSI) Association : This association provides training and resources for roadside inspectors and those involved in commercial vehicle safety. Their website contains insights into inspection procedures and common violations.
- Vehicle Inspection Services : This site provides general information about vehicle inspections. This can provide extra context to readers.
- Automotix : Automotix offers vehicle inspection software and resources. Provides insights into the digital tools used for vehicle maintenance and inspection documentation.
Frequently Asked Questions
What is the purpose of a daily vehicle inspection checklist?
The checklist ensures the vehicle is safe and roadworthy before each shift, helping prevent accidents, breakdowns, and ensuring passenger safety. It also helps drivers identify and report potential maintenance issues early on.
Who is responsible for completing the daily vehicle inspection checklist?
The driver of the public transport vehicle is primarily responsible for completing the daily vehicle inspection checklist.
What types of vehicles does this checklist apply to?
This checklist generally applies to all types of public transport vehicles including buses, trams, coaches, and minibuses. Specific items may need adjustment based on vehicle type.
How detailed should I be when completing the checklist?
Be thorough and specific. Don't just check boxes; note any observations, even if seemingly minor. Use clear and concise language to describe any defects found.
What should I do if I find a defect during inspection?
Immediately report the defect to your supervisor or designated maintenance personnel. Do not operate the vehicle until the defect is repaired and cleared by authorized personnel. Document the defect on the checklist.
What happens if I ignore a defect found during inspection?
Ignoring a defect can lead to serious consequences, including accidents, vehicle breakdowns, and potential legal repercussions. You could also face disciplinary action.
Where can I find the official daily vehicle inspection checklist?
Your employer or transportation authority will provide you with the official checklist. It's often available in hard copy or digitally.
Are there any specific legal requirements for vehicle inspections?
Yes, regulations vary by location. Familiarize yourself with local and national regulations regarding vehicle safety inspections and reporting requirements.
What information should I include if the checklist is digital?
Digital checklists often allow for photos or more detailed descriptions. Utilize these features to provide comprehensive information about any issues found. Ensure you save and submit the completed checklist according to your company's policy.
Can I modify the checklist to better suit my vehicle?
No, do not modify the checklist. It is standardized to ensure consistency and thoroughness. If you feel items are missing or irrelevant, discuss it with your supervisor.
Found this Article helpful?
Public Transport Management Solution Demo
Optimize public transport operations & enhance passenger experience! ChecklistGuro streamlines route planning, vehicle maintenance, and incident reporting. Improve efficiency, safety, and reliability. Manage it all with our Work OS.
Related Articles
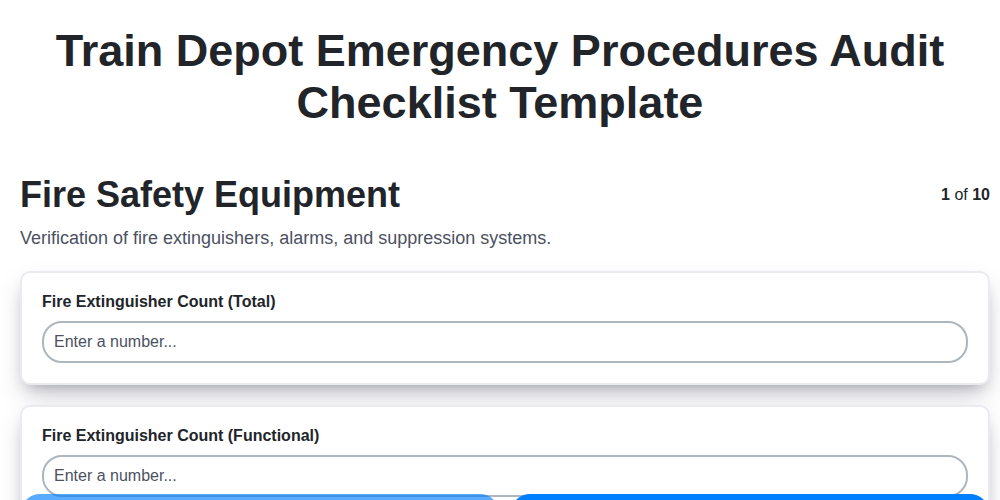
Train Depot Emergency Audit: Your Checklist Template for Safety
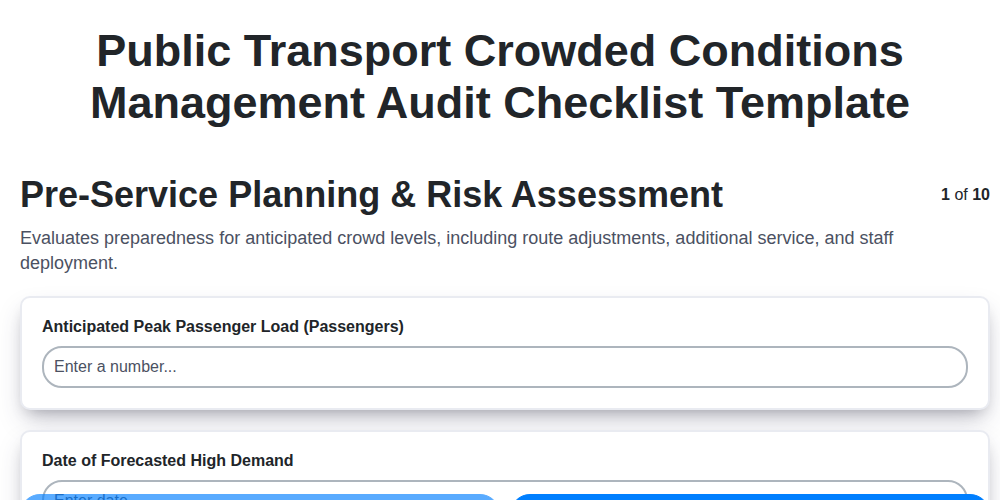
Mastering the Crush: Your Public Transport Crowded Conditions Audit Checklist
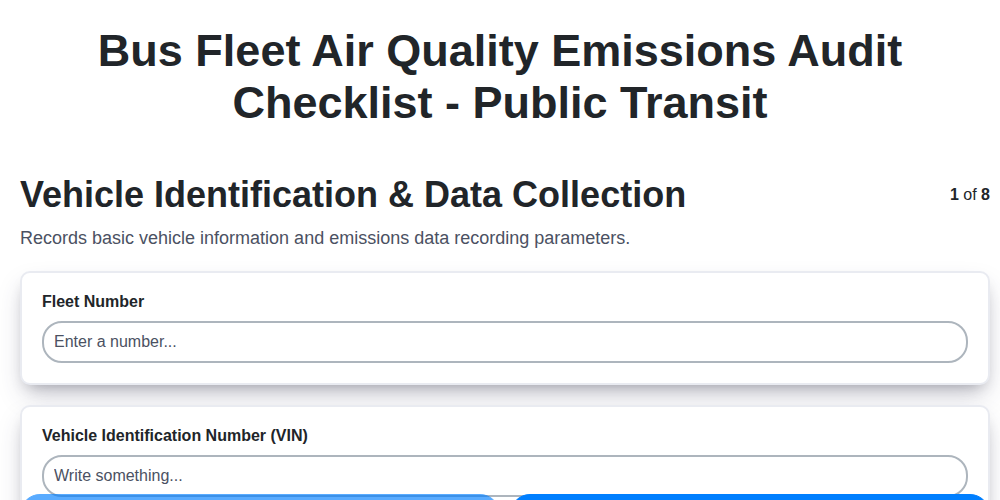
Keeping Our Buses Clean: A Checklist for Air Quality Audits
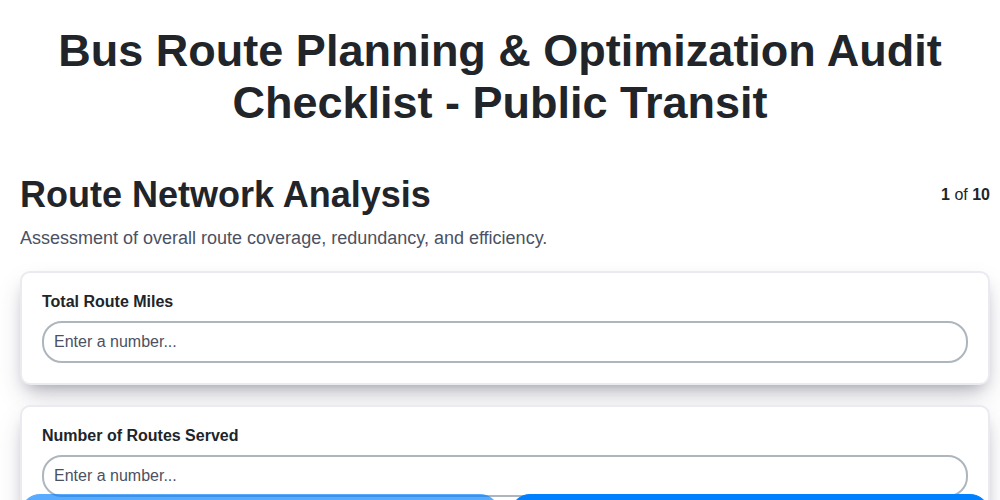
The Ultimate Bus Route Audit Checklist: A Template for Public Transit Success
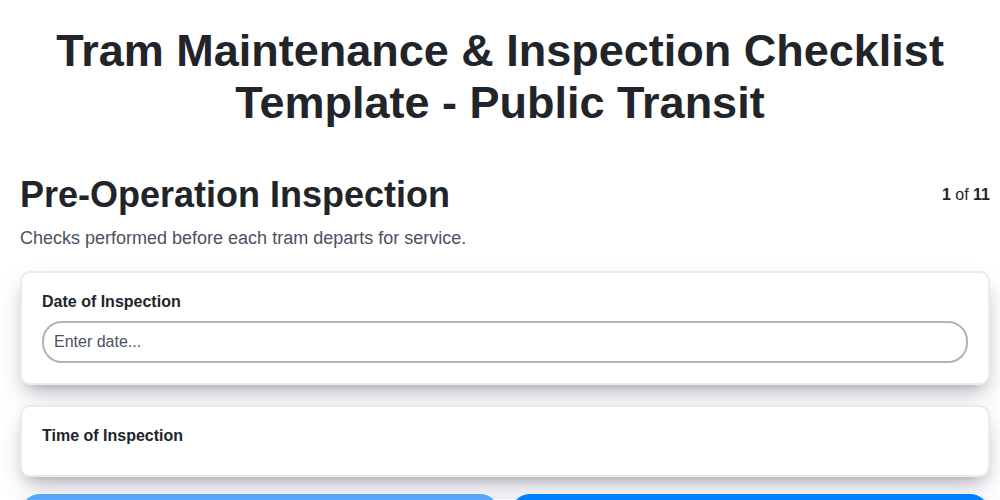
Keeping City Transit Rolling: Your Tram Maintenance Checklist Template
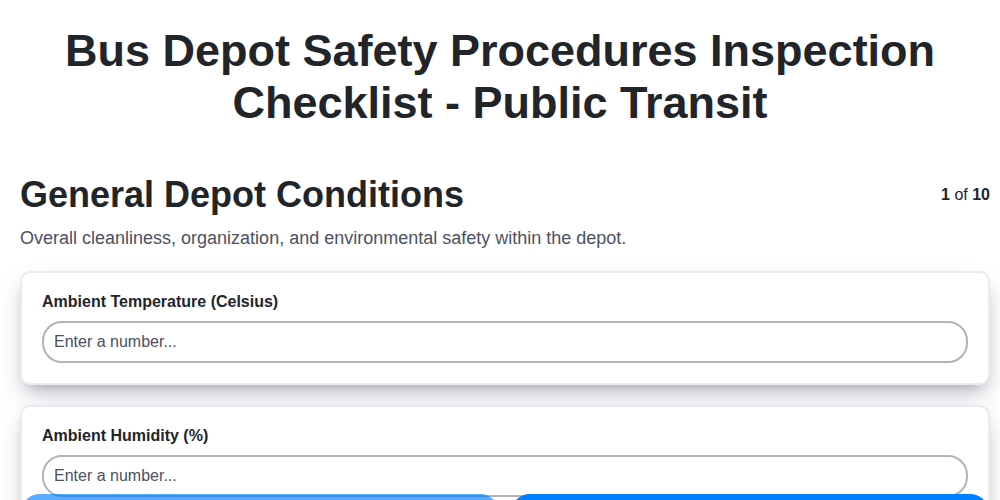
Keeping Wheels Turning Safely: Your Bus Depot Safety Checklist Template
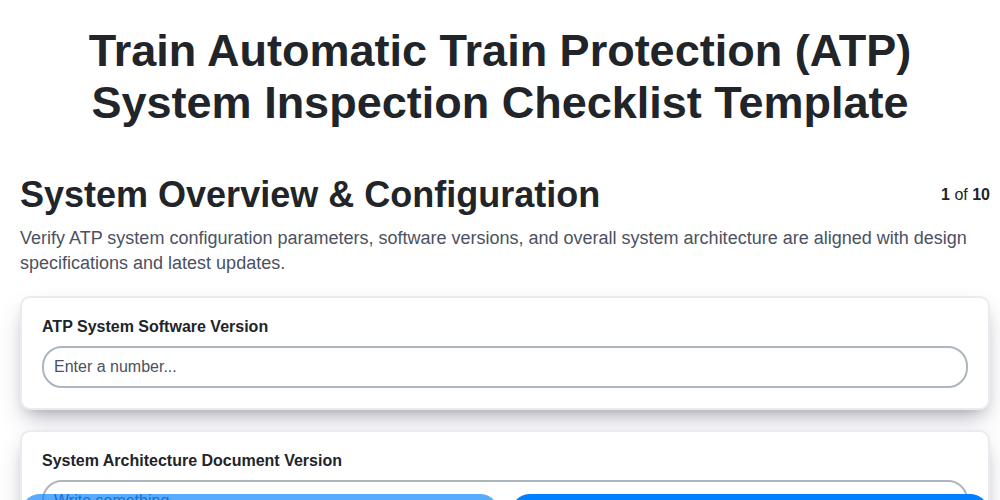
Mastering ATP Safety: Your Train Inspection Checklist Template
Train Depot Safety Inspection Checklist Template: Your Guide to a Safer Facility
We can do it Together
Need help with
Public Transport Management?
Have a question? We're here to help. Please submit your inquiry, and we'll respond promptly.