Keeping Your Buses Sparkling: A Public Transit Vehicle Audit Checklist Template
Published: 09/26/2025 Updated: 12/13/2025
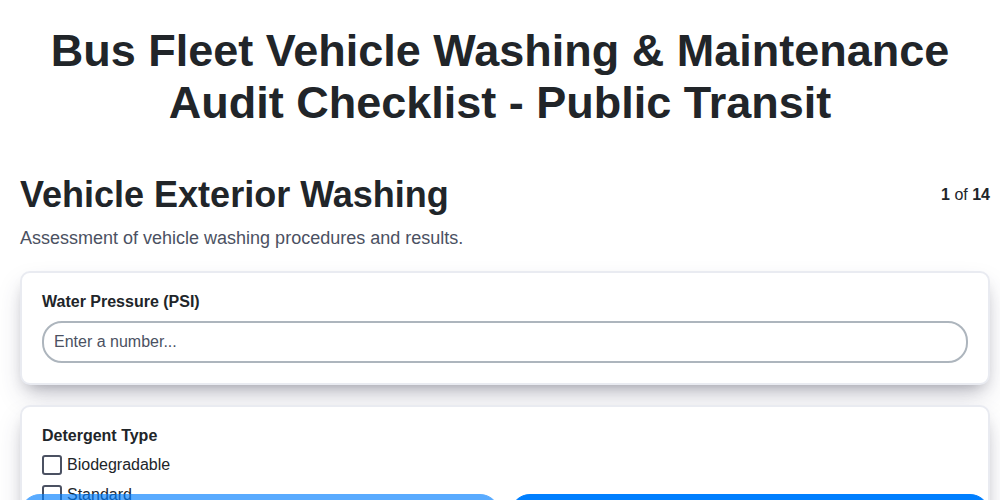
Table of Contents
- Introduction: Why Vehicle Audits Matter for Public Transit
- Pre-Wash Inspection: Spotting Potential Issues
- Exterior Vehicle Washing: A Step-by-Step Guide
- Wheel Well & Underbody Cleaning: Addressing Corrosion Risks
- Window & Mirror Inspection: Ensuring Driver Visibility
- Interior Cleaning & Sanitization: Passenger Comfort and Health
- Engine Compartment Maintenance Checklist
- Brake System Inspection & Service
- Tire Condition & Pressure Audit
- Fluid Level & Condition Verification
- Documentation & Record Keeping Best Practices
- Resources & Links
TLDR: Need to keep your public transit buses clean and safe? This free checklist template outlines key steps for vehicle washing, maintenance, and inspections - from wheel well cleaning to brake system checks - ensuring your fleet meets standards, prevents costly repairs, and projects a positive image.
Introduction: Why Vehicle Audits Matter for Public Transit
Public transit agencies face unique challenges. Beyond providing reliable transportation, you're managing public perception, adhering to stringent safety regulations, and optimizing operational efficiency - often with limited resources. Vehicle audits are not just a procedural formality; they's a cornerstone of responsible fleet management. A robust audit process identifies potential issues before they escalate into costly repairs, service disruptions, or, most importantly, safety risks. Regular inspections help maintain passenger confidence, extend the lifespan of your assets, and demonstrate a commitment to the communities you serve. This proactive approach translates to fewer breakdowns, reduced maintenance expenses, and a stronger overall agency reputation.
Pre-Wash Inspection: Spotting Potential Issues
Before a single drop of soap touches your bus, a thorough pre-wash inspection is vital. This isn't just about aesthetics; it's about identifying potential mechanical issues before the cleaning process exacerbates them. Pressure washing can mask leaks or damage, making later diagnosis more difficult and expensive.
Here's what to look for:
- Fluid Leaks: Carefully examine the engine compartment, undercarriage, and wheel wells for signs of oil, coolant, brake fluid, or other fluids. Note the location and approximate amount of any leaks.
- Rust & Corrosion: Look for areas of rust, especially around seams, joints, and areas prone to water accumulation. Document any significant corrosion.
- Body Damage: Note any dents, scratches, cracks, or other body damage. While cleaning won't fix these, knowing their extent is important for scheduling repairs.
- Loose or Damaged Components: Check for loose wiring, cracked hoses, or any components that appear visibly damaged.
- Tire Condition (Detailed): While a full tire inspection is part of the maintenance schedule, use this opportunity for a quick visual assessment. Look for bulges, cuts, or unusual wear patterns.
- Window & Mirror Integrity: Look for cracks or significant damage that could compromise visibility.
Record all findings during the pre-wash inspection and flag any concerns to the maintenance team before proceeding with the cleaning process. This proactive approach saves time, money, and potential headaches down the road.
Exterior Vehicle Washing: A Step-by-Step Guide
Getting the exterior of your buses clean isn't just about appearances - it's about protecting your investment and projecting a positive image. Here's a detailed, step-by-step guide to ensure a thorough and effective wash:
1. Pre-Rinse & Debris Removal: Begin with a thorough pre-rinse using low-pressure water. This removes loose dirt, leaves, and other debris that could scratch the paint during the washing process. Pay special attention to areas prone to accumulation, like wheel wells and undercarriage.
2. Wheel Well Cleaning: This is a critical step often overlooked. Use a dedicated wheel well brush and appropriate cleaning solution (often a degreaser) to remove stubborn brake dust and road grime. Rinse thoroughly - accumulated brake dust can damage the environment and contribute to corrosion. Consider using a pressure washer with a wider nozzle for better reach and effectiveness.
3. Undercarriage Wash: Utilize a dedicated undercarriage wash system, if available. This is paramount for preventing rust and corrosion, particularly in regions experiencing harsh winters or frequent road salting. Ensure the system reaches all critical areas, including frame rails, suspension components, and exhaust systems.
4. Main Body Wash: Apply a bus-safe detergent solution using a wash mitt or soft brush. Work from top to bottom, using overlapping strokes to ensure even coverage. Avoid harsh scrubbing, as this can damage the paint.
5. Rinse Thoroughly: Rinse all detergent residue with clean, low-pressure water. Again, work from top to bottom, ensuring all areas are completely rinsed.
6. Spot Cleaning (Optional): For stubborn spots like bug splatter or tar, use a spot-cleaning solution and a soft brush to gently remove the residue. Always test the solution in an inconspicuous area first to ensure it doesn't damage the paint.
7. Final Rinse & Wax (Optional): A final rinse with clean water helps remove any remaining residue. Applying a bus-safe wax or sealant can help protect the paint and make future washes easier. Follow the product's instructions carefully.
Important Considerations:
- Water Temperature: Use warm water for optimal detergent effectiveness, but avoid excessively hot water, which can damage some paints.
- Water Quality: Hard water can leave spots. Consider using a water softener or de-ionizing filter.
- Detergent Choice: Select a detergent specifically formulated for buses and vehicles with clear coat finishes. Avoid harsh chemicals and abrasive cleaners.
- Environmental Regulations: Be mindful of local environmental regulations regarding water runoff and disposal of cleaning chemicals.
Wheel Well & Underbody Cleaning: Addressing Corrosion Risks
Wheel wells and underbodies are prime real estate for corrosion. They're constantly exposed to road salt, water, dirt, and debris - a toxic combination that accelerates rust and compromises structural integrity. Simply washing the exterior isn't enough. A thorough cleaning in these areas requires focused attention and specific techniques.
Here's why it's critical and what to look for:
- Road Salt Buildup: Salt acts as a catalyst, speeding up the oxidation process. It clings to crevices and hidden areas, creating a persistent threat.
- Brake Dust Accumulation: Brake dust isn't just unsightly; it's abrasive and corrosive, damaging brake lines and components.
- Hidden Damage: Corrosion often starts subtly, making it difficult to detect without a close inspection. Untreated, this can lead to costly repairs or even safety hazards.
- Component Protection: Cleaning protects vital components like brake lines, fuel lines, suspension parts, and the exhaust system.
Best Practices:
- High-Pressure Washing: Utilize a pressure washer with appropriate nozzles to dislodge stubborn deposits. Be mindful of nozzle pressure to avoid damaging paint or rubber components.
- Specialized Cleaning Solutions: Consider using corrosion-inhibiting cleaning agents specifically designed for automotive underbodies.
- Inspection During Cleaning: As you wash, carefully inspect for signs of rust, pitting, or leaks. Document any findings.
- Rust Treatment (if needed): If rust is present, apply a rust converter or treatment product as part of your preventative maintenance.
- Regular Frequency: Schedule underbody and wheel well cleaning frequently, especially during and after winter months.
Window & Mirror Inspection: Ensuring Driver Visibility
Clear visibility is paramount for bus drivers, directly impacting passenger safety and operational efficiency. A compromised windshield or mirror can create hazardous situations, especially during inclement weather. This section details a thorough inspection process to ensure optimal driver view.
Windshield Inspection: Begin by visually inspecting the entire windshield surface for cracks, chips, pitting, and star damage. Even seemingly minor imperfections can significantly distort vision, particularly at night or in bright sunlight. Pay close attention to the driver's line of sight - any obstruction here is unacceptable. Check for internal haze or delamination, which can reduce clarity. If any damage is found that obstructs visibility, the windshield must be repaired or replaced immediately.
Window Inspection: Similar to the windshield, all windows should be inspected for cracks, scratches, and haziness. Pay attention to any signs of water damage or fogging, which can indicate a seal failure. Operate each window to ensure smooth and reliable functionality.
Mirror Inspection: Driver mirrors (both side mirrors and convex mirrors) must be assessed for cracks, distortion, and secure mounting. Ensure mirrors are properly adjusted to provide maximum coverage. Cleanliness is key - regularly remove dirt, grime, and road spray from all mirror surfaces. A loose or damaged mirror presents a serious safety hazard and must be repaired or replaced without delay. Confirm that all mirrors are securely fastened and free from any obstructions that may impair visibility.
Interior Cleaning & Sanitization: Passenger Comfort and Health
A clean and sanitary bus interior isn't just about appearances; it's a crucial factor in passenger comfort and public health. Beyond simply removing visible dirt and debris, a thorough interior cleaning process should focus on eliminating allergens, germs, and odors - all of which can negatively impact the passenger experience.
Our approach goes beyond vacuuming and wiping down surfaces. We utilize EPA-approved disinfectants to target common pathogens, including influenza viruses, bacteria, and mold. Upholstery cleaning focuses on removing stains and odors, while attention is paid to high-touch areas like handrails, seatbelt buckles, and fare collection points. Regular sanitization, particularly in areas with high passenger traffic, is vital for creating a healthier environment. We also address lingering odors using specialized air fresheners, ensuring a pleasant and welcoming atmosphere for every ride. Finally, periodic deep cleaning should include ventilation system checks to ensure optimal air quality.
Engine Compartment Maintenance Checklist
The engine compartment is the heart of your bus, and regular maintenance is vital for reliability and preventing costly breakdowns. This checklist provides a visual inspection guide; always refer to the manufacturer's service manual for detailed procedures and specifications.
Visual Inspection - Perform Monthly:
- Fluid Levels: Verify levels of engine oil, coolant, power steering fluid, and brake fluid. Note color and consistency - dark or cloudy fluids indicate potential issues. Top off as needed, following manufacturer's recommended fluids.
- Leaks: Carefully inspect for signs of fluid leaks around hoses, gaskets, and seals. Pay close attention to the area around the oil pan, water pump, and transmission connections. Document any leaks and schedule repair.
- Hoses & Belts: Examine all hoses (radiator, heater, vacuum) for cracks, bulges, or chafing. Check belts (serpentine, timing) for wear, fraying, or glazing. Replace as needed.
- Wiring Harnesses: Inspect wiring harnesses for damaged insulation, loose connections, and corrosion. Secure any loose wires and repair or replace damaged sections.
- Air Filter: Visually inspect the air filter for excessive dirt and debris. Replace according to manufacturer's recommendations.
- Battery Condition: Check battery terminals for corrosion. Clean as needed and ensure secure connections. Verify battery voltage.
Scheduled Maintenance - Follow Manufacturer's Intervals:
- Coolant Flush & Fill: Replace coolant to prevent corrosion and maintain optimal engine temperature.
- Spark Plug Inspection/Replacement: Inspect spark plugs for wear and fouling. Replace as needed.
- Fuel Filter Replacement: Replace the fuel filter to ensure clean fuel delivery to the engine.
- Drive Belt Replacement: Replace drive belts according to the manufacturer's recommended service intervals.
- Engine Oil and Filter Change: Perform oil and filter changes according to the manufacturer's recommendations.
- Inspect/Replace Thermostat: Check thermostat functionality and replace if necessary.
Safety Note: Always disconnect the negative battery cable before performing any maintenance on the engine compartment.
Brake System Inspection & Service
The brake system is arguably the most critical safety component of any bus. A compromised braking system can lead to catastrophic consequences. This section details a thorough inspection process, along with essential service procedures.
Visual Inspection:
Begin with a comprehensive visual check of all brake components. Look for:
- Brake Pad Thickness: Measure pad thickness and compare to manufacturer specifications. Replace pads when they reach the minimum thickness.
- Rotor Condition: Inspect rotors for scoring, cracks, warping, or excessive rust. Measure rotor thickness and diameter. Rotors exceeding wear limits or exhibiting damage require resurfacing or replacement.
- Brake Lines & Hoses: Carefully examine brake lines and hoses for leaks, cracks, kinks, or deterioration. Replace any suspect components.
- Brake Caliper Condition: Inspect calipers for leaks, corrosion, and proper operation. Check piston movement and seal integrity.
- Brake Drum Condition (if applicable): Check drums for cracks, scoring, and excessive wear.
Functional Testing:
- Brake Pedal Feel: Assess the pedal feel for sponginess or excessive travel.
- Brake Noise: Listen for unusual noises during braking, such as squealing, grinding, or chattering.
- Brake Fade Test (on a test track): Conduct a controlled brake fade test to evaluate the system's ability to maintain braking performance under repeated use.
- ABS Functionality: Verify proper operation of the Anti-lock Braking System (ABS) through diagnostic scans and functional tests.
Service Procedures:
- Brake Pad/Shoe Replacement: Follow manufacturer's procedures for proper installation and bedding-in of new brake pads or shoes.
- Rotor/Drum Resurfacing or Replacement: Ensure proper balancing and runout of resurfaced or replacement rotors/drums.
- Brake Fluid Flush & Bleed: Replace brake fluid according to manufacturer's recommendations to remove moisture and contaminants. Properly bleed the system to eliminate air pockets.
- Caliper Rebuild or Replacement: Rebuild or replace calipers as needed to restore proper braking function.
Safety Note: Brake work requires specialized knowledge and equipment. If you are not a qualified mechanic, it is best to have this work performed by a certified professional.
Tire Condition & Pressure Audit
Tires are the first point of contact between your bus and the road, making them absolutely critical for safety, fuel efficiency, and overall operational costs. A proactive tire management program can significantly reduce downtime and prevent costly repairs. This audit goes beyond just checking the pressure; it's a comprehensive assessment of the tire's health.
Here's what to look for:
- Tire Pressure: Use a calibrated gauge to check pressure when tires are cold (before driving). Refer to the tire sidewall or vehicle placard for the recommended pressure. Underinflation leads to increased rolling resistance (worse fuel economy), uneven wear, and increased risk of sidewall failure. Overinflation can reduce traction and create a harsh ride.
- Tread Depth: Use a tread depth gauge to measure the remaining tread. Most jurisdictions have a minimum legal tread depth (typically 2/32 inch or 1.6 mm). Insufficient tread compromises wet and snow traction. Consider a visual inspection using the penny test (insert a penny with Lincoln's head facing down - if you can see the top of his head, it's time for new tires).
- Sidewall Condition: Carefully inspect the sidewalls for cuts, bulges, cracks, or abrasions. These can be indicators of internal damage and potential tire failure. Pay close attention to areas where tires rub against the wheel well.
- Uneven Wear Patterns: Identify any unusual wear patterns, such as feathering (one side wears more than the other), cupping (tire wears in a circular pattern), or edge wear (tire wears primarily on the edges). These patterns can indicate alignment issues, suspension problems, or improper inflation.
- Tire Age: Tires degrade over time, even if they haven't been used extensively. Check the DOT code stamped on the sidewall to determine the tire's manufacturing date. Consult with a tire professional regarding recommended replacement timelines based on age and usage.
- Valve Caps: Ensure all valve caps are present and in good condition. They prevent dirt and moisture from entering the valve stem.
Documentation: Record all tire readings, observations, and actions taken in a maintenance log for tracking purposes and regulatory compliance.
Fluid Level & Condition Verification
Regularly checking and maintaining proper fluid levels is a cornerstone of preventative bus maintenance. Low or degraded fluids can lead to overheating, reduced performance, and premature component failure. Here's what to check and what to look for:
- Engine Oil: Verify the level using the dipstick and inspect the color. Clean oil is typically amber or light brown. Dark, sludgy oil indicates contamination and the need for a change.
- Coolant: Check the level in the reservoir. Look for signs of rust or discoloration, which could indicate corrosion or a leak. Ensure the correct coolant type is used.
- Power Steering Fluid: Check the level and inspect the color. Dark or foamy fluid suggests air in the system or a leak.
- Transmission Fluid: Many modern buses have sealed transmissions, but if accessible, check the level and color. A burnt smell or dark color indicates the need for a fluid change.
- Brake Fluid: Low brake fluid is often a sign of a leak in the brake system. Inspect the reservoir for leaks and ensure the fluid is clean and free of contaminants. Note that brake fluid absorbs moisture over time, so regular flushing is recommended.
Always refer to the manufacturer's specifications for recommended fluid types and service intervals. Document any fluid additions or changes in the maintenance logs.
Documentation & Record Keeping Best Practices
Effective documentation isn't just about ticking boxes; it's the backbone of a proactive and accountable fleet management system. Here's how to elevate your record-keeping beyond the basics:
1. Embrace Digital Solutions: While paper logs have their place, transitioning to a digital platform offers significant advantages. Digital systems streamline data entry, enable real-time tracking, facilitate automated reminders, and simplify reporting for audits. Look for features like GPS integration, photo upload capabilities, and user access controls.
2. Standardize Data Fields: Consistency is key. Establish clear, standardized fields for all recorded information - date, mileage, technician, description of work performed, parts used, etc. This ensures data is comparable and allows for meaningful analysis.
3. Implement a Photographic Inventory: A picture is worth a thousand words. Encourage technicians to take photos of pre- and post-repair conditions, damage, or potential issues. These visuals provide valuable context and support claims in case of disputes or warranty issues. Securely store these photos alongside relevant maintenance records.
4. Leverage QR Codes for Vehicle Identification: Assign unique QR codes to each bus. Scanning these codes instantly pulls up all associated maintenance history, reducing errors and speeding up inspections.
5. Secure Data Storage and Access: Protect your records from unauthorized access and loss. Implement robust cybersecurity measures and regularly back up your data to multiple locations. Clearly define user access levels to ensure data integrity.
6. Establish a Retention Policy: Determine how long maintenance records must be retained to comply with legal and regulatory requirements. Adhere to this policy consistently.
7. Audit Your Processes: Regularly review your documentation and record-keeping procedures to identify areas for improvement and ensure compliance.
Resources & Links
- American Public Transportation Association (APTA) : APTA provides industry best practices, standards, and resources related to public transit vehicle maintenance, including guidance on inspections and cleaning. Their website offers a wealth of information for transit agencies.
- Fleet Maintenance Magazine : A leading publication for fleet managers, including those in public transit. They offer articles and resources on vehicle maintenance best practices, inspections, and cleaning procedures.
- Occupational Safety and Health Administration (OSHA) : While not directly about vehicle cleaning, OSHA provides valuable information on safety procedures related to chemical handling, fall protection (when working on underbodies), and personal protective equipment (PPE) - all crucial aspects of a vehicle audit and cleaning process.
- Environmental Protection Agency (EPA) : The EPA provides guidance on environmentally responsible vehicle washing and disposal of wastewater, especially important for larger transit agencies with significant washing needs. Look for resources on water conservation and chemical usage.
- Degreaser.com : Provides detailed information about different types of degreasers and their appropriate uses for cleaning bus exteriors, interiors and engine compartments. Useful for selecting cleaning chemicals based on the specific grime and grease encountered.
- 3M : 3M offers a range of cleaning and maintenance products often used in fleet maintenance, including vehicle wash solutions, sanitizers, and protective coatings. Their website showcases product innovations and potential solutions.
- Pro Power Wash : Offers professional power washing services and resources. While you might not be using their service, their site provides information on best practices for power washing techniques for vehicle cleaning.
- National Renewable Energy Laboratory (NREL) : While primarily focused on renewable energy, NREL has resources related to sustainable fleet management, including water conservation strategies that can be applied to vehicle washing practices. Helpful for agencies seeking to reduce their environmental impact.
- Federal Register : The official daily publication for rules, proposed rules, and notices of federal agencies. While not always directly related to cleaning, you might find regulations impacting waste disposal, chemical usage, or specific transit vehicle requirements here.
- Midwest Pressure Washing : Provides insights into proper pressure washing techniques for vehicle exteriors, highlighting the importance of PSI and nozzle selection for preventing damage.
Frequently Asked Questions
How can I best organize the results of the audit?
Maintain a logbook or digital record of each audit, noting the date, inspector, vehicle identification number, and any issues found. This helps track trends, identify recurring problems, and measure the effectiveness of maintenance programs.
Found this Article helpful?
Public Transport Management Solution Demo
Optimize public transport operations & enhance passenger experience! ChecklistGuro streamlines route planning, vehicle maintenance, and incident reporting. Improve efficiency, safety, and reliability. Manage it all with our Work OS.
Related Articles
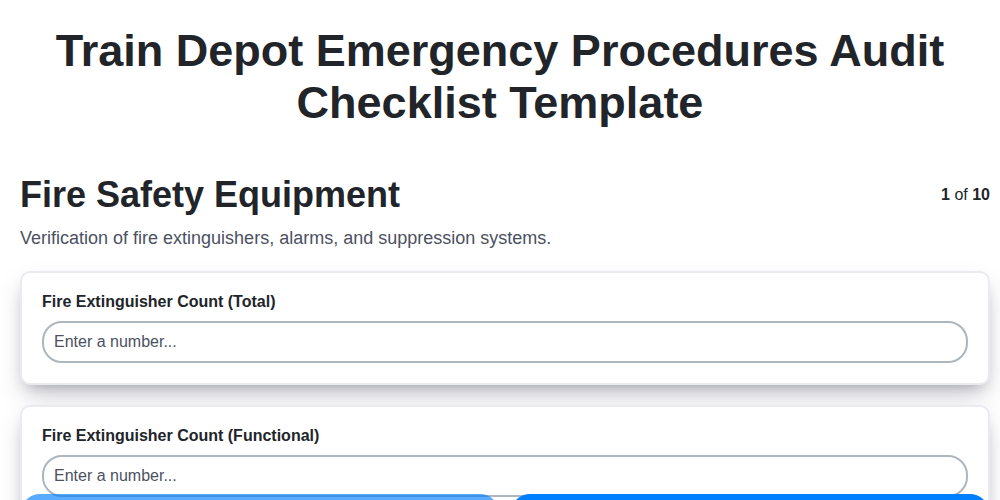
Train Depot Emergency Audit: Your Checklist Template for Safety
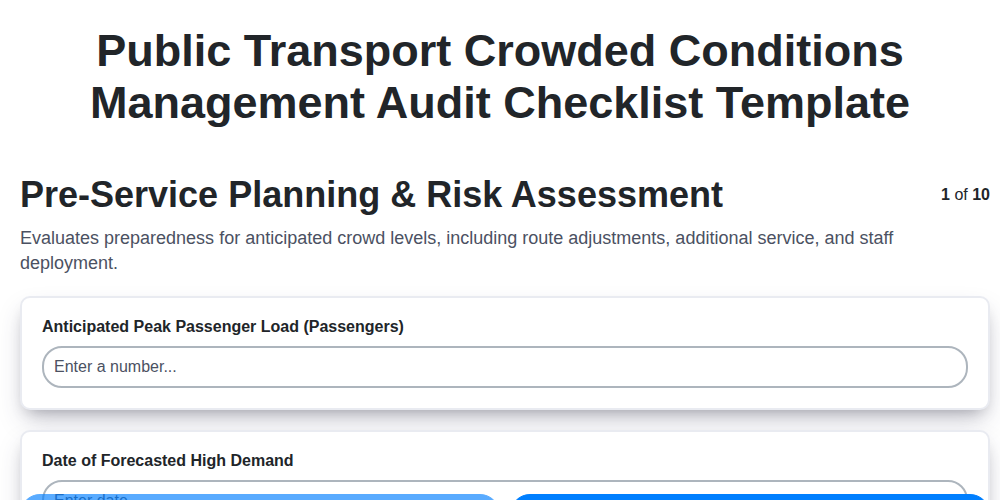
Mastering the Crush: Your Public Transport Crowded Conditions Audit Checklist
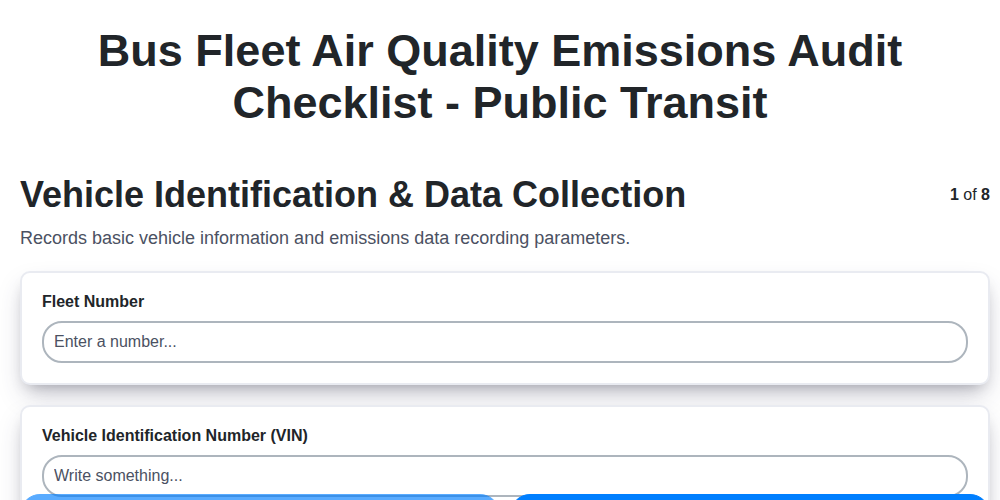
Keeping Our Buses Clean: A Checklist for Air Quality Audits
The Ultimate Bus Route Audit Checklist: A Template for Public Transit Success
Keeping City Transit Rolling: Your Tram Maintenance Checklist Template
Keeping Wheels Turning Safely: Your Bus Depot Safety Checklist Template
Mastering ATP Safety: Your Train Inspection Checklist Template
Train Depot Safety Inspection Checklist Template: Your Guide to a Safer Facility
We can do it Together
Need help with
Public Transport Management?
Have a question? We're here to help. Please submit your inquiry, and we'll respond promptly.