Calibration Checklist Template: Your Guide to Accurate Results
Published: 09/01/2025 Updated: 04/06/2026
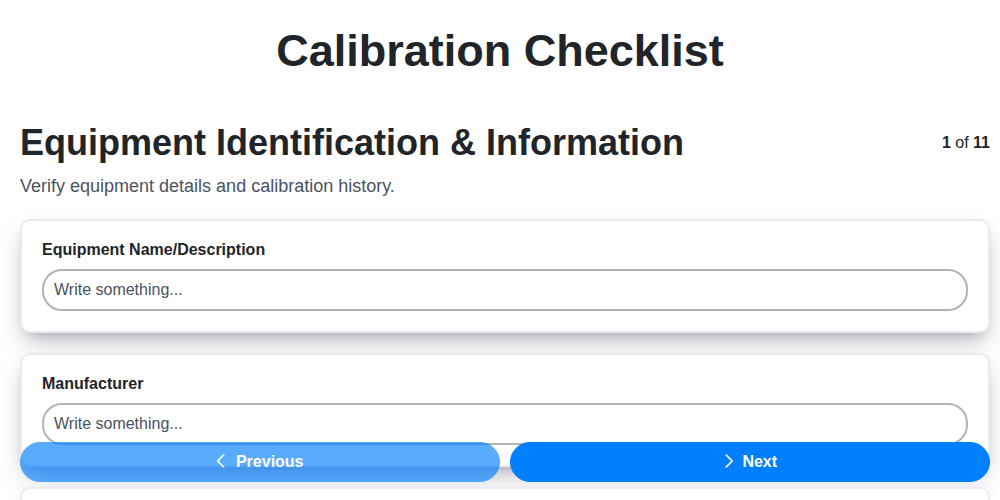
Table of Contents
- Why a Calibration Checklist is Essential
- Understanding Calibration Basics
- Your Calibration Checklist: A Step-by-Step Breakdown
- Equipment Identification & Information: Setting the Stage
- Environmental Factors & Standard Verification
- The Calibration Procedure: Precision in Action
- Data Recording & Tolerance Evaluation
- Adjustment & Correction (When Necessary)
- Final Verification, Documentation, and Tagging
- Resources & Links
TLDR: Get consistent, accurate equipment readings with this free calibration checklist template! It walks you through every step-from equipment ID and environmental checks to final verification-ensuring your calibrations are thorough and compliant. Download it now to simplify your process and avoid costly errors.
Why a Calibration Checklist is Essential
Maintaining accurate and reliable equipment is paramount for any organization, regardless of industry. But simply performing calibrations isn't enough; consistency and traceability are equally vital. That's where a calibration checklist steps in, transforming a potentially haphazard process into a structured, auditable one.
Without a detailed checklist, calibrations can easily be missed or performed inconsistently, leading to inaccurate data, failed quality control checks, and potentially dangerous situations. A standardized checklist ensures every technician follows the same procedure, uses the correct standards, and records data in a consistent format. This eliminates guesswork and minimizes the risk of human error - a crucial factor when the integrity of your data and the safety of your operations are on the line.
Furthermore, a well-maintained calibration checklist provides invaluable documentation for regulatory compliance. It serves as a clear audit trail, demonstrating your commitment to quality and adherence to industry best practices. In essence, a calibration checklist isn't just a list of steps - it's a cornerstone of your quality management system.
Understanding Calibration Basics
Calibration isn't just about making a gauge read right. It's a systematic process of comparing an instrument's readings to a known standard - a reference that's been meticulously verified and traceable to national or international standards. Think of it like this: you're checking if your measuring tool is telling you the truth.
The core purpose is to determine if an instrument's output (the reading it gives) accurately reflects the actual value of the measured quantity. This could be temperature, pressure, weight, volume, or any other measurable parameter. A calibrated instrument means its errors have been documented and, if necessary, corrected. Even if no adjustment is made, the calibration process itself provides valuable information about the instrument's performance and stability over time. Without calibration, your data is unreliable, which can lead to flawed decisions, wasted resources, and potentially dangerous situations. The frequency of calibration depends on factors like equipment usage, environment, and manufacturer recommendations.
Your Calibration Checklist: A Step-by-Step Breakdown
Let's dive into the nitty-gritty. A calibration checklist isn't just a list; it's a structured process guaranteeing accuracy and traceability. Here's how each step contributes to a successful calibration:
1. Identification & Documentation: It all starts with knowing what you're calibrating. Meticulously record the equipment's make, model, serial number, location, and its intended purpose. A photograph adds clarity and assists with future reference. This initial step forms the backbone for traceability.
2. Environmental Control: Temperature, humidity, and air pressure all have a measurable effect on calibration results. Note these conditions precisely. Allowing equipment and the surrounding environment to stabilize is essential for consistent readings - rushing this step compromises accuracy.
3. Standard Validation: Your calibration standards must be more accurate than the equipment being calibrated. Verify the standards' serial numbers and calibration certificates. Confirm they're within their calibration period and within acceptable accuracy limits. Traceability to national or international standards (like NIST) is non-negotiable.
4. Pre-Calibration Assessment: Before a single measurement, a thorough check is vital. A visual inspection for physical damage and wear is your first line of defense. Follow the manufacturer's warm-up recommendations-a cold piece of equipment yields unreliable data. Finally, confirm that the power supply is delivering the correct voltage and frequency.
5. Executing the Procedure: This is where precision matters. Adhere strictly to the manufacturer's recommended calibration procedure. Use the designated test points, and take multiple readings at each point for improved accuracy and to assess repeatability.
6. Capturing Data: Every reading, date, time, and operator should be recorded accurately and consistently. Consider a standardized spreadsheet or calibration management software to streamline the data collection process and minimize errors.
7. Analysis and Evaluation: Compare measured values against the manufacturer's specifications. Note any deviations or trends. This is where you identify if the equipment is performing within acceptable limits, or requires adjustment or repair.
8. Adjustment and Documentation: If necessary, perform adjustments according to the manufacturer's guidelines. Document all adjustments made, including the reason for the adjustment and the person who performed it.
9. Verification and Final Recording: After any adjustments, repeat the calibration procedure to verify that the equipment now meets specifications. Record the final results and document the calibration's completion.
10. Tagging and Return to Service: A clearly labeled calibration tag indicates the last calibration date and the next due date, providing a visual reminder for future maintenance. Ensure proper handling during return and formally document the equipment's return to service.
Equipment Identification & Information: Setting the Stage
Accurate equipment identification is the bedrock of a successful calibration. It's more than just knowing the equipment's name; it's about creating a comprehensive record that allows for traceability and consistent performance monitoring. Begin by meticulously documenting the equipment's full details: manufacturer, model number, serial number, and its precise location within your facility. A photograph is incredibly valuable here - a visual reference can be a lifesaver when dealing with similar equipment.
Beyond the basic identification, record pertinent information relating to its intended use. Is it used for critical measurements? What processes does it support? Note any known issues or previous repairs, as these could influence calibration results. This initial data forms the foundation for comparing 'as-found' condition with the 'as-left' condition after calibration, providing valuable insights into equipment performance and potential maintenance needs. Consistent and detailed record-keeping at this stage will save time and reduce errors throughout the entire calibration process.
Environmental Factors & Standard Verification
Calibration accuracy is intrinsically linked to the surrounding environment and the integrity of the standards used. Fluctuations in temperature, humidity, and even air pressure can significantly skew results, rendering a calibration invalid. Before commencing any calibration procedure, meticulously record the ambient temperature, relative humidity, and atmospheric pressure. Allow the equipment and the environment sufficient time to stabilize; this soak time is critical for ensuring consistent readings.
Equally vital is the verification of your calibration standards. These aren't infallible; they themselves require periodic calibration to maintain accuracy. Before using any standard, confirm its current calibration status by reviewing its calibration certificate. Verify that the standard's expiration date hasn't passed and that it's within its acceptable accuracy range. Document the standard's serial number and the date of its last calibration alongside your calibration records to establish a clear chain of traceability. Using compromised standards jeopardizes the entire calibration process and can lead to inaccurate data with potentially serious consequences.
The Calibration Procedure: Precision in Action
The heart of a successful calibration lies in the procedure itself. This isn't simply about taking readings; it's about executing a precise, repeatable process that yields reliable results. Before even touching the equipment, thoroughly review the manufacturer's recommended calibration procedure - it's your roadmap to success.
The process typically involves a series of steps: first, establishing baseline readings at multiple points across the equipment's operating range. These readings should be taken slowly and deliberately, allowing for stabilization between each measurement. Repeat each reading at least three times to minimize random errors and ensure repeatability. Record each reading with meticulous detail: date, time, operator initials, and any environmental observations that could influence the outcome.
Consider the influence of gravity, temperature gradients, and electromagnetic interference - these seemingly minor factors can drastically impact accuracy if not accounted for. For instruments measuring dynamic parameters like flow or pressure, ensure the system is stabilized and in a steady state before initiating the calibration.
Calibration often involves comparing the instrument's output to a known, traceable standard. This standard must be more accurate than the instrument being calibrated - there's no point in calibrating against something that's itself inaccurate. The comparison is not simply a single point check; it's a mapping of the instrument's performance across its range. This detailed analysis allows for a complete understanding of the instrument's accuracy and allows for a more robust and reliable calibration certificate. Following the procedure faithfully, with careful observation and detailed record-keeping, is the cornerstone of a precise and dependable calibration.
Data Recording & Tolerance Evaluation
Accurate data recording is the bedrock of a successful calibration. It's not enough to simply take readings; you need to document everything meticulously. This includes the date and time of each reading, the operator's initials, the equipment's serial number, the calibration standard used, and environmental conditions. A well-organized spreadsheet or, even better, dedicated calibration software, is invaluable for maintaining this level of detail.
Once you're confident in the data collected, the critical step of tolerance evaluation begins. This involves a direct comparison of your measured values against the equipment's predefined tolerance limits, often found in the manufacturer's specifications or operating manual. These tolerances represent the acceptable range of deviation from the ideal or nominal value.
Each measurement should be assessed individually, but also consider the overall trend. A series of readings consistently falling just outside the tolerance range might indicate a more significant issue requiring further investigation beyond a simple adjustment. Document whether each measurement "Passes" or "Fails" based on this comparison. Clear and unambiguous documentation of this Pass/Fail determination is vital for traceability and auditability. Don't be afraid to flag questionable results and seek a second opinion from a qualified technician when in doubt - it's better to err on the side of caution.
Adjustment & Correction (When Necessary)
When calibration results deviate outside acceptable tolerances, adjustments become necessary. However, these aren't steps to be taken lightly. Only personnel with documented training and expertise in the specific equipment should perform any corrective actions. Attempting adjustments without proper understanding can exacerbate the problem, void warranties, or even damage the equipment.
The adjustment process itself must strictly adhere to the manufacturer's recommended procedure. This often involves delicate maneuvers and precise settings. Before making any changes, carefully review the equipment's service manual and ensure you have the correct tools and calibration standards.
Meticulous record-keeping is paramount. Document every adjustment made, including the initial reading, the adjustment performed, the new reading, and the reasoning behind the action. This traceability is critical for auditing purposes and helps in troubleshooting future issues. Never simply tweak a setting; always have a clear and justifiable reason for each modification. Following adjustments, a complete re-verification of the calibration is essential to confirm the equipment now meets the required specifications and tolerances.
Final Verification, Documentation, and Tagging
The calibration journey doesn't end with adjustments. A robust final verification step is crucial to ensure the equipment consistently meets performance specifications after any corrections have been made. This means repeating key measurements from the initial calibration procedure. Any deviations from the acceptable tolerance range at this point indicate a problem requiring further investigation - potentially a faulty sensor, an environmental anomaly, or even an issue with the calibration standard itself. Don't rush this phase; it's your last chance to catch errors before the equipment returns to service.
Following successful final verification, meticulous documentation is paramount. The calibration certificate serves as the official record, encompassing all data points, environmental conditions, standards used, adjustments made (if any), the operator's signature, and a statement of conformity. This certificate isn't just for internal tracking; it's often required for audits, regulatory compliance, and demonstrating due diligence. Ensure the certificate is complete, accurate, and securely stored.
Finally, proper equipment tagging is the visible confirmation of calibration status. A clearly visible tag, indicating the calibration date and the next due date, provides a quick and easy reference for maintenance personnel. This system prevents overdue calibrations and helps maintain the integrity of your equipment's performance. Consider using color-coded tags to highlight urgency or to differentiate between equipment with varying calibration intervals.
Resources & Links
- National Institute of Standards and Technology (NIST) : NIST provides fundamental measurement science, standards, and technology. Their website contains a wealth of information on metrology, calibration standards, and best practices, crucial for understanding calibration principles and finding relevant guidance.
- American National Standards Institute (ANSI) : ANSI coordinates the development of voluntary consensus standards in the United States. Look for standards related to calibration procedures and equipment requirements. They often reference ISO standards.
- International Organization for Standardization (ISO) : ISO develops and publishes international standards. Specifically, ISO 10012 (Management of Measurement) and ISO/IEC 17025 (General requirements for the competence of testing and calibration laboratories) are extremely relevant to calibration programs. This is where you're going to find the 'what' and 'why' of calibration.
- American Society for Quality (ASQ) : ASQ is a global resource for quality professionals. Their website offers articles, training, and resources related to quality management, including calibration and measurement uncertainty. They have great explainers on core concepts.
- Reliable Measurement, Inc. : Reliable Measurement offers calibration services and provides a blog/resource section with articles and insights on calibration topics. They often publish practical advice and explain complex ideas clearly.
- Fluke Calibration : Fluke Calibration (formerly Standard Instruments) is a leading provider of calibration instruments and services. Their website has useful technical resources, application notes, and guidance on using calibration equipment and understanding measurement uncertainty.
- Mensor : Mensor provides a wide variety of measurement instruments and calibration services. Their site includes technical information and application notes which provide context for accurate measurements.
- Thermo Fisher Scientific : Thermo Fisher Scientific offers a broad range of laboratory equipment, including instruments used in calibration processes. Their website has technical documents and guides related to measurement science.
- CalibrationXchange : CalibrationXchange offers a calibration management software. Their website features articles and resources on calibration best practices, regulations, and industry trends. Good for understanding calibration management.
- The Lab Guy : The Lab Guy offers consulting and resources related to laboratory compliance and calibration. This site offers helpful insights and practical advice for maintaining calibration programs. Focuses on the practical aspects.
Frequently Asked Questions
What is calibration and why is it important?
Calibration is the process of comparing a measuring instrument or system against a known standard to ensure accuracy and reliability. It's important because it ensures your measurements are correct, which is crucial for quality control, safety, and compliance with regulations.
What is a calibration checklist template and how can it help?
A calibration checklist template is a pre-structured document that outlines the steps and procedures needed to calibrate a specific piece of equipment. It helps ensure consistency, reduces errors, and provides a record of the calibration process.
Who needs to use a calibration checklist template?
Anyone who uses measuring equipment, including laboratories, manufacturing facilities, research institutions, and quality control departments. Any organization relying on accurate measurements benefits from using calibration checklists.
What information should be included in a calibration checklist template?
A good template should include: Equipment identification, calibration date, standard used, environmental conditions, measurement readings, acceptance criteria, pass/fail results, technician's signature, and any deviations from the procedure.
Can I customize the calibration checklist template?
Absolutely. The template is designed to be a starting point. You should customize it to reflect the specific equipment, procedures, and standards relevant to your organization.
What is the difference between calibration and validation?
Calibration adjusts an instrument to meet a standard, while validation confirms that the instrument is functioning as intended within its specified environment and application. Calibration is a subset of validation, often needed to ensure validation results are accurate.
How often should equipment be calibrated?
Calibration frequency depends on factors like equipment usage, environmental conditions, criticality of measurements, and manufacturer recommendations. Refer to the equipment's manual and relevant standards for guidance.
What happens if an instrument fails calibration?
If an instrument fails calibration, it should be taken out of service. Options include repair, adjustment, or replacement. The reason for failure should be documented, and the calibration record should reflect the failure and corrective action taken.
Where can I find standards for calibration procedures?
Relevant standards organizations like ISO, ANSI, NIST, and ASTM provide guidelines and standards for calibration procedures. Refer to the equipment's manual and industry best practices for specific requirements.
What are 'as found' and 'as left' readings in a calibration checklist?
'As found' readings record the instrument's condition before calibration begins. 'As left' readings record the instrument's condition after calibration and adjustment. These readings document the calibration's effectiveness.
Found this Article helpful?
Facility Management Solution Demo
Keep your facilities running smoothly! ChecklistGuro streamlines maintenance, inspections, and vendor management. Reduce downtime, optimize efficiency, & improve safety. Manage it all with our Work OS.
Related Articles
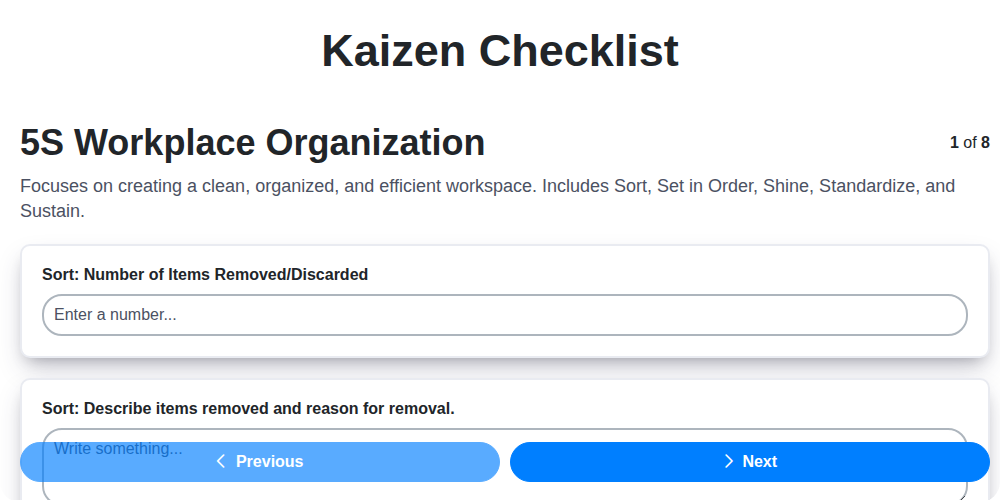
Kaizen Checklist Template: Your Path to Continuous Improvement

Machine Safety Audit Checklist: Your Guide to a Safer Manufacturing Workplace
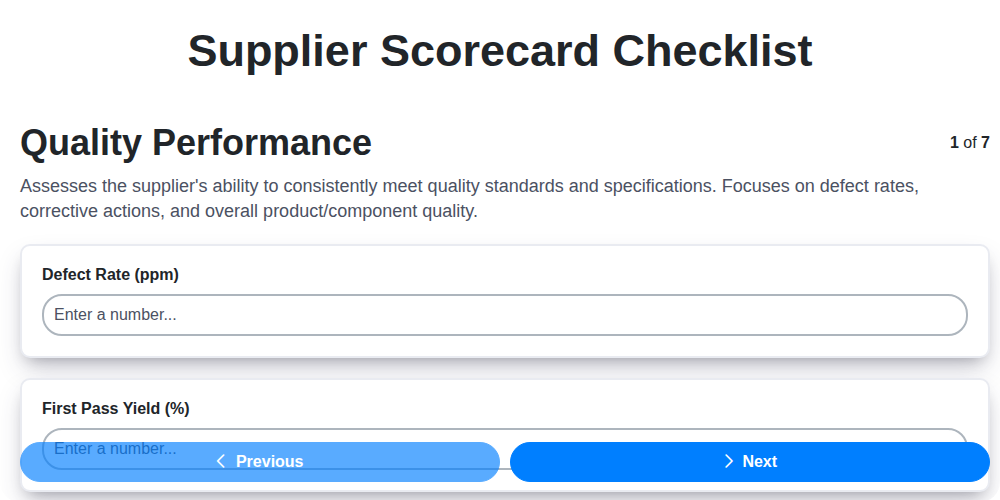
Mastering Supplier Performance: Your Free Supplier Scorecard Checklist Template
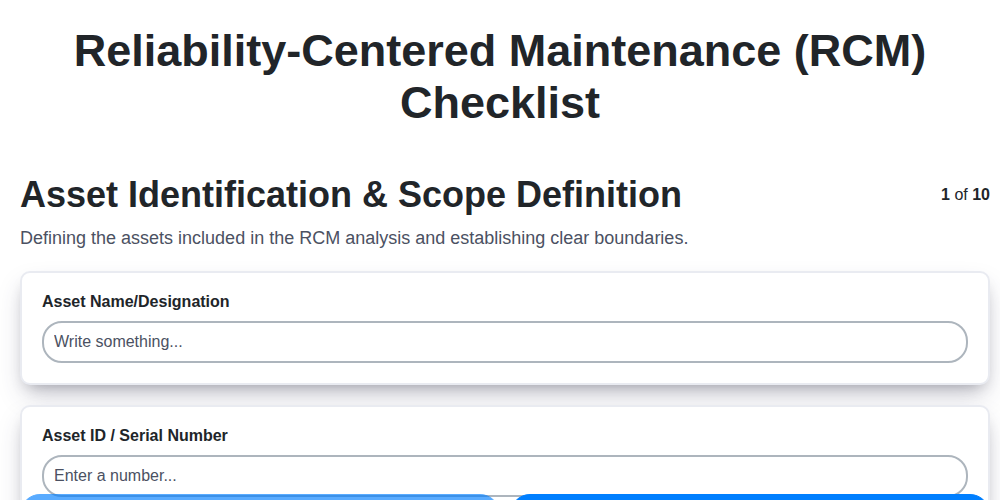
Your Ultimate RCM Checklist Template: A Step-by-Step Guide

LPA Checklist Template: Your Guide to Layered Process Audits

Your Ultimate Lockout/Tagout (LOTO) Checklist Template

Your Ultimate FSC 22000 Checklist Template
Quality Control Inspection Checklist Template: Prevent Defects & Improve Manufacturing Processes
We can do it Together
Need help with
Facility Management?
Have a question? We're here to help. Please submit your inquiry, and we'll respond promptly.