CEP Checklist Template: Your Guide to Continuous Improvement
Published: 09/02/2025 Updated: 12/13/2025

Table of Contents
- What is a CEP Checklist and Why Do You Need One?
- Understanding the Core Principles of Continuous Improvement
- CEP Checklist Template: A Step-by-Step Guide
- Phase 1: Define & Prioritize - Identifying Improvement Opportunities
- Phase 2: Analyze & Plan - Root Cause Analysis & Solution Design
- Phase 3: Implement & Test - Putting Your Plan into Action
- Phase 4: Monitor & Standardize - Embedding Improvements
- Tools & Techniques to Support Your CEP Checklist
- Common Challenges and How to Overcome Them
- Beyond the Checklist: Fostering a Culture of Continuous Improvement
- Resources & Links
TLDR: Struggling to keep your Continuous Improvement Process (CEP) on track? This checklist template breaks down the steps-from problem identification to ongoing monitoring-so you can systematically improve your business processes, reduce waste, and boost efficiency. Download the template and start streamlining your operations today!
What is a CEP Checklist and Why Do You Need One?
A CEP Checklist isn't just a list of tasks; it's your roadmap to sustainable operational excellence. Think of it as a structured guide, breaking down the often-overwhelming journey of continuous improvement into manageable, actionable steps. Without a checklist, CEP initiatives can easily become disorganized, lack focus, and ultimately fail to deliver the desired results.
Here's why having a documented CEP checklist is so vital:
- Provides Clarity & Structure: It outlines exactly what needs to be done, by whom, and when, removing ambiguity and ensuring everyone is on the same page.
- Ensures Consistency: A standardized checklist guarantees that every CEP project follows a proven process, leading to more reliable outcomes.
- Facilitates Tracking & Accountability: It provides a clear framework for monitoring progress, identifying roadblocks, and holding team members accountable.
- Promotes Knowledge Sharing: It serves as a valuable resource for training new team members and capturing institutional knowledge.
- Reduces Risk of Overlooking Critical Steps: It acts as a safety net, ensuring that no crucial element of the improvement process is missed.
Essentially, a CEP checklist transforms a potentially chaotic effort into a predictable, results-driven system, paving the way for ongoing growth and efficiency within your organization.
Understanding the Core Principles of Continuous Improvement
Continuous improvement isn't just about fixing problems; it's a fundamental shift in mindset and approach. Several core principles underpin successful CEP initiatives and guide teams toward sustainable progress. Let's explore these foundational tenets.
1. Customer Focus: At its heart, continuous improvement revolves around enhancing customer value. Every process, every decision, should be evaluated through the lens of how it impacts the customer experience. This doesn's necessarily mean direct customer interaction; it includes internal customers as well-how one department's efficiency affects the next.
2. Process-Oriented Thinking: Shifting from blaming individuals to analyzing processes is key. Instead of asking Who made this mistake?, ask What process allowed this mistake to occur?. This fosters a culture of learning and improvement, not finger-pointing.
3. Data-Driven Decisions: Gut feelings and assumptions have their place, but significant changes should be supported by data. Establishing baseline measurements, tracking progress, and using data analysis to identify areas for improvement is essential for demonstrating ROI and ensuring the right actions are taken.
4. Small, Incremental Changes (Kaizen): Large, disruptive changes can be risky and difficult to implement. The Kaizen philosophy advocates for small, continuous improvements over time. These incremental changes are easier to manage, less disruptive, and collectively lead to significant overall gains.
5. Waste Reduction (Eliminating Muda): Identifying and eliminating waste - any activity that doesn't add value to the customer - is a cornerstone of Lean methodologies and a critical aspect of continuous improvement. This encompasses everything from unnecessary steps in a process to overproduction and defects.
6. Employee Involvement: Continuous improvement thrives on the participation of everyone in the organization. Frontline employees often have the best insights into process inefficiencies and can be invaluable contributors to solutions. Empowering them and encouraging their input is crucial.
7. Constant Review and Adaptation: Continuous improvement is, by definition, an ongoing process. Regularly reviewing your processes, the effectiveness of your improvement efforts, and adapting your approach based on what you learn is vital for sustained success.
CEP Checklist Template: A Step-by-Step Guide
Let's move beyond the overview and into the practicalities. This template provides a detailed breakdown of each stage, outlining specific actions and considerations. Think of it as your roadmap for building a robust Continuous Improvement Process. You can download a fillable PDF version at the end of this article for easy implementation.
1. Define the Problem & Set Objectives (Estimated Time: 1-2 Days)
- Identify Potential Problem Areas: Brainstorming sessions, employee surveys, customer feedback analysis.
- Prioritize Issues: Pareto Chart, Impact/Effort Matrix.
- Clearly Define the Problem Statement: Use the 5 Whys technique - dig deep to find the root cause, not just the symptom. (Example: Instead of Sales are down, ask Why are sales down? Why? Why?...)
- Establish SMART Objectives: (Specific, Measurable, Achievable, Relevant, Time-bound). Example: Reduce customer service call wait times by 20% within 3 months.
- Assign a Problem Owner: Who is responsible for leading this improvement effort?
2. Gather & Analyze Data (Estimated Time: 3-5 Days)
- Identify Key Data Points: What data will indicate whether the problem exists and whether the solution is working?
- Establish Baseline Measurements: Record current performance before implementing any changes.
- Collect Data: Use appropriate tools (spreadsheets, software, observation). Ensure accuracy and consistency.
- Analyze Data: Utilize tools like histograms, control charts, Fishbone Diagrams (Cause & Effect) to identify root causes.
- Document Findings: Clearly record the data, analysis, and identified root causes.
3. Develop & Test Solutions (Estimated Time: 5-10 Days)
- Brainstorm Potential Solutions: Encourage creativity and diverse perspectives.
- Evaluate Solutions: Consider feasibility, cost, impact, and potential risks.
- Pilot Test Solutions: Implement solutions on a small scale to assess effectiveness and identify unforeseen issues.
- Gather Feedback: Collect data and solicit feedback from users and stakeholders.
- Refine Solutions: Adjust solutions based on pilot test results and feedback.
4. Implement & Monitor (Estimated Time: Ongoing)
- Develop an Implementation Plan: Outline steps, timelines, and responsibilities.
- Communicate Changes: Keep stakeholders informed about the changes and their rationale.
- Train Employees: Provide necessary training on new processes or technologies.
- Monitor Key Metrics: Track progress against established objectives.
- Regularly Review Performance: Schedule periodic reviews to assess effectiveness and identify areas for further improvement.
5. Standardize & Document (Estimated Time: 2-3 Days)
- Update Procedures: Formalize the improved process into standard operating procedures (SOPs).
- Document Lessons Learned: Capture insights and best practices for future reference.
- Share Successes: Celebrate achievements and recognize contributions.
- Continuously Seek Improvement: Make continuous improvement an integral part of the organization's culture.
Phase 1: Define & Prioritize - Identifying Improvement Opportunities
Before diving into solutions, it's crucial to pinpoint the areas ripe for improvement. This isn't about guesswork; it's a structured approach to identifying and prioritizing opportunities. A common mistake is tackling too many issues at once, leading to scattered efforts and minimal impact. This phase focuses on clarity and strategic selection.
Gathering Insights - A Multifaceted Approach
The best improvement initiatives stem from a variety of perspectives. Don't limit yourself to just one source of information. Consider these avenues:
- Customer Feedback: This is gold. Regularly analyze customer surveys, online reviews, and social media mentions. What recurring complaints or suggestions do you see?
- Employee Input: Your employees are on the front lines. They witness process inefficiencies daily. Implement suggestion boxes (physical or digital), conduct regular team meetings dedicated to problem identification, and encourage open communication.
- Process Mapping: Visually map out your key processes. This helps identify bottlenecks, redundancies, and areas where handoffs cause delays or errors.
- Data Analysis: Leverage existing data to reveal trends and pain points. Look at metrics like error rates, cycle times, and customer satisfaction scores.
- Benchmarking: Compare your performance against industry best practices or competitors.
Prioritization is Key - Using the Pareto Principle
Once you're swimming in potential improvement opportunities, it's time to prioritize. The Pareto Principle (the 80/20 rule) is your friend here. Typically, 80% of your problems stem from 20% of the causes. Focus your initial efforts on that critical 20%. Tools like a Pareto chart can visually represent this distribution, making prioritization much clearer.
Defining the Problem Statement
For each prioritized opportunity, craft a clear and concise problem statement. It should describe the problem, its impact, and the scope of the issue. A well-defined problem statement ensures everyone is on the same page and sets the stage for effective solution development. Avoid vague language - be specific about what you've identified and why it's a problem.
Phase 2: Analyze & Plan - Root Cause Analysis & Solution Design
Once you've established a clear baseline through data collection (Phase 1), it's time to dig deeper. This phase is all about understanding why the problem exists and designing a targeted solution. Simply addressing symptoms won't provide lasting improvement; we need to tackle the underlying causes.
Unearthing the Root: Root Cause Analysis Techniques
Several powerful techniques can help you identify the true source of the issue. Don't rely solely on assumptions - use data and structured approaches. Here are a few popular methods:
- The 5 Whys: This deceptively simple technique involves repeatedly asking Why? to drill down through layers of contributing factors until you reach the core issue. For example, Why are orders delayed? -> Because the packaging process is slow -> Because the packaging machine is outdated -> ...and so on.
- Fishbone Diagram (Ishikawa Diagram or Cause-and-Effect Diagram): This visual tool helps you systematically brainstorm potential causes, categorized by factors like people, process, equipment, materials, environment, and measurement. It've categorized areas so you can identify the root cause.
- Pareto Analysis (80/20 Rule): As touched on in Phase 1, this helps you prioritize causes that contribute to the majority of the problem. Focus your energy on the 20% of causes that generate 80% of the negative impact.
- Fault Tree Analysis: A more formal, deductive technique used to identify potential failure points in a system.
Crafting the Solution: Design Principles & Prioritization
Once you've identified the root causes, it's time to develop solutions. Consider these key principles:
- Focus on Prevention: The best solutions prevent the problem from recurring, rather than just mitigating its effects.
- Simplicity: Often, the most effective solutions are the simplest to implement and understand.
- Data-Driven: Base your solution design on data and evidence, not just intuition.
- Consider All Impacts: Evaluate how a potential solution will affect other processes or departments.
- Prioritize Solutions: Not all solutions are created equal. Rank them based on potential impact, ease of implementation, and cost. A simple matrix (Impact vs. Effort) can be a helpful tool.
Remember to document your analysis and proposed solutions clearly. This will be valuable for Phase 3: Implement and Monitor.
Phase 3: Implement & Test - Putting Your Plan into Action
This is where the rubber meets the road. All the planning, data analysis, and solution development culminate in the implementation phase. However, don't rush into full-scale deployment! A phased approach, combined with rigorous testing, is essential to minimize disruption and ensure success.
Phased Rollout - Minimizing Risk:
Instead of launching the solution across your entire operation simultaneously, start with a pilot program. Select a specific department, team, or geographic location - ideally one that is representative of your broader organization but contains a manageable scope. This allows you to observe the solution in a real-world setting, identify any unforeseen challenges, and refine your processes before wider adoption. Clearly define the scope of the pilot, the metrics you're tracking, and the timeframe.
Testing Beyond Functionality:
Testing shouldn't just focus on whether the solution works technically. Consider these critical areas:
- User Adoption: Are employees comfortable and proficient with the new process? Provide training and support to address any resistance or confusion.
- Workflow Integration: Does the solution integrate seamlessly with existing workflows? Are there any bottlenecks or conflicts?
- Data Accuracy & Reliability: Is the data generated by the solution accurate and reliable? Validate data inputs and outputs.
- Impact on Other Departments: Does the change affect other departments? If so, coordinate and communicate effectively.
- Sustainability: Can this solution be sustained over the long term, considering resources and maintenance?
Feedback Loops & Iteration:
Establish clear feedback channels - surveys, one-on-one conversations, suggestion boxes - to gather input from users throughout the pilot phase. Be prepared to iterate on your solution based on this feedback. Don't be afraid to make adjustments, even significant ones. Remember, the goal is to create a solution that truly solves the problem and delivers value. Document all changes and their rationale for future reference. Once the pilot phase is complete and the solution has been thoroughly tested and refined, you can confidently move to full-scale implementation, armed with the knowledge and experience gained from the initial rollout.
Phase 4: Monitor & Standardize - Embedding Improvements
Congratulations! You've implemented your solution and seen positive results. But the journey doesn't end here. This phase is about solidifying those gains and ensuring they become ingrained in your daily operations. It's the bridge between a successful pilot and a truly transformed process.
Consistent Monitoring: Keeping a Watchful Eye
The initial excitement of a successful implementation can fade quickly. Don't let it. Establishing a robust monitoring system is paramount. This means continuing to collect data related to the metrics you defined earlier. Are those improvements sustaining over time? Are there any unexpected consequences? Regular data reviews - weekly, monthly, or quarterly, depending on the process - will provide early warnings of any potential drift. Visualize this data using charts and graphs to quickly identify trends and anomalies. Consider setting up automated alerts to notify the team when key performance indicators fall outside acceptable ranges.
Formalizing the New Way: Standardization is Key
Now, it's time to document the revised process. This isn't just about writing it down; it's about creating a living document that guides everyone involved. Develop detailed Standard Operating Procedures (SOPs) that clearly outline each step, including roles, responsibilities, and required documentation. These SOPs should be accessible and easy to understand, not buried in complex manuals. Incorporate visual aids, flowcharts, or checklists to further clarify the process. Regularly review and update SOPs to reflect any refinements or learnings.
Training and Communication: Building Ownership
Standardized processes are only as good as the people who follow them. Invest in training to ensure everyone understands the new way of doing things. Explain why the changes were made and how they benefit the team and the organization. Encourage feedback and create channels for ongoing communication. Celebrate successes and acknowledge the efforts of those involved. This fosters a sense of ownership and ensures that the improvements are embraced and maintained.
Continuous Review: The Cycle Continues
Finally, schedule periodic reviews of the entire CEP itself. This isn't about blaming or pointing fingers; it's about identifying areas for further improvement and ensuring that the CEP remains relevant and effective. Are there any processes that could benefit from a similar approach? Is the CEP aligned with the organization's overall goals? By continuously reviewing and refining your CEP, you're laying the foundation for a culture of ongoing improvement and sustainable success.
Tools & Techniques to Support Your CEP Checklist
Implementing a CEP checklist is fantastic, but having the right tools and techniques at your disposal makes the entire process far more effective and efficient. It's not about accumulating every gadget imaginable; it's about selecting the right instruments for the job and understanding how to wield them. Here's a look at some valuable tools and techniques that can significantly bolster your CEP efforts:
Data Analysis & Visualization:
- Spreadsheet Software (Excel, Google Sheets): The workhorse of data management. Use these for tracking metrics, creating charts, and performing basic statistical analysis. Pivot tables are a must for quickly summarizing large datasets.
- Statistical Software (Minitab, SPSS): For more in-depth statistical analysis, these tools offer a broader range of capabilities, including hypothesis testing and regression analysis.
- Data Visualization Tools (Tableau, Power BI): Transform raw data into compelling visuals, making it easier to identify trends and communicate findings to stakeholders.
- Control Charts: A core Lean tool, control charts help monitor process stability and identify special causes of variation.
Problem Solving & Process Mapping:
- Fishbone Diagram (Ishikawa Diagram): Excellent for brainstorming potential causes of a problem, organizing ideas into categories (e.g., Man, Machine, Method, Material, Measurement, Environment).
- 5 Whys: A simple yet powerful technique to drill down to the root cause of a problem by repeatedly asking Why?.
- Value Stream Mapping: Visualizes the steps involved in a process, identifying waste and opportunities for improvement.
- Process Mapping Software (Lucidchart, Visio): Facilitates the creation of detailed process maps, allowing for easy analysis and collaboration.
Collaboration & Communication:
- Project Management Software (Asana, Trello, Monday.com): Keeps track of tasks, assignments, and deadlines, ensuring accountability and progress.
- Collaboration Platforms (Microsoft Teams, Slack): Facilitates communication and information sharing among team members.
- Whiteboarding Tools (Miro, Mural): Enables remote brainstorming and collaborative problem-solving.
Remember to select tools that align with your team's skill level and the complexity of your processes. Don't be afraid to experiment and find what works best for your organization.
Common Challenges and How to Overcome Them
Embarking on a Continuous Improvement Process (CEP) isn't always smooth sailing. Resistance, lack of resources, and getting bogged down in details are just a few hurdles you might encounter. Let's break down some common challenges and explore practical solutions to keep your CEP on track.
1. Resistance to Change: Perhaps the most pervasive challenge. People are comfortable with the way things are, even if they're not ideal.
- Solution: Early and frequent communication is key. Explain why change is necessary and how it will benefit everyone. Involve employees in the process from the beginning - their input and ownership are invaluable. Celebrate small wins to build momentum and demonstrate the positive impact of change.
2. Lack of Management Support: A CEP needs buy-in from the top. Without it, resources will be scarce, and progress will stall.
- Solution: Present a clear business case for the CEP, outlining potential ROI and highlighting key performance indicators (KPIs). Regularly report progress to leadership and demonstrate the value of their investment. Align the CEP with strategic business objectives.
3. Insufficient Resources (Time, Money, Personnel): Implementing a CEP requires dedicated effort.
- Solution: Start small and focus on high-impact areas. Prioritize projects that deliver quick wins and demonstrate value. Explore opportunities to leverage existing resources and cross-functional teams. Seek out inexpensive or free training resources and tools.
4. Data Overload & Analysis Paralysis: Collecting data is vital, but too much can be overwhelming.
- Solution: Focus on collecting relevant data that directly addresses the problem. Clearly define KPIs and metrics before starting data collection. Use simple, visual tools to analyze data and identify trends. Don't strive for perfection - good enough data is often sufficient for initial improvements.
5. Getting Stuck in the Doing Phase - Neglecting the Checking Phase: Continuously improving requires periodically evaluating the process itself.
- Solution: Schedule regular review meetings (e.g., quarterly) to assess the effectiveness of the CEP and identify areas for refinement. Use data to track progress against KPIs and adjust strategies as needed. Treat the CEP itself as a process that requires continuous improvement.
These challenges are common, but certainly surmountable. By anticipating these potential roadblocks and implementing proactive solutions, you can significantly increase the likelihood of a successful and sustainable Continuous Improvement Process.
Beyond the Checklist: Fostering a Culture of Continuous Improvement
A checklist provides a framework, a starting point. But true, sustainable continuous improvement isn't about ticking boxes; it's about embedding a mindset of ongoing betterment into the very fabric of your organization. It's about moving beyond the checklist.
This requires more than just implementing the steps outlined above. It demands a shift in perspective and a commitment to creating an environment where everyone feels empowered to identify problems and propose solutions.
Here are key elements for nurturing that culture:
- Leadership Buy-in & Modeling: Continuous improvement starts at the top. Leaders need to visibly champion the process, actively participate, and demonstrate a willingness to adapt and learn.
- Employee Empowerment: Encourage employees at all levels to voice concerns, suggest improvements, and take ownership of their processes. Make it safe to challenge the status quo.
- Recognition & Reward: Celebrate successes, both big and small. Publicly acknowledge those who actively contribute to the CEP. This reinforces positive behaviors and motivates others.
- Open Communication: Foster a culture of transparency where feedback is readily shared and acted upon. Regular team meetings and feedback sessions are essential.
- Learning from Failure: Not every initiative will succeed. View setbacks as opportunities for learning and adjust your approach accordingly. Share those learnings openly.
- Continuous Education: Provide ongoing training on improvement methodologies and relevant tools to empower employees with the knowledge and skills they need to contribute effectively.
Ultimately, a culture of continuous improvement is about creating a dynamic, adaptable, and innovative organization that is constantly striving to be better.
Resources & Links
- ASQ (American Society for Quality) : ASQ is a global authority on quality, offering resources, training, and certifications related to continuous improvement methodologies like Lean, Six Sigma, and PDCA. A valuable source for definitions, articles, and tools.
- Lean Enterprise Institute : The LEI is a non-profit think tank dedicated to lean thinking and practice. They offer resources, case studies, and publications demonstrating how lean principles drive continuous improvement. Offers foundational understanding of a key methodology.
- Six Sigma Institute : Provides information and resources relating to Six Sigma, another core methodology underpinning continuous improvement. Includes explanations of the DMAIC process and training options. Great for deepening the understanding of data-driven improvement.
- PDCA Health : Dedicated to the Plan-Do-Check-Act (PDCA) cycle. Provides resources and explanations about the PDCA approach, a fundamental element in continuous improvement. Explains a common framework used in the checklist.
- MindTools : Offers a wide range of management and leadership tools, including those applicable to continuous improvement. Has articles and guides on topics like root cause analysis, brainstorming, and problem-solving. Includes practical applications of listed techniques.
- Gartner : Provides insights and research on business trends, including process improvement and operational excellence. Although often geared toward larger organizations, provides valuable perspectives on strategy and measurement. Helpful for contextualizing the checklist within a larger strategic framework.
- Smartsheet : Provides project management and collaboration software. Includes templates and articles on process improvement and continuous improvement, often showcasing how to use their platform to manage CEP checklists. Good for understanding implementation aspects.
- Tableau : A data visualization tool. Essential for 'Monitor & Standardize' phase - visualizing key metrics related to the improvement process. Allows for clear communication of progress and identification of new opportunities.
- The Quality Council : Offers training and consulting services related to quality management and continuous improvement. Provides deeper insight and understanding of advanced continuous improvement techniques.
- iSixSigma : A community and resource for Six Sigma professionals. Articles, forums, and tools covering all phases of DMAIC and related improvement methodologies. Practical case studies and solutions.
Frequently Asked Questions
What is a CEP checklist and why do I need one?
A CEP checklist (Continuous Environmental Performance checklist) is a structured tool designed to systematically assess and track your organization's environmental performance. You need one to identify areas for improvement, ensure compliance, monitor progress, and drive continuous improvement in your environmental practices.
Who should use this CEP checklist template?
This template is designed for a wide range of organizations, including businesses, manufacturers, non-profits, and government agencies. It's particularly useful for those seeking ISO 14001 certification or looking to strengthen their environmental sustainability efforts.
What types of areas does the checklist cover?
The checklist covers a broad spectrum of environmental aspects, including resource consumption (water, energy, waste), pollution prevention, legal compliance, emergency preparedness, training, and stakeholder engagement. Specific areas may be tailored to your organization's operations.
Is this checklist customizable?
Absolutely! The template is designed to be a starting point. You should customize it to reflect your organization's specific activities, environmental impacts, and regulatory requirements. Add, remove, or modify items as needed.
How often should I use the checklist?
We recommend using the checklist regularly - ideally, at least quarterly, but more frequently for areas with significant environmental risks or changes. Annual reviews are a minimum, but more frequent checks lead to better insights and quicker adjustments.
What do I do with the results of the checklist?
The checklist results should be documented and analyzed. Identify areas needing improvement, develop action plans with assigned responsibilities and deadlines, and track progress. Regular review of the checklist and action plans is crucial for continuous improvement.
Can this checklist help me achieve ISO 14001 certification?
Yes, using this checklist is a great starting point for preparing for ISO 14001 certification. It helps ensure you are addressing key environmental management system requirements. However, it's important to consult the ISO 14001 standard directly and seek expert guidance for certification.
What's the difference between a CEP checklist and an environmental audit?
A CEP checklist is a self-assessment tool used for ongoing monitoring and improvement. An environmental audit is a more formal and often external assessment to verify compliance and performance against specific standards. The checklist can inform audit preparation.
Where can I find additional resources and information related to continuous environmental performance?
Several resources are available, including ISO 14001 standards, environmental regulations from your local government, industry best practices, and online environmental management platforms. Your local environmental agencies are a good starting point.
Found this Article helpful?
Manufacturing Management Solution Demo
Stop chasing paperwork and wrestling with disconnected systems! Our solution brings clarity and control to your production process. From standard operating procedures (SOPs) and equipment maintenance to quality control and inventory tracking, we simplify every step.
Related Articles
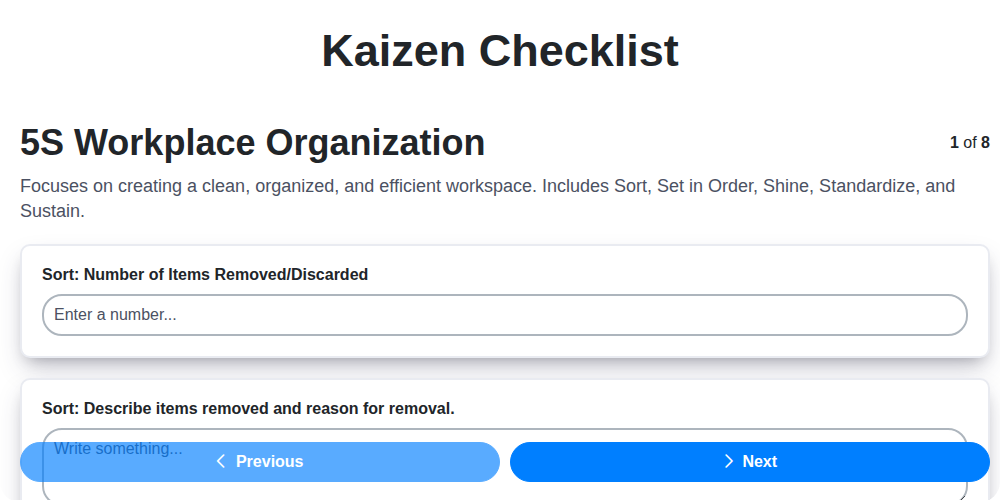
Kaizen Checklist Template: Your Path to Continuous Improvement

Machine Safety Audit Checklist: Your Guide to a Safer Manufacturing Workplace
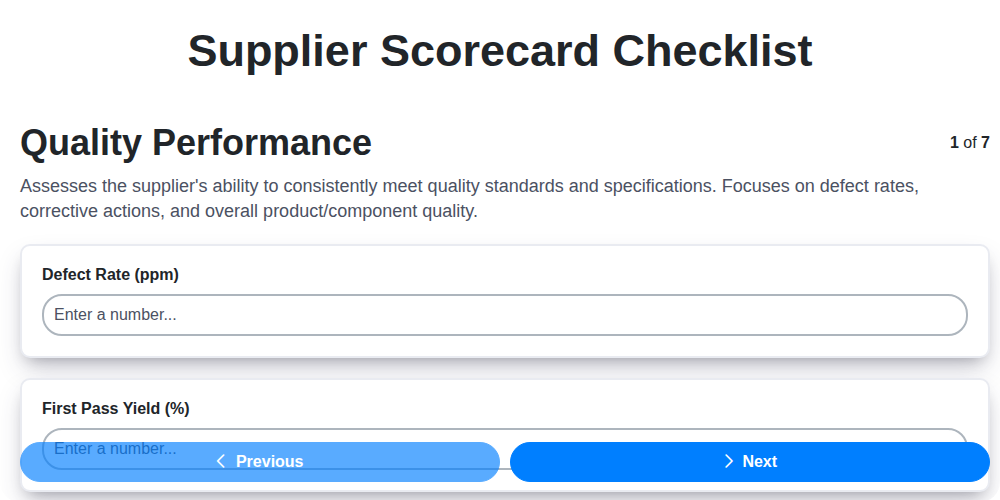
Mastering Supplier Performance: Your Free Supplier Scorecard Checklist Template
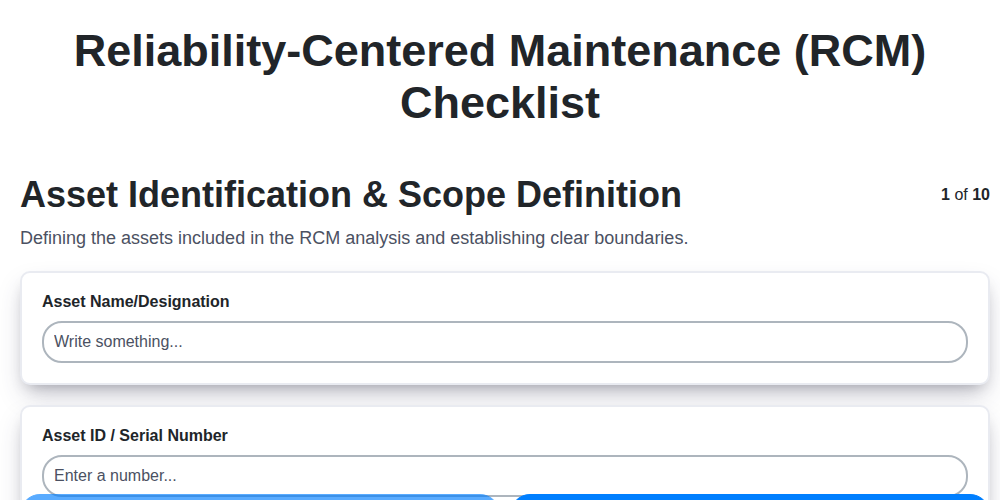
Your Ultimate RCM Checklist Template: A Step-by-Step Guide

LPA Checklist Template: Your Guide to Layered Process Audits

Your Ultimate Lockout/Tagout (LOTO) Checklist Template

Your Ultimate FSC 22000 Checklist Template
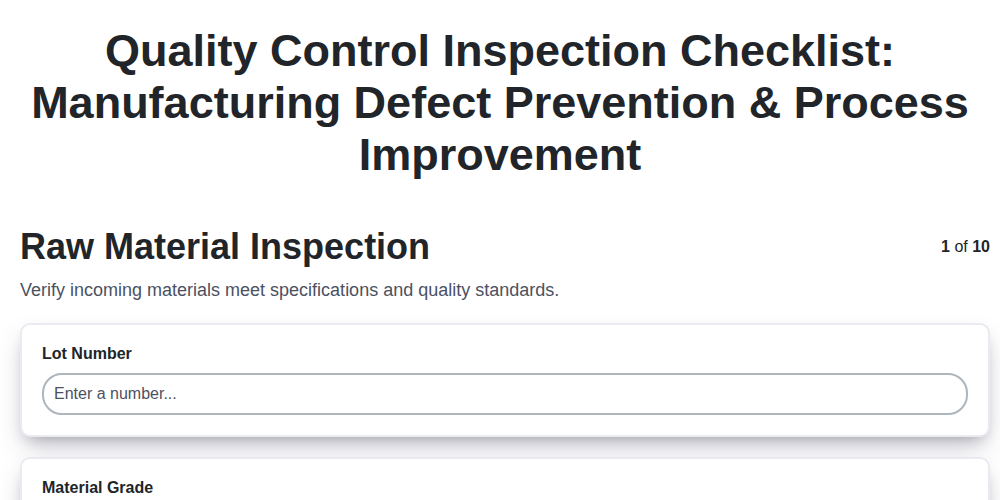
Quality Control Inspection Checklist Template: Prevent Defects & Improve Manufacturing Processes
We can do it Together
Need help with
Manufacturing?
Have a question? We're here to help. Please submit your inquiry, and we'll respond promptly.