Mastering Impressions: Your Dental Lab Checklist for Accuracy & Detail
Published: 09/10/2025 Updated: 12/13/2025

Table of Contents
- Why a Dental Lab Impression Checklist Matters
- Choosing the Right Impression Material
- Preparing the Impression Tray: Size, Type, and Disinfection
- Patient Positioning & Border Molding Techniques
- Mixing Impression Material: Achieving Perfect Consistency
- Capturing Edge Detail: A Critical Focus
- Replicating Gingival Tissue: Emergence Profiles
- Addressing Undercuts and Retention Challenges
- Impression Handling: Minimizing Distortion
- Secure Storage & Labeling: Maintaining Integrity
- Documentation & Communication: Bridging the Gap
- Complete Arch Assessment: A Final Verification
- Troubleshooting Common Impression Errors
- Digital Impressions vs. Traditional: A Comparative Look
- Continuous Improvement: Refining Your Impression Workflow
- Resources & Links
TLDR: Ensure flawless dental restorations with this comprehensive checklist! It guides you through every step - from mixing materials to capturing gingival detail - minimizing errors, maximizing accuracy, and ultimately, delivering exceptional results for your patients.
Why a Dental Lab Impression Checklist Matters
In the precision-driven world of dental laboratory work, even seemingly small deviations can have significant downstream consequences. A flawed impression isn't just a minor inconvenience; it's the bedrock upon which a restoration's fit, function, and aesthetics are built. Without a consistently accurate representation of the patient's anatomy, your lab risks delivering a restoration that requires remakes, compromises patient comfort, and ultimately, damages the reputation of both the dental practice and your lab.
Think of it this way: a poorly captured impression can lead to marginal discrepancies, inaccurate occlusion, and compromised emergence profiles - all directly impacting the patient's experience. Remakes are costly and time-consuming, creating frustration for everyone involved. More importantly, they detract from the trust a patient places in their dental team.
A structured checklist isn't about stifling creativity or implying a lack of expertise; it's about reinforcing best practices, minimizing human error, and ensuring every impression, regardless of who is taking it, meets a predetermined standard of excellence. It's a proactive measure that safeguards the quality of your work and strengthens your lab's commitment to delivering consistently outstanding results.
Choosing the Right Impression Material
The selection of the appropriate impression material is paramount to achieving accurate and detail-rich results. Each material offers unique properties, impacting factors like accuracy, patient comfort, handling characteristics, and cost. Let's explore the common choices:
Alginate: A widely used, economical option, particularly suited for preliminary impressions and study models. Alginate offers excellent detail reproduction but has dimensional instability, meaning it's prone to distortion over time. Its hydrophilic nature can also cause patient discomfort.
Polyvinyl Siloxane (PVS): Considered the gold standard for accuracy, PVS exhibits exceptional dimensional stability, minimizing distortion. It's available in addition and condensation forms, each with slightly different handling characteristics. Addition silicone is generally preferred due to its lower toxicity and improved shelf life. PVS is generally more expensive than alginate.
Polyether: Known for its excellent detail reproduction and recovery from deformation, polyether offers a good balance of accuracy and handling. It also exhibits low stickiness, making it easier to remove from the mouth and model. However, it can be more challenging to work with and is typically more expensive than PVS.
Condensation Silicone: A less common choice today, condensation silicone is more prone to dimensional changes and can release volatile byproducts that may cause patient sensitivity. Its advantages typically lie in its lower cost compared to other silicone options.
Consider these factors when making your selection:
- Accuracy Requirements: For complex restorations requiring high precision, PVS or polyether are often the best choices.
- Patient Sensitivity: Consider patient allergies or sensitivities to certain materials.
- Cost: Balance accuracy and detail requirements with budgetary constraints.
- Handling Characteristics: Choose a material that aligns with your team's skill level and preferences.
Always refer to the manufacturer's guidelines for specific handling and storage instructions for each material.
Preparing the Impression Tray: Size, Type, and Disinfection
Choosing the right impression tray and ensuring its cleanliness are foundational steps in capturing a precise impression. Improper selection or inadequate disinfection can compromise accuracy and introduce contamination risks. Let's break down the key considerations.
Tray Selection: Size and Type
The first step is determining the appropriate size and type of tray. This is highly case-dependent.
- Size: Impression trays are available in a range of sizes, typically designated by millimeters. Accurately measuring the patient's arch is crucial. Trays that are too small will restrict tissue and distort the impression, while trays that are too large offer poor stability and can lead to inaccuracies. Utilize a tray gauge or, when available, a digital scanning system to ensure proper fit.
- Type: Common tray types include:
- Full Arch Trays: Suitable for complete dentures or comprehensive restorative cases.
- Sectional Trays: Used for individual teeth or small groups of teeth, ideal for crowns, inlays, and onlays.
- Bite Registration Trays: Specifically designed to capture interocclusal relationships.
- Custom Trays: Fabricated from a preliminary impression, offering superior accuracy and stability, especially for complex cases or patients with limited opening.
Disinfection Protocols: Maintaining a Sterile Environment
Disinfection isn't just about patient safety; it's about impression accuracy. Residue from previous impressions or cleaning agents can affect the setting characteristics of the impression material.
- Recommended Methods:
- Universal Disinfectant: A broad-spectrum disinfectant specifically labeled for dental use is ideal. Follow the manufacturer's instructions for contact time.
- Soap and Water: While not a substitute for disinfection, thorough cleaning with soap and warm water is a necessary first step to remove gross debris.
- Avoid Harsh Chemicals: Steer clear of alcohol, acetone, or other solvents, as these can damage the tray material and affect the impression material's adherence.
- Drying: After disinfection, allow the tray to air dry completely before loading with impression material. Moisture can compromise the impression's quality and dimensional stability.
- Documentation: Maintain records of tray disinfection cycles to ensure traceability and adherence to infection control protocols.
Patient Positioning & Border Molding Techniques
Proper patient positioning and meticulous border molding are fundamental to achieving a well-fitting, accurate impression. Without these steps, you risk marginal discrepancies and a compromised restoration. Here's a breakdown of techniques to ensure optimal tissue capture:
Positioning for Access & Comfort:
First, prioritize patient comfort and accessibility. Recline the patient to a comfortable angle - typically between 45 and 90 degrees - allowing for unobstructed view of the oral cavity. Consider the patient's ability to tolerate the position and adjust accordingly. Ensure adequate lighting to clearly visualize all areas of the mouth. Communication with the patient regarding the process and potential sensations is key to minimizing anxiety and promoting cooperation.
Border Molding: A Step-by-Step Guide:
The goal of border molding is to accurately record the peripheral tissues, creating a positive replica of the gingiva and alveolar ridges. This provides a more stable foundation for the final impression and helps ensure proper emergence profiles. Here's a common approach:
- Initial Tray Seating: Carefully seat the preliminary impression tray, ensuring a snug and stable fit.
- Material Application: Apply a thin, uniform layer of impression material (typically a light-bodied acrylic or polyvinyl siloxane) along the border of the tray. This material should slightly extend beyond the intended margins of the final impression.
- Tissue Pressure: Gently apply pressure to the tissues along the border, ensuring intimate contact between the material and the gingiva. Avoid excessive pressure, which can distort the tissue.
- Setting Time: Allow the material to set completely according to the manufacturer's instructions. This ensures a strong and accurate border mold.
- Inspection: Carefully inspect the border mold for voids or inaccuracies. Any imperfections should be corrected by applying additional material and re-molding.
- Final Seating: After the border molding material has set, carefully remove any excess material and prepare the tray for the final impression.
Special Considerations:
- Class II/III Gingiva: Patients with receding or fibrotic gingiva may require a thicker layer of border molding material and longer setting times.
- Maxillary vs. Mandibular Arches: Border molding techniques may need to be adapted based on the specific arch being recorded.
- Digital Border Molding: Digital scanning technologies offer an alternative to traditional border molding, providing a precise and efficient method for capturing tissue details.
Mixing Impression Material: Achieving Perfect Consistency
The foundation of a distortion-free impression starts long before the tray even touches the patient's mouth: it begins with the mixing process. Inconsistent mixing is a common culprit behind inaccurate impressions, leading to marginal gaps, ill-fitting restorations, and ultimately, a frustrated clinician. Let's delve into the crucial details of achieving perfect consistency.
Understanding the Science:
Different impression materials - alginates, polyvinyl siloxanes (PVS), polyethers - react differently. Alginates, for instance, are susceptible to variations based on water temperature and mixing speed. PVS and polyethers, while more stable, still require precise measurement and thorough incorporation of catalyst. Ignoring the manufacturer's instructions is a recipe for trouble.
Measurement is Paramount:
- Accurate Ratios: Adhere strictly to the manufacturer's recommended powder-to-liquid (or base-to-catalyst) ratio. Use calibrated measuring devices, not eyeballing it. A slight deviation can drastically alter the material's setting time and physical properties.
- Temperature Considerations: For alginates, the temperature of both the powder and water impacts the reaction. Cold water will slow the setting time, while warm water can accelerate it. Maintain a consistent temperature for reproducible results.
- Level Measurements: Ensure materials are leveled off precisely in the measuring containers. Small differences can lead to significant inconsistencies.
The Mixing Technique:
- Controlled Mixing: Use a mechanical mixer when available, particularly for larger impressions. This ensures consistent speed and thorough incorporation. If mixing by hand, use a standardized technique: a gentle, spiraling motion, scraping the sides and bottom of the container to fully engage all the material.
- Stringing & Globules: Carefully inspect the mixed material for stringing (especially with alginates) and unmixed globules. These indicate incomplete mixing and potential weaknesses in the final impression. Continue mixing until these are completely eliminated.
- Time is of the Essence: The working time of impression material is finite. Mix only the amount you can use within that window. Leftover material can start to set, leading to inconsistencies.
- Avoid Air Entrapment: Mix gently to minimize air bubbles. These can create voids in the impression and compromise its accuracy. Tapping the container gently after mixing can help release trapped air.
Capturing Edge Detail: A Critical Focus
The margin - where the restoration meets tooth structure - is arguably the most critical area of an impression. Poor margin detail directly leads to marginal leakage, recurrent decay, and compromised aesthetics. It's not enough to see the margin; you need to capture it accurately.
Here's how to ensure exceptional edge detail:
- Lighting is Your Friend: Ensure adequate lighting during impression taking. This allows for clear visualization of the marginal anatomy. Consider using a focused light source.
- Controlled Pressure: Apply gentle, consistent pressure when seating the tray. Excessive pressure can distort the impression, while insufficient pressure can lead to voids. A rocking motion can help ensure full seating.
- Avoid Air Entrapment: Air bubbles are the enemy of accurate margins. Carefully eliminate air bubbles before the material begins to set. Use a syringe or impression instrument to gently displace any trapped air.
- Sharp Seating: Strive for a 'sharp' seat of the tray - a feeling of immediate and complete contact between the tray and the tooth structure. This minimizes the risk of distortions.
- Observe and Adjust: Continuously observe the impression as it sets. Minor adjustments to pressure or positioning may be necessary to capture the ideal margin detail. Don't be afraid to pause and reassess.
- Sectional Impressions (if necessary): For complex cases or when access is limited, consider using sectional impressions to maximize detail capture and minimize distortion.
Replicating Gingival Tissue: Emergence Profiles
The emergence profile - the way a tooth emerges from the gum tissue - is a crucial aesthetic element of a restoration. An inaccurate replication can lead to a restoration that looks unnatural, compromises hygiene, and potentially contributes to gingival inflammation. Achieving a proper emergence profile requires careful attention and technique.
Here's what to consider:
- Understanding the Anatomy: Familiarize yourself with the natural contours of the gingival tissues around different types of teeth. Variations exist depending on the tooth's position in the arch and the patient's individual anatomy.
- Tissue Retraction (When Necessary): In some cases, particularly when dealing with excessive gingival tissue or discrepancies in the natural emergence profile, controlled tissue retraction may be necessary. Always follow established protocols and utilize appropriate retraction agents. Improper retraction can damage the gingiva and compromise healing. Document the retraction method used clearly.
- Impression Material Flow: The flow of the impression material directly impacts tissue replication. Ensure consistent and even pressure during seating to avoid distortions. Avoid trapping air bubbles near the gingival margin, as these will translate to voids in the final restoration.
- Slight Pressure for Detail: Applying a slight pressure on the tissue as the impression material sets can help capture subtle details of the gingival architecture. However, excessive pressure can distort the tissue and create an unnatural appearance.
- Consider the Overall Aesthetic: Remember that the emergence profile isn't just about the immediate margin; it's about how the tooth blends with the surrounding gum tissue. A holistic view is essential for creating a natural-looking restoration.
- Photography: Document the tissue architecture with photographs before taking the impression. These photos serve as a valuable reference point for accurately replicating the emergence profile.
Addressing Undercuts and Retention Challenges
Undercuts, those areas where the impression tray might become locked onto the prepared tooth or surrounding tissues, present a common challenge in accurate impression taking. Ignoring them can lead to distorted impressions, difficulty in removing the tray, and ultimately, a restoration that doesn't fit. Retention, conversely, is crucial - a well-retained impression ensures a stable base for the model and a more accurate representation of the anatomy.
So, how do we navigate these challenges?
Identification is Key: The first step is careful assessment. Look for areas where the tray might stick upon removal. This isn't always immediately obvious, especially with complex anatomy. Thorough border molding can sometimes reveal hidden undercuts.
Impression Coping: The Strategic Solution: In cases with significant undercuts, especially involving soft tissues, impression copings offer a precise solution. These small, custom-made pieces are placed directly onto the undercut areas before the final impression is taken. They break away cleanly from the impression material, preventing the tray from locking onto the preparation. Different types exist-acrylic, polycarbonate-chosen based on the undercut's complexity and material compatibility.
Dispersive Impression Materials: Utilizing a material with good flow characteristics, often a multi-viscosity impression material, can help "disperse" the undercut, allowing the tray to be removed with less force. This allows the material to flow slightly into the undercut, minimizing the "lock."
Tray Design & Modifications: In some instances, modifications to the impression tray itself can alleviate undercut issues. Adding relief areas or using custom-fabricated trays are options, though they require more planning and expertise.
Careful Removal Technique: Even with preventative measures, a delicate and controlled removal technique is paramount. A slight rocking motion and gentle pressure can often break the seal without distortion. Avoid forceful jerks or twisting.
Ultimately, a proactive approach-identifying potential problems early and employing the right techniques-is vital for capturing accurate impressions and ensuring a successful restoration.
Impression Handling: Minimizing Distortion
The moment an impression is removed from the patient's mouth, it becomes vulnerable. Improper handling can easily introduce distortions, jeopardizing the entire restoration. Here's how to minimize those risks:
Immediate Stabilization: As soon as the impression is dislodged, place it on a rigid, supportive base. Plaster or stone are excellent choices - they provide a stable foundation that resists deformation. Avoid soft surfaces like foam or paper, as these can readily imprint on the impression, altering its accuracy.
Gentle Transportation: Transport the impression with care. Avoid bumping or jostling it, as even slight movements can distort the delicate details. A dedicated impression box or carrier is highly recommended. When carrying, hold the base firmly and keep the impression level.
Orientation and Documentation: Immediately note the orientation of the impression - it's easy to forget once you're focused on pouring. Photographing the impression before pouring is essential. These photos provide a visual record of its initial condition and can be invaluable if discrepancies arise later.
Trimming & Sectioning (if necessary): If the impression is large or has significant undercuts, trimming or sectioning may be required. Use sharp, dedicated impression sectioning instruments and proceed cautiously to avoid damage. Mark section lines clearly.
Avoid Direct Sunlight & Heat: Exposure to direct sunlight or heat can accelerate the material's setting process and potentially cause distortion. Keep impressions stored in a cool, shaded area until ready for pouring.
Minimize Handling: Limit the number of people handling the impression. Each touch introduces a risk of contamination and potential deformation.
Secure Storage & Labeling: Maintaining Integrity
Proper storage and clear labeling are not afterthoughts; they are integral to preserving the accuracy and detail captured during the impression process. Distortion can occur easily during transport and storage, so meticulous care is essential.
Immediately after removal from the patient's mouth, the impression should be supported in a stable medium. Plaster or stone are commonly used for this purpose, completely encasing the impression to prevent sagging or deformation. Ensure the supporting medium fully contacts the impression, providing uniform support across the entire surface. Avoid direct sunlight or extreme temperatures during the curing process, as these can lead to material expansion or contraction, subtly altering the impression's dimensions.
Labeling is equally critical. Each impression requires a clearly marked label containing the patient'm name, the date the impression was taken, and the specific material used (e.g., Alginate, PVS). Include the type of impression (e.g., "Maxillary," "Mandibular," "Complete Arch"). For complex cases involving multiple impressions, a unique identifier can assist in organization and prevent errors. Utilize waterproof labels and permanent ink to ensure legibility and durability. Consistent labeling practices contribute significantly to efficient workflow and minimize the risk of misidentification, particularly when dealing with numerous cases.
Documentation & Communication: Bridging the Gap
The quality of a dental restoration hinges not just on the impression itself, but on the clarity of information shared between the dental lab and the referring clinician. Effective documentation and open communication are critical bridges, ensuring everyone is on the same page and potential issues are addressed proactively.
Here's why meticulous documentation is vital:
- A Record of the Process: Detailed notes on the impression process - material choices, any difficulties encountered (patient discomfort, tray issues, undercut challenges), and specific observations regarding anatomy - provide a valuable record for review and potential troubleshooting.
- Facilitating Reproducibility: Clear notes allow for consistent impression taking, especially when multiple technicians are involved. It creates a baseline for quality control.
- Legal Protection: Thorough documentation serves as a protective measure in the rare event of discrepancies or questions arising later.
But documentation alone isn't enough. Open and proactive communication is equally important. Don't hesitate to reach out to the referring clinician if:
- You observe any unusual anatomy or discrepancies.
- You suspect an impression error.
- You require clarification on case details or treatment planning.
- You have concerns regarding the fit or occlusion of a preliminary restoration.
A quick phone call or a brief email outlining your observations can prevent costly remakes and maintain a strong, collaborative relationship. Remember, we're all working towards the same goal: a positive outcome for the patient.
Complete Arch Assessment: A Final Verification
Before pouring the model, a thorough final assessment of the complete arch is paramount. This isn't just a cursory glance; it's a deliberate and methodical verification process. Take a moment to step back and critically evaluate the impression, considering the big picture.
Confirm Tooth Presence and Arrangement: Visually confirm that all teeth are present and accurately represented within the impression. Note their position and relationship to one another - are they aligned as expected, or are there any obvious discrepancies?
Evaluate General Morphology: Assess the overall shape and structure of each tooth. While minute details will be appreciated during pouring, look for any significant distortions or abnormalities that could compromise the final restoration. Look for consistent tooth anatomy across the arch.
Check Occlusal Contacts (if applicable): If a bite registration was taken, verify that the occlusal contacts appear natural and reproducible within the impression. Look for any signs of over-closure or premature contacts.
Assess Tissue Representation: Carefully examine the representation of the gingival tissue. Are the emergence profiles accurately replicated? Are there any areas of distortion or inadequate tissue detail?
Document Findings: Record any observations or concerns regarding the complete arch assessment. Even minor discrepancies should be documented for future reference and communication with the clinician. A photograph taken at this stage can be invaluable for comparison and potential adjustments. This final check is your last opportunity to catch errors before they become embedded in the model.
Troubleshooting Common Impression Errors
Even with a meticulous checklist, occasional errors are inevitable. Recognizing and quickly correcting these issues is crucial for maintaining quality and efficiency. Here's a breakdown of common impression problems and how to address them:
1. Bubbles & Air Entrapment:
- The Problem: Those unsightly bubbles distort the impression and compromise accuracy.
- The Solution: Thoroughly moisten the tray before seating. Use a gentle, rocking motion to eliminate trapped air. Consider using a syringe to dislodge air bubbles from the margins. A vacuum impression system can also be a valuable tool.
- Prevention: Proper tray selection and border molding techniques are key preventative measures.
2. Distortion due to Undercuts:
- The Problem: Undercuts can pull the impression material, leading to distortion and making removal difficult.
- The Solution: Identify and manage undercuts proactively. Consider using impression coping in problematic areas. Carefully trim the impression after removal to release the undercut.
- Prevention: Accurate border molding and understanding tooth anatomy are vital.
3. Setting Time Issues (Premature or Delayed):
- The Problem: Premature setting leads to incomplete impressions; delayed setting can result in inaccurate reproductions.
- The Solution: Verify correct material mixing ratios. Control room temperature - extreme temperatures can affect setting times. Discard material past its expiration date.
- Prevention: Strict adherence to manufacturer's instructions regarding mixing and handling.
4. Detail Loss (Especially at Margins):
- The Problem: Blurry or poorly defined margins compromise restoration fit and seal.
- The Solution: Ensure adequate pressure is applied during seating, especially at the margins. Use a material known for its high detail reproduction capabilities. Consider using a sectional tray technique.
- Prevention: Sharp border molding and consistent seating technique.
5. Tear or Rupture During Removal:
- The Problem: A torn impression is unusable and wastes material.
- The Solution: Use appropriate removal techniques. Employ a gentle, controlled removal process. If using a two-stage impression, ensure proper adhesion between layers.
- Prevention: Select a material with sufficient tear strength. Avoid forceful movements during removal.
Digital Impressions vs. Traditional: A Comparative Look
The shift towards digital workflows in dentistry is undeniable, but the question isn't about if digital impressions are good, but rather how they compare to the traditional methods still widely practiced. Let's break down the pros and cons of each, considering factors beyond just the initial scan.
Traditional Impressions: Tried and True, but with Limitations
Traditional impressions, using materials like alginate or polyvinyl siloxane (PVS), have a long history of success. Their strengths lie in their relatively low initial cost and the familiarity most clinicians and labs possess. You don't need expensive equipment to get started. However, the process isn't without its drawbacks. Material selection is crucial - choosing the wrong material can lead to inaccuracies. Technique sensitivity is high; improper mixing, tray selection, or seating can significantly impact the final result. Distortion is a real concern, especially with larger, multi-tooth impressions. Furthermore, patient comfort can sometimes be an issue, particularly with those experiencing gag reflex or dental anxiety. The entire process is also more prone to human error.
Digital Impressions: Precision and Patient Comfort, with Considerations
Digital impressions, utilizing intraoral scanners, offer a distinctly different experience. The advantages are numerous: improved accuracy, reduced distortion, faster scanning times, and generally better patient comfort due to the absence of messy materials. Scanners also offer the ability to capture detailed tissue architecture and bite registrations with greater precision. Digital data is easily shared and manipulated, facilitating collaboration between the dentist and lab. However, the initial investment in scanner technology is substantial. Furthermore, while software is constantly improving, there's a learning curve associated with mastering the scanning process and interpreting the digital data. Connectivity and software compatibility are also potential hurdles. Finally, digital workflows often necessitate changes to existing lab equipment and processes, requiring further investment and training.
Ultimately, the best approach often involves a balanced perspective. While digital impressions continue to advance, traditional methods remain a valuable tool in the dental ecosystem.
Continuous Improvement: Refining Your Impression Workflow
The journey to consistently exceptional impressions isn't about mastering a checklist once and declaring victory. It's about embracing a mindset of continuous improvement. Regularly assessing your impression workflow-both individually and as a team-is paramount.
Start with a post-impression review. Did the clinician report any issues with seating, marginal adaptation, or accuracy? Were there challenges encountered during removal? Document these observations, not as blame, but as opportunities for learning.
Encourage open communication. Create a safe space for technicians to voice concerns and suggest changes. A simple "what could we do differently next time?" can spark valuable insights.
Data collection is your friend. Track common error types, material usage, and overall impression turnaround time. Identifying trends allows you to pinpoint areas ripe for optimization. Perhaps a different tray material would reduce distortion, or maybe a refined border molding technique would improve marginal accuracy.
Don't be afraid to experiment. Small changes, tested systematically, can yield significant improvements. Consider incorporating new technologies like intraoral scanners as viable alternatives alongside traditional impressions. Embrace feedback and adapt - because a commitment to continuous improvement is the key to consistently delivering flawless results.
Resources & Links
- Dental Materials (DMG America) : Comprehensive resource for dental materials, including impression materials. They offer technical data sheets, product information, and insights into material science relevant to impression accuracy. Covers a broad range of impression materials and related techniques.
- Colgate Professional : Offers a lot of resources geared towards dental professionals, including articles and training on impression techniques and materials. Search their site for impression-related content. Helpful for understanding the clinical considerations.
- Hu-Friedy : A leading manufacturer of dental instruments. Their website has educational content about impression taking techniques and instrument usage. Valuable for ensuring proper instrument handling and tray selection.
- Kerr Dental : Provides detailed information on their impression materials (e.g., ImPress) including technical guides, application tips, and product brochures. Useful for understanding specific material properties and best practices.
- Hahn Dental : Known for their impression trays and border molding techniques. Their website has tutorials and product information that can enhance precision and comfort during impression taking. Great for understanding tray selection and adaptation techniques.
- GC America : Another manufacturer of impression materials offering technical guides and clinical tips. Provides insights into their specific products and how to achieve optimal results.
- Ivoclar Vivadent : Offers a wide range of products including impression materials and digital dentistry solutions. Their website provides training materials and technical documentation for improved workflow and accuracy.
- Stera-Labs : Specializes in impression management and disinfection solutions. Offers resources and products to maintain impression integrity and prevent cross-contamination.
- Dentsply Sirona : A major player in the dental industry with a range of impression materials and digital dentistry solutions. Their website provides educational resources and technical data.
- 3Shape : A leading provider of intraoral scanners and digital dentistry solutions. This resource provides insight into the benefits of digital impressions and related workflows.
- Carestream Dental : Offers a variety of digital dentistry solutions, including intraoral scanners and CAD/CAM systems. Provides resources to compare digital and traditional impression workflows.
- PubMed (National Library of Medicine) : A database of biomedical literature. Search for keywords like 'dental impression accuracy', 'impression materials', or 'border molding' to find scientific articles and studies on impression techniques and materials.
- The Journal of Clinical Dentistry : A peer-reviewed journal providing clinical research and articles related to dental impression techniques, materials, and accuracy. Useful for staying updated on the latest research.
- American Dental Association (ADA) : The ADA website offers resources for continuing education, including articles and courses that cover impression taking techniques and materials.
Frequently Asked Questions
What is the purpose of this checklist?
This checklist is designed to guide dental labs in ensuring accuracy and detail when creating impressions, ultimately leading to better-fitting restorations and patient satisfaction.
Who is this checklist for?
This checklist is intended for all personnel involved in impression taking and handling within a dental lab, including technicians, assistants, and students.
Why is accuracy so crucial in impression taking?
Accurate impressions are the foundation for successful restorations. Errors in impressions can lead to ill-fitting crowns, bridges, or dentures, requiring remakes, patient discomfort, and increased costs.
What types of impressions does this checklist cover?
The checklist covers a range of impression types, including preliminary/diagnostic, final, and bite registrations, accommodating various materials and techniques commonly used in dental labs.
What does 'material handling' refer to in the checklist?
Material handling refers to the proper mixing, dispensing, setting time observation, and storage of impression materials to ensure optimal performance and dimensional stability.
What is 'dimensional stability' and why is it important?
Dimensional stability refers to the impression material's ability to maintain its size and shape after setting. Poor stability can result in restorations that don't fit correctly.
How does this checklist address potential sources of error?
The checklist highlights common errors, like air bubbles, moisture contamination, and improper technique, providing reminders for best practices and quality control measures.
Can I modify this checklist to suit my lab's specific protocols?
Yes, absolutely! This checklist is a guideline. Feel free to add, remove, or modify items to align with your lab's specific workflows and materials used.
What happens if I consistently find issues using this checklist?
If you consistently identify recurring issues while using the checklist, it signals a need to review your techniques, materials, or training protocols. Consult with experienced technicians or manufacturers for guidance.
Where can I find information about specific impression materials and their handling?
Refer to the manufacturer's instructions for detailed information on each material, including mixing ratios, setting times, and storage requirements. Material Safety Data Sheets (MSDS) are also essential for safety.
Found this Article helpful?
Dental Management Solution Demo
Simplify your dental practice & enhance patient care! ChecklistGuro streamlines appointment scheduling, patient records, and billing. Improve efficiency, reduce errors, & boost patient satisfaction. Manage it all with our Work OS.
Related Articles
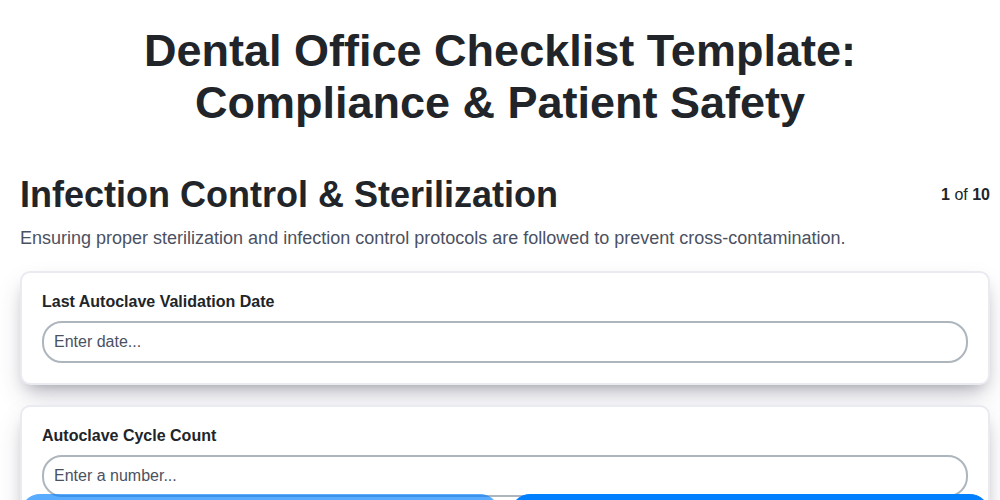
Your Dental Office Safety Net: The Compliance & Patient Safety Checklist Template
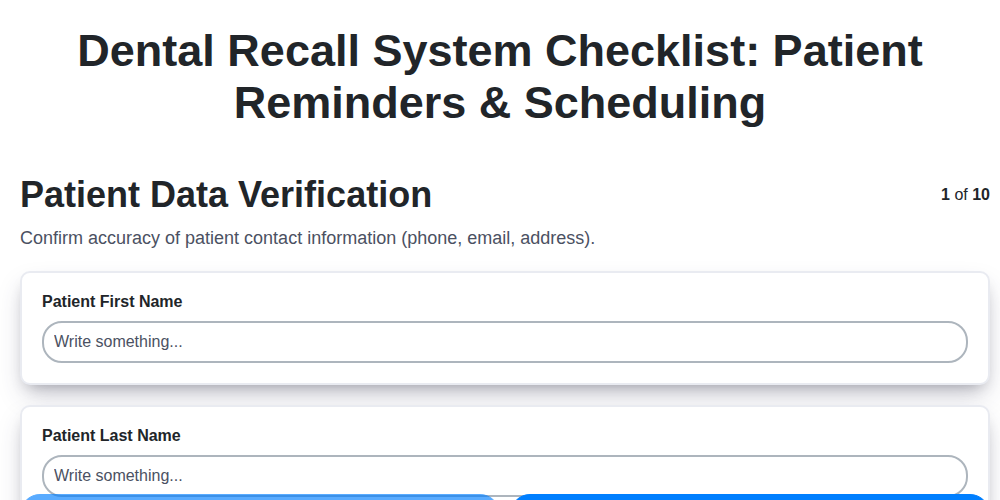
Mastering Dental Recalls: Your Ultimate Checklist Template

Mastering Dental Case Presentations: Your Checklist Template for Success

Your Dental Compliance Checklist: A State & Federal Guide
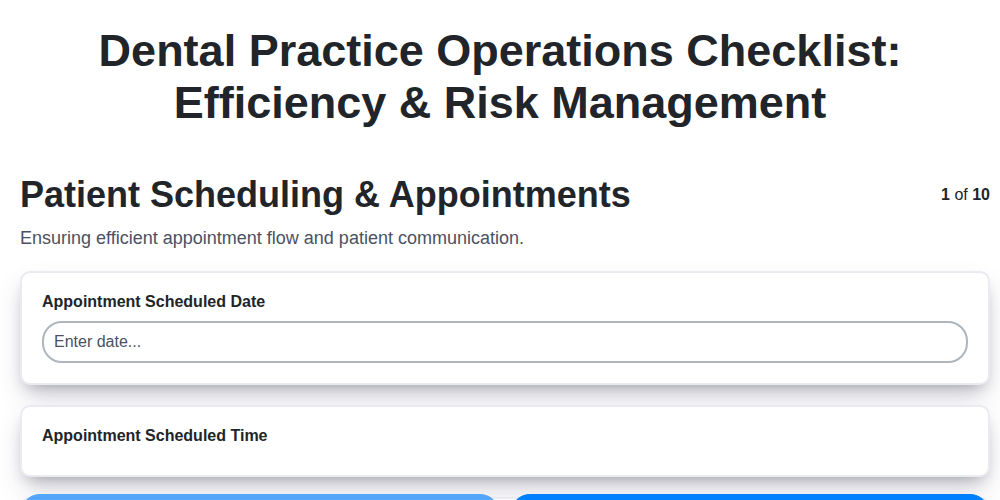
Dental Operations Checklist: Boost Efficiency & Manage Risk

The Ultimate Dental Lab Case Checklist: Fabrication & Quality Assurance

Your Complete Dental Infection Control Checklist: PPE & Surface Disinfection
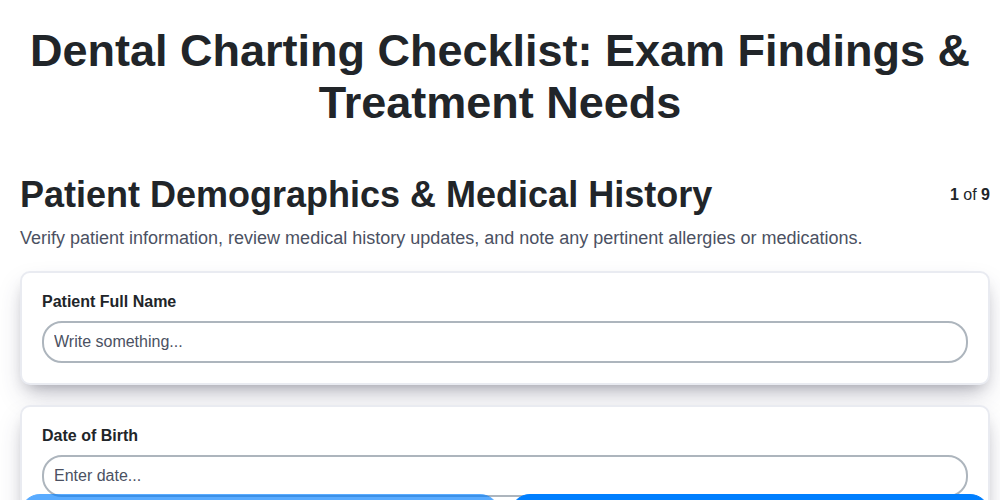
Mastering Dental Exams: Your Complete Charting Checklist Template
We can do it Together
Need help with
Dental Management?
Have a question? We're here to help. Please submit your inquiry, and we'll respond promptly.