The Ultimate Display Case & Fixture Cleaning Checklist Template
Published: 09/01/2025 Updated: 12/13/2025
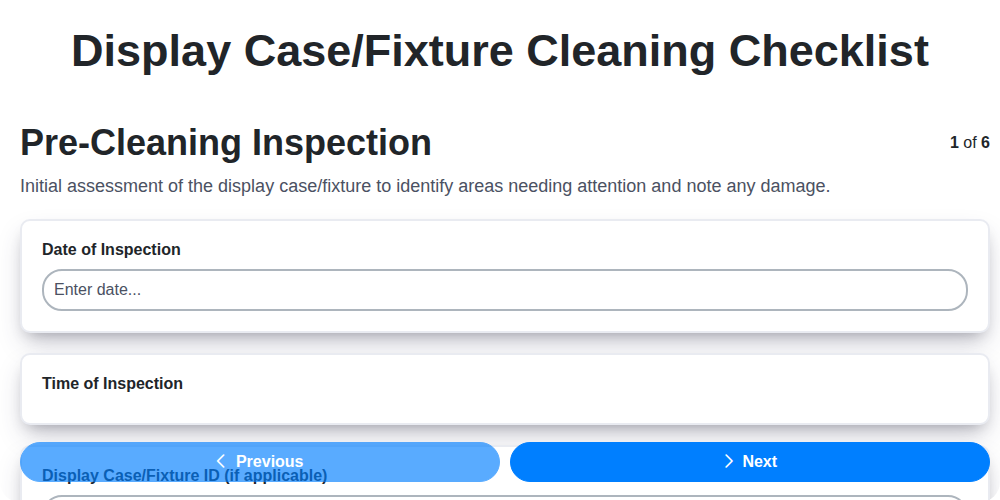
Table of Contents
- Why a Display Case Cleaning Checklist Matters
- Gathering Your Cleaning Supplies
- Step-by-Step: The Ultimate Display Case Cleaning Checklist
- Pre-Cleaning Inspection: Identifying Problem Areas
- Dusting & Debris Removal: The Foundation of a Clean Display
- Surface Cleaning: Removing Grime and Streaks
- Detail Cleaning: Reaching Those Tricky Spots
- Product Placement & Organization: Enhancing Visual Appeal
- Final Inspection & Touch-Ups: Ensuring Perfection
- Cleaning Frequency: Daily, Weekly, Monthly
- Material-Specific Cleaning Tips
- Safety First: Important Precautions
- Maintaining Your Checklist: A Living Document
- Resources & Links
TLDR: Get a free, easy-to-use checklist template to keep your store's display cases and fixtures sparkling! It breaks down cleaning into simple steps - from dusting and surface cleaning to product organization - so you can create a more inviting and profitable shopping experience. Download it now and say goodbye to dusty displays!
Why a Display Case Cleaning Checklist Matters
A pristine display case isn't just aesthetically pleasing; it's a powerful sales tool. Think about it: a dusty, smudged case immediately detracts from the products inside, creating a negative impression and potentially driving customers away. Conversely, a clean and well-maintained display case signals professionalism, attention to detail, and a commitment to quality - all of which can positively influence purchasing decisions.
Beyond the immediate visual impact, a consistent cleaning checklist contributes to a healthier retail environment. Regular cleaning minimizes allergens and dust, improving air quality for both your team and your customers. It also extends the lifespan of your displays by preventing the buildup of grime that can damage surfaces over time. Ultimately, investing in a cleaning checklist is investing in your brand image and the overall customer experience.
Gathering Your Cleaning Supplies
Before you start scrubbing, you're going to need the right tools for the job! Gathering your cleaning supplies beforehand will streamline the process and ensure you have everything you need at your fingertips. Here's a breakdown of the essentials:
- Microfiber Cloths: These are a must! You'll need several for dusting, cleaning surfaces, and buffing to a shine.
- Glass Cleaner: A dedicated glass cleaner is ideal for eliminating streaks and fingerprints on glass surfaces.
- Wood Cleaner (if applicable): If your display cases have wooden elements, choose a cleaner specifically designed for wood.
- Metal Cleaner (if applicable): For metal fixtures, a metal cleaner will remove smudges and restore shine.
- All-Purpose Cleaner: A versatile option for general cleaning of various surfaces.
- Dusting Brush/Long-Handled Duster: Reach high areas and crevices easily.
- Vacuum with Brush Attachment: Perfect for removing dust and debris from shelves and hard-to-reach spots.
- Cotton Swabs/Detail Brushes: For precise cleaning of intricate details.
- Gloves (Optional): Protect your hands from harsh cleaning chemicals.
- Spray Bottles (if needed): For diluting concentrates or creating your own cleaning solutions.
Step-by-Step: The Ultimate Display Case Cleaning Checklist
Let's get down to the nitty-gritty. This isn't just about wiping things down; it's a systematic process to ensure a truly sparkling display. Follow these steps carefully, and you'll see a significant difference.
1. Pre-Cleaning Inspection (5-10 minutes)
Before you even touch a cleaning cloth, take a good look. Examine the entire display case or fixture. Note areas with heavy dust buildup, visible fingerprints, spills, or any damage. A quick mental note (or a written one!) will help you prioritize your cleaning efforts and ensure you don't miss anything.
2. Dusting & Debris Removal (10-15 minutes)
Start with the most basic step - removing loose dust and debris. A microfiber cloth is your best friend here. Gently wipe down all surfaces, paying close attention to corners and edges. For tall or hard-to-reach areas, a long-handled duster or a vacuum with a brush attachment is a lifesaver. Consider removing items from shelves for more thorough dusting - it's worth the extra few minutes!
3. Surface Cleaning (15-20 minutes)
Now it's time for the serious cleaning. Choose the right cleaning solution based on the material of your display (glass, wood, metal, acrylic). Always spot-test any cleaner in an inconspicuous area first to ensure it won't damage the surface. Apply the cleaner sparingly and wipe with a clean microfiber cloth, following the grain of the material if applicable. For glass, a circular motion followed by buffing will eliminate streaks.
4. Detail Cleaning (10-15 minutes)
This is where the extra care really shines. Use cotton swabs or a detail brush to reach into crevices and clean around hardware. Pay attention to handles, edges, and any intricate details. This step makes a huge difference in the overall appearance of the display.
5. Product Arrangement & Refresh (5-10 minutes)
While you're already focused on details, take a moment to refresh your product arrangement. Straighten items, ensure pricing is visible, and consider rotating products to keep the display looking fresh and appealing. A quick dusting of the products themselves is a nice touch too, especially for delicate items.
6. Final Shine & Inspection (2-5 minutes)
Step back and assess your work! Look for any missed spots or lingering streaks. A final wipe-down with a clean, dry microfiber cloth will give your display that ultimate, professional shine. Don't be afraid to tweak and adjust until you're completely satisfied with the result.
Pre-Cleaning Inspection: Identifying Problem Areas
Before you even reach for a cleaning cloth, taking a few minutes for a thorough inspection is your secret weapon. This isn't just about spotting dust; it's about understanding why dust accumulates and identifying potential problem areas that need extra attention.
Look beyond the obvious. Are there areas where fingerprints are particularly noticeable - perhaps near popular product placements? Do certain corners or edges consistently trap more dust than others? Are there any spills or stains that require a specialized cleaning solution?
Pay attention to the type of residue. Is it greasy, sticky, or dry? Knowing the culprit helps you select the right cleaning product and technique. Note any visible damage like scratches or cracks - these aren't cleaning issues per se, but highlight areas needing future repair to prevent further deterioration. Finally, observe the overall presentation of your products. Are items leaning, falling, or looking disorganized? Addressing these issues now prevents further messes and ensures your displays make the best possible impression. A little observation goes a long way!
Dusting & Debris Removal: The Foundation of a Clean Display
Dust accumulation isn't just unsightly; it creates a breeding ground for allergens and makes subsequent cleaning steps significantly harder. Think of it like this: trying to clean a sticky surface without first removing the loose debris will just spread the grime around!
Here's how to effectively tackle that initial layer of dust and debris:
- Microfiber Magic: Invest in high-quality microfiber cloths. They're incredibly effective at trapping dust and dirt without scratching surfaces. Rotate your cloths frequently to prevent simply spreading the dust around.
- Reach High with a Duster: For tall display cases or shelves, a long-handled duster is a lifesaver. Choose one with soft, non-abrasive fibers.
- Vacuum Power: A vacuum with a soft brush attachment is excellent for reaching crevices, corners, and beneath shelves where dust tends to collect.
- Remove and Replace (Best Practice): When possible, temporarily remove items from the shelves. This allows for thorough dusting of the entire surface. Once dusted, replace the items carefully and methodically.
Surface Cleaning: Removing Grime and Streaks
Choosing the right cleaning solution is key to a sparkling, streak-free display. Here's a breakdown of what to use depending on your display's material:
For Glass Surfaces: A dedicated glass cleaner is your best bet. Look for formulas that cut through fingerprints and smudges effectively. Spray a light mist onto the surface and immediately wipe with a clean, lint-free microfiber cloth. Buff with a dry cloth for a truly streak-free shine. Avoid using paper towels, as they can leave behind fibers.
For Wood Fixtures: Harsh chemicals can damage wood finishes. Opt for a gentle wood cleaner specifically designed for the type of wood your display case is made of. Always spot-test in an inconspicuous area first. Apply sparingly with a soft cloth and wipe in the direction of the wood grain.
For Metal Displays: Metal surfaces tend to attract fingerprints and smudges. Use a metal cleaner or a mild all-purpose cleaner. A slightly damp microfiber cloth will often do the trick. For stubborn marks, a dedicated metal polish can help restore shine. Be sure to follow the product's instructions carefully.
For Acrylic Displays: Acrylic is prone to scratches, so use extreme caution. Use a cleaner specifically formulated for acrylic or a very mild soap and water solution. Avoid abrasive cleaners and scrub brushes. Gently wipe the surface with a soft cloth and immediately dry.
Important Note: Always read the cleaning product's label for specific instructions and safety precautions.
Detail Cleaning: Reaching Those Tricky Spots
It's amazing how quickly dust and grime accumulate in the little nooks and crannies of your display cases and fixtures. These often-overlooked areas can really detract from the overall impression of cleanliness. Don't let those tiny spots drag down your hard work! Here's how to conquer those tricky spots:
- Edges and Corners: These are dust magnets! Use a long-handled tool or a microfiber cloth wrapped around a thin object (like a ruler) to reach into corners and along edges.
- Handles & Hardware: Fingerprints love to cling to metal handles and knobs. A damp cloth or a specialized metal cleaner will do the trick.
- Underside of Shelves & Base: Don't neglect the bottom! Dust and debris tend to collect there, especially if the display case is close to the floor.
- Intricate Details: For displays with elaborate carvings, molding, or other details, use cotton swabs dipped in a gentle cleaning solution to meticulously clean each area. A small, soft-bristled brush can also be very helpful for dislodging stubborn dirt.
- Glass Joints & Seals: Pay close attention to the joints and seals of glass cases. These are prime spots for dust and grime to accumulate, and can create distracting lines.
Product Placement & Organization: Enhancing Visual Appeal
Creating a visually appealing display goes beyond simply cleaning; it's about storytelling. Think of your display case as a miniature stage, and your products as the stars. Here's how to arrange them for maximum impact:
- Layering & Height: Don't be afraid to create verticality! Use risers, pedestals, or tiered shelving to add depth and draw the eye upwards. Varying heights naturally guide the viewer's gaze.
- The Rule of Three: Grouping items in odd numbers, especially threes, is often more visually appealing than even numbers. It creates a sense of rhythm and balance.
- Color Coordination: Group products with similar color palettes together to create a harmonious look. Alternatively, use contrasting colors strategically to highlight key items.
- Focal Points: Designate a primary focal point within the display - often the most eye-catching or high-value product. Arrange other items to draw attention to it.
- Negative Space: Don't overcrowd the display! Leaving some empty space (negative space) allows the eye to rest and prevents the display from feeling cluttered.
- Storytelling: Think about the narrative you want to convey. Group products thematically or create a scene that resonates with your target audience. For example, a collection of candles could be displayed with rustic accents to evoke a cozy atmosphere.
- Consider Sightlines: Think about where customers will be viewing the display from. Ensure key products are easily visible from all angles.
Final Inspection & Touch-Ups: Ensuring Perfection
Stepping back is the key to a truly polished display. Don't rush the final inspection - this is your chance to catch anything you might have missed and ensure a flawless presentation. Walk around the display case as a customer would, observing the overall look and feel. Are there any lingering streaks on the glass? Are any products slightly out of alignment? Does the lighting highlight any areas needing attention? A quick spot clean with a microfiber cloth can easily address minor imperfections. Finally, take one last look to make sure everything is perfectly positioned and ready to captivate your shoppers. These final touches truly elevate your display from clean to exceptional.
Cleaning Frequency: Daily, Weekly, Monthly
Maintaining pristine displays isn't a one-time event; it's an ongoing commitment. The frequency of your cleaning routine should be tailored to the level of foot traffic, the types of products displayed, and the overall environment of your store. Here's a breakdown of what should be done daily, weekly, and monthly:
Daily (5-10 Minutes):
- Dusting & Surface Wipe-Down: A quick dusting of shelves and surfaces, especially in high-traffic areas, prevents dust buildup. Use a microfiber cloth to wipe away fingerprints and smudges on glass.
- Spot Cleaning: Immediately address any spills or messes. Don't let stains set!
- Product Alignment: A quick check to ensure products are still neatly arranged.
Weekly (15-30 Minutes):
- Thorough Dusting: A more detailed dusting of all surfaces, including corners and edges.
- Glass Cleaner Application: A deeper clean of glass surfaces to remove stubborn streaks.
- Hardware Cleaning: Wipe down handles, knobs, and other hardware.
- Floor Cleaning Around Displays: Ensure the area around your display cases is clean.
Monthly (30-60 Minutes):
- Deep Cleaning: A more intensive cleaning, including cleaning under shelves and around the base of display cases.
- Inspection for Damage: Carefully inspect cases and fixtures for scratches, cracks, or other damage. Note these for future repair.
- Cleaning of Interior Lighting: Dust or wipe down lighting fixtures inside the display cases.
- Reorganization and Restyling (Optional): Consider a minor rearrangement of products or a fresh visual merchandising approach to keep displays engaging.
Material-Specific Cleaning Tips
Different display case and fixture materials require different cleaning approaches. Using the wrong product can cause damage, discoloration, or streaking. Here's a breakdown of how to clean common materials:
Glass: Use a dedicated glass cleaner and microfiber cloths. Avoid abrasive cleaners that can scratch the surface. For stubborn marks, try a solution of equal parts white vinegar and water.
Wood (Solid & Veneer): Use a gentle wood cleaner specifically designed for furniture. Always test in an inconspicuous area first. Avoid excessive moisture, which can warp the wood. For solid wood, occasionally use a furniture polish to nourish the surface. Veneered surfaces are more delicate; avoid harsh chemicals and excessive scrubbing.
Metal (Chrome, Stainless Steel, Brass): Chrome and stainless steel benefit from metal polishes to remove fingerprints and water spots. Brass requires specialized brass cleaners to prevent tarnishing. Always follow the product instructions and use a soft cloth.
Acrylic (Plexiglass): Acrylic is prone to scratching, so use only cleaners specifically designed for acrylic. Avoid abrasive cleaners and paper towels. Circular motions with a soft cloth are best. A solution of mild dish soap and water can be effective.
Laminate: Laminate surfaces can be cleaned with a mild detergent and water. Avoid harsh chemicals and abrasive cleaners that can damage the laminate's surface. Test any cleaning solutions in a hidden area first.
Powder-Coated Metal: These finishes are durable but still require gentle cleaning. Use a mild detergent and water, and avoid abrasive cleaners or brushes that can scratch the powder coating.
Safety First: Important Precautions
Your safety and the well-being of your team are paramount. Before diving into any cleaning task, please review these important precautions:
- Read Product Labels: Always carefully read and follow the manufacturer's instructions on all cleaning products. Pay attention to warnings and safety recommendations.
- Ventilation: Ensure adequate ventilation in the area you are cleaning. Open windows or use fans to disperse fumes.
- Protective Gear: Wear appropriate protective gear, including gloves to protect your hands from harsh chemicals and eye protection to prevent splashes. Consider a mask if working with strong-smelling cleaners.
- Mixing Chemicals: Never mix different cleaning chemicals together. This can create dangerous and toxic fumes.
- Secure Displays: If necessary, secure or remove fragile items from displays before cleaning to prevent damage or injury.
- Floor Safety: Wet floors can be slippery. Use caution when cleaning floors and ensure surfaces are dry before allowing foot traffic. Use wet floor signs.
- Electrical Safety: Be mindful of electrical outlets and cords. Avoid spraying liquids near electrical components.
Maintaining Your Checklist: A Living Document
A cleaning checklist isn't a set-it-and-forget-it item. Think of it as a living document that evolves with your store's needs and the changing seasons. Regularly review and update your checklist to ensure its effectiveness.
Here's how to keep it fresh:
- Gather Feedback: Ask your team for their input. They're on the front lines and can identify areas that need adjustment or improvements to the process.
- Seasonal Adjustments: Dust and grime levels can fluctuate based on the time of year. Increase frequency during peak dust seasons.
- New Products & Displays: As you introduce new products or change your display arrangements, update the checklist to account for any new cleaning considerations.
- Material Changes: If you replace a display case with a different material (e.g., from wood to acrylic), immediately update the checklist with appropriate cleaning methods.
- Regular Review (Quarterly): Schedule a brief review of the entire checklist every three months to ensure it remains relevant and efficient. Don't be afraid to make changes!
Resources & Links
- United States Environmental Protection Agency (EPA) : Provides information on safe cleaning practices, chemical safety data sheets (SDS/MSDS), and environmentally friendly cleaning products. Useful for understanding the impact of cleaning solutions and ensuring worker safety. Search for specific chemicals and cleaning methods.
- Occupational Safety and Health Administration (OSHA) : Offers guidelines on workplace safety, including the proper use and handling of cleaning chemicals. Important for ensuring the safety of employees responsible for cleaning display cases. Focus on hazard communication and personal protective equipment (PPE).
- 3M : A leading manufacturer of cleaning products, microfiber cloths, and protective gear. Their website offers information on cleaning techniques, product recommendations for various surfaces (glass, wood, metal), and potential solutions for stubborn grime. Useful for product comparisons and finding specialized cleaning tools.
- Microfiber Wholesale : Provides comprehensive information about microfiber cloths - their benefits, different types (e.g., for glass, dusting, polishing), and proper care. Essential for understanding why microfiber is often preferred for display case cleaning.
- Puracy : Offers a range of plant-based cleaning products. A good resource for exploring eco-friendly alternatives to traditional cleaning solutions and finding options suitable for delicate materials.
- Reynolds & Sons Display Cases : A manufacturer of display cases, their site often includes care and cleaning recommendations specific to different case materials (glass, acrylic, wood, metal). While focused on their own products, the advice can be generally applicable.
- Uline : A large supplier of cleaning supplies, tools, and organizational products. Useful for sourcing cleaning cloths, buckets, spray bottles, and other equipment needed for display case maintenance.
- Amazon : While a general e-commerce site, Amazon is a convenient place to purchase a wide variety of cleaning supplies, microfiber cloths, and specialized tools needed for display case cleaning. Search for 'display case cleaning kit' or individual products.
- iShopDisplays : Another display case manufacturer with care and cleaning tips often found in their product documentation. They may offer advice on maintaining specific materials commonly used in display cases.
- Stewart Systems : Specializes in glass cleaning solutions and equipment, including products for removing hard water stains and residue. Valuable if dealing with cases that have persistent mineral deposits.
Frequently Asked Questions
What is this checklist template for?
This checklist template is designed to help retail stores, museums, and anyone using display cases and fixtures maintain a professional and clean appearance. It provides a step-by-step guide for routine cleaning, ensuring surfaces are spotless and appealing to customers or visitors.
Found this Article helpful?
Retail Management Solution Demo
Boost retail efficiency! ChecklistGuro simplifies store operations, inventory management, and employee training. Improve customer experience and maximize profitability. Manage it all with our Work OS.
Related Articles
Seasonal Mulch & Gravel Checklist Template: Stay Stocked & Ready
Elevator & Escalator Inspection Checklist Template: Your Guide to Safety & Compliance
Daily Prescription Dispening Area Inspection Checklist Template

Weekly Waste Management & Recycling Checklist Template
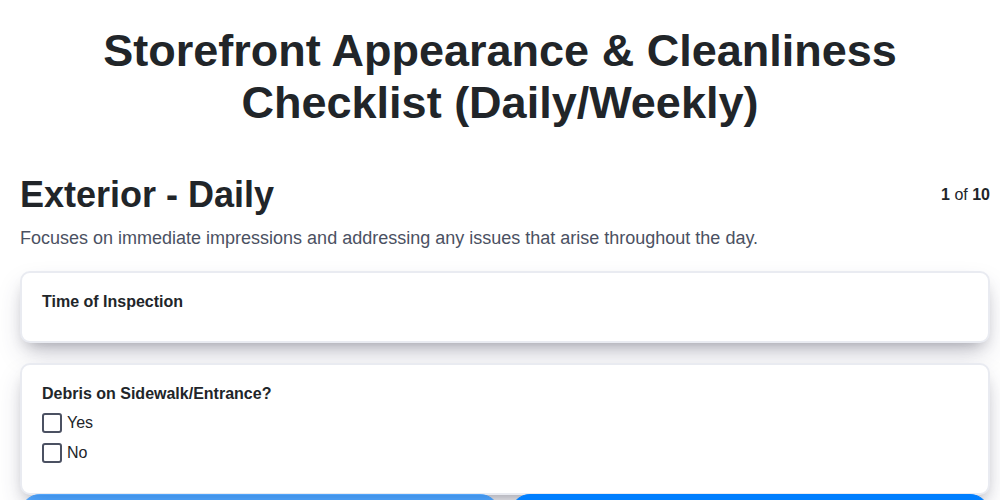
Keep Your Storefront Sparkling: Your Daily & Weekly Cleaning Checklist Template

Your Ultimate Landscaping & Groundskeeping Checklist: Weekly & Monthly Templates
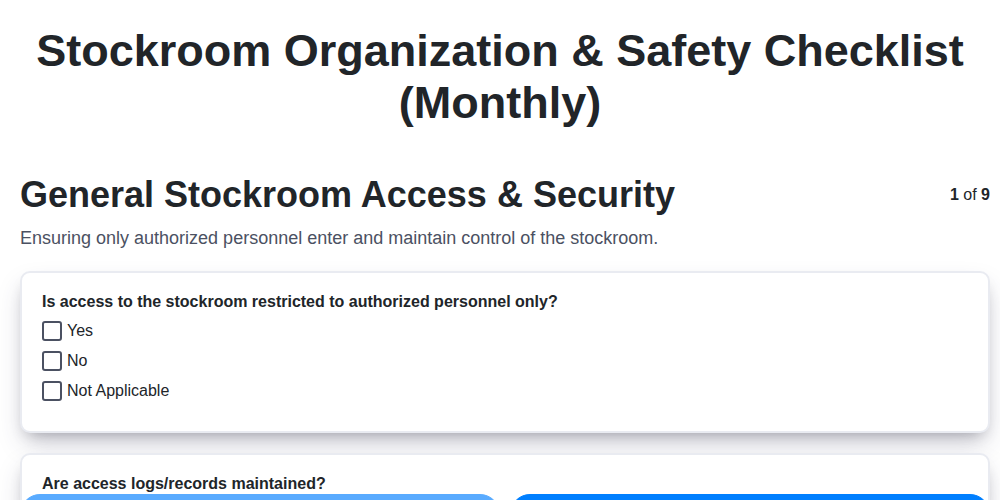
Monthly Stockroom Organization & Safety Checklist Template

Daily Dairy Case Inspection Checklist Template
We can do it Together
Need help with
Retail?
Have a question? We're here to help. Please submit your inquiry, and we'll respond promptly.