Streamline Your Maintenance: The Ultimate Equipment Breakdown Repair Workflow Template
Published: 06/04/2026 Updated: 06/05/2026
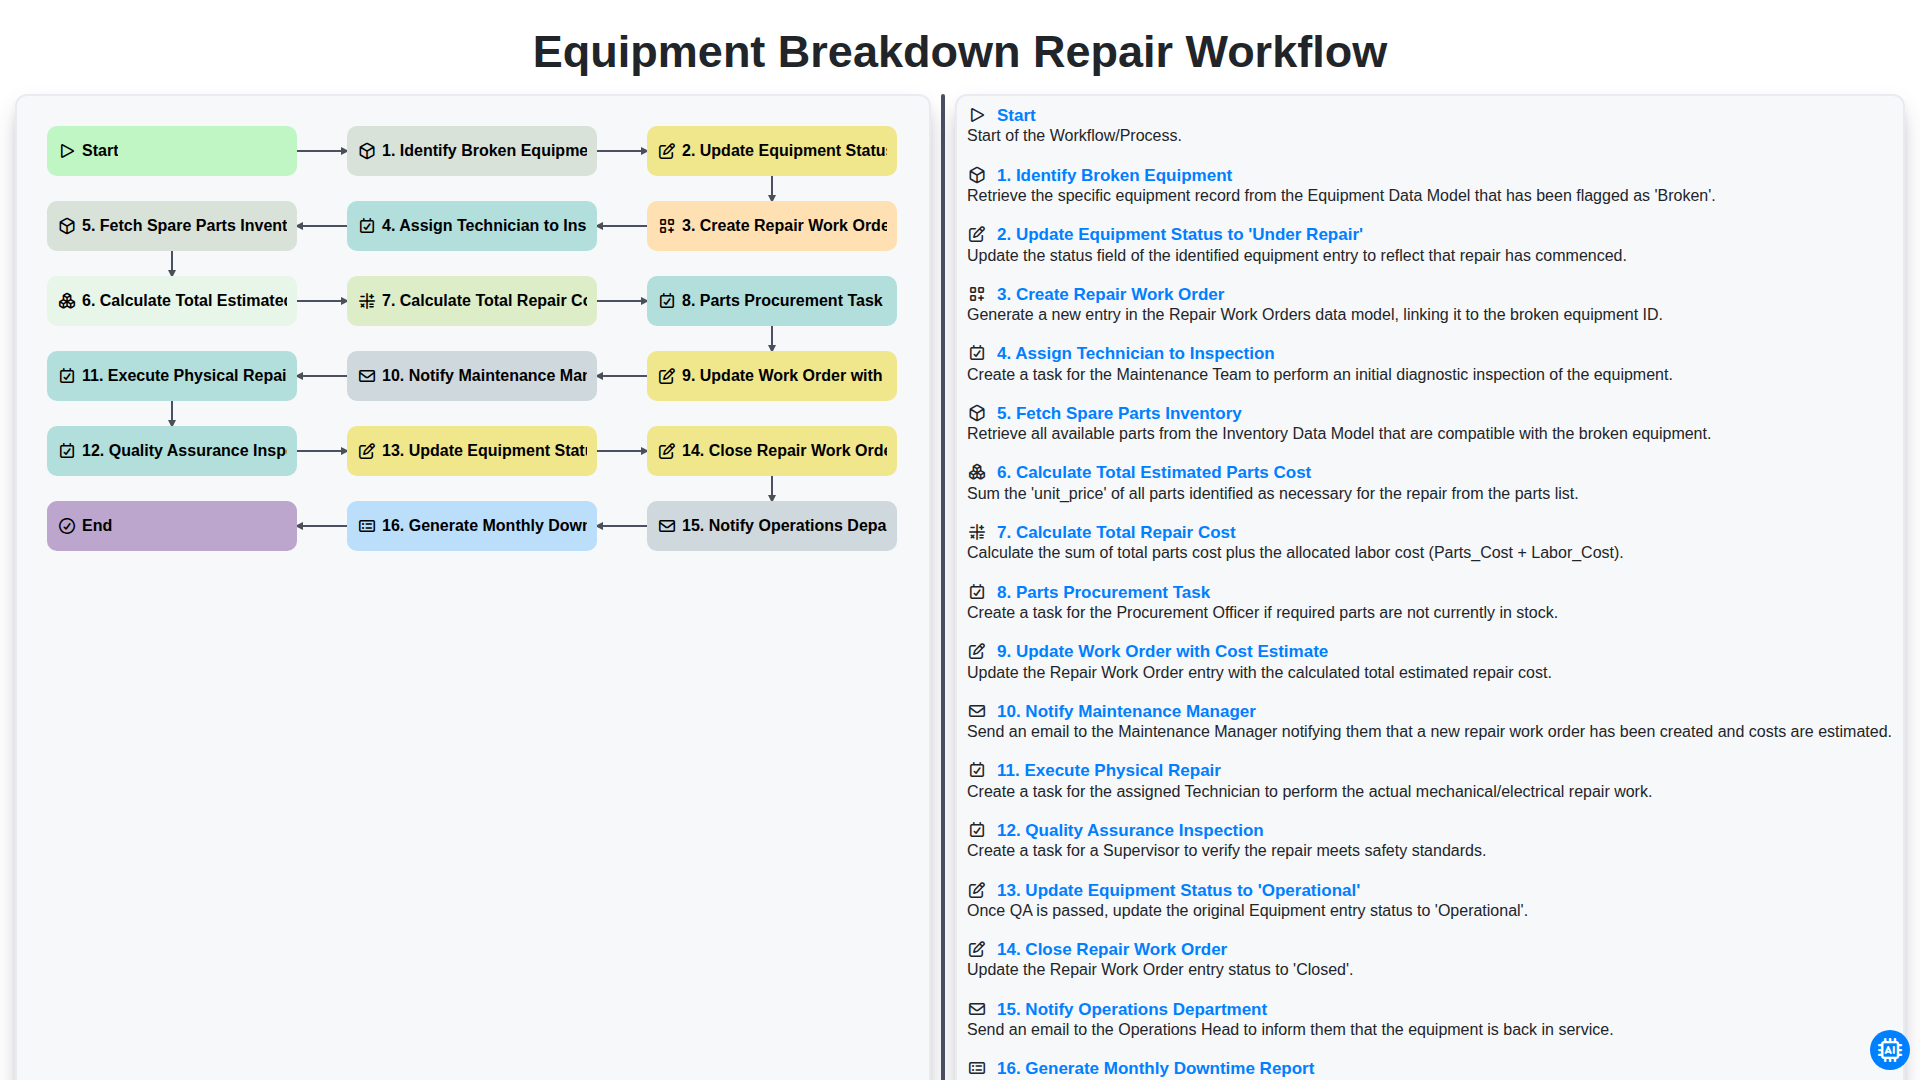
Table of Contents
- Introduction: The High Cost of Unplanned Downtime
- Step 1: Initial Detection and Identification
- Step 2: Real-Time Status Updates and Visibility
- Step 3: Formalizing the Repair Process with Work Orders
- Step 4: Expert Assessment and Technician Assignment
- Step 5: Resource Management: Parts and Inventory Check
- Step 6: Financial Planning: Estimating Parts and Labor Costs
- Step 7: Managing Procurement and Supply Chain Logistics
- Step 8: Communication Loops: Notifying Stakeholders
- Step 9: The Execution Phase: Physical Repair and Implementation
- Step 10: Quality Assurance and Safety Verification
- Step 11: Restoring Operations and Closing the Loop
- Step 12: Post-Repair Documentation and Data Analysis
- Conclusion: Driving Long-Term Reliability through Continuous Reporting
- Resources & Links
TLDR: Learn how to minimize downtime and optimize maintenance efficiency using our comprehensive Equipment Breakdown Repair Workflow template, designed to guide your team from initial identification through repair, cost estimation, and final operational updates.
Introduction: The High Cost of Unplanned Downtime
In any manufacturing or production-driven environment, equipment failure is more than just a technical glitch-it is a direct hit to the bottom line. When a critical machine goes offline unexpectedly, the ripple effects extend far beyond the immediate repair cost. The true price of unplanned downtime includes lost production hours, missed delivery deadlines, idle labor costs, and the frantic, uncoordinated scramble to find solutions.
Without a standardized, repeatable process, equipment breakdowns often trigger a chaotic firefighting mode. Maintenance teams find themselves stuck in a cycle of reactive repairs, manually hunting for parts, losing track of work orders, and failing to communicate status updates to the operations team. This lack of structure leads to extended repair windows and mounting operational inefficiencies. To mitigate these risks, organizations must move away from reactive chaos and toward a structured Equipment Breakdown Repair Workflow-a systematic approach designed to minimize downtime and restore operational stability with precision.
Step 1: Initial Detection and Identification
The lifecycle of an effective maintenance strategy begins the moment a failure occurs. The first critical stage in the Equipment Breakdown Repair Workflow is the Identification of Broken Equipment. This phase is about more than just noticing a machine has stopped working; it involves a rapid assessment to determine the scope of the failure and the immediate impact on production.
As soon as a malfunction is detected, the very next step is to Update Equipment Status to 'Under Repair' within your management system. This real-time update is vital for maintaining an accurate digital twin of your factory floor. By changing the status immediately, you prevent other departments from scheduling production runs on non-functional machinery, thereby avoiding secondary delays and potential safety hazards. This visibility ensures that everyone from floor supervisors to logistics planners is aware that the asset is currently offline and unavailable for use.
Step 2: Real-Time Status Updates and Visibility
Once a breakdown is identified, the next critical step in the workflow is to Update Equipment Status to 'Under Repair'. This immediate action is the cornerstone of maintaining real-time visibility across your entire operation.
By transitioning the equipment status in your system the moment a fault is detected, you prevent information silos where the maintenance team knows about a failure, but the production team continues to plan around it. This single update serves as an instant signal to all stakeholders that the asset is no longer available for production, effectively preventing scheduling conflicts and missed deadlines.
Real-time updates ensure that your digital dashboard reflects the true state of your factory floor, providing a single source of truth that eliminates the need for frantic phone calls or manual emails to check on machine availability.
Step 3: Formalizing the Repair Process with Work Orders
Once the equipment is identified as broken and its status is updated to 'Under Repair', the workflow shifts from reactive detection to structured execution. The cornerstone of this phase is the creation of a formal Repair Work Order. This document serves as the single source of truth for the entire maintenance lifecycle, ensuring that every stakeholder is aligned on the scope of work required.
The process begins by assigning a qualified technician to conduct a thorough inspection. This initial assessment is critical; it allows the technician to diagnose the root cause and determine exactly what is needed to restore functionality. During this stage, the workflow integrates with your inventory management system to fetch the necessary spare parts inventory. By cross-referencing the technician's findings with real-time stock levels, the system can automatically calculate the total estimated parts cost and the overall projected repair cost.
If essential components are missing, the workflow triggers a Parts Procurement Task, ensuring that the supply chain is activated immediately to minimize downtime. Once the costs are finalized, the work order is updated with a detailed cost estimate, and an automated notification is sent to the Maintenance Manager. This structured approach ensures that no repair begins without clear visibility into the budget and resource requirements, preventing unexpected hidden costs from disrupting your maintenance budget.
Step 4: Expert Assessment and Technician Assignment
Once the repair work order has been officially created, the workflow moves into the critical phase of diagnostic evaluation. At this stage, the process transitions from documentation to action by assigning a qualified technician to perform a detailed inspection.
This step is vital because an accurate assessment prevents guesswork and ensures that the root cause of the breakdown is identified before any resources are committed. The assigned technician will examine the machinery to determine the exact nature of the failure, which then triggers the subsequent logistics steps: fetching the necessary spare parts from inventory and calculating the total estimated parts and labor costs. By ensuring a specialist conducts this initial inspection, the organization can move forward with a precise repair strategy rather than reacting blindly to the breakdown.
Step 5: Resource Management: Parts and Inventory Check
Once the technician has been assigned to the inspection, the focus shifts from diagnosis to logistics. A repair cannot proceed effectively if the necessary components are missing. This stage involves fetching the spare parts inventory to determine if the required items are currently in stock.
By cross-referencing the inspection findings with your existing inventory, you can immediately identify potential bottlenecks. If the necessary components are available, the workflow moves toward financial assessment; if they are not, it triggers a parts procurement task. This critical step ensures that the repair timeline remains predictable and that the technician isn't left waiting for supplies, ultimately minimizing the duration of equipment downtime.
Step 6: Financial Planning: Estimating Parts and Labor Costs
Once the technician has completed the initial inspection, the workflow shifts from identification to financial assessment. This critical stage involves two key sub-steps: Fetching Spare Parts Inventory and Calculating Total Estimated Parts Cost. To ensure transparency and budget control, the system must cross-reference the required components against current stock levels to determine if items are available immediately or if a Parts Procurement Task must be initiated.
After determining the cost of materials, the next step is to Calculate Total Repair Cost, which combines the price of parts with the estimated labor required for the fix. This comprehensive figure is then used to Update the Work Order with a Cost Estimate. This step is vital for stakeholders to evaluate the impact on the maintenance budget and decide if the repair warrants any special approvals. By finalizing the cost estimate early, the organization avoids sticker shock and can prepare for the financial implications of the repair before any physical work begins.
Step 7: Managing Procurement and Supply Chain Logistics
Once the estimated parts cost has been calculated, the workflow shifts from assessment to action through the Parts Procurement Task. This stage is a critical juncture where the repair timeline is often determined; if necessary components are not readily available in your existing stock, the procurement process must be initiated immediately to avoid extended equipment downtime.
Efficient procurement involves cross-referencing the required parts against your current inventory to minimize delays. If a shortage is identified, the workflow triggers the necessary purchasing procedures to acquire the specific components needed for the repair. By integrating this step directly into the repair work order, the system ensures that every expense is tracked and that the repair team is never left waiting for much-needed supplies without visibility. This seamless transition from cost estimation to procurement ensures that the supply chain supports, rather than hinders, the maintenance lifecycle.
Step 8: Communication Loops: Notifying Stakeholders
Effective maintenance management doesn't end once the tools are put away. A critical, often overlooked phase of the repair workflow is the establishment of automated communication loops. Once the repair work order is updated with the final cost estimates and the physical repair is completed, the system must proactively Notify the Maintenance Manager and the Operations Department.
These notifications serve two vital purposes: accountability and operational readiness. Notifying the Maintenance Manager ensures that the budget is being tracked in real-time and that the repair was performed according to company standards. Simultaneously, alerting the Operations Department is crucial; it eliminates the dead time between a machine becoming operational and the production team being ready to utilize it. By automating these updates, you eliminate the manual bottleneck of phone calls and emails, ensuring that the transition from 'Under Repair' to 'Operational' is seamless and that your entire facility stays synchronized.
Step 9: The Execution Phase: Physical Repair and Implementation
Once the logistical groundwork-from parts procurement to cost estimation-has been finalized, the workflow moves from the administrative realm into the hands-on technical phase. This is where the theoretical plan meets the physical reality of the machinery. During the Execute Physical Repair stage, the assigned technician utilizes the necessary spare parts and tools to perform the actual mechanical or electrical intervention. This phase is critical, as it requires strict adherence to safety protocols and technical specifications to ensure the root cause of the failure is addressed rather than just the symptoms.
However, the job is not considered finished simply because the tools are put away. The process transitions immediately into a Quality Assurance Inspection. This vital checkpoint ensures that the repair meets all operational standards, that no new issues were introduced during the intervention, and that the equipment is safe for high-pressure environments. Only after passing this rigorous inspection can the workflow proceed to the final stages of restoration and documentation.
Step 10: Quality Assurance and Safety Verification
Once the physical repairs are complete, the process moves into its most critical phase: Quality Assurance (QA) and Safety Verification. A repair is not considered successful simply because the machine is moving again; it is only successful when it is performing according to original manufacturer specifications and is safe for human interaction.
During this stage, a designated inspector or a senior technician performs a rigorous checklist to validate the work. This includes verifying that all components were installed correctly, checking for leaks or unusual vibrations, and ensuring that all safety guards and emergency stop mechanisms are fully functional. This step acts as a vital fail-safe to prevent re-work and, more importantly, to prevent workplace injuries caused by premature equipment restart. Skipping or rushing this phase can lead to catastrophic mechanical failure or significant liability risks for the organization.
Step 11: Restoring Operations and Closing the Loop
Once the physical repair is complete, the workflow moves into its final, critical phase: transitioning from maintenance back to production. The process begins with a Quality Assurance Inspection to ensure the repair meets all safety and functional standards. Only after the equipment passes this inspection should the status be Updated to 'Operational', signaling to the rest of the facility that the asset is ready for use.
The final administrative steps are just as vital for data integrity. The Repair Work Order must be closed to signal the end of the task, and the Operations Department must be notified immediately to minimize any remaining idle time. To wrap up the entire cycle, the data captured during the repair-such as parts used and downtime duration-is used to Generate a Monthly Downtime Report. This step is essential for long-term maintenance strategy, allowing management to identify recurring failure patterns and optimize the entire maintenance lifecycle.
Step 12: Post-Repair Documentation and Data Analysis
Once the physical repairs are complete and the equipment is back in service, the workflow enters its most critical phase for long-term operational excellence: Post-Repair Documentation and Data Analysis. This stage moves beyond the immediate fix and focuses on institutional learning and process optimization.
The process begins with closing the repair work order to officially signal that the task is complete and the maintenance lifecycle for this specific incident has ended. However, the loop is only truly closed when the Operations Department is notified, ensuring that production schedules can be adjusted and the machinery can be integrated back into the production line without friction.
The final, and perhaps most vital, step is the generation of the Monthly Downtime Report. This is where raw data transforms into actionable intelligence. By aggregating data from every repair cycle-including repair durations, parts costs, and frequency of failures-management can identify recurring patterns. Are certain machines breaking down more often than others? Is a specific type of spare part costing the company an unsustainable amount in unplanned repairs?
By analyzing these metrics, you move from a reactive break-fix mindset to a proactive, data-driven maintenance strategy, ultimately reducing future downtime and protecting your bottom line.
Conclusion: Driving Long-Term Reliability through Continuous Reporting
The final, and perhaps most critical, stage of the equipment breakdown repair workflow is the transition from reactive fixing to proactive management. By generating a Monthly Downtime Report, you transform individual repair events into actionable data. This reporting phase allows your team to move beyond merely reacting to broken machinery and start identifying the root causes of recurring failures.
When you analyze these reports, you gain visibility into which assets are costing the most in parts and labor, and which specific components are failing most frequently. This data-driven approach empowers maintenance managers to transition from a purely reactive break-fix mindset to a strategic predictive maintenance model. Ultimately, the goal of following a structured workflow is not just to return equipment to an Operational status, but to use the insights gained from every repair to drive long-term reliability, minimize future downtime, and optimize your entire maintenance budget.
Resources & Links
- Society for Maintenance & Reliability Professionals (SMRP): A premier resource for industry standards, best practices, and professional development in maintenance and reliability engineering.
- UpKeep Maintenance Management Guide: Comprehensive guides and templates for implementing CMMS (Computerized Maintenance Management Systems) and streamlining workflows.
- IBM Predictive Maintenance Insights: Deep dives into how data-driven workflows and IoT integration can reduce unplanned downtime and improve repair efficiency.
- Reliabilityweb: An essential hub for learning about asset management, root cause analysis (RCA), and managing equipment breakdown processes.
- ASHRAE - Maintenance & Facility Standards: Technical resources and industry standards for maintaining mechanical systems and ensuring operational safety during repairs.
- NIST Manufacturing Resource Center: Advanced technical resources regarding manufacturing efficiency, equipment lifecycle, and operational excellence.
Found this Article helpful?
Maintenance Management Solution Demo
Maximize equipment uptime & reduce costs! ChecklistGuro streamlines maintenance scheduling, work order management, & asset tracking. Prevent breakdowns, optimize performance, & extend equipment life. Manage it all with our Work OS.
Related Articles
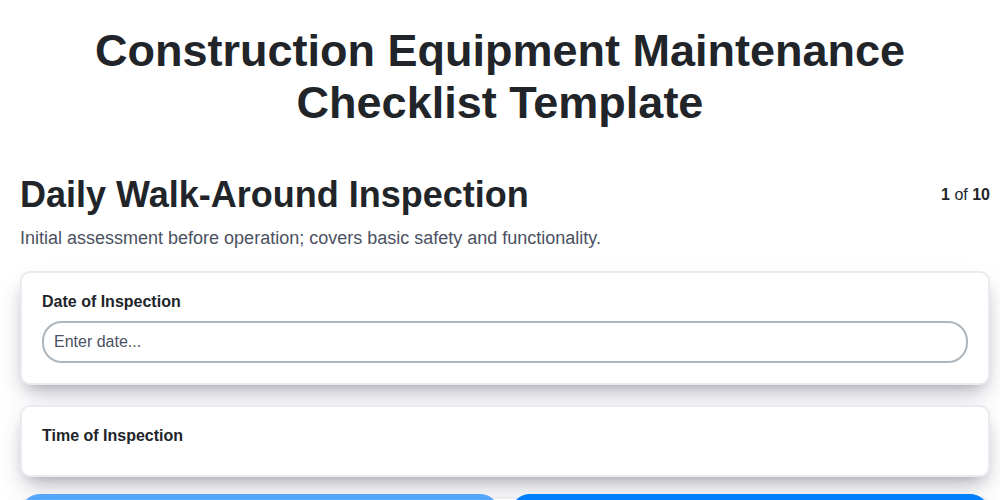
Construction Equipment Maintenance Checklist Template

Paper vs ChecklistGuro in Facility Management
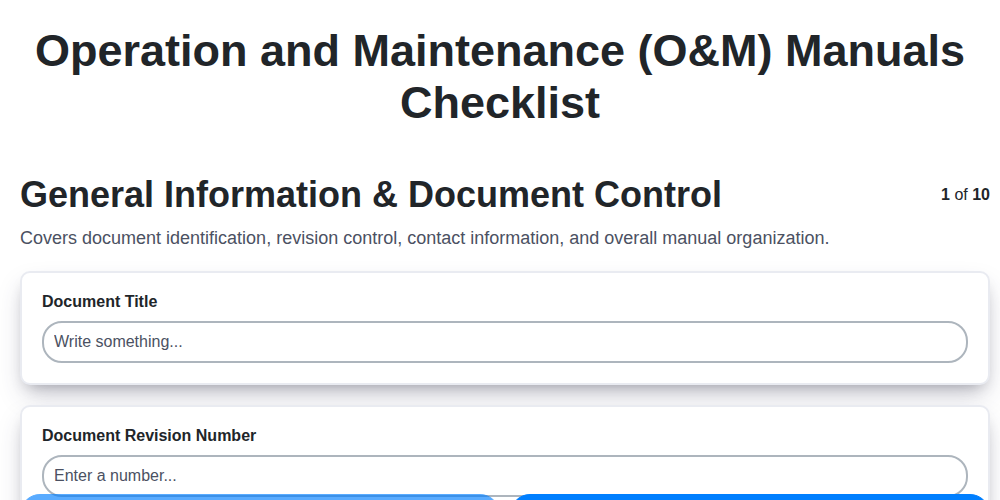
The Ultimate O&M Manual Checklist Template

Excel vs ChecklistGuro in Facility Management
Excel vs ChecklistGuro in Maintenance Management
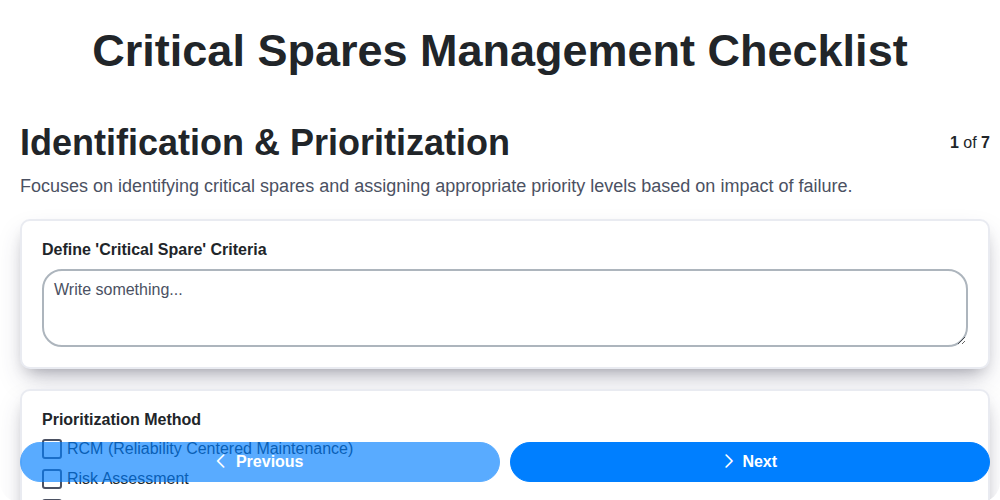
Your Ultimate Guide to Critical Spares Management: A Checklist Template
Equipment Repair Log Template: Your Guide to Organized Maintenance
Paper vs ChecklistGuro in Maintenance Management
We can do it Together
Need help with
Checklists?
Have a question? We're here to help. Please submit your inquiry, and we'll respond promptly.