Manufacturing Safety Incident Reporting Workflow: A Step-by-Step Guide
Published: 03/30/2026 Updated: 03/31/2026
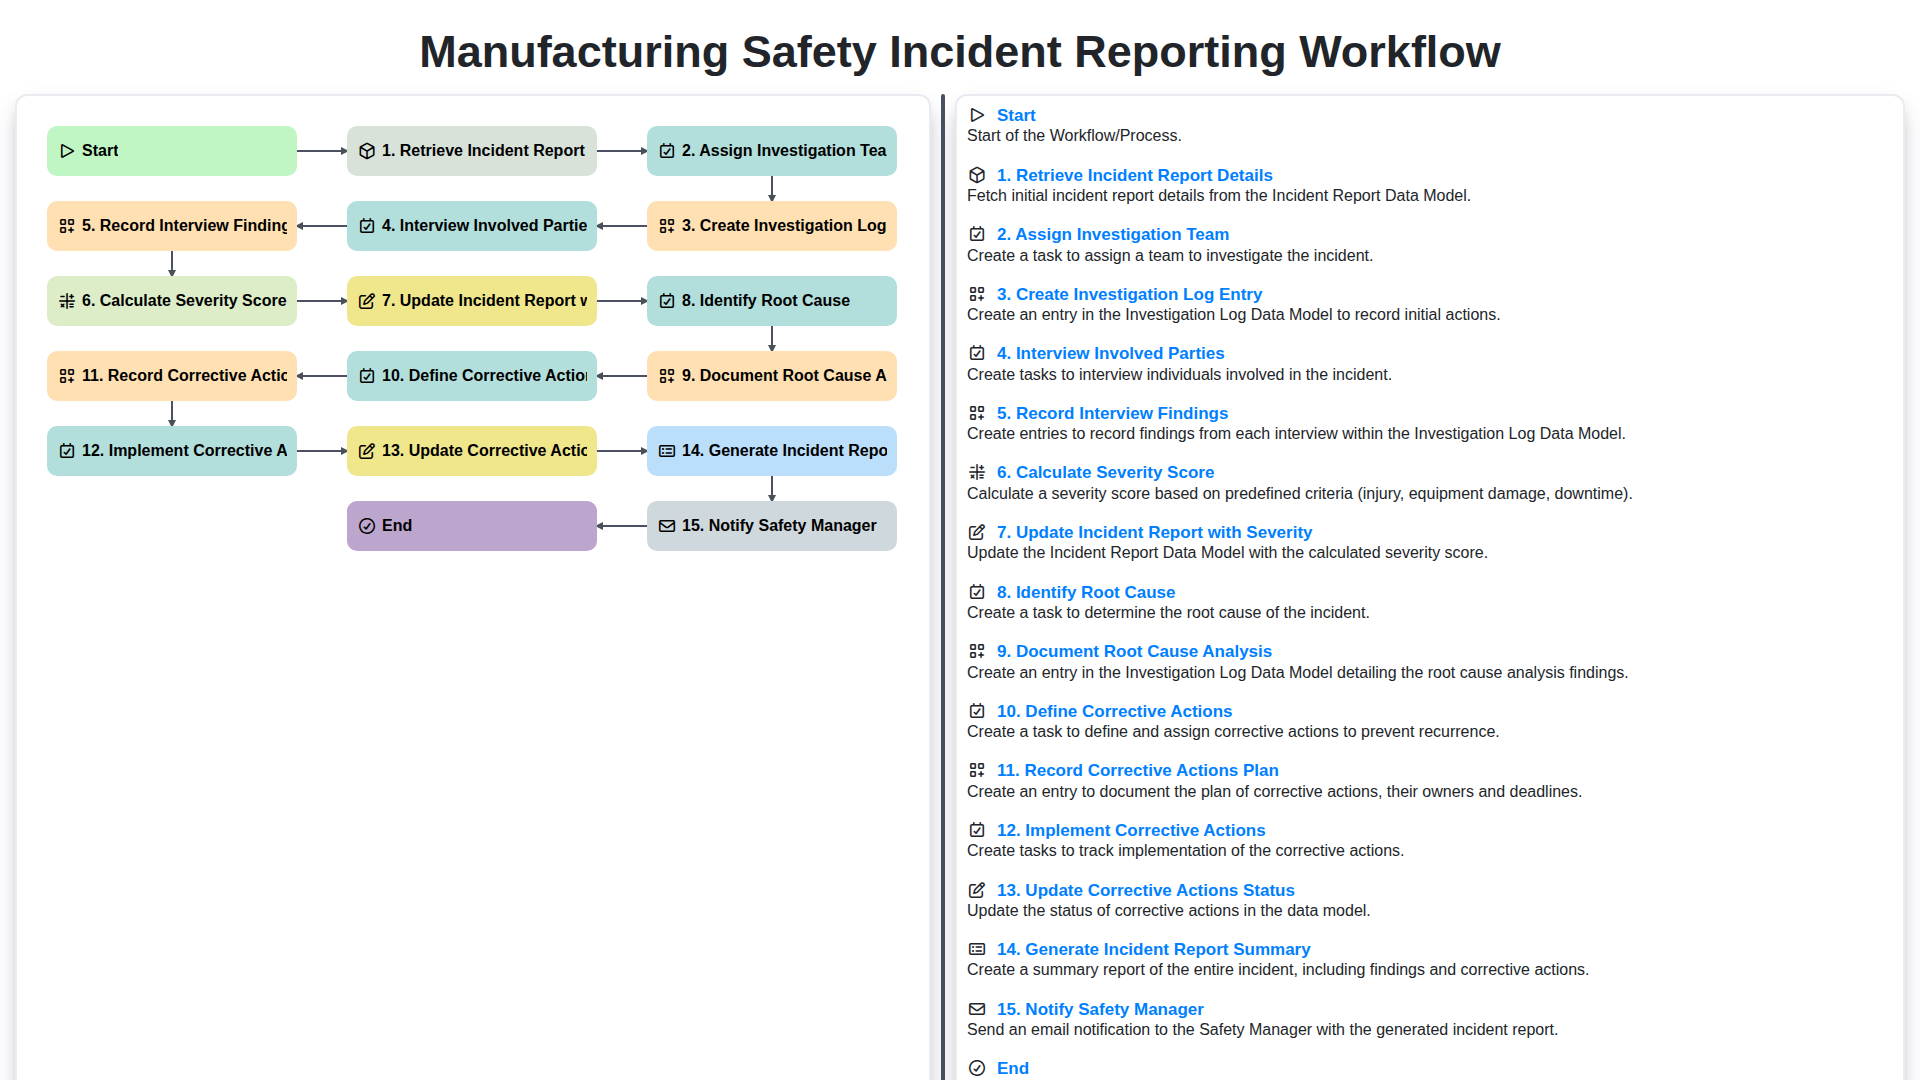
Table of Contents
- Introduction: Why a Robust Workflow Matters
- Step 1: Retrieve Incident Report Details
- Step 2: Assigning the Investigation Team
- Step 3: Creating the Investigation Log Entry
- Step 4: Interviewing Involved Parties
- Step 5: Recording Interview Findings
- Step 6: Calculating the Severity Score
- Step 7: Updating the Incident Report with Severity
- Step 8: Identifying the Root Cause
- Step 9: Documenting the Root Cause Analysis
- Step 10: Defining Corrective Actions
- Step 11: Recording the Corrective Actions Plan
- Step 12: Implementing Corrective Actions
- Step 13: Updating Corrective Actions Status and Generating Report Summary
- Resources & Links
TLDR: This workflow streamlines how your manufacturing plant handles safety incidents. It takes you from initial reporting through investigation, root cause analysis, corrective actions, and follow-up, ensuring thorough documentation, accountability, and ultimately, a safer work environment by consistently following a clear, repeatable process.
Introduction: Why a Robust Workflow Matters
Manufacturing environments are inherently complex, and despite best efforts, safety incidents can and do occur. While the incident itself is concerning, how you respond to it is crucial. A reactive, ad-hoc approach to incident reporting and investigation can lead to missed opportunities for improvement, repeat occurrences, and potentially, more serious consequences.
A well-defined and consistently followed workflow isn't just about ticking boxes; it's about transforming incidents into learning experiences. It ensures thoroughness, accountability, and a data-driven approach to safety. A robust workflow helps standardize processes, reduces the risk of human error, and ultimately fosters a culture of safety where everyone feels empowered to report concerns and contribute to continuous improvement. This proactive mindset minimizes future incidents and protects your workforce.
Step 1: Retrieve Incident Report Details
Upon discovery of a safety incident, the initial and crucial step is to meticulously retrieve all relevant details. This isn't just about gathering a few basic facts; it's about establishing a comprehensive record from the outset. The incident report itself, typically initiated by a supervisor, employee, or witness, forms the foundation.
Here's what needs to be collected and verified:
- Basic Information: Date, time, location of the incident, and a concise initial description of what occurred.
- Involved Parties: Names and roles of all individuals directly or indirectly involved.
- Witness Information: Contact information for anyone who witnessed the incident.
- Equipment/Material Involved: Identify any equipment, tools, or materials that contributed to the incident. Model numbers, serial numbers, and maintenance records are valuable.
- Environmental Factors: Note any environmental conditions present at the time (lighting, weather, noise levels, etc.).
- Photographic/Video Evidence: Secure any available photos or videos of the scene. These visual records are invaluable.
- Initial Statements: Obtain brief, initial statements from involved parties and witnesses - a simple 'what did you see?' is sufficient at this stage.
Accuracy and completeness are paramount at this stage. A thorough understanding of the initial report will guide the entire investigation process.
Step 2: Assigning the Investigation Team
Once an incident report is received and its details retrieved (as outlined in Step 1), the next critical step is assembling the investigation team. This isn't a decision to be taken lightly; the team's composition directly impacts the thoroughness and effectiveness of the investigation.
The team should be comprised of individuals with relevant expertise. This often includes representatives from:
- Safety Department: To provide guidance and ensure compliance with safety protocols.
- Production/Manufacturing: Those familiar with the specific processes and equipment involved.
- Maintenance: If equipment malfunction is suspected as a contributing factor.
- Quality Assurance: To assess the impact on product quality (if applicable).
- Employee Representatives: Including the immediate supervisor and, when appropriate, the involved employee(s) (in a supportive and non-punitive role).
The assignment process should be clearly documented. A designated individual (often a Safety Manager or Safety Coordinator) is responsible for selecting and formally assigning team members. Considerations should include the team member's availability, skillset, and potential biases. Ensuring diverse perspectives contributes to a more comprehensive and unbiased investigation. The assignment should be communicated to the team members, outlining their responsibilities and estimated time commitment.
Step 3: Creating the Investigation Log Entry
Once the investigation team is assigned, the next critical step is creating a dedicated Investigation Log Entry. This isn't just about recording that an investigation has begun; it's about establishing a centralized, traceable record of all actions taken, decisions made, and findings documented throughout the entire process.
This log entry should include:
- Incident Report Number: Directly links the log entry back to the original incident report.
- Investigation Start Date & Time: Timestamping the commencement of the investigation.
- Investigation Team Members: Clearly identifies who is involved in the investigation.
- Initial Observations/Scope: A brief summary of the initial assessment of the incident - what is known and the scope of the investigation.
- Log Entry Creator: Identifies who created the entry, ensuring accountability.
The Investigation Log Entry serves as the backbone for maintaining consistency and preventing information loss during the investigation. All subsequent entries, findings, and action items will be linked to this central log, offering a complete and auditable history of the investigation's progress.
Step 4: Interviewing Involved Parties
A thorough investigation hinges on gathering accurate and unbiased accounts from everyone involved. This step goes beyond simply asking "What happened?" It's about creating a safe and supportive environment where individuals feel comfortable sharing their perspectives.
Key Considerations for Effective Interviews:
- Preparation is Key: Review the initial incident report and any preliminary findings before the interviews. This allows you to ask targeted, relevant questions.
- Individual Interviews: Conduct one-on-one interviews whenever possible. Group interviews can be challenging to manage and may discourage open communication.
- Active Listening: Focus intently on what the person is saying, both verbally and nonverbally. Acknowledge their feelings and concerns.
- Open-Ended Questions: Encourage detailed responses. Use questions like: Can you describe what you observed? or What were you thinking at that moment? rather than leading questions.
- Documentation: While you don't need to transcribe the interview verbatim, meticulously document key points, observations, and any inconsistencies.
- Confidentiality: Clearly communicate the purpose of the interview and assure the individual that their information will be handled confidentially (within the bounds of the investigation).
- Witnesses: If appropriate, consider having a second member of the investigation team present as a witness to ensure objectivity and accuracy.
- Trauma-Informed Approach: Be mindful that the incident may have been traumatic for those involved. Employ a sensitive and supportive approach.
Step 5: Recording Interview Findings
The interviews conducted with involved parties are a crucial source of information, and meticulous record-keeping is essential for a thorough investigation. This isn't just about jotting down quick notes; it's about creating a clear, consistent, and defensible record.
Here's what we aim for when recording interview findings:
- Verbatim vs. Summary: While verbatim transcripts can be valuable in some cases, they're often impractical. We typically opt for detailed summaries, capturing the key points, observations, and statements made by each interviewee.
- Objective Language: Maintain an objective and factual tone. Avoid personal opinions or interpretations. Report what was said, not what you think they meant.
- Structured Format: Utilize a standardized interview record form. This ensures consistency across all interviews and facilitates analysis later. Include fields for interviewee name, date/time of interview, interviewer name, summary of statements, and any supporting documentation (photos, videos, etc.).
- Confidentiality: Remind interviewees of the confidentiality of the process and explain how the information will be used.
- Review and Sign-off: Provide interviewees with the summarized findings to review for accuracy. While they don't need to agree with the findings, they should have the opportunity to confirm the accuracy of the recorded information. Document their acknowledgement, whether they confirm, deny, or decline to review.
- Secure Storage: Store interview records securely, adhering to company policies and relevant regulations regarding data privacy.
Step 6: Calculating the Severity Score
Determining the severity of a safety incident is crucial for prioritizing corrective actions and allocating resources effectively. We use a standardized scoring system to ensure objectivity and consistency across all incident reports. This score isn't just a number; it's a key indicator influencing the urgency and depth of the subsequent investigation and remediation efforts.
Our severity score is calculated based on several factors, typically weighted according to their potential impact. These factors commonly include:
- Injury Severity: This considers the nature and extent of any injuries sustained, ranging from minor first aid to serious, life-altering conditions.
- Equipment Damage: The value and criticality of any damaged equipment are assessed.
- Environmental Impact: Any pollution, spills, or other harm to the environment contribute to the score.
- Operational Disruption: The degree to which the incident affected production, delivery schedules, or other vital operations is factored in.
- Potential for Escalation: We assess the likelihood of the incident escalating into a larger event if preventative measures aren't taken.
Each factor is assigned a point value based on a predefined scale. The total score is then tallied, and the incident is categorized into a severity level (e.g., Low, Moderate, High, Critical) based on the range of the final score. This documented scoring system ensures transparency and allows for consistent evaluation. The calculated severity score is then prominently displayed within the incident report, alongside the rationale for its assignment.
Step 7: Updating the Incident Report with Severity
Once the severity score is calculated (as outlined in Step 6), it's crucial to formally update the incident report itself. This isn't just about noting a number; it's about creating a clear, documented record of the incident's impact.
Here's what updating the incident report with severity involves:
- Record the Score: Directly input the calculated severity score into the designated field within the incident report. This provides an immediate quantitative assessment.
- Describe Severity Level: Translate the numerical score into a descriptive severity level (e.g., Minor, Moderate, Serious, Critical). This provides context for those reviewing the report who might not be familiar with the scoring system. Ensure this description aligns with your organization's severity level definitions.
- Justification (Optional, but Recommended): Briefly explain why the incident received the assigned severity level. Referencing specific factors from the scoring criteria (e.g., Severity level 'Serious' assigned due to potential for serious injury and equipment damage.) strengthens the justification and ensures transparency.
- Date and Initial: Include the date the severity was assigned and the initials of the person responsible for assigning it. This provides an audit trail.
This updated severity level informs subsequent steps in the workflow, prioritization of corrective actions, and overall safety management decisions.
Step 8: Identifying the Root Cause
Once the investigation log is established and interviews are completed, the focus shifts to a critical step: identifying the root cause. Simply addressing the immediate, visible issue isn't enough - we need to understand why it happened in the first place to prevent recurrence.
This isn't about assigning blame; it's about a thorough, objective analysis. We utilize techniques like the 5 Whys (repeatedly asking Why? to drill down into the underlying issues) and Fishbone diagrams (also known as Ishikawa diagrams) to systematically explore contributing factors. These tools help us move beyond surface-level observations and consider the chain of events, system failures, or process breakdowns that led to the incident.
Consider this: a worker trips and falls due to a spill. The immediate cause is the slip, but why was there a spill? Was it due to a leaking container? Inadequate spill response procedures? Insufficient training? A poorly designed workstation? Each why takes us closer to the true root cause, which might ultimately point to a systemic issue requiring broader solutions.
Documenting this root cause analysis meticulously is crucial. This documentation should include all contributing factors, the chosen methodology (e.g., 5 Whys, Fishbone), and the reasoning behind the identified root cause. This detailed record provides valuable context for corrective actions and serves as a learning resource for future incidents.
Step 9: Documenting the Root Cause Analysis
The heart of effective incident investigation lies in thoroughly documenting the root cause analysis. This isn't just about stating human error or equipment failure. It's about detailing why the error occurred or why the equipment failed. This documentation serves as a critical learning tool, providing insights for preventing future incidents.
Here's what your root cause analysis documentation should include:
- Clearly Defined Root Cause(s): State the primary and contributing factors that led to the incident. Use the 5 Whys or other root cause analysis techniques to dig deeper than surface-level observations.
- Supporting Evidence: Link each identified root cause to the evidence gathered during the investigation - interview transcripts, equipment inspection reports, safety procedure reviews, etc. This provides a transparent and verifiable chain of reasoning.
- Process Breakdown: Illustrate how the identified root causes relate to existing processes. Did a flawed procedure directly contribute? Was training inadequate? Did a lack of communication play a role? Visual aids like process flow diagrams can be incredibly helpful here.
- Systemic Issues: Highlight any underlying systemic issues that enabled the root cause to manifest. This might include deficiencies in safety culture, risk assessment practices, or communication protocols.
- Chronological Order: Present the analysis in a logical, chronological sequence, making it easy to follow the investigative process and understand how the root causes were identified.
- Responsibility & Ownership: While focusing on facts and analysis, briefly note areas of responsibility for corrective action (this will be fleshed out in the Corrective Actions Plan).
Thorough documentation ensures that the lessons learned are not lost and that corrective actions are targeted at the true sources of the problem.
Step 10: Defining Corrective Actions
Once the root cause of the safety incident has been thoroughly documented and analyzed, the focus shifts to preventing recurrence. This is where defining corrective actions becomes critical. These actions aren't just about addressing the symptom of the incident; they target the cause directly.
This stage requires a collaborative approach. The investigation team, relevant department heads, and even representatives from the involved parties should contribute to brainstorming potential solutions. Consider these key factors when defining corrective actions:
- Specificity: Actions should be clearly defined and avoid vague language. Instead of Improve training, specify Conduct a two-hour refresher training on hazard recognition for all machine operators, including practical demonstrations and a post-training assessment.
- Measurability: How will you know if the corrective action was successful? Define metrics for evaluation. Examples include reduced error rates, improved compliance scores, or fewer near misses.
- Responsibility: Assign clear ownership for each corrective action. Who is responsible for implementing it, and by when?
- Resources: Identify the resources (time, budget, personnel) required for each action.
- Prioritization: Not all corrective actions are created equal. Rank them based on their potential impact and feasibility. High-impact, easily implementable actions should be prioritized.
Corrective actions can range from simple procedural changes and enhanced training to significant equipment modifications or redesigns of work processes. The important thing is to ensure they are targeted, well-defined, and effectively address the identified root cause, preventing similar incidents from happening again. This step sets the foundation for a proactive safety culture.
Step 11: Recording the Corrective Actions Plan
Once corrective actions have been defined, meticulously documenting the plan is crucial for accountability and tracking progress. This isn't simply a list of what needs to be done; it's a formal, detailed plan that outlines how those actions will be implemented.
Your corrective action plan should include:
- Specific Actions: Clearly state each action to be taken. Avoid vague language; be precise about what needs to be done.
- Assigned Responsibility: Assign a specific individual or team responsible for each action. This clarifies ownership and ensures someone is accountable for completion.
- Due Dates: Establish realistic and concrete deadlines for each action. This promotes timely implementation and prevents delays.
- Resources Required: Identify any resources (equipment, training, budget, etc.) needed to execute each action. This helps with planning and allocation.
- Estimated Cost: Include an estimated cost for each corrective action. This aids in budget management and prioritization.
- Dependencies: Note any dependencies between actions - if one action must be completed before another can begin.
This documented plan becomes a living document, reviewed and updated as needed throughout the corrective action process. Consistent and thorough record-keeping here strengthens the entire safety incident reporting workflow and demonstrates a commitment to continuous improvement.
Step 12: Implementing Corrective Actions
This is where the rubber meets the road. All the analysis, planning, and documentation culminate in the actual implementation of the corrective actions identified. This isn't just about ticking boxes; it's about putting measures in place to genuinely prevent recurrence.
Implementation should be assigned to specific individuals with clear deadlines and responsibilities. This ensures accountability and prevents actions from falling through the cracks. Consider these key aspects during implementation:
- Prioritization: Corrective actions likely have varying degrees of complexity and impact. Prioritize based on severity, likelihood of preventing future incidents, and resource availability.
- Resource Allocation: Ensure the assigned individuals have the necessary tools, training, and support to successfully complete the corrective action.
- Communication: Keep all relevant stakeholders informed about the implementation progress. This includes the investigation team, affected employees, and management. Transparency fosters buy-in and helps identify potential roadblocks early.
- Training & Awareness: Often, corrective actions involve updated training or awareness campaigns. These should be engaging and effectively communicate the changes and their importance.
- Documentation: Continue documenting the implementation process, including dates, individuals involved, and any challenges encountered.
The successful implementation of corrective actions is crucial for continuous improvement and demonstrates a commitment to a safer working environment.
Step 13: Updating Corrective Actions Status and Generating Report Summary
This stage is crucial for demonstrating accountability and ensuring corrective actions are actually implemented and effective. Regularly updating the status of each corrective action within the incident report is essential. This includes marking actions as "Planned," "In Progress," "Completed," or "Delayed," along with relevant dates and assigned personnel.
Simultaneously, generating a concise incident report summary is vital for clear communication. This summary should include:
- Brief description of the incident: A short, factual overview.
- Severity score: Reinforces the level of risk associated with the incident.
- Root cause identified: Highlights the underlying issue that led to the event.
- Corrective actions planned and their current status: Shows the plan and how it's progressing.
- Key findings from interviews: A short selection of the most relevant insights.
This summary provides a clear and digestible overview for stakeholders, demonstrating the actions taken and the current state of resolution. It allows for quick understanding and facilitates ongoing monitoring of safety improvements.
Resources & Links
- Occupational Safety and Health Administration (OSHA) : The primary federal agency responsible for workplace safety and health. Provides regulations, guidance, and resources related to incident reporting and investigation.
- National Institute of Standards and Technology (NIST) : Offers resources and guidance on incident investigation methodologies and root cause analysis, particularly useful for complex manufacturing environments.
- American Industrial Hygiene Association (AIHA) : A professional organization for industrial hygienists, offering best practices, certifications, and resources for workplace safety and health, including incident investigation.
- American Society of Safety Professionals (ASSP) : A global community of safety professionals providing resources, training, and networking opportunities related to safety management and incident reporting.
- International Organization for Standardization (ISO) : Provides a framework for establishing safety management systems, including guidelines for incident investigation and corrective action processes (e.g., ISO 45001).
- Smitte Safety Solutions : Company specializing in safety incident investigation and root cause analysis software, offering insights and potential solutions.
- Process Improvement : Provides resources and methodologies on process improvement including how to streamline incident reporting and analysis processes
- The Lean Enterprise Institute : Provides tools and insights on Lean principles which can be utilized to create a more efficient and safer manufacturing environment and streamline safety processes.
- ReliabilityBuild : Provides tools and resources for Failure Mode and Effects Analysis (FMEA), which is a key component of root cause analysis and preventative safety measures.
Frequently Asked Questions
What is a manufacturing safety incident reporting workflow?
It is a structured, step-by-step process used by manufacturing companies to identify, report, investigate, and document any workplace accidents, near-misses, or safety hazards to prevent future occurrences.
Why is it important to have a standardized reporting workflow?
A standardized workflow ensures that all incidents are captured consistently, legal and regulatory compliance (like OSHA) is maintained, and that the root causes are addressed to reduce workplace injuries and downtime.
What is the difference between an incident and a near-miss?
An incident involves an event that resulted in injury or property damage, whereas a near-miss is an unplanned event that did not result in injury or damage but had the potential to do so.
What are the key steps in a typical safety reporting workflow?
The process generally includes immediate response/first aid, formal notification, detailed investigation, root cause analysis, corrective action implementation, and final documentation/review.
Who should be involved in the incident investigation process?
An effective investigation typically involves the injured employee (if possible), the immediate supervisor, safety officers, and potentially members of the management team or a safety committee.
How long after an incident should the report be filed?
Reports should be filed as soon as possible—ideally immediately after the situation is stabilized—to ensure all details are fresh and to allow for rapid response to hazards.
What is 'Root Cause Analysis' in the context of safety reporting?
Root Cause Analysis (RCA) is a systematic process used during the investigation phase to look beyond the immediate symptoms of an accident and identify the underlying failure in processes, equipment, or training.
Found this Article helpful?
Manufacturing Management Solution Demo
Stop chasing paperwork and wrestling with disconnected systems! Our solution brings clarity and control to your production process. From standard operating procedures (SOPs) and equipment maintenance to quality control and inventory tracking, we simplify every step.
Related Articles
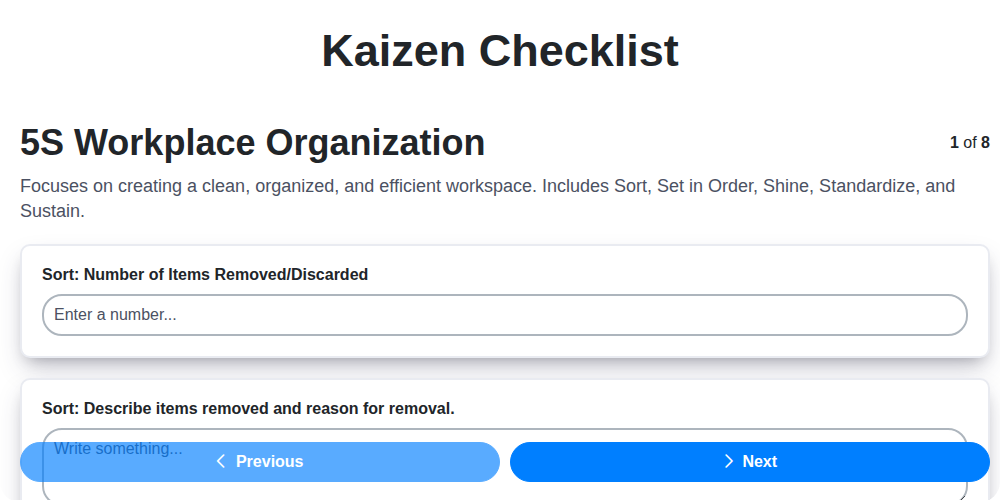
Kaizen Checklist Template: Your Path to Continuous Improvement

Machine Safety Audit Checklist: Your Guide to a Safer Manufacturing Workplace
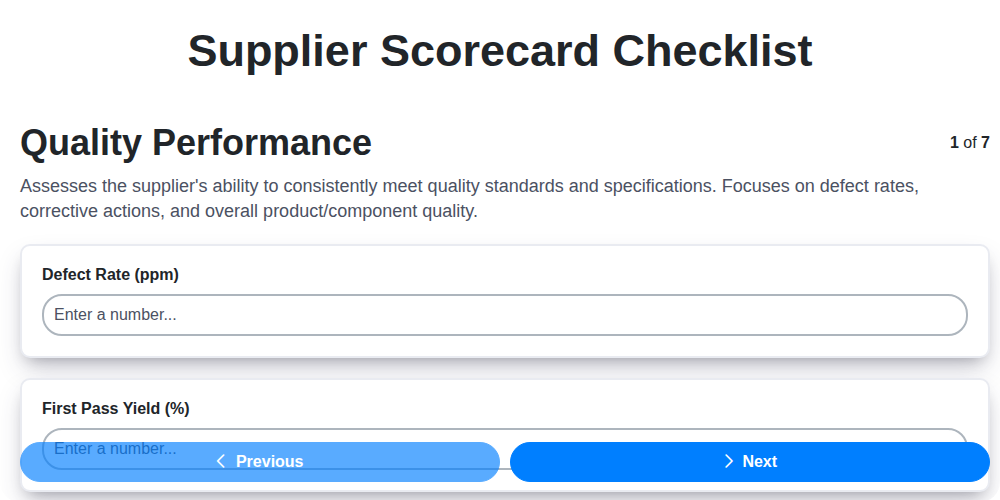
Mastering Supplier Performance: Your Free Supplier Scorecard Checklist Template
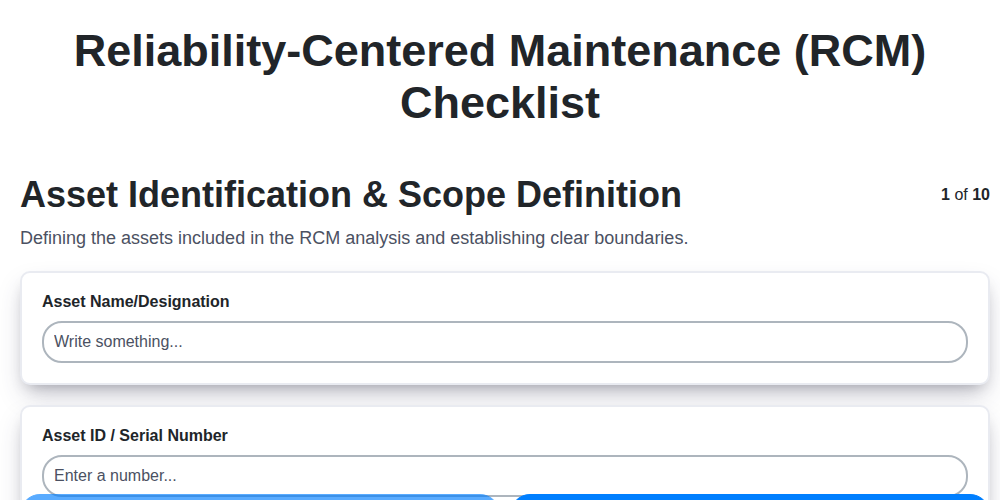
Your Ultimate RCM Checklist Template: A Step-by-Step Guide

LPA Checklist Template: Your Guide to Layered Process Audits

Your Ultimate Lockout/Tagout (LOTO) Checklist Template

Your Ultimate FSC 22000 Checklist Template
Quality Control Inspection Checklist Template: Prevent Defects & Improve Manufacturing Processes
We can do it Together
Need help with
Checklists?
Have a question? We're here to help. Please submit your inquiry, and we'll respond promptly.