Keep Your POS Running: Daily & Weekly Checklist Template
Published: 09/01/2025 Updated: 12/13/2025
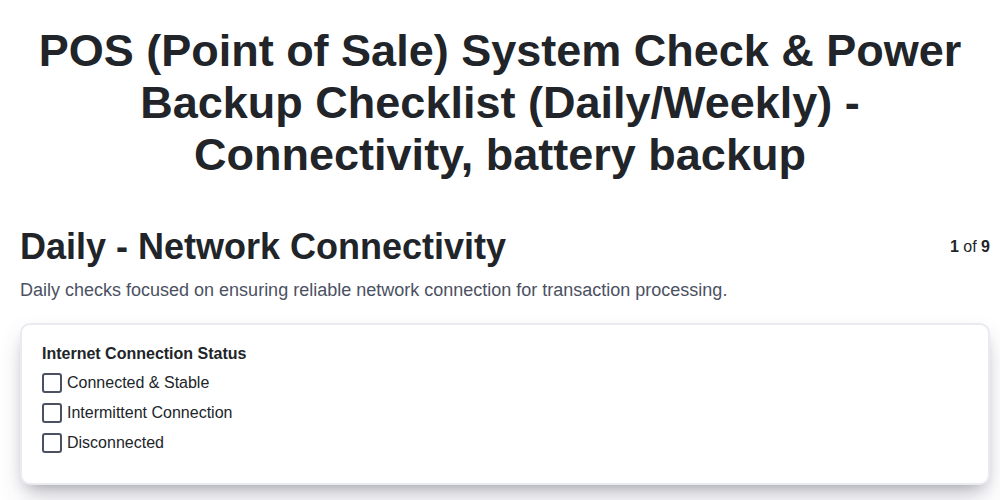
Table of Contents
- Introduction: Why a POS Checklist Matters
- Daily POS System Checks: Quick & Easy
- Daily Network Connectivity Verification
- Daily Payment Terminal Functionality Test
- Weekly Internet Speed and Performance Assessment
- Weekly Router and Modem Status Review
- Weekly UPS Visual Inspection & Maintenance
- Weekly UPS Self-Test Procedure
- Weekly (Optional) UPS Load Test - Safety First
- Monthly Configuration Review & Security Audit
- Troubleshooting Common POS Issues
- Creating Your Customized POS Checklist
- Resources & Further Reading
- Resources & Links
TLDR: Avoid costly POS downtime! Download our free daily & weekly checklist template to easily maintain your system's connectivity, payment processing, and power backup. It's simple to use and helps you proactively catch issues before they impact your business.
Introduction: Why a POS Checklist Matters
Your Point of Sale (POS) system isn't just a cash register; it's the central nervous system of your business. It manages transactions, tracks inventory, and often integrates with accounting and customer relationship management (CRM) systems. When it falters, so does your ability to serve customers and generate revenue. Imagine the frustration of a line of customers waiting while you troubleshoot a system crash, or worse, the potential for lost sales and damaged reputation.
A proactive approach is your best defense. This isn't about being overly cautious; it's about building reliability and minimizing disruptions. Think of it like regular car maintenance - changing the oil and checking tire pressure prevents breakdowns and extends the vehicle's lifespan. The same principle applies to your POS system. A well-maintained system is a stable system, leading to happier customers, more efficient operations, and ultimately, a healthier bottom line. This checklist is your roadmap to that stability.
Daily POS System Checks: Quick & Easy
Keeping your Point of Sale (POS) system running smoothly doesn't have to be a big, time-consuming task. These three quick checks, taking just 5-10 minutes each day, can catch minor issues before they become major headaches.
1. Network Connectivity: Is it Connected?
Simply put, can your POS system talk to the internet? Look for any error messages on the screen indicating a disconnection. A quick ping test (search online for ping test and enter your internet address) can confirm internet access. Even a brief interruption can impact sales and frustrate customers.
2. POS System Login & Basic Functionality: Does it Work?
Log into your POS system using a test user account (if available, otherwise a regular account) and try a few basic transactions: a simple sale, a return, maybe a void. Are all the buttons working? Are the screens displaying correctly? These quick checks confirm the core functionality is operating as expected.
3. Payment Terminal Connectivity: Can Customers Pay?
Make sure your payment terminal (card reader, chip reader) is properly connected to the POS system. If possible and allowed by your payment processor, run a test transaction. This ensures customers can pay and your business can continue operating. A non-functional terminal means no sales!
Daily Network Connectivity Verification
A stable internet connection is the backbone of your POS system's functionality. Without it, transactions can't process, inventory can't be updated, and your business grinds to a halt. Daily verification is a quick but crucial step in preventing disruptions.
Here's what to check:
- Visual Inspection: Start with the basics. Are the network cables securely plugged into both the POS terminal and the router/modem? A loose connection is a surprisingly common culprit.
- Status Lights: Pay close attention to the status lights on your router, modem, and POS terminal. These lights provide visual cues about the connection status. Refer to your equipment's documentation to understand what each light indicates - a blinking light, a solid red light, or a completely off light often signals an issue.
- Ping Test (Optional but Recommended): A ping test sends a small data packet to a designated server and measures the response time. You can use a simple online ping test tool (search for "ping test" on Google) to check connectivity to a reliable server like Google (8.8.8.8). Look for consistent response times; high latency or packet loss indicates a problem.
- Test Transaction (If Possible): If your payment processing allows for test transactions without actually charging a card, perform one. This is a real-world check of network functionality.
- Document Any Issues: If you observe any unusual lights, high latency, or errors during a test transaction, document the details in your checklist. This will aid in troubleshooting and identifying patterns.
Daily Payment Terminal Functionality Test
Testing your payment terminal daily isn't just about ensuring transactions can happen; it's about verifying their accuracy and security. A quick daily check catches potential issues before they impact customers and your bottom line. Here's what to do:
- Process a Test Transaction: Ideally, perform a "void" or "refund" transaction using a test card (if permitted by your payment processor). This simulates a transaction without actually charging the card. If this isn't possible, a very small, documented test transaction is acceptable.
- Check for Error Messages: Pay close attention to the terminal's display and any connected devices for error messages. Don't ignore warning signs - even seemingly minor ones.
- Verify Card Reader Functionality: Briefly swipe, dip, and tap (if applicable) a card to ensure the card reader is clean and responsive. Unusual noises or difficulty reading the card are red flags.
- Inspect Connections: Quickly check the cables connecting the terminal to the POS system and network. Loose connections can cause intermittent errors.
- Review Transaction History: If your terminal provides a transaction history view, quickly scan it for any unexpected or suspicious entries.
Weekly Internet Speed and Performance Assessment
Reliable internet connectivity is the backbone of any modern POS system. Slow speeds or intermittent connectivity can lead to transaction errors, frustrated customers, and lost sales. A weekly internet speed test isn't just about confirming you have internet; it's about ensuring it's performing well enough to support your POS operations.
Here's what you need to do:
- Choose a Reputable Speed Test Tool: There are many free online speed test tools available. We recommend [mention a few reputable options - e.g., Speedtest.net, Google Speed Test]. Consistency is key, so stick with the same tool for accurate comparisons.
- Run the Test During Peak Hours: Mimic typical business hours to get a realistic picture of performance under load. Early mornings and lunchtimes often see increased internet usage.
- Record the Results: Note your download speed, upload speed, and ping (latency). Your POS system vendor likely has minimum recommended speeds - compare your results against these guidelines.
- Download Speed: Impacts how quickly data is received (e.g., credit card authorization).
- Upload Speed: Important for processing returns or sending data back to your headquarters.
- Ping (Latency): Measures the delay in data transfer - lower ping is better for real-time transactions.
- Investigate Unexpected Results: If your speeds are consistently below the recommended levels, or if you notice significant fluctuations, contact your internet service provider (ISP). Don't just accept slow speeds - advocate for the performance your business needs. Furthermore, consider factors within your business like Wi-Fi interference or a congested network. Addressing these locally can also boost POS performance.
Weekly Router and Modem Status Review
Your router and modem are the unsung heroes of your POS system - they're responsible for connecting everything to the internet. A quick weekly check can often catch potential problems before they impact your business.
Here's what to look for:
- Status Lights: Become familiar with what the lights should look like when everything is working correctly. Refer to your router and modem's manual to understand the meaning of each light. Look for any unusual blinking, solid red lights, or lights that are off when they should be on. These are often early warning signs of trouble.
- Quick Visual Inspection: Dust accumulation can cause overheating and performance issues. A quick wipe-down can make a difference. Ensure cables are securely connected - loose connections are a common culprit.
- Login to the Admin Panel (If Trained): If you're comfortable, log into your router and modem's administration panel (usually through a web browser - check your manual for the address). Look for any error messages or alerts. Most routers offer a status page displaying connection speed, signal strength, and other vital information. Do not change any settings unless you are absolutely sure of what you're doing! This is primarily for observation, not alteration.
- Keep a Record: Note any observations in your checklist. Recurring issues can help pinpoint underlying problems.
Weekly UPS Visual Inspection & Maintenance
Your Uninterruptible Power Supply (UPS) is your business's lifeline during a power outage, and like any crucial piece of equipment, it requires regular attention. A quick weekly visual inspection and basic maintenance can significantly extend its lifespan and ensure it's ready to perform when you need it most. Here's what to look for:
1. Physical Condition:
- Exterior Damage: Carefully examine the UPS for any signs of physical damage. Look for cracks, dents, or corrosion, especially around vents and connectors.
- Ventilation: Ensure vents are clear of dust and debris. Overheating can shorten a UPS's lifespan and reduce its effectiveness. Use a can of compressed air (held upright) to gently clean the vents. Do not use a vacuum cleaner.
- Cord Condition: Inspect the power cord for any fraying, cuts, or exposed wires. Replace the cord immediately if you find any damage.
2. Indicator Lights and Display:
- Power Status: Check the UPS's power indicator lights. They should typically indicate whether the UPS is receiving power from the mains and whether the battery is charged. Refer to your UPS's manual for a breakdown of what each light signifies.
- Error Messages: If the UPS has a display, check for any error messages or warnings. These could indicate a problem with the battery, the internal circuitry, or the power input. Note any codes displayed - you'll need them for troubleshooting.
- Battery Health Indication: Many UPS models have an indicator of battery health, often a bar graph or a percentage. Monitor this regularly - a consistent decline warrants further investigation.
3. Basic Cleaning (Optional, but Recommended):
- Gently dust the exterior of the UPS with a dry, lint-free cloth. Avoid using harsh chemicals or solvents, as these can damage the finish.
Important Note: This weekly check is a visual inspection. It does not replace the more comprehensive self-test and, if applicable and by trained personnel, the load test outlined elsewhere in this guide. Always consult your UPS manufacturer's manual for specific maintenance recommendations and safety precautions.
Weekly UPS Self-Test Procedure
Most UPS (Uninterruptible Power Supply) units have a built-in self-test function to verify their operational readiness. Here's a general guide to performing this test, though always refer to your specific UPS model's manual for precise instructions.
- Locate the Test Button: The self-test button is typically located on the front or rear panel of the UPS. It may be labeled Test, Self-Test, or something similar.
- Initiate the Test: Press and hold the test button for the duration specified in your UPS manual (usually 2-5 seconds).
- Observe the Indicators: During the test, the UPS will simulate a power outage. Watch the UPS's indicator lights or display panel closely. These will show the status of the battery and simulated outage.
- Review the Results: After the test completes, the UPS will typically indicate the results. A successful test is usually indicated by a solid green light or a Pass message. Any error codes or blinking lights suggest a problem that needs further investigation. Record the results in your maintenance log.
- Troubleshooting: If the test fails, consult your UPS manual for troubleshooting steps. Common issues might include a weak battery, a faulty power cord, or a problem with the UPS's internal circuitry. If you're not comfortable diagnosing and resolving the issue yourself, contact a qualified technician.
Weekly (Optional) UPS Load Test - Safety First
The UPS load test simulates a power outage to verify your backup system's ability to handle your POS equipment's power demands. However, this test is not for everyone. It requires specific training and a thorough understanding of electrical safety. Incorrectly performing a load test can damage your UPS, POS system, or even pose a safety hazard.
Here's why it's optional and what's involved:
- Risk of Damage: A load test abruptly cuts power. If your POS system isn't designed for sudden shutdowns, it could lead to data loss or hardware failure.
- Electrical Hazards: Improperly disconnecting or reconnecting UPS connections can present electrical shock risks.
- UPS Warranty: Some UPS manufacturers void warranties if load testing isn't performed according to their specific guidelines (or if performed at all).
If you are trained and authorized to perform a load test:
- Consult the UPS Manual: Absolutely essential. Follow the manufacturer's instructions precisely.
- Notify Your Payment Processor: Some processors may require notification before performing a load test.
- Controlled Environment: Perform the test in a secure area where unexpected downtime won't disrupt critical operations.
- Record Results: Document the duration the UPS powered the system, any error messages, and overall performance.
- Post-Test Verification: After the simulated outage, confirm your POS system restarts correctly and data integrity is maintained.
If you're unsure about any part of this process, do not proceed. Contact a qualified electrician or UPS service technician for assistance.
Monthly Configuration Review & Security Audit
Beyond the daily and weekly checks, a monthly deep dive into your POS system's configuration and security posture is vital. Think of it as a comprehensive health check for your entire operation. This isn't just about ensuring tax rates are correct - it's about safeguarding your business from potential threats.
Configuration Verification:
- Tax Rate Accuracy: Double-check all tax rates for accuracy. Sales tax laws change frequently, and incorrect rates can lead to legal issues and customer dissatisfaction.
- Payment Method Updates: Verify accepted payment methods are still supported and configured correctly. Changes to processor policies or card networks can necessitate updates.
- User Permissions: Review user access levels. Ensure employees only have the permissions necessary to perform their job duties. Regularly remove access for departing employees.
- Menu/Product Updates: Confirm pricing, descriptions, and availability are accurate. Outdated information can cause confusion and frustration.
- Discount/Promotion Validation: If you utilize discounts or promotions, ensure they are active, correctly configured, and aligned with your marketing campaigns.
Security Audit Essentials:
- Software Updates: Check for and install the latest software updates for your POS system, payment terminal, and any related devices. These updates often include critical security patches.
- Password Review: Encourage (or enforce) strong passwords for all user accounts. Consider implementing multi-factor authentication (MFA) for enhanced security.
- Firewall & Antivirus: Verify your firewall is active and configured correctly. Ensure your antivirus software is up-to-date and performing regular scans.
- Data Encryption: Confirm that sensitive data, such as credit card information, is encrypted both in transit and at rest.
- PCI Compliance: If you handle credit card data, ensure you are meeting all PCI DSS requirements. (This is a legal and financial must!)
- Review Access Logs: Periodically review access logs for any suspicious activity or unauthorized access attempts.
- Security Awareness Training: Consider providing regular security awareness training for your employees to help them identify and avoid phishing scams and other cyber threats.
Troubleshooting Common POS Issues
Even with a solid preventative maintenance checklist, occasional hiccups are inevitable. Here's a breakdown of some common POS issues and how to tackle them:
1. Unable to Connect to Network Error:
- Check the Basics: Ensure your network cables are securely plugged in. Restart your modem and router - a simple reboot often resolves temporary glitches.
- Verify IP Address: Confirm your POS system has a valid IP address. Contact your IT support or internet service provider if you suspect an IP address conflict.
- Firewall Issues: Your firewall might be blocking communication with your payment processor. Temporarily disable the firewall (with caution!) to see if it resolves the problem. Consult your IT professional for permanent fixes.
2. Payment Terminal Errors (Card Reader Not Found, Transaction Declined):
- Check Connections: Ensure the payment terminal is properly connected to the POS system.
- Driver Updates: Outdated drivers can cause communication problems. Update your payment terminal drivers to the latest version.
- Processor Communication: Verify your POS system is communicating correctly with your payment processor. Contact your processor for assistance if necessary.
- Card Issues: A damaged or expired card is a frequent culprit. Ensure the card is properly swiped or inserted.
3. Slow POS Performance & Freezing:
- Clear Cache: Accumulated cache data can slow down your POS system. Clear the cache regularly.
- Software Updates: Outdated software can lead to performance issues. Install the latest updates.
- Hardware Limitations: Your POS hardware might be struggling to handle the workload. Consider upgrading to more powerful hardware.
- Background Processes: Too many applications running in the background can impact performance. Close unnecessary applications.
4. Incorrect Total or Discrepancy Errors:
- Tax Rate Verification: Double-check your tax rate settings to ensure accuracy.
- Pricing Errors: Verify that your product pricing is correct in the POS system.
- User Permissions: Incorrect user permissions can lead to unauthorized discounts or modifications to transactions.
- System Logs: Review system logs for any unusual activity or errors.
When to Call for Help:
If you're consistently encountering these or other issues, or if the troubleshooting steps above don't resolve the problem, it's time to contact your POS vendor, payment processor, or a qualified IT professional. Don't hesitate - prolonged downtime can impact your sales and customer satisfaction.
Creating Your Customized POS Checklist
Not every business operates the same way. What works for a bustling coffee shop might be overkill for a small boutique. That's why a generic checklist, while a good starting point, rarely cuts it. Creating a truly effective POS and power backup checklist requires personalization.
Here's how to tailor the framework we've outlined into a system that fits your unique needs:
1. Inventory Your Hardware & Software: Start by listing everything involved in your POS process. This includes not just the main terminal, but also printers, card readers, scales, kitchen display systems (KDS), and any software integrations (loyalty programs, accounting software, etc.).
2. Assess Your Risk Factors: What are your biggest concerns? Are you in an area prone to power outages? Do you process a high volume of transactions that demand peak system performance? Identifying these vulnerabilities helps prioritize checks.
3. Define Roles & Responsibilities: Who will be responsible for performing each check? Assigning clear ownership ensures tasks don't fall through the cracks. Consider the skill level required - some checks might need a designated IT person.
4. Frequency & Detail: Adjust the frequency of checks based on the risk level. High-risk components or areas need more frequent monitoring. You can also add more detail to each check based on your specific hardware and software configuration. For example, instead of just checking Network Connectivity, you might include steps to ping a specific server.
5. Leverage Technology: Consider using a checklist app or digital form to streamline the process. These tools often allow for automated reminders, photo documentation, and easy data tracking.
Example Customizations:
- Restaurant with Online Ordering: Add checks for online order integration and kitchen printer functionality.
- Retail Store with Multiple Locations: Create location-specific checklists and track performance across stores.
- Business with Seasonal Fluctuations: Adjust checklist frequency based on peak and off-peak seasons.
Resources & Further Reading
Staying on top of your POS system and backup power isn't a one-time effort; it's an ongoing process. Here's a curated list of resources to deepen your knowledge and keep you informed:
- Your POS System Vendor's Documentation: This is your primary source for information on your specific system. Look for user manuals, troubleshooting guides, and FAQs.
- UPS Manufacturer Websites (APC, Eaton, CyberPower): These sites offer detailed information on your UPS units, including user manuals, software downloads, and troubleshooting tips.
- Payment Processor Support: Familiarize yourself with your payment processor's guidelines for POS system maintenance and security.
- National Retail Federation (NRF): The NRF offers a wealth of resources for retailers, including information on technology, security, and compliance. https://www.nrf.com/
- Small Business Administration (SBA): The SBA provides guidance and resources for small business owners, including information on technology and security. https://www.sba.gov/
- PCI DSS (Payment Card Industry Data Security Standard): If you accept credit card payments, it's crucial to understand and comply with PCI DSS requirements. https://www.pcisecuritystandards.org/
- Online Forums & Communities: Engage with other business owners and POS system users in online forums and communities to share tips and ask questions. (Search for "[Your POS System] forum" or similar terms.)
Resources & Links
- National Institute of Standards and Technology (NIST): NIST provides guidelines and standards for cybersecurity and system reliability, which are highly relevant to POS systems. Explore their publications on security best practices and frameworks like the Cybersecurity Framework.
- Payment Card Industry Security Standards Council (PCI SSC): PCI SSC is the official source for Payment Card Industry Data Security Standard (PCI DSS) requirements. While a full PCI compliance assessment is complex, understanding the core principles is vital for POS security. Refer to their website for standards, resources, and tools.
- Cybersecurity and Infrastructure Security Agency (CISA): CISA provides resources and alerts regarding cybersecurity threats and vulnerabilities. Stay updated on potential risks and recommended mitigation strategies for your POS system.
- Electronic Frontier Foundation (EFF): EFF provides information about digital security and privacy. While focused on broader digital rights, they offer valuable guidance on securing your systems and data.
- TechRepublic: TechRepublic offers a broad range of tech guides, tutorials, and advice articles. You might find helpful articles on network troubleshooting, router management, and UPS maintenance.
- How-To Geek: How-To Geek provides easy-to-understand guides and tutorials on various tech topics, including network configuration, router security, and general troubleshooting.
- Shopify: While primarily a platform for online stores, Shopify's resource section frequently contains articles related to retail operations, payment processing, and POS system maintenance - useful for broader context.
- APC by Schneider Electric: APC is a leading manufacturer of UPS systems. Their website provides detailed information about UPS functionality, maintenance, troubleshooting, and self-test procedures for their products. Excellent source for UPS-specific advice.
- Cyberdyne: Cyberdyne provides POS hardware, software and support. Their website can provide information and resources specific to POS systems and connectivity.
Frequently Asked Questions
What is a POS system and why is it important to keep it running?
A Point of Sale (POS) system is the hardware and software used to process transactions in a retail or service business. Keeping it running is critical for sales, inventory management, customer service, and overall business operations; downtime can lead to lost sales and frustrated customers.
Who is this checklist template for?
This checklist is designed for anyone responsible for maintaining a POS system, including store managers, IT staff, or dedicated POS technicians. It's suitable for businesses of all sizes.
What's the difference between the daily and weekly checklist?
The daily checklist focuses on quick, essential tasks to ensure smooth operation each day. The weekly checklist includes more in-depth checks and maintenance to proactively prevent issues and optimize performance.
Can I customize the checklist template?
Absolutely! This is a template to get you started. Feel free to add, remove, or modify tasks to fit your specific POS system, hardware, and business needs. Consider adding tasks related to your unique integrations or specific peripherals.
What kind of POS systems does this checklist apply to?
This checklist is generally applicable to most POS systems, regardless of vendor (e.g., Square, Shopify POS, Toast, etc.) or operating system (Windows, iOS, Android). However, some tasks might need slight adjustments based on your specific system's interface and features.
What should I do if I identify a problem during the checklist?
Document the problem thoroughly (date, time, error messages, steps to reproduce). Consult your POS vendor's documentation or support resources. If you can't resolve it, contact your POS vendor's technical support immediately. Prioritize issues impacting sales or critical functionality.
How often should I review and update this checklist?
Review the checklist at least quarterly, or whenever you implement changes to your POS system, hardware, or software. Regularly updating the checklist ensures it remains relevant and effective in identifying and addressing potential issues.
My POS system has unusual peripherals (e.g., scales, specialized printers). How do I incorporate them into the checklist?
Add specific checks for each peripheral's functionality and connectivity. For example, check scale accuracy, printer calibration, or connection stability. Describe the peripheral and the expected behavior in the checklist for clarity.
Found this Article helpful?
Retail Management Solution Demo
Boost retail efficiency! ChecklistGuro simplifies store operations, inventory management, and employee training. Improve customer experience and maximize profitability. Manage it all with our Work OS.
Related Articles
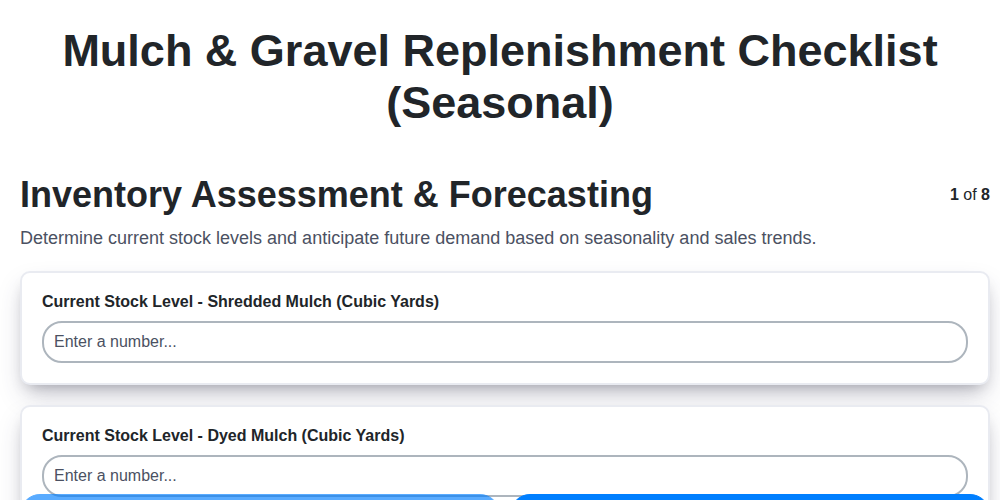
Seasonal Mulch & Gravel Checklist Template: Stay Stocked & Ready
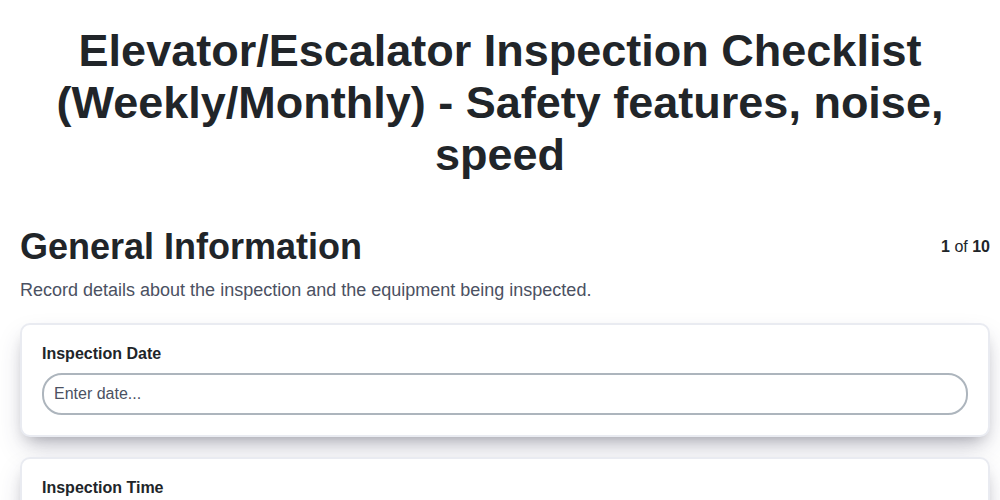
Elevator & Escalator Inspection Checklist Template: Your Guide to Safety & Compliance
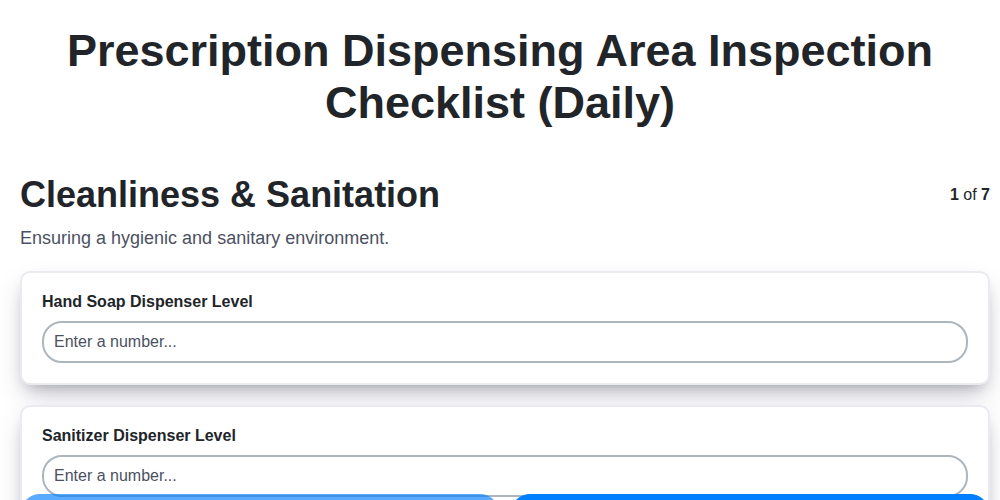
Daily Prescription Dispening Area Inspection Checklist Template

Weekly Waste Management & Recycling Checklist Template
Keep Your Storefront Sparkling: Your Daily & Weekly Cleaning Checklist Template
Your Ultimate Landscaping & Groundskeeping Checklist: Weekly & Monthly Templates
Monthly Stockroom Organization & Safety Checklist Template

Daily Dairy Case Inspection Checklist Template
We can do it Together
Need help with
Retail?
Have a question? We're here to help. Please submit your inquiry, and we'll respond promptly.