Your Pre-Trip Vehicle Inspection Checklist: A Driver's Guide
Published: 08/31/2025 Updated: 03/29/2026
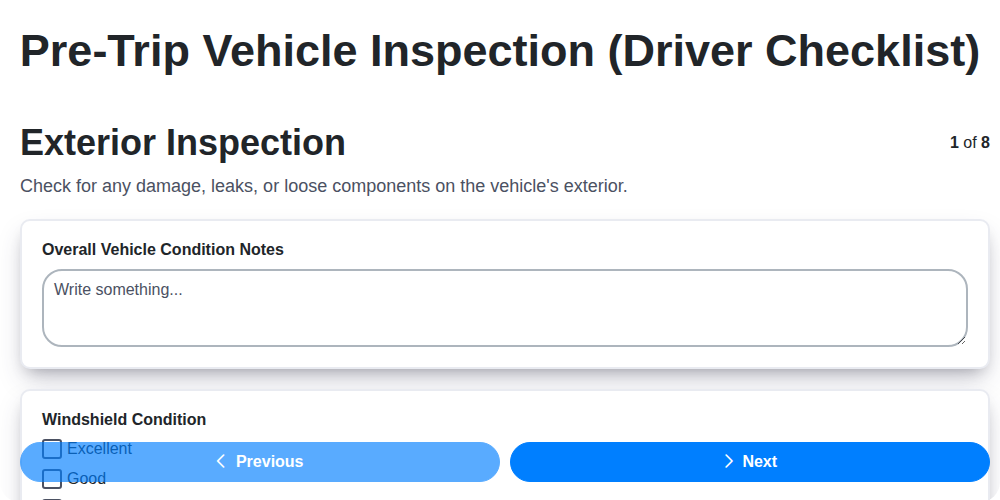
Table of Contents
- Why a Pre-Trip Vehicle Inspection Matters
- Gather Your Tools: What You'll Need
- Exterior Inspection: A Visual Assessment
- Tires and Wheels: Your Foundation
- Lights and Reflectors: Ensuring Visibility
- Under the Hood: Checking Fluid Levels
- Brakes and Suspension: Critical Systems
- Safety Equipment: Prepared for the Unexpected
- Inside the Cabin: Controls and Comfort
- Cargo Securement: Protecting Your Load
- Final Checks and Road-Trip Ready
- Resources & Links
TLDR: Going on a road trip? Don't skip this! This checklist guides you through a quick inspection of your vehicle - tires, lights, fluids, brakes, and more - to catch potential problems *before* they ruin your adventure. Download the printable checklist and hit the road safely!
Why a Pre-Trip Vehicle Inspection Matters
Think of your vehicle as your trusty steed for an epic adventure. Would you send a knight into battle with a cracked helmet or a dull sword? Of course not! The same principle applies to your car, truck, or SUV. A pre-trip inspection isn't just about ticking boxes; it's about prioritizing your safety and the safety of those around you.
The most immediate benefit is avoiding breakdowns. Imagine being stranded miles from civilization with a flat tire, a dead battery, or worse. A simple inspection can often catch these issues before they escalate into major headaches and costly repairs.
Beyond the obvious, a thorough check can also improve fuel efficiency. Properly inflated tires and well-maintained fluids can contribute to better gas mileage, saving you money over the long haul.
Furthermore, you're contributing to road safety. Properly functioning lights, brakes, and tires aren't just good for you; they're essential for other drivers. By ensuring your vehicle is in top condition, you're minimizing the risk of accidents and creating a safer driving environment for everyone. Essentially, a little preventative maintenance goes a long way towards a more reliable, efficient, and safer journey.
Gather Your Tools: What You'll Need
Having the right tools at your disposal makes the pre-trip inspection much easier and more thorough. You don't need a full mechanic's toolbox, but a few essential items will significantly streamline the process. Here's what we recommend gathering:
- Tire Pressure Gauge: A digital or stick-type gauge is crucial for accurate tire pressure readings.
- Flashlight: Essential for inspecting hard-to-see areas, especially lights and the undercarriage.
- Gloves: Protect your hands from dirt and grime.
- Rags or Paper Towels: For wiping up spills and cleaning components.
- Owner's Manual: Your vehicle's manual is a valuable resource for specific fluid level locations, recommended tire pressures, and other important information.
- Small Mirror (Optional): A small mirror can be helpful for inspecting areas that are difficult to see directly.
- Pen and Paper/Digital Note-Taking App (Optional): To record any issues you find and track what you've checked.
Exterior Inspection: A Visual Assessment
A thorough exterior inspection isn't just about looking for obvious damage; it's about developing a keen eye for anything out of the ordinary. Start by parking your vehicle on a level surface in good lighting. Walk completely around the vehicle, taking your time and paying close attention to detail.
Look beyond the obvious scratches and dents. Are there any signs of recent impacts - misaligned panels, subtle cracks in the paint, or areas where the paint looks different? Check the condition of your headlights and taillights, ensuring they're clear of debris and free from cracks. Don't forget to inspect your mirrors; they need to be clean and properly adjusted for optimal visibility. Wipers are crucial for safety, so inspect the rubber blades for wear and tear - look for cracks, hardening, or missing pieces. Finally, take a quick scan of your tires - a flat spot or unusual bulge can be a warning sign. A little extra scrutiny here can save you a lot of trouble later.
Tires and Wheels: Your Foundation
Your tires are literally your connection to the road, so their condition is paramount for a safe and enjoyable trip. Let's break down what to check.
Tire Pressure: The Goldilocks Zone
Underinflated tires lead to poor fuel economy, increased tire wear, and a higher risk of blowouts. Overinflated tires offer less grip and a harsher ride. Always inflate your tires to the pressure recommended in your vehicle's owner's manual or on the sticker located on the driver's side doorjamb. Don't rely on the maximum pressure listed on the tire sidewall - that's a limit, not a recommendation. Check pressure when tires are cold (before driving or after they've been sitting for at least three hours). A reliable tire pressure gauge is an inexpensive and essential tool.
Visual Inspection: Look for Trouble Signs
Carefully examine your tires for the following:
- Tread Depth: Insufficient tread depth significantly reduces grip, especially in wet conditions. Use the penny test - insert a penny upside down into the tread. If you can see the top of Lincoln's head, it's time for new tires.
- Uneven Wear: Uneven wear patterns can indicate alignment issues or suspension problems. Address these promptly.
- Bulges or Sidewall Damage: These are serious signs of tire degradation and require immediate replacement.
- Cuts or Embedded Objects: Remove any foreign objects carefully and inspect for damage.
- Cracking: Minor surface cracking is sometimes normal with age, but deep or extensive cracking is a cause for concern.
Wheel Condition: Don's Overlook the Metal
While tires get most of the attention, don't forget your wheels! Inspect them for:
- Cracks: Cracks can weaken the wheel and increase the risk of failure.
- Dents: Even minor dents can affect wheel balance and cause vibrations.
- Corrosion: Rust or corrosion can compromise the wheel's structural integrity.
If you notice any of these issues, consult a tire professional for advice and possible repairs or replacements.
Lights and Reflectors: Ensuring Visibility
Being seen is paramount to safe driving, especially when conditions aren't ideal. A malfunctioning light can not only lead to a ticket but, more importantly, increase your risk of an accident. Here's what you need to check:
- Headlights (Low & High Beam): Make sure both beams are shining brightly and pointing in the correct direction. Aiming issues can significantly reduce visibility.
- Taillights: A broken taillight can make you appear to be braking when you're not, confusing drivers behind you.
- Brake Lights: Have a friend step on the brake pedal while you confirm that both brake lights illuminate clearly. A single brake light out is a common (and easily fixable) safety hazard.
- Turn Signals (Front, Rear, and Side): These are crucial for communicating your intentions to other drivers. Check that all indicators flash steadily and are visible.
- Hazard Lights: Activate your hazard lights to ensure they function correctly. You never know when you might need them!
- Reflectors: Clean and undamaged reflectors are essential for visibility in low-light conditions. Check side reflectors for any cracks or excessive dirt buildup.
Don't rely on just a quick glance - take the time to walk around your vehicle and actively check each light and reflector. A few minutes of inspection can make a world of difference in your safety and the safety of others on the road.
Under the Hood: Checking Fluid Levels
Fluid levels are the unsung heroes of your vehicle's performance. They're relatively easy to check and can alert you to potential problems before they escalate into costly repairs. Here's a breakdown of what to look for and how to check them:
Engine Oil: This is arguably the most crucial. Park on a level surface, let the engine cool for a few minutes, and pull out the dipstick. Wipe it clean, reinsert it fully, and pull it out again. The oil level should be between the min and max marks. If it's low, add the correct type and viscosity of oil (check your owner's manual!).
Coolant: The coolant reservoir is usually translucent, allowing you to visually check the level. It should be between the min and max lines when the engine is cold. Never open the radiator cap when the engine is hot - it's under pressure and can cause severe burns.
Brake Fluid: This is typically found in a small, often clear, reservoir near the master cylinder. The level should be near the max line. Low brake fluid could indicate a leak, so keep an eye on it.
Power Steering Fluid: Similar to brake fluid, the reservoir is usually marked with "min" and "max" lines. If it's low, it could indicate a leak or a worn power steering pump.
Windshield Washer Fluid: This is easy - just pop the hood and check the reservoir. Top it off as needed, especially before a long trip.
Transmission Fluid: Checking this can be more complex and often requires a dipstick. Consult your owner's manual for specific instructions and the correct procedure for your vehicle. If you're unsure, it's best to have a professional check it.
Brakes and Suspension: Critical Systems
Your brakes and suspension are two of the most critical systems on your vehicle, directly impacting your safety and the safety of others on the road. A seemingly minor issue with either can quickly escalate into a dangerous situation. Let's take a closer look at what to inspect.
Brake Inspection:
Start by firmly pressing the brake pedal. It should feel solid and consistent, not spongy or soft. A spongy feel can indicate air in the brake lines, which needs professional attention. Also, listen for any unusual noises like squealing, grinding, or scraping when applying the brakes - these are often signs of worn brake pads or rotors. While visually inspecting through the wheels, try to assess the thickness of your brake pads. While a precise measurement isn't possible without tools, significantly thin pads are a cause for concern.
Suspension Check:
The suspension system is responsible for a comfortable ride and stable handling. To check it, briefly bounce each corner of the vehicle (press down firmly and release). The vehicle should rebound smoothly and settle quickly. Excessive bouncing or a clunking sound when bouncing can indicate worn shocks or struts. Look for any signs of leaks around the shock absorbers - oily residue can signal a failing component. While you're visually inspecting the suspension, check for any broken or loose suspension components. A worn-out suspension can lead to uneven tire wear, poor handling, and a reduced ability to control the vehicle in emergency situations. Don't ignore subtle changes in how your vehicle feels when driving - a slight pulling to one side or increased body roll in turns can be early warning signs.
Safety Equipment: Prepared for the Unexpected
Being proactive about safety isn't just about buckling up; it's about having the right tools and supplies ready for unforeseen circumstances. A well-stocked safety kit can make a significant difference in a roadside emergency. Here's what you should have on hand:
Essentials:
- First Aid Kit: A comprehensive first aid kit is non-negotiable. Make sure it's up-to-date and includes items like bandages, antiseptic wipes, pain relievers, gauze pads, medical tape, and any personal medications.
- Jumper Cables: A dead battery can derail your trip instantly. Ensure your jumper cables are in good working order, and you know how to use them (or have someone who does!).
- Warning Devices: Flares, reflective triangles, or LED warning lights are crucial for alerting other drivers if you're stopped on the side of the road, especially at night or in low-visibility conditions.
- Seatbelts: This one's obvious, but always double-check that all seatbelts are functional and in good condition before you leave.
- Flashlight: A reliable flashlight is essential for nighttime repairs or emergencies. Consider one with a head strap for hands-free operation.
Consider These Extras:
- Fire Extinguisher: A small, portable fire extinguisher can be a lifesaver, particularly for those traveling with vehicles containing flammable materials (like propane tanks in RVs).
- Multi-tool or Knife: A versatile tool can be handy for various minor repairs and tasks.
- Work Gloves: Protect your hands when performing roadside tasks.
- Emergency Blanket: Useful for warmth if you're stranded in cold weather.
- Whistle: A loud whistle can help attract attention if you need assistance.
Remember to periodically check your safety equipment to ensure everything is in working order and hasn't expired. A little preparation goes a long way toward ensuring a safe and enjoyable trip!
Inside the Cabin: Controls and Comfort
The driver's cabin isn't just where you sit; it's your command center for the entire journey. A comfortable and functional cabin can drastically improve your driving experience, reducing fatigue and increasing overall enjoyment. Let's take a quick look at the essentials.
Dashboard Diagnostics: Start with a scan of your dashboard. Any illuminated warning lights? Don't ignore them! Consult your owner's manual to understand their meaning and address any potential issues before they become bigger problems. A seemingly minor light could indicate a more serious underlying issue.
HVAC Harmony: Temperature control is crucial, especially on longer trips. Test your heating and air conditioning to ensure they're working effectively. Uneven heating or a malfunctioning AC can quickly make a road trip miserable.
Steering Smoothly: Briefly test your steering. Does it feel smooth and responsive? Any unusual noises or vibrations? A stiff or noisy steering system can be a sign of underlying problems.
Button Bonanza: Take a minute to familiarize yourself with the operation of essential controls - lights, wipers, horn, cruise control (if equipped). Knowing where everything is and how it works reduces distractions while driving.
Seat Adjustment & Comfort: Make sure your seat is properly adjusted for optimal comfort and visibility. Experiment with the lumbar support and headrest to find the best position. Consider bringing a small cushion for added comfort on extended drives.
Mirror Mastery: Adjust all mirrors - interior rearview mirror and side mirrors - for maximum visibility. Eliminate blind spots as much as possible for added safety.
Don't underestimate the importance of a comfortable and functional cabin - it's an essential part of a safe and enjoyable road trip.
Cargo Securement: Protecting Your Load
Whether you're hauling camping gear, furniture, or sports equipment, properly securing your cargo is paramount. It's not just about preventing items from shifting; it's about safety for you, other drivers, and anyone sharing the road. An unsecured load can become a dangerous projectile in an accident or during sudden stops, leading to serious consequences.
Understanding the Risks:
Think about it: a poorly secured tent or a pile of boxes can easily shift during braking, affecting your vehicle's handling and potentially leading to a collision. Overhanging loads obstruct visibility and can damage bridges or other structures. Many states have laws regarding load securement, and violations can result in hefty fines and even vehicle impoundment.
Essential Securement Practices:
- Weight Distribution: Evenly distribute the weight of your cargo within the cargo area or trailer. Heavy items should be placed low and centered.
- Tie-Downs are Your Best Friend: Use a combination of ratchet straps, rope, bungee cords (for lighter items only), and cargo nets. The number and strength of your tie-downs will depend on the weight and size of your load. Consult your vehicle or trailer's owner's manual for recommendations.
- Ratchet Straps vs. Bungee Cords: Ratchet straps provide significantly more securement strength compared to bungee cords. Use ratchet straps for anything of substantial weight or that could potentially become airborne. Bungee cords are okay for very light, non-critical items.
- Overhang Awareness: If your cargo extends beyond the rear of your vehicle, a red flag or reflective material must be displayed at each end, extending at least the width of the vehicle. This alerts drivers behind you to the overhang.
- Regular Checks: Stop periodically during your trip to check the tightness of your tie-downs. Vibration and movement can cause straps to loosen.
Pro Tip: When using ratchet straps, ensure they are properly tightened and that the hooks are securely fastened. Never overload your vehicle or trailer - consult the manufacturer's weight capacity guidelines.
Final Checks and Road-Trip Ready
Once you've systematically worked through the comprehensive checklist above, it's time for those final, crucial checks before hitting the open road. This isn't about being obsessive; it's about gaining that extra layer of confidence and minimizing the chance of unexpected issues.
Double-Check Your Essentials: Quickly scan over the most important items again - tire pressure, fluid levels (especially coolant and oil), and those lights. It's surprisingly easy to miss something the first time around! A fresh look can catch a small detail you might have overlooked.
Confirm Cargo Security: If you're carrying cargo, take one last look to ensure everything is securely fastened and won't shift during travel. A loose load can be dangerous for you and other drivers.
Navigation & Entertainment: Input your destination into your navigation system and familiarize yourself with the route. Queue up some playlists or podcasts for entertainment - a happy driver is a safer driver!
Personal Comfort: Make sure you have water, snacks, and any necessary medications within easy reach. A comfortable and hydrated driver is more alert and focused.
Final Walk-Around: Give your vehicle one last visual inspection before you get in. Look for anything that seemed amiss - a new leak, a loose wire, or a forgotten item.
With these final checks complete, you're not just ready for a road trip; you're prepared for a successful and enjoyable journey. Safe travels!
Resources & Links
- Federal Motor Carrier Safety Administration (FMCSA) : The FMCSA website provides comprehensive information on commercial vehicle safety regulations, including pre-trip inspection requirements. This is a crucial resource for commercial drivers, but also helpful for understanding safety standards for all vehicle types.
- National Highway Traffic Safety Administration (NHTSA) : NHTSA offers safety recalls information, educational materials, and vehicle safety standards. Useful for understanding vehicle safety features and potential issues.
- AAA (American Automobile Association) : AAA provides roadside assistance, travel planning tools, and a wealth of automotive information, including vehicle maintenance guides and tips. Their website has articles and checklists related to vehicle safety.
- Car & Driver - How To : This website provides detailed how-to guides, including vehicle maintenance and inspection procedures. It offers visual aids and step-by-step instructions.
- YourMechanic : YourMechanic offers access to certified mechanics and provides informative articles and videos related to car maintenance and inspection, often with advice for DIY checks.
- AA (New Zealand) : While geographically focused on New Zealand, the AA provides a similar wealth of automotive information and safety guidance applicable to general vehicle maintenance and pre-trip checks, including checklists.
- Cars.com : Cars.com offers articles and guides covering various car maintenance and inspection topics, including pre-trip checklists and helpful tips for identifying potential problems.
- Popular Mechanics : Provides articles and guides covering automotive topics, with helpful information on vehicle maintenance and troubleshooting. Often includes visuals and detailed explanations.
- The Family Handyman : While broader than just automotive, this site has helpful DIY guides, including sections on vehicle maintenance and inspections. Good for understanding basic tools and procedures.
Frequently Asked Questions
What is a pre-trip vehicle inspection and why is it important?
A pre-trip vehicle inspection is a thorough check of your vehicle before a journey. It's important for safety - it helps identify potential problems that could lead to breakdowns, accidents, or injuries during your trip. It's also often legally required for commercial drivers.
Who needs to perform a pre-trip vehicle inspection?
While anyone driving a vehicle should ideally do a pre-trip inspection, it's legally mandated for commercial drivers (trucks, buses, etc.). Even for personal vehicles, it's a smart practice to ensure a safer journey.
How long should a pre-trip inspection take?
A thorough inspection usually takes about 30-60 minutes, depending on the vehicle's complexity and your familiarity with the process. Rushing the inspection can lead to missed issues.
What are the key areas I should check during the inspection?
The checklist covers several areas: tires, lights, fluids (oil, coolant, brake fluid, power steering fluid, windshield washer fluid), brakes, steering, suspension, coupling devices (if applicable), and general condition of the vehicle.
What should I do if I find a problem during the inspection?
If you find a problem, do not drive the vehicle until it's repaired. For minor issues, you might be able to monitor them closely. For anything critical (brakes, steering, tires), get it fixed by a qualified mechanic before continuing your trip.
Are there specific legal requirements for pre-trip inspections for commercial vehicles?
Yes, commercial drivers must adhere to specific regulations outlined by the Department of Transportation (DOT). These regulations detail what needs to be checked and how to document the inspection. Failure to comply can result in fines and penalties.
What is a Vehicle Inspection Report (VIR) and do I need to fill one out?
A VIR is a document used to record the findings of the pre-trip inspection. It's a legal requirement for commercial drivers and helps track maintenance history. Personal vehicle drivers may find it helpful to keep a simple record for their own reference.
Where can I find a sample pre-trip vehicle inspection checklist?
The article provides a detailed checklist. You can also find sample checklists on the DOT website or from reputable automotive resources. Many mechanic shops also provide checklists.
Do I need special tools to perform a pre-trip inspection?
Not necessarily. Most checks can be done with your eyes and hands. Some minor tools like a tire pressure gauge or a flashlight might be helpful.
What's the difference between a pre-trip and post-trip inspection?
A pre-trip inspection is done *before* a journey to identify potential problems. A post-trip inspection is done *after* a journey to check for any damage or issues that may have occurred during the trip.
Found this Article helpful?
Logistics Management Solution Demo
Tired of shipping delays, lost packages, and inefficient routes? ChecklistGuro's Work OS platform streamlines your entire logistics operation, from warehouse management and order fulfillment to route optimization and delivery tracking. Gain real-time visibility, reduce costs, and improve customer satisfaction. Learn how ChecklistGuro can transform your logistics business!
Related Articles
The Ultimate Refrigerated Cargo Temperature Control Checklist Template
Mastering Your Fleet: A Vehicle Maintenance Log Review Template
Master Your Returns: The Ultimate Returns Processing Efficiency Audit Checklist
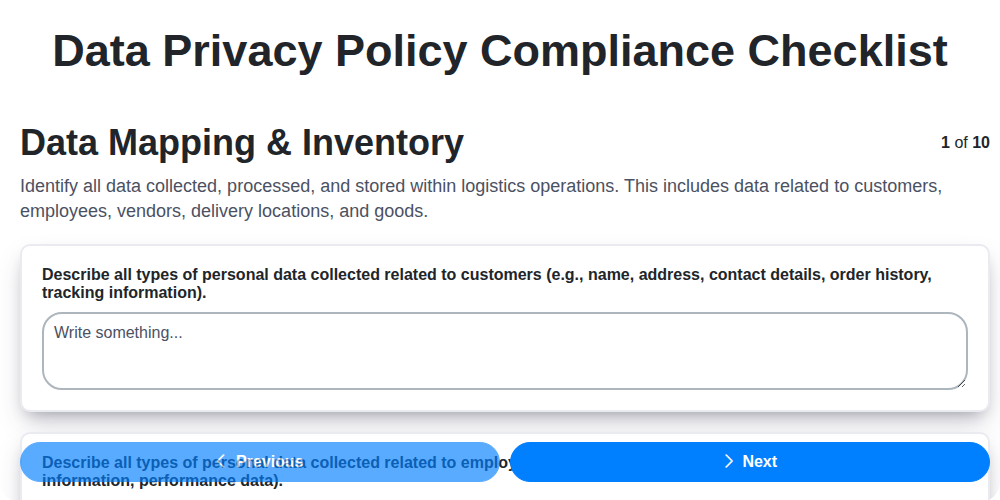
Data Privacy Policy Compliance: Your Essential Checklist Template
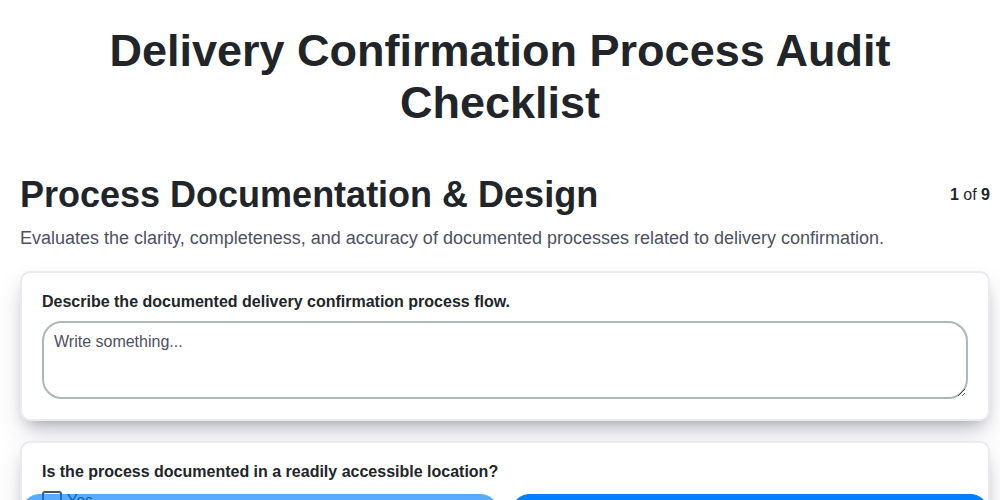
Delivery Confirmation Audit: Your Checklist Template for Process Excellence
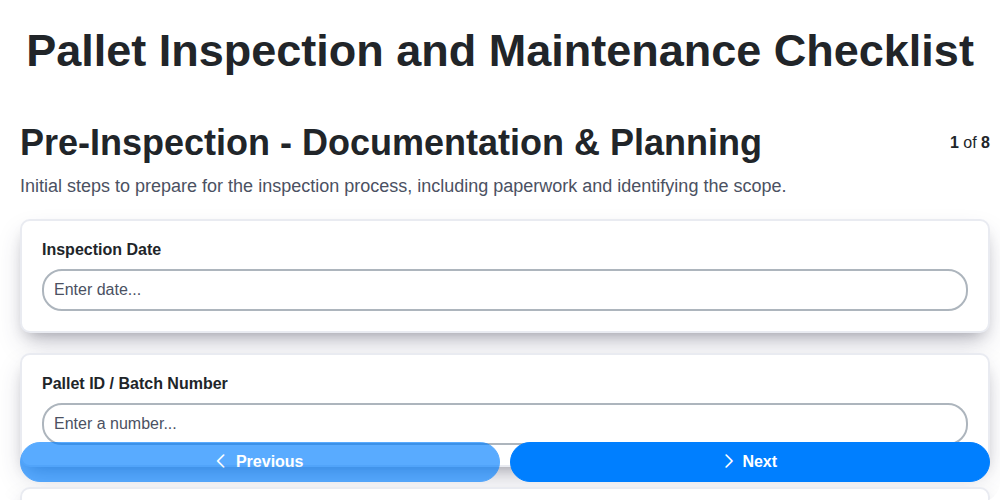
Your Pallet Inspection & Maintenance Checklist Template
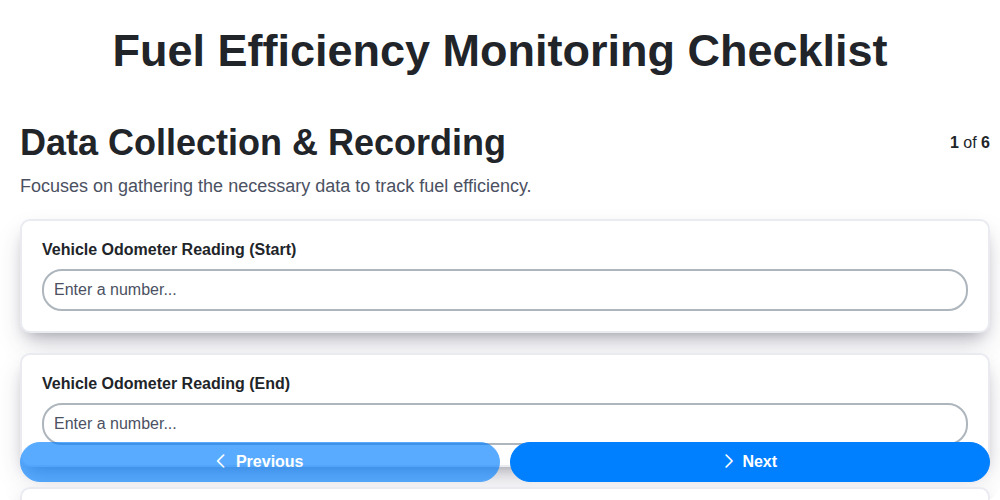
Fuel Efficiency Monitoring: Your Checklist Template for Savings
Supply Chain Risk Assessment: Your Essential Checklist Template
We can do it Together
Need help with
Logistics?
Have a question? We're here to help. Please submit your inquiry, and we'll respond promptly.