Your Ultimate Retail Inventory Cycle Count Checklist Template
Published: 09/10/2025 Updated: 12/13/2025
Table of Contents
- Why Cycle Counting Matters for Retailers
- Preparing for Success: Your Cycle Count Setup
- Choosing What to Count: Item Selection Strategies
- The Physical Count: Accuracy is Key
- Comparing the Numbers: System vs. Physical
- Investigating Discrepancies: Finding the Root Cause
- Making Adjustments: Correcting Your Inventory Records
- Reviewing and Refining: Continuous Improvement
- Template Download: Your Cycle Count Companion
- Resources & Links
TLDR: This checklist template simplifies retail inventory cycle counts! It guides you through preparation, counting, verification, and resolution of discrepancies to boost accuracy, reduce shrinkage, and ultimately improve your store's profitability. Download it now for a more efficient inventory management process!
Why Cycle Counting Matters for Retailers
Retailers operate on notoriously tight margins. Every lost sale, every misplaced item, every inaccurate record chips away at profitability. While a full physical inventory is a necessary, albeit disruptive, process, it's simply not frequent enough to catch the smaller, ongoing discrepancies that accumulate over time. That's where cycle counting steps in as a vital corrective measure.
Think of it this way: a full inventory is like an annual checkup for your entire body. Cycle counting is the daily vitamins and check-ins that keep everything running smoothly. It's a continuous improvement process that allows you to proactively address inventory issues before they escalate into major problems.
Beyond simply identifying errors, consistent cycle counting fosters a culture of accuracy within your team. It encourages careful handling of goods, reinforces attention to detail, and provides valuable insights into potential process inefficiencies. By pinpointing patterns in discrepancies - whether it's a consistent undercount of a specific product line or a recurring issue with a particular storage location - you can implement targeted solutions to improve your entire inventory management system. Ultimately, a commitment to regular cycle counting isn't just about counting items; it's about protecting your bottom line and building a more resilient retail business.
Preparing for Success: Your Cycle Count Setup
A successful cycle count hinges on meticulous preparation. Rushing into counting without a solid foundation significantly increases the likelihood of errors and wasted time. Let's outline the essential setup steps to ensure your cycle count process runs smoothly.
1. Define Your Scope & Frequency: Don't try to count everything at once! Start small. Determine which items or locations are most critical - high-value goods, fast-movers, or those with a history of discrepancies are ideal candidates. Establish a recurring schedule (daily, weekly, monthly) based on these priorities and item characteristics.
2. Assign Clear Responsibilities: Clearly define roles and responsibilities for each stage of the cycle count process. Who's responsible for item selection? Who performs the physical count? Who investigates discrepancies? Clearly defined roles prevent confusion and ensure accountability.
3. Gather the Right Tools & Resources: Don't underestimate the importance of having the right equipment. This includes:
- Count Sheets or Digital Forms: A structured way to record your findings.
- Pens/Markers: Reliable writing instruments.
- Barcode Scanners (Optional): Can significantly speed up the counting process and reduce errors.
- Calculator: For quick calculations and verification.
- Access to Inventory System: Essential for comparing physical counts with recorded quantities.
4. Communicate with Your Team: Inform all relevant staff about the upcoming cycle counts and their roles in the process. Transparency and communication minimize disruptions and foster a collaborative approach. Explain the why behind the cycle counts to gain buy-in and ensure everyone understands the importance of accuracy.
5. Physical Workspace Organization: Ensure the counting area is well-organized and free from clutter. Clear aisles and accessible products facilitate efficient counting and prevent miscounts. Consider temporarily designating a staging area for counted items to avoid interference with ongoing operations.
Choosing What to Count: Item Selection Strategies
Selecting what to count is just as important as how you count it. A random selection can work, but a strategic approach yields more impactful results. Here's a breakdown of item selection strategies to consider:
1. ABC Analysis: This is a cornerstone of efficient cycle counting. Categorize your inventory based on value and usage:
- A Items: High-value, fast-moving items (typically 20% of your inventory accounting for 80% of your value). Count these most frequently - weekly or even daily.
- B Items: Moderate-value, moderately-moving items (about 30% of inventory, 15% of value). Count these monthly or bi-weekly.
- C Items: Low-value, slow-moving items (the remaining 50% of inventory, contributing only 5% of value). Count these quarterly or less frequently.
2. High-Shrinkage Items: Focus on items known to be prone to theft, damage, or obsolescence. Regularly cycle count these to identify and address root causes.
3. Problem Items: These are items that consistently show discrepancies during cycle counts. Prioritize them to pinpoint underlying issues in receiving, storage, or picking processes.
4. Random Selection: While less targeted, random selection can be useful for ensuring complete coverage of your inventory over time, especially for 'C' items.
5. New Arrivals: Cycle count recently received items to verify accuracy upon entry into your inventory.
6. Seasonal Items: Focus on items with fluctuating demand and storage conditions. Frequent cycle counting helps manage potential issues.
Ultimately, the best strategy involves a blend of these approaches, tailored to your specific business needs and inventory profile. Regularly review and adjust your item selection criteria based on cycle count results and changing business conditions.
The Physical Count: Accuracy is Key
The physical count itself is the most critical stage. Rushing or cutting corners here undermines the entire process. Here's how to maximize accuracy:
- One Person, One Count: Assign a single person to count each item. This eliminates the risk of double-counting or miscommunication.
- Slow and Steady: Encourage a deliberate pace. Accuracy trumps speed. Focus entirely on the task at hand, avoiding distractions.
- Double-Check, Then Triple-Check: It's not enough to simply count once. Review the count for each item, preferably with a second person spot-checking.
- Use Consistent Counting Units: Are you counting individual items, packs, or cases? Be clear and consistent.
- Document Condition: Note any damage, expiration dates, or other condition issues alongside the quantity. This helps track shrink and potential losses.
- Photograph as Proof: Taking photos of the counted items, particularly if there are any discrepancies or unusual conditions, provides invaluable documentation and evidence. This is especially important for high-value items.
- Barcodes are Your Friend: If you utilize barcodes, ensure the scanner is functioning correctly and that the barcodes are readable. Misread barcodes can lead to significant errors.
Comparing the Numbers: System vs. Physical
The most critical step in cycle counting isn't the counting itself; it's the comparison. Once you're confident in your physical count, the real work begins: pitting it against the numbers recorded in your inventory management system. This isn't just about identifying a difference; it's about understanding why the numbers don't align.
A small discrepancy (a single unit off) might indicate a simple data entry error, easily corrected. However, a significant difference should trigger immediate investigation. Don't simply adjust the system to match the physical count without digging deeper. Consider these possible causes for discrepancies:
- Data Entry Mistakes: Human error during receiving, sales, or returns is a common culprit.
- Misplaced Items: Items might be in the wrong location, making them difficult to find.
- Shrinkage (Theft or Damage): Unfortunately, theft or damage can impact inventory counts.
- System Glitches: Though rare, software errors can sometimes corrupt data.
- Incorrect Receiving: Items might have been received but not properly recorded in the system.
- Returns Not Processed: Customer returns might not have been correctly updated.
During the comparison, pay close attention to transaction history leading up to the count. This provides valuable clues about potential causes. Detailed documentation of every comparison is vital for future reference and process improvement.
Investigating Discrepancies: Finding the Root Cause
When your physical count doesn't match the system quantity, it's time to put on your detective hat. A discrepancy isn't just a number; it's a symptom pointing towards a potential breakdown in your processes. Rushing to adjust the numbers without understanding why the difference exists only postpones the problem and risks creating more errors down the line.
The investigation process should be methodical and collaborative. Start by gathering as much information as possible. Review the transaction history for the specific item, looking for unusual sales, returns, or adjustments. Was the item recently received, moved, or counted? Check for any recent system updates that might have impacted inventory records.
Don't underestimate the power of talking to your team. Interview staff members who handle the item - receiving clerks, sales associates, and warehouse personnel. Their insights can often shed light on potential misplacements, data entry errors, or theft. Frame the conversation as a fact-finding mission, not a blame game. Encourage open communication and create a safe space for employees to share their observations.
Common culprits behind inventory discrepancies include:
- Data Entry Errors: A simple typo when recording a sale or receiving shipment.
- Misplaced Items: Items moved from their designated location and not properly recorded.
- Theft or Shrinkage: Internal or external theft, damage, or loss.
- Receiving Errors: Incorrect quantities received from suppliers.
- System Glitches: Rarely, but possible, issues with the inventory management system.
Document everything. Record the steps you took during the investigation, the information you gathered, and the conclusions you reached. This documentation is invaluable for identifying trends, improving processes, and training employees.
Making Adjustments: Correcting Your Inventory Records
Finding a discrepancy during your cycle count - whether it's a few units short or an unexpected surplus - isn't a failure; it's an opportunity to refine your inventory management practices. Correcting those records, however, requires a thoughtful and controlled approach.
Prioritize Accuracy, Then Authorization
The most important thing is to get the number right. Re-count if necessary. Don't rush into making adjustments based on assumptions. Once you're confident in the physical count, the next step is authorization. It's best practice to have a designated individual or team responsible for approving inventory adjustments, especially for significant discrepancies. This adds a layer of accountability and helps prevent accidental errors.
Documenting the Change: Essential for Transparency
Every adjustment, regardless of size, must be meticulously documented. Your inventory system should allow you to record:
- The Adjusted Quantity: The new, corrected quantity.
- The Reason for the Adjustment: Was it a miscount, theft, damage, or something else? Be specific.
- The Date and Time of the Adjustment: Provides a clear timeline.
- The Name of the Person Making and Approving the Adjustment: Ensures accountability.
- Reference to the Cycle Count Sheet: Creates a direct link to the original record.
Transaction Codes and System Flags
Consider using specific transaction codes or system flags to categorize inventory adjustments. This allows for easy filtering and analysis of adjustment trends later on. For example, you might use a code like "CC-MISCOUNT" for adjustments resulting from a miscount during a cycle count.
Beyond the System: Internal Communication
Communicate significant adjustments to relevant teams (e.g., purchasing, sales). Understanding the root cause of the discrepancy can prevent similar issues in the future. Did a shipment arrive short? Are there frequent errors in picking or packing? Open communication fosters a culture of continuous improvement.
Reviewing and Refining: Continuous Improvement
Cycle counting isn't a set it and forget it process. The true power of cycle counting lies in its ability to drive continuous improvement within your retail operations. Regularly reviewing your cycle count data and refining your approach is essential for maximizing accuracy and efficiency.
Start by analyzing the trends revealed in your cycle count reports. Are certain items consistently showing discrepancies? This could indicate a problem with receiving processes, storage locations, or even product quality. Are specific locations exhibiting a higher rate of errors? This might highlight training needs or layout inefficiencies.
Don't be afraid to experiment! Perhaps rotating your cycle count schedule, revising your item selection criteria, or even introducing new technology can lead to significant improvements. Document these changes and their impact - what worked, what didn't, and why.
Regularly solicit feedback from your team involved in the cycle count process. They are on the front lines and often have valuable insights into potential bottlenecks or areas for optimization. A culture of continuous improvement means embracing change and proactively seeking ways to enhance your inventory management practices. By making cycle counting a living, evolving process, you can create a more accurate, efficient, and profitable retail business.
Template Download: Your Cycle Count Companion
Ready to put our cycle count checklist into action? We're thrilled to offer you a free, downloadable template to streamline your inventory management process. This isn't just a static list; it's a dynamic tool designed to help you record your counts, investigate discrepancies, and track your progress.
What You're Getting:
- Printable Checklist: A clear, concise checklist mirroring the steps outlined in our blog post. Perfect for physical counts and easy record-keeping.
- Discrepancy Log: A dedicated section to document any differences between physical counts and system quantities, along with notes on investigation findings.
- Key Fields: Pre-populated fields for item description, SKU, location, physical count, system quantity, and adjustment reason.
- Customizable: Easily adapt the template to fit your specific needs and inventory system.
How to Use It:
- Download the template
- Print copies for your team or create a digital copy to share.
- Follow our step-by-step cycle count process.
- Record all data accurately and promptly.
- Review your findings and continuously improve your inventory management.
We believe this template will be a valuable asset in your journey towards inventory accuracy and operational efficiency. Happy counting!
Resources & Links
- Shopify Retail : Shopify's retail resources cover a wide range of topics, including inventory management. Helpful for understanding broader retail context and inventory best practices.
- NetSuite Cycle Counting Guide : A comprehensive guide to cycle counting, covering the benefits, process, and potential challenges. Useful for understanding the strategic importance of cycle counting and its integration with broader inventory management systems.
- Inflow Inventory Cycle Counting Guide : Provides a practical, step-by-step guide to cycle counting, including tips for accuracy and efficiency. Good for understanding the nuts and bolts of the counting process.
- ABC Corp - Cycle Counting : ABC Corp offers inventory management consulting services and has resources detailing cycle count methodologies and best practices, which could provide valuable insights.
- U.S. Census Bureau - Retail : Provides retail statistics and reports. Understanding industry benchmarks can provide context for evaluating your inventory performance.
- Zebra Technologies - Inventory Management : Zebra offers technology solutions for inventory management including mobile devices and scanners. Helpful to learn about tools which can improve accuracy and efficiency when performing cycle counts.
- Sortly Cycle Counting Guide : Sortly's guide covers different cycle counting methods, like ABC analysis, and explores the benefits for small businesses. A good resource for practical advice tailored to retailers.
- Fishbowl Inventory - Cycle Counting Methods : Explores various cycle counting techniques (ABC, FIFO, random) and their suitability for different retail environments. Helps retailers choose the most appropriate strategy.
- Square Retail : Square offers retail and inventory management tools. While a competitive product, understanding how they approach inventory can offer insight into industry standards.
- V-Skills Inventory Cycle Counting Certification : While a paid certification, their website offers a general overview of cycle counting principles and can provide a baseline understanding of the topic.
Frequently Asked Questions
What is a cycle count?
A cycle count is a method of regularly counting a small portion of your inventory each day or week. It's a proactive approach to inventory management, contrasting with full physical inventory counts that occur less frequently (usually annually).
Why should I use a cycle count checklist?
A checklist ensures consistency and thoroughness in your cycle counting process. It helps minimize errors, improves accuracy, identifies discrepancies quickly, and provides a documented audit trail.
What's the difference between a cycle count and a full physical inventory?
A cycle count focuses on small sections of inventory regularly, while a full physical inventory involves counting *all* inventory at once, typically halting operations. Cycle counts are ongoing; full counts are periodic.
Who should perform cycle counts?
Ideally, cycle counts should be performed by trained personnel who aren't directly involved in daily receiving or shipping responsibilities. This helps ensure objectivity.
How often should I perform cycle counts?
The frequency depends on your inventory's value, turnover rate, and historical accuracy. A-rated items (high value, high turnover) should be counted more frequently than C-rated items (low value, low turnover).
What does 'A,' 'B,' and 'C' inventory classification mean?
This refers to the Pareto principle (the 80/20 rule) applied to inventory. 'A' items are the 20% of your inventory that accounts for 80% of your value. 'B' items are mid-range, and 'C' items are the remaining 60% of your inventory, representing only 20% of your value.
What kind of discrepancies should I look for during a cycle count?
Look for items with quantity discrepancies, misplaced items, damaged goods, and items that don't appear in your records at all.
What should I do if I find a discrepancy during a cycle count?
Immediately investigate the cause. Document the discrepancy, the investigation findings, and the corrective action taken. Don't just adjust the numbers - find the root cause.
How can I improve the accuracy of my cycle counts?
Provide thorough training, use barcode scanners where possible, implement strict receiving and shipping procedures, and regularly review and update your inventory records.
Is the checklist template customizable?
Yes! The checklist template is designed to be flexible. You can add or remove steps, adjust the criteria for inventory classification, and tailor it to your specific operational needs.
Found this Article helpful?
Inventory Management Solution Demo
Optimize your inventory & boost profitability! ChecklistGuro streamlines tracking, ordering, & fulfillment. Reduce waste, minimize stockouts, & improve efficiency. Manage it all with our Work OS.
Related Articles
Warehouse Data Integrity: Your WMS Checklist Template

Mastering Inventory Turnover: Your Analysis Checklist Template
Seasonal Mulch & Gravel Checklist Template: Stay Stocked & Ready
Daily Shelf Stocking & Rotation Checklist: FIFO Made Easy
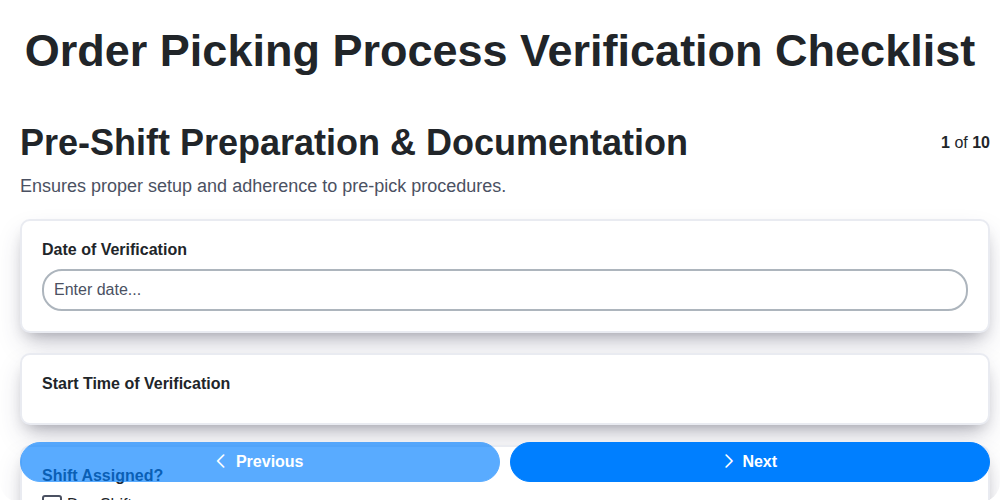
Order Picking Process Verification: Your Checklist Template
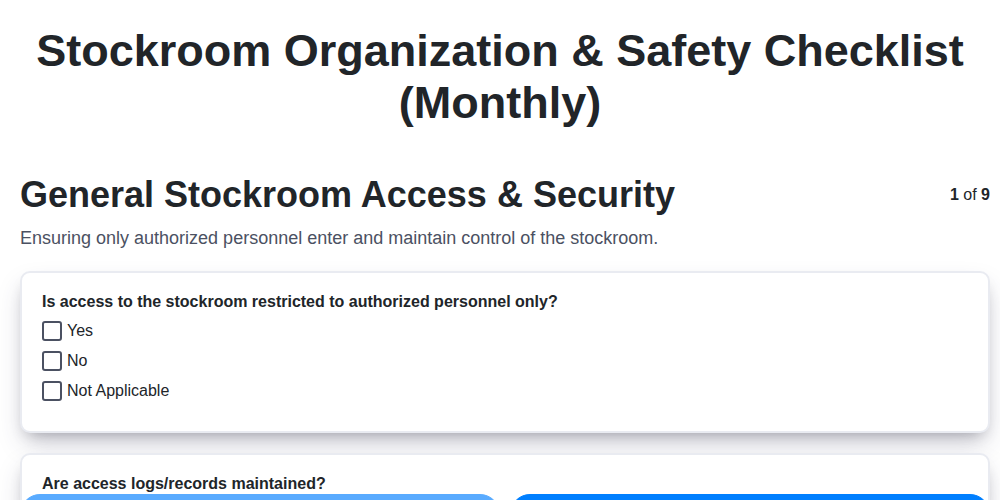
Monthly Stockroom Organization & Safety Checklist Template
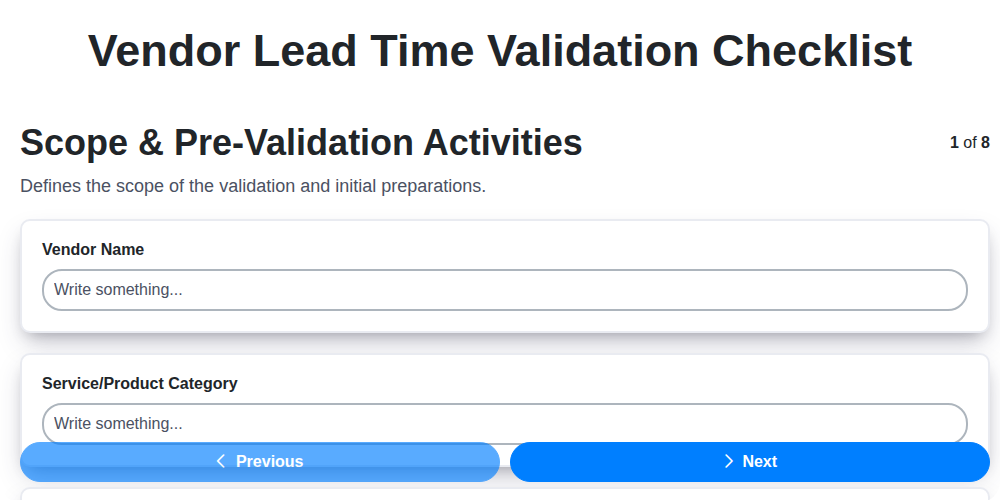
Vendor Lead Time Validation: A Checklist Template for Supply Chain Success
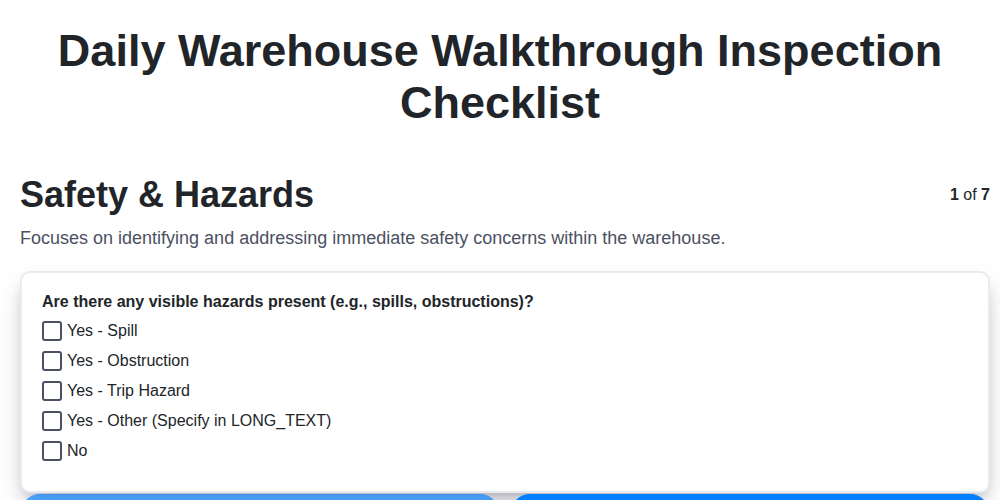
Daily Warehouse Walkthrough Inspection Checklist Template
We can do it Together
Need help with
Inventory Management?
Have a question? We're here to help. Please submit your inquiry, and we'll respond promptly.