Smed Checklist Template: Streamline Your Changeovers
Published: 08/23/2025 Updated: 04/20/2026
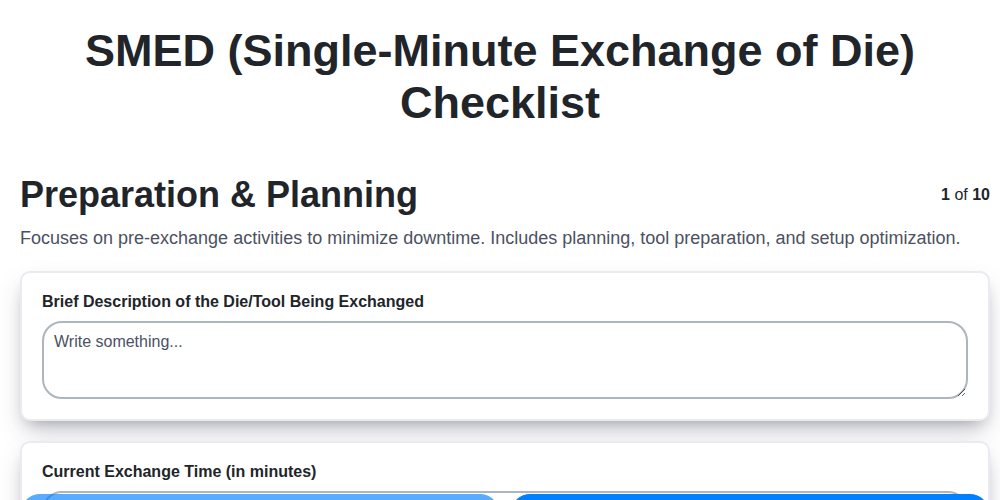
Table of Contents
- What is a SMED Checklist and Why Do You Need One?
- Understanding the Core Principles of SMED
- The Ultimate SMED Checklist Template: Step-by-Step
- Phase 1: Preparation & Analysis - Setting the Stage
- Phase 2: Internal Activity Optimization - Working with the Machine
- Phase 3: External Activity Reduction - Machine Downtime Minimization
- Tool & Fixture Strategies for Faster Changeovers
- Standardizing Your Setup Procedures: A Crucial Step
- Verification and First Piece Inspection: Ensuring Quality
- Documenting and Training: Maintaining Your Gains
- Continuous Improvement: Keeping Your SMED Process Sharp
- SMED Checklist Template Download: Get Started Today!
- Resources & Links
TLDR: This checklist template helps manufacturers dramatically reduce changeover times using the SMED methodology. It guides you through analyzing your current process, identifying areas for improvement, standardizing setup procedures, and continuously refining your approach for increased efficiency and reduced downtime. Download the template to get started!
What is a SMED Checklist and Why Do You Need One?
A SMED checklist isn't just a list; it's a roadmap to dramatically reducing your manufacturing setup times. Think of it as a structured guide that breaks down the entire setup process into manageable, actionable steps. It's a living document, evolving as you identify and eliminate waste.
Why is this critical? Because every minute spent on changeovers is a minute your machine isn't producing valuable parts. Longer setup times mean lower throughput, higher costs, and reduced flexibility to respond to customer demands. A well-defined SMED checklist forces you to analyze each step, categorize activities (internal vs. external), and systematically work to minimize downtime. It's more than just ticking boxes - it's about fostering a culture of continuous improvement and ensuring everyone on the team understands their role in optimizing the process. Without a checklist, you risk overlooking crucial opportunities for improvement and leaving valuable time on the table.
Understanding the Core Principles of SMED
SMED isn't simply about speed; it's a foundational shift in how you approach manufacturing processes. At its heart, SMED revolves around four key principles: analysis, simplification, parallelization, and modularization.
Analysis forms the bedrock of the entire process. You must meticulously dissect your current setup procedures, identifying every single activity - no matter how seemingly insignificant. This deep dive reveals bottlenecks, unnecessary steps, and opportunities for improvement. Don's be afraid to question everything.
Simplification follows naturally from analysis. Can a step be eliminated entirely? Can a complex adjustment be designed out through better tooling or fixture design? The goal here is to reduce the number of steps required to change over the machine.
Parallelization aims to shorten the overall setup time by performing multiple tasks simultaneously. This might involve having different operators working on different aspects of the setup at the same time, or pre-staging components and tools so they're ready for immediate use. Think about how to overlap activities instead of performing them sequentially.
Finally, Modularization encourages breaking down the setup process into smaller, more manageable modules. This allows for easier standardization, quick changeovers, and the potential for creating pre-set routines for common setups. By creating "plug-and-play" modules, you drastically reduce variability and the learning curve for new operators.
The Ultimate SMED Checklist Template: Step-by-Step
Implementing SMED can feel overwhelming without a clear roadmap. That's why we've created a comprehensive SMED checklist template designed to guide you through each crucial step. This isn't just a list - it's a working document to be adapted and refined for your specific processes.
Here's a breakdown of what you'll find within the template, aligned with the steps outlined in the earlier sections. We've included spaces for your team to input specific data and track progress.
Phase 1: Preparation & Assessment (Weeks 1-2)
- Process Selection: [Space for Process Name & Brief Description]
- Team Formation: [List of Team Members & Roles]
- Goal Setting: Target Setup Time Reduction: [Numerical Field & Units]
- Current State Time Study: A detailed table for recording the time for every activity during a typical setup. Includes columns for: Activity Description, Current Time (Minutes/Seconds), Category (Internal/External), and Notes.
- Waste Identification: A section for documenting observed areas of waste, categorized using the 8 Wastes of Lean Manufacturing (TIMWOODS: Transportation, Inventory, Motion, Waiting, Overproduction, Over-processing, Defects, Skills).
Phase 2: Optimization & Implementation (Weeks 3-8)
- Internal Activity Optimization: Table to record improvements made to internal activities, including Proposed Change, Estimated Time Savings, Resources Required, and Implementation Status.
- External Activity Prioritization: Matrix prioritizing external activities based on time reduction potential and ease of implementation.
- Tooling & Fixturing Adjustments: A section to detail proposed changes to tooling and fixtures. Includes fields for: Current Tool/Fixture Description, Proposed Improvement, Estimated Cost, and Implementation Timeline.
- Standard Work Creation: A guide for creating standardized work instructions, including space for sketching process steps and outlining required tools and materials.
Phase 3: Validation & Continuous Improvement (Ongoing)
- Post-Implementation Time Study: A repeat of the initial time study to measure the impact of implemented changes.
- Metric Tracking: A chart to track key performance indicators (KPIs) like setup time, changeover frequency, and overall equipment effectiveness (OEE).
- Kaizen Log: A dedicated log for capturing suggestions and documenting small, continuous improvement activities (Kaizen).
- Audit Checklist: A regular audit checklist to ensure adherence to the new standardized procedures.
Remember, this template is a living document. Regularly review and update it to reflect your team's learnings and evolving needs. We're here to support your journey to manufacturing excellence!
Phase 1: Preparation & Analysis - Setting the Stage
Successful SMED implementation isn't a spontaneous event; it's the result of careful preparation and a deep understanding of your current processes. This initial phase is crucial for setting the stage for lasting improvements.
1. Defining the Scope: Choose Wisely
Don't try to overhaul your entire factory at once. Select a specific process - a single machine, a particular product line, or a well-defined operation - to focus on initially. This allows you to demonstrate quick wins, build momentum, and refine your approach before expanding to other areas. Consider factors like complexity, frequency of changeovers, and potential for significant time reduction when choosing your pilot project.
2. Assembling the Right Team:
SMED isn't a solo mission. Assemble a cross-functional team that includes:
- Operators: They're the experts on the daily process. Their insights are invaluable.
- Maintenance Personnel: They understand the machine's capabilities and limitations.
- Engineers: They can analyze data, propose solutions, and document procedures.
- Supervisors/Management: Their support is essential for resource allocation and buy-in.
3. Understanding Your Baseline: The Current State Analysis
This is where you quantify the problem. Meticulously document every step involved in the current setup process. Don't rely on estimations; use a stopwatch and record the time taken for each activity.
- Process Flow Diagramming: Create a visual representation of the current process. This helps identify bottlenecks and areas of potential waste.
- Time Studies: As mentioned, accurate time measurements are vital. Repeat these measurements multiple times to account for variability.
- Categorization - Internal vs. External: Clearly differentiate between tasks that must be done while the machine is running (Internal) and those that can be performed while the machine is stopped (External). This distinction is fundamental to identifying opportunities for improvement.
By dedicating time to this foundational phase, you're setting the groundwork for a successful and sustainable SMED implementation.
Phase 2: Internal Activity Optimization - Working with the Machine
Internal activities - those tasks you can complete while the machine is still running - are the low-hanging fruit of SMED implementation. Maximizing these activities drastically reduces overall setup time. The key here is meticulous planning and leveraging downtime effectively.
1. Detailed Task Breakdown & Sequencing: Don't just identify internal activities; break them down into granular steps. Then, sequence them for maximum efficiency. For example, can you pre-load materials while the machine is performing a final cycle? Can you prepare documentation while another operator is aligning a die?
2. Operator Positioning & Communication: Strategic operator placement is critical. Ensure operators have clear lines of sight and easy access to necessary tools and materials. Implement a clear communication system (visual cues, hand signals, brief verbal updates) to prevent bottlenecks and ensure everyone is synchronized. This minimizes wasted time waiting for information or assistance.
3. Material Pre-staging & Flow: Internal activities often involve moving materials. Pre-staging all necessary components within easy reach is non-negotiable. Optimize material flow paths to minimize travel distances. Consider using gravity-fed systems or mobile carts to expedite material delivery.
4. Leveraging Machine Cycle Times: Understand your machine's cycle times intimately. Identify specific points within the cycle where internal activities can be performed without disruption. Map out the "windows of opportunity" for each task.
5. Standardized Tooling & Equipment: Internal activities often rely on quick-access tooling. Standardize the types and placement of tools to reduce search time and improve ergonomics. Utilize mobile tool carts or shadow boards to maintain organization and accessibility.
6. Continuous Observation & Adjustment: Internal activity optimization isn't a one-and-done process. Continuously observe operator movements, identify inefficiencies, and make adjustments to the workflow. Small, incremental improvements can yield significant cumulative gains. Use a simple observation sheet to document movements and identify opportunities.
Phase 3: External Activity Reduction - Machine Downtime Minimization
External activities - those tasks requiring the machine to be completely stopped - often represent the biggest opportunities for improvement in a SMED implementation. This phase is all about aggressively minimizing the time spent in this "downtime" window. While internal activities can be optimized while the machine is running, external activities demand a more proactive and strategic approach.
Analyze and Categorize: Start with a thorough analysis of all external activities. Time each one meticulously, just like you did in Phase 3. Then, categorize them based on potential for reduction:
- Quick Wins (Under 1 Minute): These are often adjustments that can be made through better tool design or operator training.
- Medium-Term Projects (1-5 Minutes): This category demands more involved changes, such as redesigning fixtures, automating processes, or introducing quick-change tooling.
- Long-Term Investments (Over 5 Minutes): These are the most significant changes, potentially requiring machine modifications or major tooling investments. Tackle these strategically and prioritize based on ROI.
Key Strategies for External Activity Reduction:
- Tooling Redesign: A significant portion of external downtime is often spent on die or tool changes. Invest in quick-release mechanisms, standardized attachment points, and lightweight tools. Consider using modular tooling systems.
- Fixture Optimization: Poorly designed fixtures can significantly slow down the process. Ensure fixtures are easy to position, secure, and release. Consider using self-clamping fixtures.
- Automation: Where feasible, automate tasks like die lifting, positioning, and securing. Robotic solutions or pneumatic actuators can dramatically reduce cycle times.
- Parallel Processing: Can any external activities be performed in parallel with other tasks? Perhaps an operator can be preparing materials while a die change is in progress.
- Machine Modification: While a larger investment, consider machine modifications like quick-change die clamps or automated positioning systems.
- Ergonomics: Ensure operators have the right tools and equipment to safely and efficiently perform external tasks. Poor ergonomics can lead to wasted time and increased risk of injury.
Remember to continuously monitor and evaluate the effectiveness of your changes. Small, incremental improvements can add up to significant overall gains.
Tool & Fixture Strategies for Faster Changeovers
Many manufacturers underestimate the impact that tool and fixture design can have on changeover speed. Simply swapping out a die isn't enough; the entire system needs to be considered. Let's move beyond basic replacements and explore strategies for significantly reducing external changeover activities.
1. Standardize Wherever Possible: The less variety, the better. Develop a limited range of standard tools and fixtures for frequently used dies and molds. This reduces inventory, simplifies training, and allows for optimized designs. While custom solutions are sometimes necessary, aggressively pursue standardization as your baseline.
2. Quick-Release Mechanisms: Your Best Friend: Traditional bolted connections are time-consuming. Invest in quick-release clamps, pneumatic locks, or magnetic fixtures. These dramatically reduce the time spent securing and releasing tools, minimizing external activity and operator fatigue. Calculate the ROI - the time saved often outweighs the initial investment.
3. Lightweighting is Key: Heavy dies and fixtures place a significant burden on operators, slowing them down and increasing the risk of injury. Design or procure tools using lighter materials like aluminum alloys or composite materials without compromising structural integrity. Ergonomics matter.
4. Modular Fixture Systems: Consider adopting modular fixture systems. These allow for flexible configurations and quick assembly, adapting to various products and die sizes with minimal adjustments. This reduces the need for custom-built fixtures for every variation.
5. Ergonomic Design & Operator Positioning: Analyze the operator's movements during changeovers. Raise fixtures to comfortable working heights. Position tools within easy reach. Even small adjustments in ergonomics can contribute to noticeable gains in speed and efficiency.
6. Pre-Attached Components & Sub-Assemblies: Explore opportunities to pre-assemble components or sub-assemblies onto fixtures before the changeover begins. This eliminates on-site assembly during the critical downtime period.
7. Automated Tool Indexing Systems: For high-volume production, investigate automated tool indexing systems that precisely locate and secure tools, significantly reducing operator involvement and minimizing potential errors.
By actively pursuing these strategies and continuously evaluating your tooling setup, you can unlock significant gains in changeover speed and overall production efficiency.
Standardizing Your Setup Procedures: A Crucial Step
Standardization is the bedrock upon which sustainable SMED gains are built. Simply reducing setup time once isn't enough; you need to ensure that efficiency becomes the norm, consistently replicated by every operator, every time. This requires meticulously documenting every step of the standardized setup procedure. Forget vague instructions - think crystal-clear, visual guides.
This documentation should encompass everything: precise tool locations, specific machine settings, the sequence of actions, and even the amount of force required for certain attachments. Visual aids are paramount: high-resolution photographs or short videos demonstrating the correct methodology can significantly reduce errors and variability.
Consider a multi-faceted approach to standardization:
- Step-by-Step SOPs: Detailed, written procedures that leave no room for interpretation.
- Photo Guides: A sequence of pictures illustrating each action.
- Video Demonstrations: Short, concise videos showcasing the complete setup.
- Checklists: To ensure all steps are completed in the correct order.
Furthermore, standardization isn't a one-time event. Regularly review and update these procedures based on operator feedback and continuous improvement efforts. A truly standardized process adapts and evolves to maximize efficiency and minimize potential issues. It's about creating a living document that guides consistent, high-performance setup execution.
Verification and First Piece Inspection: Ensuring Quality
Verification and First Piece Inspection (FPI) aren't just a formality; they're a vital checkpoint in the SMED process. A rushed or inadequate inspection can lead to defective parts and costly rework, negating the time saved elsewhere. The goal isn's to slow down, but to optimize this crucial step.
Here's how to make your FPI more efficient and effective:
1. Develop a Standard Inspection Checklist: Don't rely on memory or guesswork. Create a detailed checklist outlining all critical dimensions, tolerances, and visual characteristics to be checked on the first piece. This ensures consistency between inspectors and reduces the risk of overlooking potential issues. Consider using a Go/No-Go gauge system where appropriate for faster evaluation.
2. Train Your Inspectors: Proper training is essential. Inspectors need to understand the quality standards, how to use inspection tools (calipers, micrometers, gauges), and how to accurately record their findings. Regular refresher training helps maintain consistency.
3. Optimize Inspection Points and Methods: Analyze the inspection process itself. Are there unnecessary steps? Can measurement tools be repositioned for better ergonomics and speed? Can some measurements be automated? Consider using quick-acting visual aids or color-coded checklists.
4. Leverage Data and Technology: Record inspection results systematically. This data can be used to identify trends, pinpoint recurring issues, and drive continuous improvement efforts in the setup process itself. Simple spreadsheets can be powerful, or consider integrating with quality management systems.
5. Empower Operators: Operators often possess invaluable insights into the process. Encourage them to participate in the FPI, providing feedback on the setup and potential improvements. This fosters a sense of ownership and accountability.
Remember: A well-executed FPI isn't about finding faults; it's about confirming that the setup is correct and that quality is maintained, ultimately safeguarding your production process.
Documenting and Training: Maintaining Your Gains
Standardizing your SMED improvements isn't just about making the initial change; it's about safeguarding those gains for the long haul. Without clear documentation and consistent training, those efficiencies can quickly erode as personnel change or processes evolve.
Creating Your SMED Bible:
Your documentation should be more than just a checklist; it's a living, breathing guide to the optimized setup process. Here's what to include:
- Detailed SOPs (Standard Operating Procedures): These should outline every step, no matter how small it seems. Use clear, concise language and include visuals (photos, diagrams, short videos) whenever possible.
- Setup Time Data Sheets: Track setup times after the initial implementation to monitor performance and identify any deviations from the target.
- Equipment Specifications & Settings: Document all critical machine settings and parameters for each setup.
- Troubleshooting Guides: Anticipate potential issues and provide clear instructions for resolving them.
Training for Success:
Training isn't a one-time event; it's an ongoing process.
- Initial Training: Ensure all operators and maintenance personnel receive comprehensive training on the new SMED procedures.
- Onboarding for New Hires: Integrate SMED training into the onboarding process for all new employees.
- Refresher Courses: Conduct periodic refresher courses to reinforce best practices.
- Mentorship Programs: Pair experienced operators with newer employees to facilitate knowledge transfer.
- Cross-Training: Train operators on multiple machines and processes to increase flexibility and understanding.
By prioritizing documentation and training, you're building a foundation for continuous improvement and ensuring that your SMED efforts yield lasting benefits.
Continuous Improvement: Keeping Your SMED Process Sharp
SMED isn't a one-and-done project; it's an ongoing journey. The initial setup reductions are fantastic, but complacency is the enemy of continuous improvement. To truly reap the long-term benefits, you need to cultivate a culture of ongoing refinement.
Regular audits are crucial. Periodically review your SOPs and observe operators performing the setup. Are they following the documented procedures? Are there any shortcuts being taken? Don't view deviations as failures; instead, see them as opportunities to learn and improve. Perhaps the SOP is too complex, or the tooling isn't quite as ergonomic as it could be.
Establish feedback loops. Encourage operators - the individuals performing the setup day in and day out - to actively contribute their insights. They often have valuable observations that can lead to further streamlining. Implement a simple suggestion box or incorporate dedicated time during team meetings to discuss potential improvements.
Consider scheduling regular Kaizen Events, focused, short-term improvement workshops where teams tackle specific challenges within the SMED process. These events provide a dedicated space for brainstorming and implementing targeted solutions.
Finally, consistently track key metrics - setup times, downtime, and throughput - to identify areas where the SMED process can be further optimized. Visualizing this data helps highlight successes and pinpoint opportunities for refinement. Remember, a process is never truly "finished;" it's always evolving.
SMED Checklist Template Download: Get Started Today!
Ready to put the SMED principles into action? We've created a handy checklist template to guide you through each step of the process. This downloadable resource breaks down the SMED methodology into actionable items, making it easier than ever to identify and eliminate bottlenecks in your setup procedures.
What's included in the template?
- Detailed Checklist: A printable checklist covering all the key SMED steps outlined in this article.
- Assessment Worksheet: A tool to help you analyze your current state and prioritize improvement areas.
- Action Planning Table: Space to document specific actions, owners, and deadlines.
- Tips & Best Practices: Quick reminders and guidance to ensure successful implementation.
How to get your hands on it:
Simply click the button below to download your free SMED Checklist Template. No registration required! Let's work together to transform your production process and unlock a new level of efficiency.
Resources & Links
- Kaizen Institute : A global consulting firm specializing in Lean and SMED implementation. Offers training, resources, and case studies related to SMED principles and best practices.
- SHMULA : Provides a wide range of Lean Manufacturing resources, including articles, videos, and templates covering SMED methodologies and changeover optimization.
- Lean Enterprises : Offers consulting and training services focusing on Lean Manufacturing, with substantial content on SMED, including practical examples and real-world applications.
- Reliable Plant : A resource hub for reliability and maintenance professionals. Features articles and webinars that often discuss changeover reduction strategies and related concepts like SMED.
- The Lean Way : Provides Lean Manufacturing resources, articles, and tools. Offers perspectives on changeover optimization and process improvement aligned with SMED principles.
- Keyence : While primarily a measurement and automation company, Keyence's website contains numerous articles and case studies demonstrating how measurement systems can be integrated with SMED processes for faster, more accurate changeovers. Search their resources for 'SMED' or 'changeover'
- High Performance Lean : Focuses on practical application of Lean principles. Their site offers tools and information regarding reducing changeover times and improving manufacturing efficiency.
- MTM Inc. : Specializes in motion analysis and work simplification. Their methods can be valuable for identifying and eliminating unnecessary movements during changeovers, a core aspect of SMED.
- Circle State : Provides online Lean training and tools. Their curriculum often covers SMED as a key element of overall Lean implementation.
- Lean Enterprise Institute : A leading resource for Lean thinking and practice. Offers articles, publications, and events that indirectly support SMED implementation by promoting a culture of continuous improvement and problem-solving.
Frequently Asked Questions
What is a SMED checklist?
A SMED (Single Minute Exchange of Die) checklist is a structured guide used to systematically identify, analyze, and eliminate waste during changeover processes. It's a tool to help you track progress, ensure consistency, and measure the impact of SMED improvements.
Why should I use a SMED checklist template?
Using a SMED checklist template provides a framework to break down changeovers into manageable steps, helping you identify hidden waste, ensure all necessary actions are taken, and track your improvements effectively. It also promotes consistency across shifts and operators.
What types of waste does a SMED checklist help address?
It helps address various types of waste, including: Motion (unnecessary movement), Waiting (idle time), Transportation (moving materials/tools), Inventory (excess inventory), Overproduction (changeover prep without immediate need), Over-processing (unnecessary complexity), Defects (errors during changeover), and Underutilized Talent (not leveraging operator knowledge).
How does the checklist template help with SMED?
The template guides you through the SMED methodology: Define the process, Analyze the current state, Identify and prioritize SMED activities, Implement changes, and Sustain improvements. It provides prompts and sections to document observations, potential improvements, and the results of implemented changes.
Can I customize the SMED checklist template?
Absolutely! The template is designed to be customized. You can add or remove steps, change the priority of tasks, add specific equipment or process details, and adjust it to fit your unique production environment.
What information should I record in the checklist?
Record observations during the changeover, including time taken for each step, any issues encountered, potential causes for delays, suggested improvements, and the responsible person for each task. Before and after implementation, record the total changeover time and related metrics.
Who should be involved in using the SMED checklist?
Ideally, involve operators who perform the changeovers, maintenance personnel, engineers, and anyone with direct knowledge of the process. Collaboration ensures a comprehensive understanding and buy-in for improvements.
How often should I update the checklist?
Update the checklist regularly, especially after implementing changes or if you observe inconsistencies in the changeover process. Periodic reviews (e.g., monthly or quarterly) are recommended to ensure continued effectiveness.
What metrics can I track using the SMED checklist?
You can track changeover time (total, individual steps), downtime, scrap rate, setup costs, operator efficiency, and the number of improvements implemented. Tracking these metrics helps demonstrate the value of SMED initiatives.
Is this checklist template suitable for all types of industries?
While the principles of SMED apply broadly, you may need to adapt the checklist to suit the specific needs of your industry and the complexity of your changeover processes. The core structure remains useful across a wide range of manufacturing and production environments.
Found this Article helpful?
Manufacturing Management Solution Demo
Stop chasing paperwork and wrestling with disconnected systems! Our solution brings clarity and control to your production process. From standard operating procedures (SOPs) and equipment maintenance to quality control and inventory tracking, we simplify every step.
Related Articles
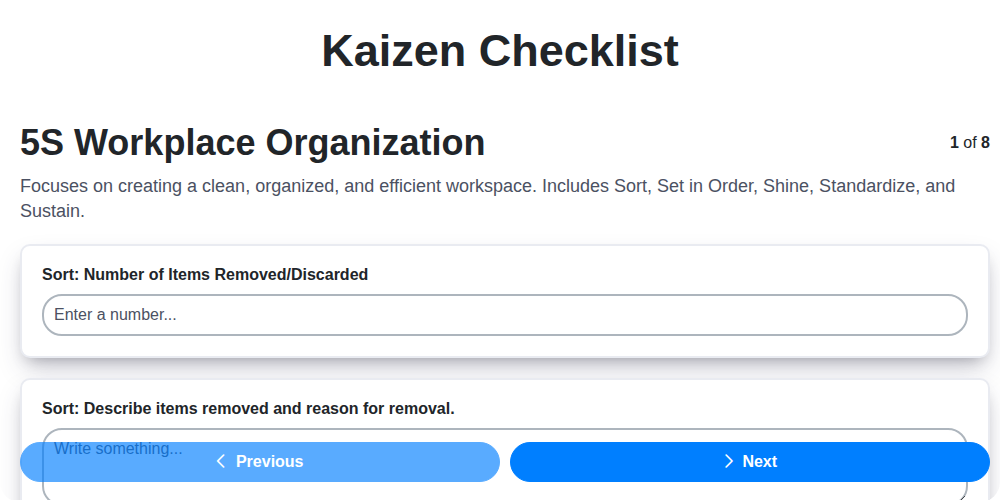
Kaizen Checklist Template: Your Path to Continuous Improvement

Machine Safety Audit Checklist: Your Guide to a Safer Manufacturing Workplace
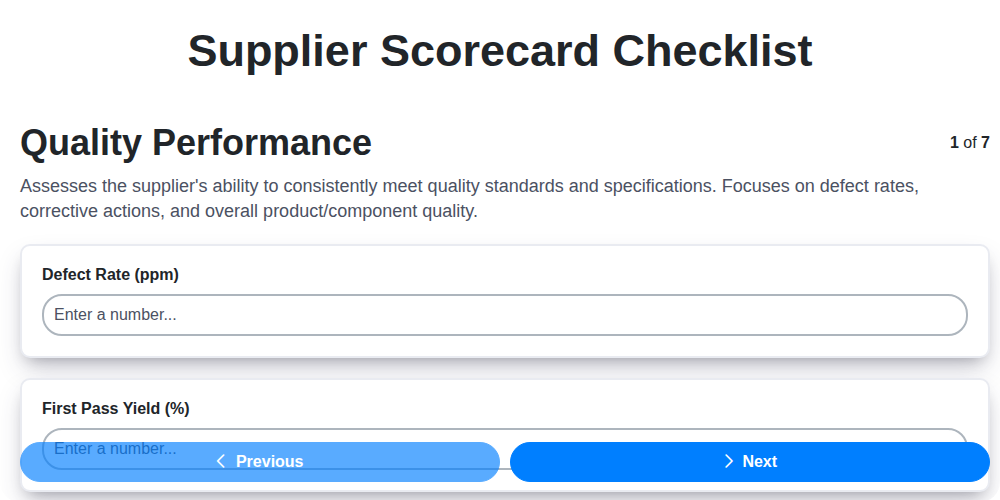
Mastering Supplier Performance: Your Free Supplier Scorecard Checklist Template
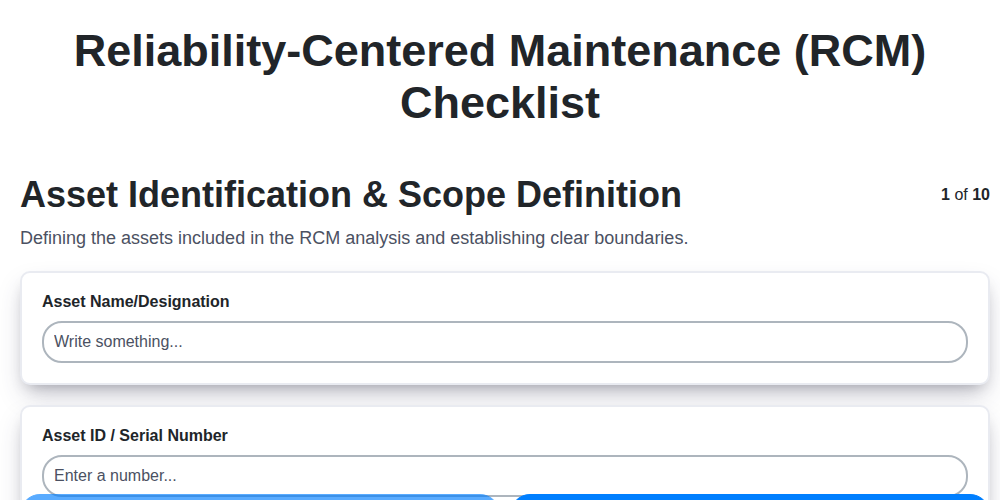
Your Ultimate RCM Checklist Template: A Step-by-Step Guide

LPA Checklist Template: Your Guide to Layered Process Audits

Your Ultimate Lockout/Tagout (LOTO) Checklist Template

Your Ultimate FSC 22000 Checklist Template
Quality Control Inspection Checklist Template: Prevent Defects & Improve Manufacturing Processes
We can do it Together
Need help with
Manufacturing?
Have a question? We're here to help. Please submit your inquiry, and we'll respond promptly.