 ChecklistGuro
Roofing Membrane Installation Checklist
Ensure a watertight, long-lasting roof! Download our free Roofing Membrane Installation Checklist - your comprehensive guide to best practices, safety, and quality control for construction pros. Avoid costly errors and build with confidence.
This Template was installed 1 times.
Pre-Installation & Site Preparation
Tasks to be completed before membrane installation begins. This includes site assessment, substrate verification, and material staging.
Project Start Date
Project Site Location
Weather Conditions - Assessment
Wind Speed (mph)
Site Survey Notes
Existing Roof Condition
Site Photos (Pre-Installation)
Permits and Approvals Verified?
Substrate Preparation
Ensuring the underlying substrate is clean, dry, and properly prepared to receive the roofing membrane.
Substrate Type Verified?
Describe Substrate Condition (Dryness, Cleanliness)
Substrate Moisture Content (%)
Substrate Contaminants Present?
Details of Contaminant Remediation (if applicable)
Surface Profile/Roughness Verified?
Surface Profile Reading (mil/microns)
Notes on Substrate Preparation
Membrane Material Handling & Storage
Proper handling and storage procedures for the roofing membrane to prevent damage and degradation.
Ambient Temperature Upon Arrival (F)
Relative Humidity Upon Arrival (%)
Manufacturer's Storage Recommendations Followed? (Y/N)
Description of Storage Area Condition (Cleanliness, Shelving, etc.)
Storage Conditions Verified (Select all that apply)
Membrane Orientation (Rolls Stored Vertically or Horizontally)
Date Membrane Received
Lot Number Verified and Recorded?
Photo Documentation of Storage Conditions (Optional)
Membrane Installation - Unrolling & Positioning
Steps involved in safely unrolling, positioning, and aligning the membrane sheets.
Record Ambient and Substrate Temperature
Wind Speed (mph)
Membrane Orientation (Parallel/Perpendicular to Roof Slope)
Note any obstructions or challenges encountered during unrolling.
Overlap Width (inches) - Verify per specification
Membrane Roll Condition (New/Damaged)
Describe any visible defects in membrane (e.g., wrinkles, tears).
Membrane Installation - Seaming & Adhering
Detailed steps for properly seaming and adhering the membrane, including overlap specifications and weld quality.
Seam Overlap (inches)
Seam Width (inches)
Seaming Method
Welding Temperature (°F)
Welding Pressure (psi)
Welding Speed (inches/minute)
Seam Failure Indicators (Check all that apply)
Notes on Seam Quality (Describe any deviations or issues)
Photograph of Representative Seam
Penetration & Detail Flashing
Addressing roof penetrations (vents, chimneys, skylights) and detailing edges with appropriate flashing.
Type of Penetration(s) Flashed?
If 'Other' Penetration Type, specify:
Flashing Material Used:
Metal Flashing Gauge (if applicable):
Describe detailing procedures around penetrations:
Was sealant used around penetrations? (if applicable)
Sealant type and application details (if sealant used):
Upload photos of penetration flashing details.
Detailing adhered to manufacturer's specifications?
Quality Control & Inspection
Verification of workmanship and adherence to specifications. Includes visual inspections and testing.
Membrane Seam Overlap (inches)
Welding Temperature (°F)
Welding Pressure (PSI)
Seam Weld Appearance
Substrate Conditions
Notes on Weld Quality (if any issues)
Photos of Critical Seam Welds
Overall Membrane Installation Quality
Date of Inspection
Post-Installation & Cleanup
Final steps, including debris removal, surface cleaning, and documentation.
Detailed Description of Final Appearance & Condition
Debris Removal Verification (Check all that apply)
Number of Debris Piles Removed
Notes on any Areas Requiring Further Attention (if any)
Date of Final Cleanup
Time of Final Cleanup
Contractor Signature (Confirmation of Completion)
Overall Job Satisfaction (Contractor)
Frequently Asked Questions
Can I customize this template after installing it?
Absolutely. Once installed, you can add, remove, or reorder tasks, add custom fields, and adjust deadlines to fit your specific workflow.
Can I add images or photos to these checklist items?
Yes. Our platform allows you to attach photos, signatures, and notes to any checklist item for better verification and proof of completion.
Can I create a custom checklist from scratch instead of using a template?
Yes. You can use our "Create your own checklist" feature to build a unique workflow tailored exactly to your operational requirements.
Can I add dependencies between tasks?
Yes, you can set up conditional logic and dependencies to ensure your team follows the correct sequence of operations.
Can I assign specific checklist items to different team members?
Yes. You can assign individual tasks to specific employees, ensuring clear accountability across your entire team.
Can I use these checklists on mobile devices in the field?
Yes. Our platform is fully responsive, allowing your team to complete, update, and upload photos to checklists directly from any smartphone or tablet.
How do I notify my manager when a checklist is completed?
You can set up automated notifications (via email, push notification, or in-app alerts) to trigger whenever a checklist is finished or if an item fails inspection.
Can multiple people work on the same checklist simultaneously?
Yes, the platform supports real-time updates, allowing multiple users to contribute to a single live checklist.
Where is the data from completed checklists stored?
All completed checklists are stored securely in your Work OS dashboard, creating a permanent, searchable audit trail of your operations.
Can I generate reports based on my checklist results?
Yes. You can track completion rates, identify recurring issues, and monitor team performance through our integrated reporting and analytics tools.
How can I use these checklists for compliance or auditing purposes?
Because our checklists capture timestamps, photos, and digital signatures, they serve as a robust digital paper trail for regulatory compliance and internal audits.
Can I export my completed checklist data for use in other tools?
Yes. You can export your data in various formats (CSV, Excel, etc.) to integrate your operational insights with your other business software.
Comments
There are no comments yet. Be the first to add one!
Construction Management Solution Demo
Build smarter, not harder! ChecklistGuro streamlines construction projects from planning to closeout. Manage tasks, inspections, safety protocols & more - all in one place. Reduce delays, improve communication, and deliver projects on time & on budget.
Related Checklist Templates
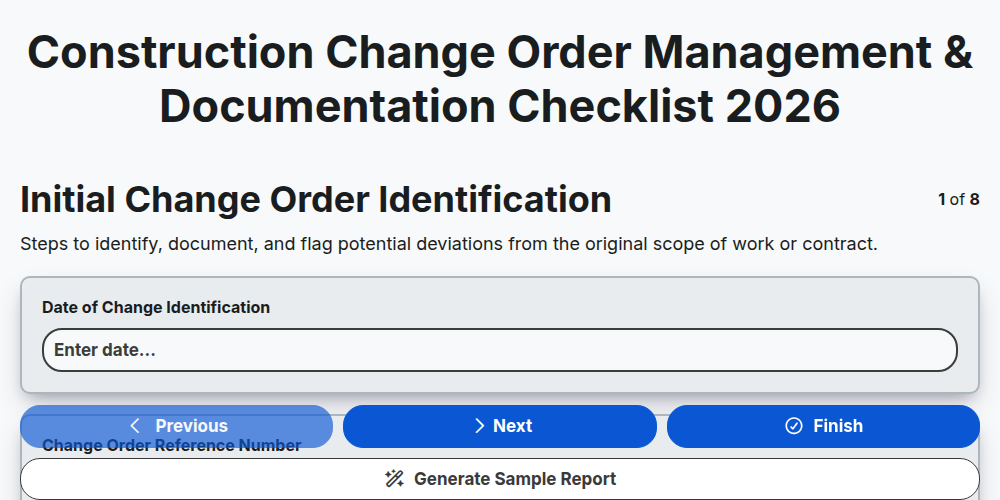
Construction Change Order Management & Documentation Checklist 2026
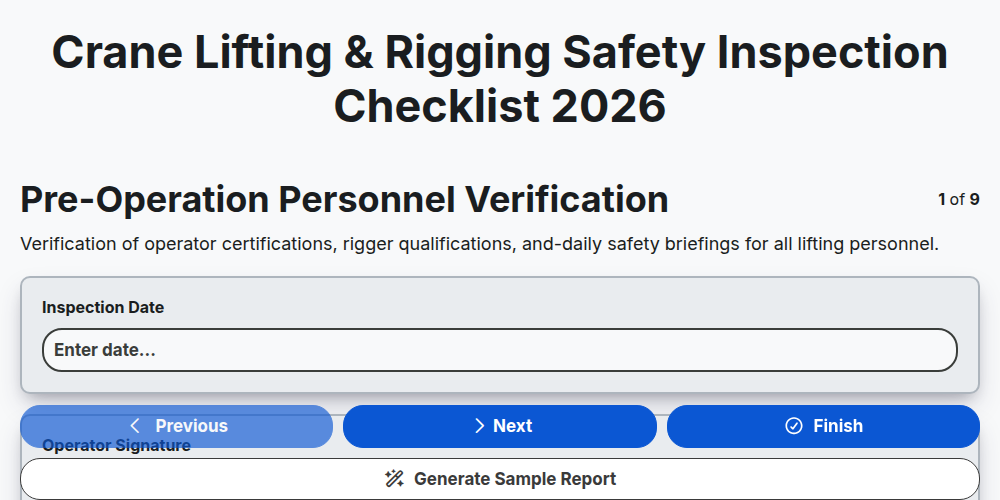
Crane Lifting & Rigging Safety Inspection Checklist 2026
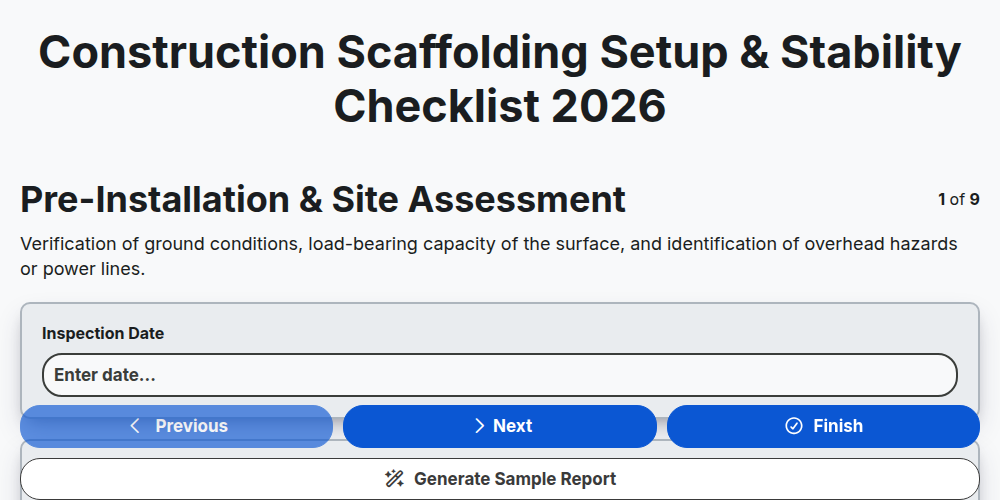
Construction Scaffolding Setup & Stability Checklist 2026
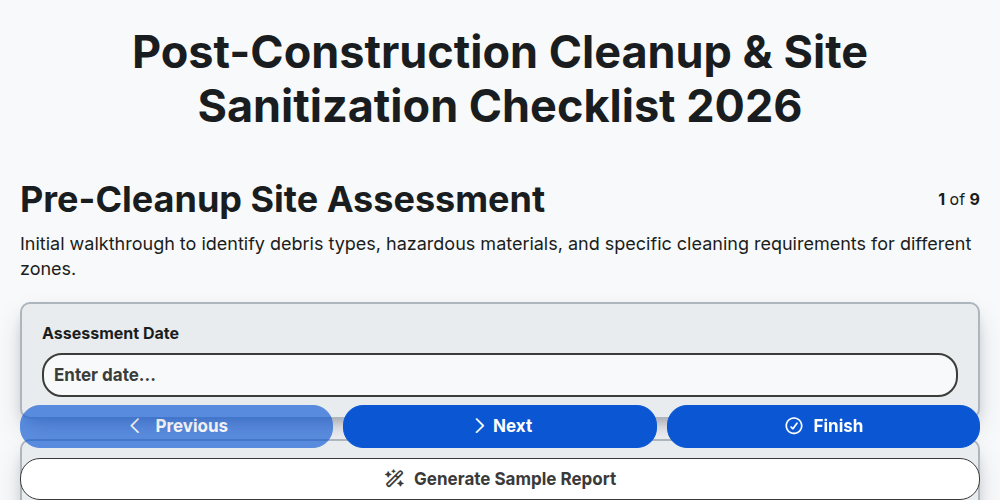
Post-Construction Cleanup & Site Sanitization Checklist 2026
Construction Site Security & Access Control Checklist 2026
Pre-Demolition Site Assessment & Safety Checklist 2026
Construction Site Waste Management & Recycling Checklist 2026
Subcontractor Daily Progress Reporting Checklist 2026
Need help with
Construction?
Have a question? We're here to help. Please submit your inquiry, and we'll respond promptly.