Dental Root Canal Checklist: Your Guide to Procedure & Recovery
Published: 09/10/2025 Updated: 12/13/2025
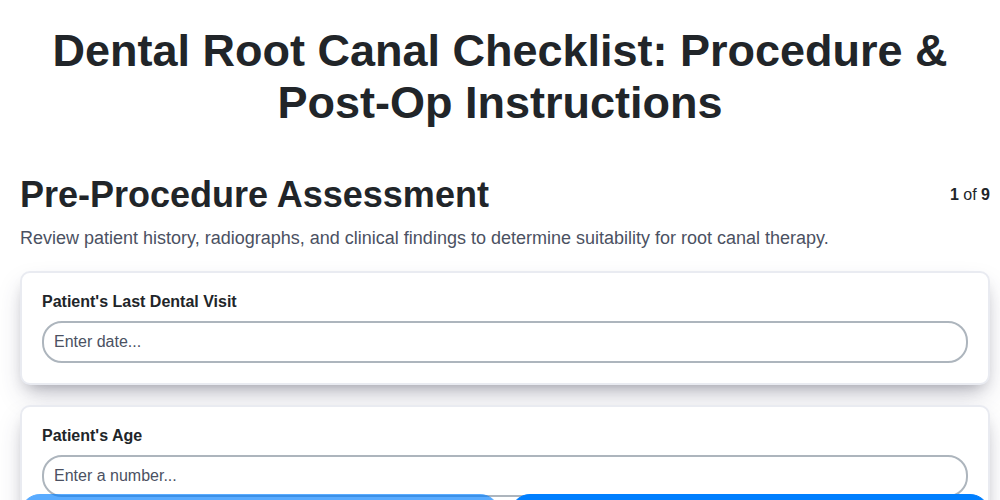
Table of Contents
- Understanding the Need for a Root Canal
- Pre-Procedure: What to Expect and How to Prepare
- Step-by-Step: The Root Canal Procedure Checklist
- Anesthesia & Isolation: Ensuring Your Comfort
- Cleaning and Shaping the Root Canals
- Obturation: Filling and Sealing the Canals
- Restoration: Protecting Your Treated Tooth
- Post-Operative Care & Recovery Tips
- Follow-Up Appointments & Long-Term Care
- Resources & Links
TLDR: Feeling anxious about a root canal? This checklist template breaks down the entire process - from initial assessment to post-op care - so you know exactly what to expect at each step. Download it to feel more prepared, ask informed questions, and confidently track your recovery!
Understanding the Need for a Root Canal
When a tooth becomes infected or severely damaged, it's not always a straightforward fix. While fillings and crowns can often address minor issues, sometimes the problem extends deeper - into the pulp, the soft tissue at the center of the tooth containing nerves and blood vessels. This can happen due to deep decay, repeated dental procedures, a crack or chip in the tooth, or even trauma.
Ignoring these underlying issues can lead to significant pain, swelling, and even the spread of infection to surrounding tissues and bone. This can necessitate more complex and costly treatments, or even tooth extraction. A root canal, however, offers a chance to save your natural tooth, alleviating pain and preserving your smile. It's a proactive measure to prevent further complications and maintain your oral health long-term. Recognizing the symptoms - persistent tooth pain, sensitivity to temperature, swelling, and tenderness - is the first step in determining if a root canal is the right solution for you.
Pre-Procedure: What to Expect and How to Prepare
Before we even touch a dental instrument, a thorough assessment is crucial. This isn't just about confirming the diagnosis; it's about creating a personalized treatment plan that prioritizes your comfort and best possible outcome. Here's what to expect during this vital phase and how you can actively participate:
Medical & Dental History Review: Your dentist will want to know about any existing medical conditions (like diabetes or heart problems), allergies, medications you're taking (including over-the-counter drugs and supplements), and any previous dental work. Be as detailed as possible - even seemingly minor details can impact the treatment.
Clinical Examination: This involves a visual inspection of the affected tooth, surrounding gums, and jaw. The dentist will check for signs of infection, swelling, and mobility.
Diagnostic Imaging: X-Rays Are Your Friend! X-rays are absolutely essential. They allow the dentist to see the internal structures of the tooth, including the root canals, and assess the extent of the infection. Different types of X-rays, like a periapical (showing the entire tooth and surrounding bone) or a cone-beam computed tomography (CBCT) scan (providing a 3D image) may be utilized depending on the complexity of the case.
Discussing Treatment Options - Your Voice Matters! Once the assessment is complete, your dentist will discuss the diagnosis and treatment options with you. This isn't just about presenting a root canal as the only solution. They're committed to exploring all possibilities and explaining the pros and cons of each, including extraction. This is your opportunity to ask questions! Don't be shy about expressing your concerns or preferences. Understanding the "why" behind the recommended treatment will help you feel more comfortable and confident in the process.
To help prepare for your assessment, consider:
- Making a List: Jot down any questions you have beforehand.
- Gathering Information: If you have records of previous dental work or relevant medical information, bring them to your appointment.
- Being Open & Honest: Share any anxieties or concerns you may have about the procedure.
Step-by-Step: The Root Canal Procedure Checklist
Here's a breakdown of the root canal procedure, presented as a checklist to help you understand what to expect. Remember, this is a general guide and your dentist will tailor the process to your specific needs.
1. Pre-Procedure Assessment: The Foundation for Success
Before any treatment begins, your dentist will thoroughly evaluate your case. This involves reviewing your medical history, performing a clinical examination of the affected tooth and surrounding area, and taking necessary X-rays. These X-rays are vital for diagnosing the extent of the infection and planning the root canal treatment accurately. You'll also have a discussion about treatment options - the pros and cons of a root canal versus other alternatives like extraction - ensuring you're fully informed and comfortable with the plan.
2. Anesthesia & Isolation: Ensuring Comfort & a Clean Workspace
Your comfort is paramount. You'll receive a local anesthetic to numb the area around the tooth, minimizing any discomfort during the procedure. While modern anesthetics are very effective, you may still feel some pressure. To maintain a sterile environment and prevent contamination, a thin sheet of rubber (a rubber dam) will be placed over the tooth, isolating the area and keeping it clean and dry.
3. Canal Access & Negotiation: Finding the Pathway
The next step involves creating a small opening in the tooth to access the root canals. Using specialized instruments, your dentist carefully locates these canals within the tooth. This process ensures the pathways are clear and accessible for cleaning and shaping.
4. Canal Cleaning & Shaping: The Core of the Treatment
This is the critical phase where the infected pulp and bacteria are removed from the root canals. Specialized files and irrigating solutions are used to thoroughly clean and shape the canals, removing all traces of infection.
5. Filling & Sealing: Preventing Re-infection
Once the canals are cleaned and shaped, they are filled with a biocompatible material, usually gutta-percha, and sealed with a cement. This process prevents bacteria from re-entering the canals and causing further infection.
6. Temporary Restoration: Protecting the Tooth
A temporary filling is placed to protect the treated tooth until the permanent restoration can be completed by your general dentist.
7. Final Restoration: Restoring Function and Appearance
Your general dentist will place a permanent restoration, such as a crown, to restore the tooth's function, strength, and appearance. This is crucial for long-term success and prevents the tooth from fracturing.
Anesthesia & Isolation: Ensuring Your Comfort
Your comfort and safety are our top priorities. Before we begin any work on the affected tooth, we're meticulous about ensuring you're completely numb and relaxed. This starts with a thorough review of your medical history, including any allergies or sensitivities to anesthetics. We'll then administer a local anesthetic to the area surrounding the tooth, carefully delivering it to block any pain signals.
You might feel a slight pinch during the injection, but the goal is to have you feel completely numb. We're very careful to avoid any unnecessary discomfort. Once the anesthetic takes effect, a thin sheet of rubber, called a rubber dam, will be placed over the tooth. This serves two crucial purposes: it isolates the tooth being treated, keeping it clean and dry, and it prevents any stray instruments or materials from entering your mouth. While it might feel a little different, the rubber dam is an essential part of ensuring a safe and successful root canal procedure. Don't hesitate to let us know if you feel any discomfort - we can always adjust the anesthetic or take a short break.
Cleaning and Shaping the Root Canals
The meticulous cleaning and shaping phase is the heart of the root canal treatment. This isn't just about removing debris; it's about creating a precisely shaped and disinfected canal that can be reliably sealed. Specialized, flexible files - often made of nickel-titanium (NiTi) - are used to navigate the complex root canal system. These files are progressively sized and rotated to carefully scrape away infected tissue, bacteria, and any remaining pulp. Irrigation is absolutely crucial during this phase. We use antibacterial solutions, like sodium hypochlorite (bleach, diluted to a safe concentration) and chlorhexidine, to flush out the canals, ensuring a thorough disinfection. This process is often repeated multiple times, with careful attention paid to detail and precision. X-rays are taken intermittently to monitor progress and confirm the effectiveness of the cleaning and shaping. The goal is to create a smooth, tapered canal that is free from infection and ready for obturation (filling).
Obturation: Filling and Sealing the Canals
Once the canals are meticulously cleaned and shaped, the next crucial step is obturation - the process of filling and sealing them. This isn't just about plugging up the space; it's about creating a hermetic seal that prevents bacteria from re-entering and causing reinfection.
The primary material used for obturation is gutta-percha, a rubbery, biocompatible material derived from the sap of the Palaquium gutta-percha tree. Think of it as a natural, flexible filling specifically designed for root canals. Along with gutta-percha, a dental sealer is applied. This sealer acts like "glue," ensuring a tight bond between the gutta-percha and the canal walls, further enhancing the seal's integrity.
The gutta-percha is typically heated and compacted into the canals, layer by layer, ensuring it fills every nook and cranny. Modern techniques often involve heated gutta-percha and specialized instruments to achieve a consistent and reliable fill. The entire process is carefully monitored with X-rays to verify proper placement and density of the filling material. A well-done obturation provides long-term protection against infection and is a cornerstone of successful root canal therapy.
Restoration: Protecting Your Treated Tooth
A root canal addresses the infection within the tooth, but it doesn't inherently strengthen the remaining structure. The tooth becomes more brittle after this treatment, making it vulnerable to fracture. That's why a proper restoration is absolutely crucial.
Immediately following a root canal, a temporary filling is placed to seal the access opening. However, this is only a temporary measure. Within a few weeks, a permanent restoration, typically a crown, is necessary to fully protect the tooth and restore its function.
Why is a Crown Usually Recommended?
The process of cleaning and shaping the root canals can weaken the remaining tooth structure. A crown completely covers the visible portion of the tooth, providing:
- Strength and Stability: A crown reinforces the tooth, preventing cracks and fractures under biting forces.
- Protection from Further Damage: It shields the treated tooth from additional wear and tear.
- Aesthetics: A well-crafted crown can restore the tooth's original appearance.
While a filling might be an option in very specific, less damaged cases, a crown is almost always the preferred choice for long-term success and preservation of your treated tooth. During your consultation, your dentist will thoroughly evaluate your tooth and recommend the most suitable restoration option based on its individual needs.
Post-Operative Care & Recovery Tips
The days following your root canal are crucial for ensuring a smooth and successful recovery. Here's what you can expect and how to best care for your tooth:
Managing Discomfort: It's common to experience some tenderness, pressure, or mild pain after the procedure. Over-the-counter pain relievers like ibuprofen (Advil, Motrin) or acetaminophen (Tylenol) are usually sufficient. If pain persists or worsens, contact your dentist.
Dietary Guidelines: Stick to soft foods for the first few days. Think mashed potatoes, yogurt, soup, smoothies, and applesauce. Avoid chewing on the treated side to prevent unnecessary pressure and potential damage. Gradually reintroduce firmer foods as comfort allows.
Oral Hygiene is Key: Gently brush your teeth, being careful around the treated area. Avoid vigorous brushing that could irritate the gums. Floss carefully, avoiding direct pressure on the tooth. Your dentist may recommend a special mouthwash to keep the area clean and prevent infection.
Avoid Certain Activities: Refrain from activities that could put excessive force on the tooth, such as biting hard foods or clenching/grinding your teeth.
Watch for Warning Signs: While some discomfort is normal, contact your dentist immediately if you experience any of the following:
- Severe pain that isn't relieved by medication
- Swelling or redness around the treated area
- Fever
- Drainage from the treated area
- Unpleasant taste in your mouth
Follow-Up Appointments: Be sure to attend all scheduled follow-up appointments so your dentist can evaluate the healing process and place any necessary permanent restoration.
Follow-Up Appointments & Long-Term Care
The completion of your root canal procedure isn't the end of the story - it's the beginning of a period of essential follow-up care to ensure a lasting, healthy outcome. Your initial appointment was focused on the core treatment, but subsequent visits are vital for confirmation, restoration, and long-term monitoring.
Immediate Post-Op Check-Up (Typically 1-2 Weeks)
This appointment serves two crucial purposes: radiographic confirmation and a review of your healing progress. We're looking at the x-ray to verify the canal seal is complete and to assess for any signs of infection. We'll also check the temporary filling to ensure it's secure and comfortable. This is a good time to voice any lingering concerns or discomfort you may be experiencing.
Permanent Restoration: The Cornerstone of Long-Term Success
As we previously discussed, a permanent restoration, usually a crown, is absolutely essential to protect your treated tooth. This is typically placed 2-6 weeks after the root canal. The tooth is significantly weakened after the procedure, and a crown provides the necessary strength and prevents fractures. Delaying this step can jeopardize the success of the root canal.
Long-Term Monitoring & Oral Hygiene
Even after the crown is in place, your role in maintaining a healthy smile remains crucial.
- Regular Dental Check-Ups: Continue with your routine dental check-ups and cleanings, informing your dentist that you're a root canal patient.
- Excellent Oral Hygiene: Diligent brushing, flossing, and using any prescribed oral hygiene products will help prevent new decay and keep your gums healthy.
- Dietary Considerations: Limiting sugary foods and drinks will reduce the risk of decay.
- Be Aware of Symptoms: Contact us promptly if you experience any of the following: severe pain, swelling, tenderness, or the feeling that the crown is loose.
Maintaining a proactive approach to your oral health will contribute significantly to the longevity and success of your root canal treatment.
Resources & Links
- American Dental Association (ADA): The ADA's website offers comprehensive information about dental health, including root canals, procedures, and recovery. A reliable source for accurate and up-to-date information.
- MouthHealthy.org: This site, powered by the ADA, offers patient-friendly explanations of dental conditions and treatments, including detailed information about root canal therapy and post-operative care.
- Colgate Oral Care: Colgate's website features articles and resources on dental health, including a section dedicated to root canals, explaining the process and what to expect.
- WebMD - Dental Health: WebMD offers easy-to-understand explanations of various medical conditions, including the need for a root canal, procedure details, and potential complications.
- Mayo Clinic - Dental Health: The Mayo Clinic provides reliable, doctor-reviewed information on dental health topics, including root canals, with a focus on patient education and what to anticipate.
- Healthline - Dental Health: Healthline provides comprehensive health information, including articles on root canals, with explanations for both patients and professionals, covering diagnosis to aftercare.
- MyDentist: Offers insights and articles related to various dental procedures, including root canals, aimed at educating patients about oral health and treatment options. May include patient testimonials and FAQs.
- DentalCare.com: Provides a comprehensive range of dental information, including detailed explanations of root canal treatment, covering all stages from diagnosis to aftercare and potential complications.
- Periosmopolitan - Periodontal Information: While focused on periodontal health, this site provides advanced information that can offer additional context for understanding the underlying issues that sometimes necessitate root canal treatment. Suitable for readers seeking deeper insights.
Frequently Asked Questions
What is a root canal and why might I need one?
A root canal is a dental procedure to treat infection within the tooth's pulp (the soft tissue containing nerves and blood vessels). You might need a root canal if you have severe tooth pain, sensitivity to hot or cold, swelling, or infection that extends to the surrounding tissues. It's often necessary when decay or trauma has reached the inner part of the tooth.
What does the root canal checklist cover in this article?
This article's checklist covers everything from pre-procedure preparation (understanding the need for a root canal, confirming insurance coverage) to what to expect during the procedure itself and crucial post-operative recovery steps, including pain management, diet restrictions, and follow-up appointments.
What should I do to prepare for my root canal appointment?
Before your appointment, confirm your insurance coverage, communicate any allergies or medical conditions to your dentist, and consider bringing a list of medications you're taking. It's also helpful to have questions ready to ask your dentist.
What happens during a root canal procedure? Can I expect pain?
The root canal procedure typically involves removing the infected pulp, cleaning and shaping the root canal, and then filling and sealing it. While local anesthesia is used, you might feel some pressure or discomfort. The goal is to minimize pain and discomfort throughout the process.
How long does a root canal procedure typically take?
The duration of a root canal varies depending on the complexity of the case, but generally, it takes between 30 minutes to 2 hours for a single tooth. Some cases may require multiple appointments.
What should I eat after a root canal? Are there any restrictions?
Following the procedure, stick to soft foods like yogurt, soup, mashed potatoes, and smoothies. Avoid chewing directly on the treated tooth to prevent damage or discomfort. Avoid hard, crunchy, or sticky foods until your dentist clears you to resume a normal diet.
What pain medication is typically recommended after a root canal?
Your dentist may prescribe pain medication, such as over-the-counter pain relievers (ibuprofen or acetaminophen) or stronger pain relievers if necessary. Follow your dentist's instructions carefully regarding dosage and frequency.
Are there any potential complications after a root canal?
Possible complications are rare but can include infection, excessive pain or swelling, or the need for additional treatment. Contact your dentist immediately if you experience any concerning symptoms.
How important is the follow-up appointment after a root canal?
Follow-up appointments are crucial to ensure the root canal has been properly sealed and that the tooth is healing correctly. A crown is usually recommended after a root canal to protect and restore the tooth's functionality.
How long does it take for a tooth to heal completely after a root canal?
Complete healing after a root canal typically takes several weeks to months. The tooth may be sensitive during this time, and it's important to follow your dentist's post-operative instructions to promote proper healing.
Found this Article helpful?
Dental Management Solution Demo
Simplify your dental practice & enhance patient care! ChecklistGuro streamlines appointment scheduling, patient records, and billing. Improve efficiency, reduce errors, & boost patient satisfaction. Manage it all with our Work OS.
Related Articles
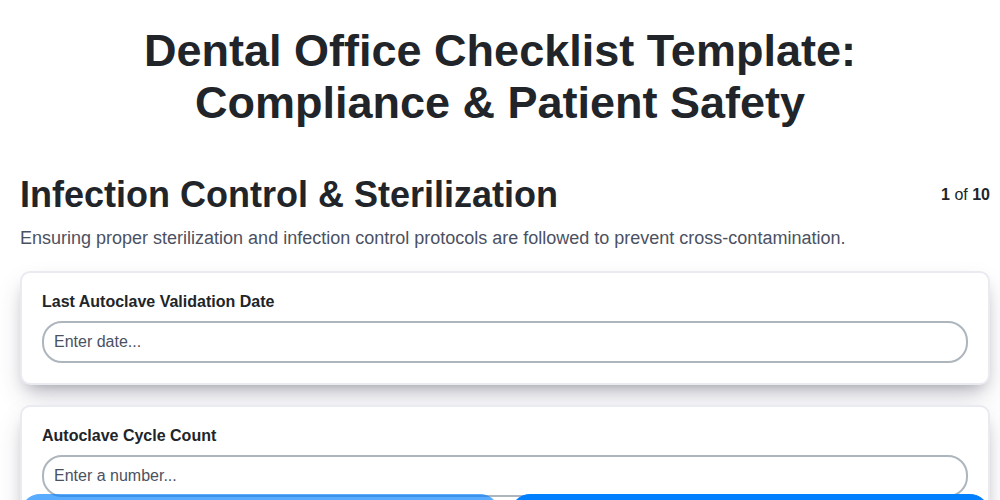
Your Dental Office Safety Net: The Compliance & Patient Safety Checklist Template
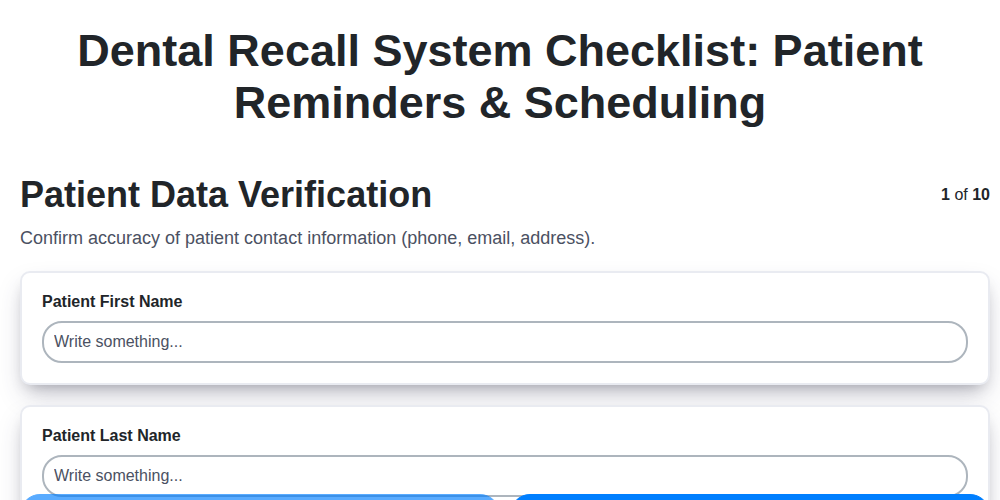
Mastering Dental Recalls: Your Ultimate Checklist Template

Mastering Dental Case Presentations: Your Checklist Template for Success

Your Dental Compliance Checklist: A State & Federal Guide
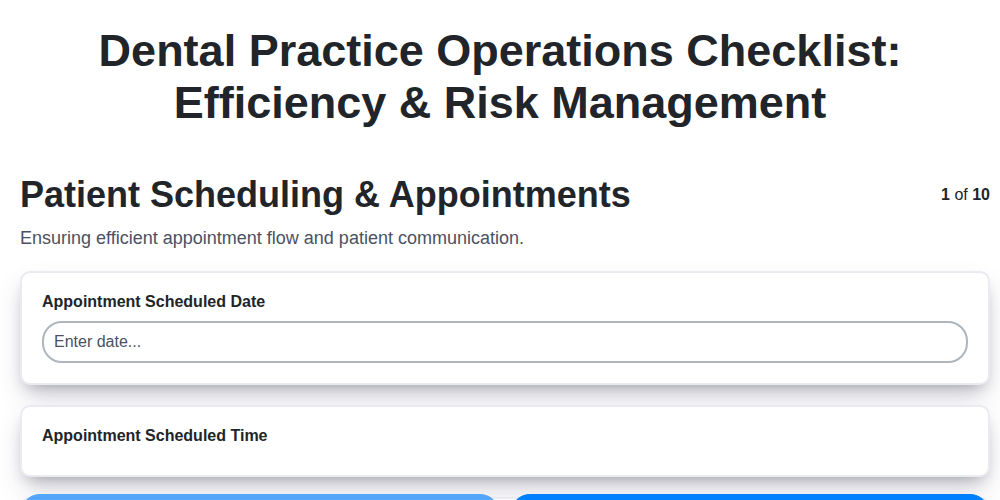
Dental Operations Checklist: Boost Efficiency & Manage Risk

The Ultimate Dental Lab Case Checklist: Fabrication & Quality Assurance

Your Complete Dental Infection Control Checklist: PPE & Surface Disinfection
Mastering Dental Exams: Your Complete Charting Checklist Template
We can do it Together
Need help with
Dental Management?
Have a question? We're here to help. Please submit your inquiry, and we'll respond promptly.