Manufacturing Equipment Downtime Troubleshooting Checklist: A Step-by-Step Guide
Published: 11/25/2025 Updated: 12/14/2025
Table of Contents
- Introduction: Why a Downtime Troubleshooting Checklist Matters
- 1. Initial Assessment & Safety: Prioritizing People and Process
- 2. Equipment Identification & History: Gathering the Context
- 3. Visual Inspection & Basic Checks: The First Line of Defense
- 4. Decoding Error Codes & Messages: Understanding the Symptom
- 5. Component Testing & Isolation: Pinpointing the Fault
- 6. Calibration & Adjustment: Fine-Tuning for Optimal Performance
- 7. Software & Firmware Verification: Digital Diagnostics
- 8. Documentation & Repair: Recording the Solution
- 9. Verification & Final Checks: Ensuring Long-Term Reliability
- 10. Root Cause Analysis & Preventative Actions: Preventing Future Downtime
- Resources & Links
TLDR: Equipment downtime is a nightmare! This checklist provides a clear, step-by-step guide - from initial safety checks to root cause analysis - to systematically troubleshoot manufacturing equipment problems, get you back up and running faster, and prevent future breakdowns. It's your go-to resource for minimizing downtime and maximizing efficiency.
Introduction: Why a Downtime Troubleshooting Checklist Matters
Manufacturing equipment downtime is a costly reality. Every minute a machine is offline translates to lost production, increased labor costs, and potential delays impacting your entire supply chain. While unexpected breakdowns are inevitable, a proactive and structured approach to troubleshooting can significantly reduce downtime duration and frequency. This is where a well-crafted downtime troubleshooting checklist becomes invaluable.
Think of it as your team's roadmap for swiftly and effectively diagnosing and resolving equipment failures. A checklist ensures consistency in troubleshooting steps, preventing overlooked details and reducing the reliance on individual expertise (which can vary). It promotes safety by ensuring critical initial steps are always followed, and it serves as a valuable training tool for newer technicians, ensuring they follow established best practices. Ultimately, a clear checklist empowers your team to get equipment back online faster, minimizing disruption and maximizing operational efficiency.
1. Initial Assessment & Safety: Prioritizing People and Process
Before diving into any troubleshooting, safety is paramount. This initial assessment sets the foundation for a productive and, most importantly, safe repair process.
Here's what needs to be addressed immediately:
- Secure the Area: Isolate the equipment to prevent accidental operation or injury to personnel. Use lockout/tagout (LOTO) procedures if applicable - always follow your company's established LOTO protocols.
- Personnel Safety: Ensure all personnel involved are aware of the situation, understand the potential hazards, and are wearing appropriate Personal Protective Equipment (PPE) - safety glasses, gloves, hearing protection, etc.
- Initial Observation: Briefly observe the equipment's condition. Note any obvious signs of damage, unusual noises, or smells. This initial impression can provide valuable clues later.
- Assess the Severity: Determine the urgency of the situation. Is the downtime impacting production significantly? Does it present a safety risk? This assessment will guide the troubleshooting priority.
- Gather Information: Briefly speak with operators or technicians who were using the equipment. Ask them about the events leading up to the downtime - what were they doing, what happened, and any unusual observations they made.
Remember, a rushed troubleshooting process often leads to further damage or, worse, injury. Taking this initial assessment seriously will save time and prevent problems down the line.
2. Equipment Identification & History: Gathering the Context
Understanding the equipment's history is just as vital as understanding the present symptoms. Before diving into detailed troubleshooting, gather essential information to provide context. Start by accurately identifying the machine - model number, serial number, and date of manufacture are crucial. This information allows you to access the manufacturer's documentation, including original specifications, schematics, and known issues.
Next, review the equipment's maintenance records. This includes past repairs, modifications, and scheduled maintenance performed. Look for recurring problems or patterns. Knowing if a similar issue has occurred previously can provide valuable clues. If available, consult the equipment's operational logs - these often record critical data that can highlight anomalies preceding the failure. Finally, note any recent changes to the equipment's environment, processes, or operators, as these can sometimes be contributing factors. This groundwork establishes a foundation for more informed troubleshooting.
3. Visual Inspection & Basic Checks: The First Line of Defense
Before diving into complex diagnostics, a thorough visual inspection and basic checks can often reveal the culprit behind equipment downtime. This initial assessment should be methodical and cover several key areas.
Start by looking for any immediately obvious signs of damage - cracks, leaks, loose connections, frayed wires, or signs of overheating. Pay attention to any unusual noises, smells, or vibrations. Check fluid levels (coolant, lubricant, hydraulic fluid) and their condition. Look for signs of contamination or degradation.
Basic checks include verifying power supply - is the equipment receiving power? Are breakers tripped? Check for obvious obstructions preventing proper movement or operation. Inspect guards and safety devices to ensure they are in place and functioning correctly. Don't underestimate the power of these seemingly simple checks; they can often point to a quick fix and prevent unnecessary deeper investigation. Document your observations, even if they seem minor, as they can be valuable later in the troubleshooting process.
4. Decoding Error Codes & Messages: Understanding the Symptom
Error codes and messages are your equipment's attempt to tell you exactly what's wrong. Don't ignore them! They're often the fastest route to identifying the problem, significantly reducing troubleshooting time.
1. Consult the Manual: This is your first and most crucial step. Each piece of equipment has a specific error code list detailed in its operation and maintenance manual. The manual will explain the code's meaning, potential causes, and often, suggested remedies. Don't guess - refer to the source.
2. Record the Exact Error: Write down the complete error code and any accompanying message. Even seemingly insignificant details can be vital. Take a picture with your phone - this is useful for later analysis and sharing with others.
3. Prioritize Error Severity: Some error codes are warnings; others indicate critical failures. The manual should classify errors by severity. Address critical errors immediately to prevent further damage or safety risks.
4. Search Online Forums and Databases: If the manual isn't clear or you're still unsure, a quick search online can be helpful. Manufacturer forums, industry-specific websites, and even general search engines can often provide insights from other users who have encountered similar issues. However, always cross-reference this information with the manufacturer's documentation.
5. Understanding Message Context: Pay attention to the context in which the error message appears. Was the equipment operating under unusual conditions? Was a specific operation being performed when the error occurred? This context can provide valuable clues.
6. Don't Assume: Error codes are a guide, not a definitive diagnosis. While they narrow down the possibilities, they don't always pinpoint the exact faulty component. Further investigation is often necessary.
5. Component Testing & Isolation: Pinpointing the Fault
Once a potential faulty component is identified through visual inspection or error code analysis, thorough testing and isolation are crucial. This isn't just about replacing parts blindly; it's about confirming the fault and understanding its impact.
Begin by consulting the equipment's technical documentation - schematics, wiring diagrams, and troubleshooting guides are invaluable here. Many components have built-in diagnostic capabilities; utilize these. Employ multimeters, oscilloscopes, and other specialized testing equipment to measure voltage, current, resistance, and signal integrity at relevant points.
Careful isolation is key. Disconnect the suspect component systematically, monitoring the impact on the overall equipment operation. This might involve temporarily bypassing circuits or removing power to specific sections. Document each step and observation meticulously. Did removing the component resolve the issue? Did the problem shift elsewhere? This process helps narrow down the problem and prevents misdiagnosis. Remember to adhere to all safety protocols when disconnecting and handling electrical components. If you are not comfortable performing these tests, escalate to a qualified technician.
6. Calibration & Adjustment: Fine-Tuning for Optimal Performance
Often, downtime isn't caused by a catastrophic failure but by a gradual drift in performance requiring precise calibration or adjustment. This phase focuses on bringing the equipment back to its factory-specified tolerances.
Begin by consulting the manufacturer's maintenance manual for precise calibration procedures. These procedures often involve specialized tools and techniques - don't attempt this without proper training and authorization. Key areas to consider include:
- Sensor Calibration: Ensure sensors (temperature, pressure, flow, etc.) are accurately reporting data. Discrepancies can trigger false alarms or impact product quality.
- Motor/Drive Adjustments: Check for proper alignment and torque settings. Incorrect settings can lead to increased energy consumption and premature wear.
- Timing Adjustments: Many machines rely on precise timing sequences. Verify these are accurate using appropriate test patterns or reference signals.
- Mechanical Adjustments: Simple adjustments, like belt tension or lubrication, can sometimes significantly impact performance.
Carefully document all adjustments made, including the initial readings, changes applied, and final readings. This record provides valuable data for future troubleshooting and preventative maintenance. Remember, even seemingly minor adjustments can have a ripple effect, so thoroughly test the equipment after this phase to ensure everything is functioning correctly.
7. Software & Firmware Verification: Digital Diagnostics
Modern manufacturing equipment is rarely purely mechanical. Software and firmware play a critical role in operation and often hold clues to downtime issues. This stage moves beyond visual checks and delves into the digital realm.
Initial Steps:
- Check for Updates: Begin by verifying if the equipment's software and firmware are up-to-date. Manufacturers often release updates to address known bugs, improve performance, and enhance security - all of which could indirectly influence functionality.
- Review System Logs: Access the equipment's system logs. These records chronological events, including errors, warnings, and operational status. Look for recurring patterns or specific entries coinciding with the downtime event.
- Check Communication Interfaces: Confirm that the equipment is properly communicating with the network and any connected systems (e.g., SCADA, MES). Disrupted communication can manifest as apparent equipment failure.
Advanced Diagnostics:
- Firmware Integrity Check: Many systems have built-in tools for verifying firmware integrity. Run these tests to rule out corrupted or damaged firmware.
- Software Version Compatibility: If recent software changes were implemented, ensure compatibility with the existing hardware and other connected software. Incompatibilities can lead to unpredictable behavior.
- Parameter Verification: Check key software parameters against documented settings. Misconfigured parameters can easily cause malfunctions. Consult the equipment's manual for expected values.
- Diagnostic Software: Utilize any manufacturer-provided diagnostic software. These tools offer in-depth analyses and often provide specific error codes or suggested solutions.
Caution: Modifying software or firmware without proper training and authorization can void warranties and cause irreparable damage. Always consult the manufacturer's documentation or a qualified technician before attempting any software-related interventions.
8. Documentation & Repair: Recording the Solution
Repairing manufacturing equipment isn't just about fixing the immediate problem - it's about building a knowledge base for the future. Thorough documentation throughout the troubleshooting process is absolutely critical for consistent, efficient, and ultimately safer operations.
This section focuses on meticulously recording every step taken during the repair. Start by detailing the specific repair performed, including parts replaced (and part numbers!), tools used, and the technician who completed the work. A clear, concise description of the repair is key - avoid vague terms and provide enough detail for another technician to understand the actions taken.
Include photographs or videos where appropriate. A picture is often worth a thousand words, particularly when illustrating a complex repair. Diagramming the issue and the solution can also be invaluable.
Don't forget to update the equipment's maintenance log. This record should include the date of the repair, the problem encountered, the solution implemented, and any relevant observations. Consistent logging allows for trend analysis, helping identify recurring issues and proactively address potential downtime.
Finally, secure all relevant documentation - repair logs, photographs, diagrams - in a centralized and accessible location. This ensures that valuable knowledge isn't lost and can be readily available for future reference. This shared knowledge minimizes duplicated effort and improves the overall efficiency of your maintenance team.
9. Verification & Final Checks: Ensuring Long-Term Reliability
Bringing a piece of manufacturing equipment back online after troubleshooting isn't just about getting it running now. It's about ensuring its continued, reliable performance moving forward. This phase is critical and often overlooked, but it's where you solidify the repair and prevent a quick relapse.
Here's what verification and final checks should involve:
- Functionality Test: Run the equipment through a full cycle of its normal operation. Don't just perform a short test - simulate real-world conditions. Observe performance closely at each stage.
- Performance Monitoring: Record key performance indicators (KPIs) - output rates, cycle times, energy consumption, quality metrics - and compare them to baseline values. Any significant deviations require further investigation.
- Noise & Vibration Analysis: Listen for unusual noises and feel for excessive vibrations. These can indicate underlying stress or misalignment that hasn't been addressed.
- Temperature Checks: Monitor critical component temperatures. Overheating can signify problems with cooling systems or component overloading.
- Operator Interaction: If possible, have the operator run the equipment under supervision. Their feedback is invaluable and can uncover issues missed by the technician.
- Clearance & Safety Checks: Re-verify all safety interlocks, guards, and emergency stop mechanisms are functioning correctly.
- Cleanliness: Ensure all parts are clean and free of debris, especially around sensors and moving parts.
- Documentation Update: Log all actions taken, observations made, and final performance data in the equipment's maintenance log.
This comprehensive verification process transforms a reactive repair into a proactive investment in equipment longevity and operational efficiency.
10. Root Cause Analysis & Preventative Actions: Preventing Future Downtime
Fixing the immediate problem is only half the battle. A truly effective troubleshooting process digs deeper to understand why the failure occurred and puts measures in place to prevent it from happening again. This is where Root Cause Analysis (RCA) and preventative actions become critical.
Beyond the Symptoms: Uncovering the Root Cause
Don't just replace the faulty part and call it a day. RCA aims to identify the underlying cause - the original problem that led to the failure. Common techniques include:
- The 5 Whys: Repeatedly asking Why? to drill down through layers of symptoms.
- Fishbone Diagram (Ishikawa Diagram): Visually mapping potential causes, categorized by areas like equipment, process, environment, and people.
- Fault Tree Analysis: A graphical representation showing how a failure can occur from a combination of events.
Turning Insights into Action: Preventative Measures
Once the root cause is identified, develop preventative actions. These might include:
- Improved Maintenance Schedules: Adjusting PM tasks (lubrication, inspections) based on actual equipment needs, not just manufacturer recommendations. Consider condition-based maintenance.
- Operator Training: Ensuring operators are properly trained in equipment operation, basic troubleshooting, and identifying potential issues.
- Process Adjustments: Modifying processes to reduce stress on equipment (e.g., optimizing speed, temperature).
- Design Changes: (In collaboration with engineering) - If a design flaw consistently contributes to failures, consider modifications.
- Spare Parts Management: Ensuring critical spare parts are readily available to minimize downtime.
- Documentation Updates: Revise maintenance procedures and operator manuals to reflect lessons learned.
Continuous Improvement: RCA shouldn't be a one-off event. Integrate it into your continuous improvement process. Regularly review downtime data, analyze trends, and adjust preventative actions as needed. This proactive approach will significantly reduce the frequency and severity of future equipment downtime.
Resources & Links
- National Institute of Standards and Technology (NIST): NIST provides standards, measurements, and guidelines that are critical for manufacturing processes, including equipment maintenance and reliability. Their publications can inform best practices for downtime prevention and troubleshooting. Specific areas to explore include their Manufacturing Extension Partnership (MEP) program.
- ReliabilityWeb: A comprehensive resource for reliability and maintenance professionals. Offers articles, webinars, and training related to predictive maintenance, failure analysis, and overall equipment effectiveness (OEE), all vital for minimizing downtime and improving troubleshooting abilities.
- Maintenance World: Provides news, articles, and training for maintenance professionals. Their content covers a wide range of topics, including troubleshooting techniques, predictive maintenance, and asset management - all relevant to reducing downtime.
- Society of Manufacturing Engineers (SME): SME is a professional organization for manufacturing engineers. Their website offers resources, training, and industry best practices related to manufacturing processes, equipment maintenance, and troubleshooting methodologies. Explore their publications and standards.
- Occupational Safety and Health Administration (OSHA): Critical for Section 1: Initial Assessment & Safety. OSHA's website provides resources and guidelines for workplace safety, including lockout/tagout procedures and hazard assessment. Ensuring safety is paramount when troubleshooting equipment.
- International Organization for Standardization (ISO): ISO develops and publishes international standards. Look for standards related to maintenance management (ISO 14253) and quality management (ISO 9001) for guidance on structured maintenance programs and documenting procedures.
- Proactive Technology (PM Excellence): Offers resources and training related to maintenance excellence and reliability. Their focus on proactive and predictive maintenance aligns with the preventative actions section and provides actionable insights.
- Machine Design: Provides articles and technical information related to industrial machinery and manufacturing processes. Can be helpful for understanding equipment functionality and potential failure modes, supporting steps 3, 4 & 5.
- Automatiq: Focuses on industrial automation and helps with maintenance. The resource can offer insights in the troubleshooting of automation equipment.
- Simply Reliability: Offers expertise in reliability engineering and failure analysis. Their articles and courses cover topics like Weibull analysis, FMEA, and root cause analysis, directly relevant to the preventative actions and root cause analysis sections.
Frequently Asked Questions
What is the purpose of this troubleshooting checklist?
This checklist is designed to provide a structured, step-by-step approach to diagnosing and resolving downtime issues in manufacturing equipment, minimizing disruption and speeding up return to production.
Who is this checklist for?
This checklist is intended for maintenance technicians, engineers, and anyone responsible for troubleshooting and repairing manufacturing equipment. It's adaptable for various skill levels.
What types of equipment does this checklist cover?
The checklist is broadly applicable to a wide range of manufacturing equipment, from CNC machines and presses to conveyors and automated systems. While not equipment-specific, the core principles and steps apply to most scenarios.
Is this checklist a complete solution for all downtime issues?
No, the checklist provides a framework. It is not a substitute for technical expertise or a comprehensive understanding of the specific equipment. It serves as a guide to systematically identify and address potential causes.
What should I do if I can't identify the problem using this checklist?
If you're unable to pinpoint the issue, escalate the problem to a more experienced technician, engineer, or the equipment manufacturer's support team. Provide them with the steps you've already taken and any observations made.
How should I document my troubleshooting process using this checklist?
Carefully document each step taken, the results observed, and any adjustments made. This record is crucial for tracking trends, identifying recurring problems, and facilitating future troubleshooting efforts.
Can I modify this checklist to fit my specific equipment?
Yes, the checklist is designed to be adaptable. Feel free to add or remove steps, add equipment-specific checks, and tailor it to your environment.
What does '5-Why' analysis mean in the checklist?
'5-Why' analysis is a problem-solving technique where you repeatedly ask 'Why?' five times to dig deeper and uncover the root cause of an issue, rather than just addressing the surface symptom.
What is the importance of preventative maintenance when using this checklist?
Preventative maintenance is crucial for reducing downtime. Regularly performing preventative maintenance tasks can help catch potential problems before they cause unexpected equipment failures and the need to use this troubleshooting checklist.
Where can I find more detailed information about specific equipment components mentioned in the checklist?
Consult the equipment's manuals, technical specifications, and manufacturer's support resources for detailed information about specific components and their operation.
Found this Article helpful?
Support Management Solution Demo
Struggling to keep up with support requests? ChecklistGuro provides a centralized system for managing tickets, tracking progress, & ensuring customer satisfaction. Improve efficiency & reduce resolution times.
Related Articles
Legal Case Management Support Checklist: Your Guide to Seamless Implementation
Mastering Aircraft Maintenance: Your Aerospace Support Checklist Template
Ensuring Excellence: Your Zoo Animal Welfare Support Checklist Guide
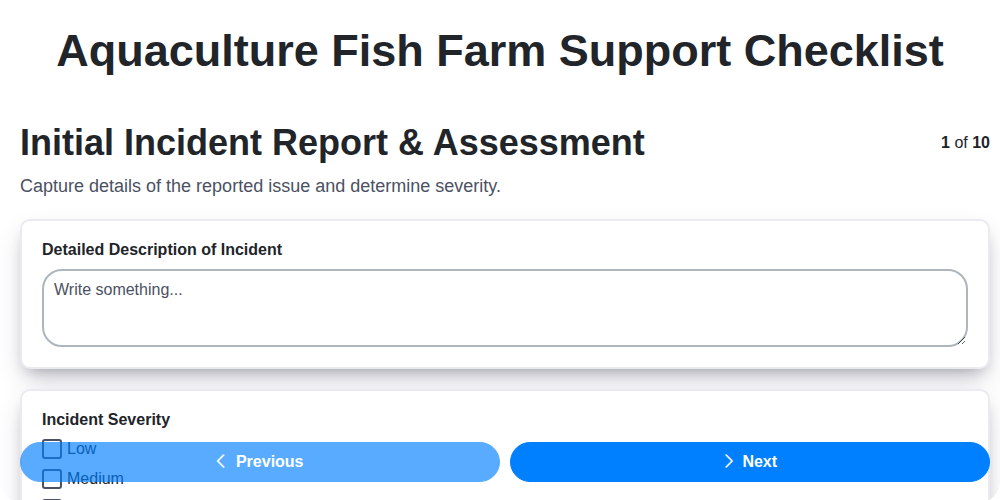
Keeping Your Fish Farm Running Smoothly: The Aquaculture Support Checklist
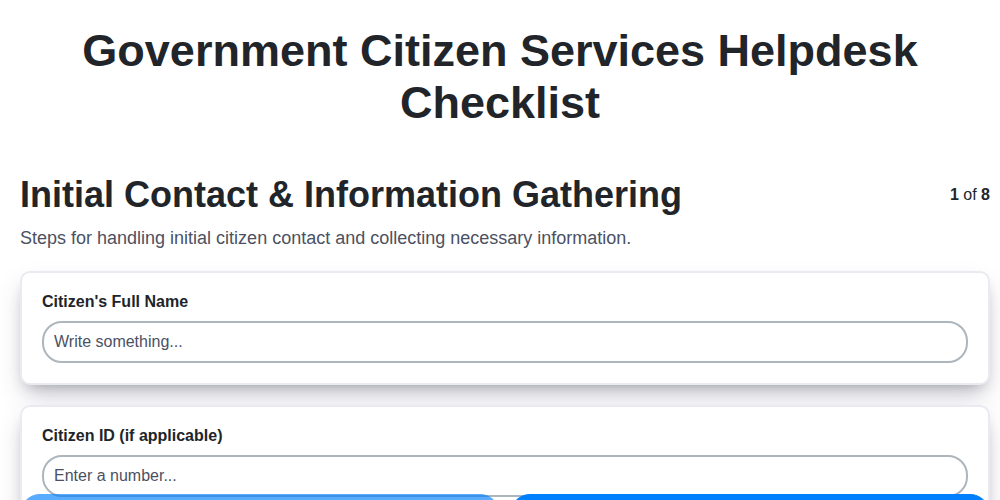
Mastering Citizen Service: Your Government Helpdesk Checklist Template
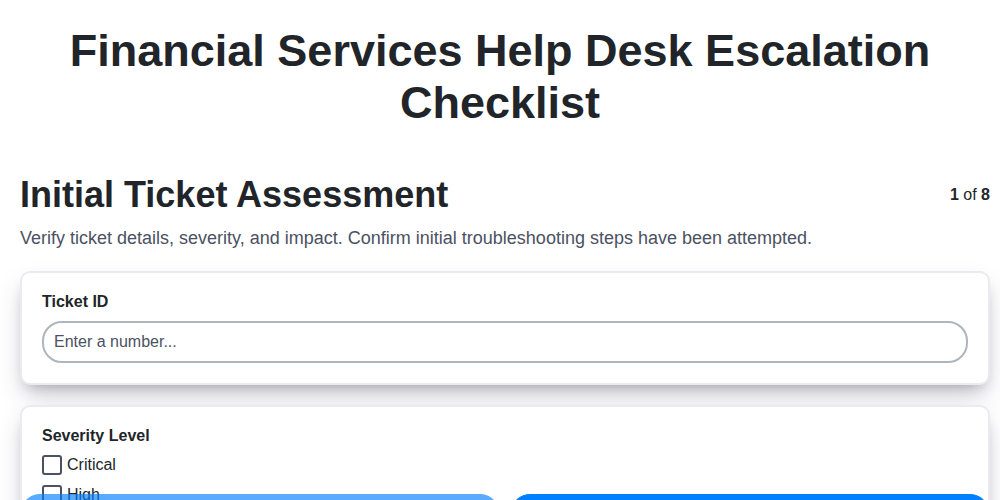
Streamlining Support: The Financial Services Help Desk Escalation Checklist You Need

Navigating Shipping & Fulfillment Mishaps: Your Resolution Checklist
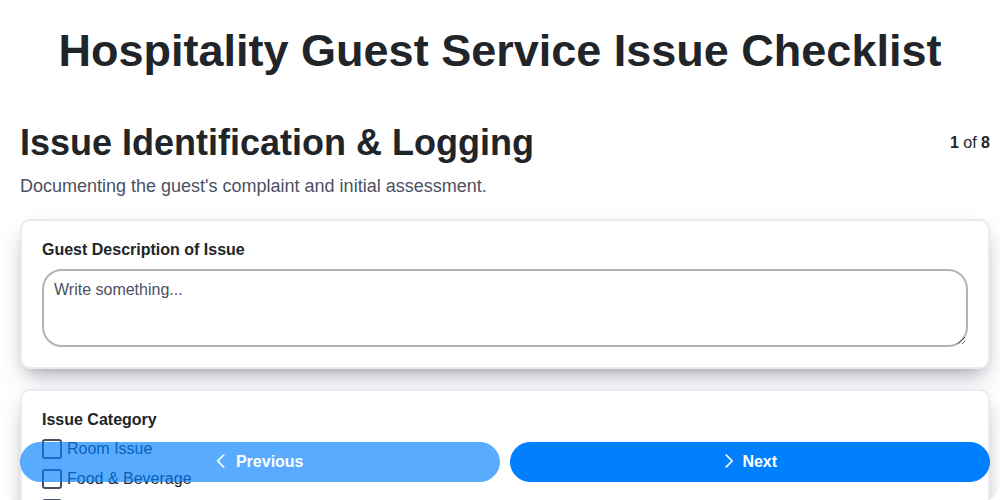
Mastering Guest Service Recovery: Your Hospitality Issue Checklist Template
We can do it Together
Need help with
Support Management?
Have a question? We're here to help. Please submit your inquiry, and we'll respond promptly.