Troubleshooting Waste Management Equipment: Your Malfunction Checklist Guide
Published: 11/25/2025 Updated: 12/14/2025
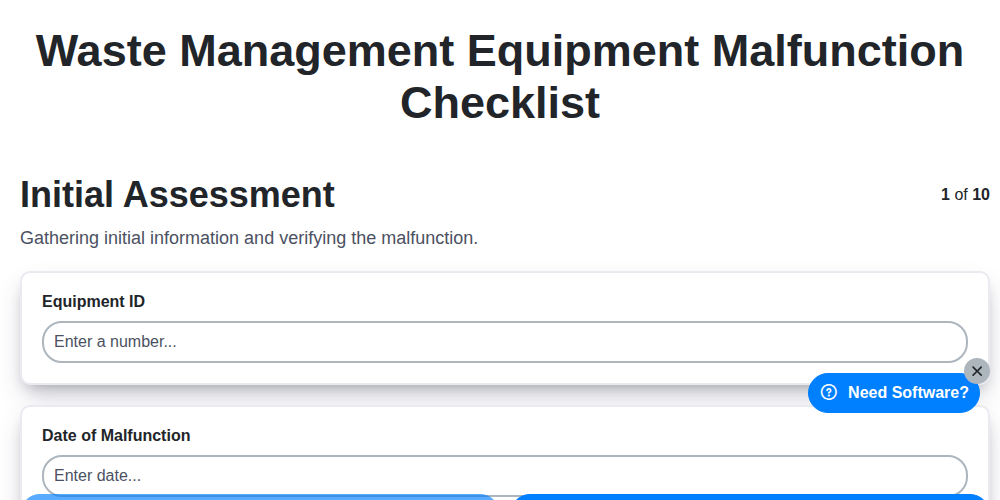
Table of Contents
- Introduction: Why a Waste Management Equipment Malfunction Checklist is Crucial
- 1. Initial Assessment: Understanding the Problem
- 2. Safety Procedures: Prioritizing Personnel and Environmental Protection
- 3. Equipment Identification: Knowing What You're Dealing With
- 4. Visual Inspection: A First Look for Obvious Issues
- 5. Basic Troubleshooting: Simple Fixes You Can Try
- 6. Diagnostic Checks: Digging Deeper with Tests and Readings
- 7. Parts Replacement: When and How to Replace Faulty Components
- 8. Calibration & Testing: Ensuring Accuracy and Performance
- 9. Documentation & Reporting: Maintaining a Detailed Record
- 10. Final Verification & Handover: Confirming Functionality
- Conclusion: Preventing Future Malfunctions
- Resources & Links
TLDR: Equipment breaking down? This checklist guides you through diagnosing and fixing waste management equipment malfunctions - from initial assessment and safety checks to parts replacement, calibration, and final handover. It's your step-by-step roadmap for getting your operations back on track, safely and efficiently!
Introduction: Why a Waste Management Equipment Malfunction Checklist is Crucial
Waste management equipment - compactors, balers, shredders, conveyors - are the backbone of efficient waste processing. But when these vital machines fail, operations grind to a halt, potentially leading to costly delays, safety hazards, and environmental concerns. A reactive approach to equipment malfunctions simply isn't sustainable. That's where a comprehensive Waste Management Equipment Malfunction Checklist becomes absolutely crucial.
This isn't just about fixing broken machinery; it's about minimizing downtime, ensuring operator safety, maintaining regulatory compliance, and extending the lifespan of your equipment. A well-defined checklist provides a structured approach to troubleshooting, ensuring that all critical steps are followed consistently, regardless of who's performing the assessment. From initial observations to final verification, this structured process can dramatically improve response times and prevent further damage-ultimately saving your facility time, money, and potential liability.
1. Initial Assessment: Understanding the Problem
Before diving into any troubleshooting, a thorough initial assessment is crucial. This isn't just about identifying that something is wrong; it's about gathering as much information as possible to guide your subsequent actions. Start by speaking directly with the operator. What were they doing when the malfunction occurred? What specific symptoms did they observe? Don't dismiss seemingly minor details - they can often provide valuable clues. Note the time of the incident, any error messages displayed, and the immediate impact on operations. Observe the equipment from a safe distance, noting any obvious signs of damage or unusual behavior. This preliminary information will help prioritize your troubleshooting steps and potentially prevent further complications.
2. Safety Procedures: Prioritizing Personnel and Environmental Protection
Dealing with waste management equipment malfunctions carries inherent risks. Before initiating any troubleshooting or repair, strict adherence to safety protocols is paramount. This section outlines essential procedures to protect personnel and prevent environmental contamination.
Immediate Actions:
- Isolate the Area: Immediately cordon off the affected area, preventing unauthorized access. Use appropriate signage to clearly indicate the hazard.
- Personal Protective Equipment (PPE): All personnel involved must wear the correct PPE, including, but not limited to: safety glasses/goggles, gloves (appropriate for the waste being handled - consider chemical resistance), respirators (if airborne contaminants are suspected), and appropriate footwear. Review the Safety Data Sheets (SDS) for all materials involved.
- Lockout/Tagout (LOTO): Implement LOTO procedures to ensure equipment is de-energized and cannot be accidentally started during repair. Follow established site-specific LOTO protocols meticulously.
- Spill Prevention & Containment: Have spill containment materials readily available (absorbent pads, booms, etc.) and be prepared to deploy them if a leak or spill occurs.
- Hazard Communication: Communicate the nature of the malfunction and associated hazards to all relevant personnel.
- Emergency Contact Information: Ensure readily available access to emergency contact information (first aid, fire department, hazardous materials response team).
Ongoing Considerations:
- Ventilation: Ensure adequate ventilation in the work area, especially if dealing with potentially odorous or hazardous waste.
- Waste Handling: Follow established protocols for handling the waste associated with the malfunctioning equipment. Avoid direct contact with the waste and ensure proper disposal of contaminated materials.
- Regular Safety Briefings: Conduct brief safety briefings before commencing work, reinforcing potential hazards and expected safety procedures.
3. Equipment Identification: Knowing What You're Dealing With
Before diving into troubleshooting, accurately identifying the equipment is paramount. Don't assume - always verify the model and serial number. This information is usually found on a sticker or plate affixed to the equipment itself. Consult the manufacturer's documentation using this ID to confirm specifications, typical malfunctions, and recommended procedures. Knowing the exact model dictates the appropriate troubleshooting steps, diagnostic tools, and replacement parts. A misidentification can lead to incorrect repairs, further damage, and potentially hazardous situations. Double-check the equipment's purpose within the waste management process - is it a compactor, shredder, baler, or something else? This context provides crucial insight into potential failure points.
4. Visual Inspection: A First Look for Obvious Issues
A thorough visual inspection is often the quickest way to identify many common waste management equipment malfunctions. Don't underestimate its value! Begin by stepping back and observing the entire machine - are there any immediate signs of distress? Look for:
- Leaks: Oil, hydraulic fluid, coolant - any fluid leaks are a major red flag and should be noted immediately. Identify the source of the leak if possible.
- Damage: Check for dents, cracks, or significant wear and tear on the equipment's structure, hoses, belts, and components.
- Loose Connections: Examine all connections, including hoses, wires, and fasteners. Loose connections can cause performance issues and safety hazards.
- Debris Accumulation: Excessive debris buildup can obstruct moving parts, overheat motors, and reduce efficiency. Pay particular attention to areas like conveyor belts, shredder blades, and intake ports.
- Belt Condition: Inspect belts for cracks, fraying, or excessive wear. A worn belt can cause slippage and machine failure.
- Unusual Positioning: Verify that all components are in their correct and intended positions. Misaligned parts can indicate a previous issue or improper repair.
Make detailed notes of everything you observe during this initial visual assessment - even seemingly minor details can be crucial clues when diagnosing more complex problems.
5. Basic Troubleshooting: Simple Fixes You Can Try
Before escalating a waste management equipment malfunction to a specialist, there are several basic troubleshooting steps you can safely and effectively attempt. These actions can often resolve minor issues quickly and minimize downtime. Always prioritize safety - if you're unsure about any step, stop and consult with a qualified technician.
Here are some common fixes you might try:
- Check Power Supply: This is the first and easiest step. Ensure the equipment is properly plugged in and receiving power. Check for tripped breakers or blown fuses in the circuit.
- Clear Obstructions: Many malfunctions stem from blockages. Inspect inlets, outlets, and conveyor belts for debris, compacted waste, or foreign objects. Carefully remove any obstructions, being mindful of potential sharp objects or hazardous materials.
- Inspect Belts & Chains: Waste management equipment relies heavily on belts and chains. Look for signs of wear, damage, or misalignment. A loose belt might need tightening, while a damaged chain could require replacement.
- Check Sensors & Switches: Sensors and switches often trigger automatic functions. Dust or debris can obstruct them, leading to false readings. Gently clean these components with compressed air (following manufacturer's instructions).
- Reset the Equipment: Many modern machines have a reset function. Refer to the equipment's manual to locate and activate it. This can often resolve software glitches.
- Review Error Codes: If the equipment displays an error code, consult the manufacturer's manual for interpretation. This can provide valuable clues about the nature of the problem.
Important Note: These are basic checks. More complex issues require specialized knowledge and tools. Don't attempt repairs beyond your skillset - safety is paramount.
6. Diagnostic Checks: Digging Deeper with Tests and Readings
Basic troubleshooting often points to a potential issue, but confirming the root cause requires more in-depth diagnostic checks. This stage moves beyond simple observation and involves utilizing equipment-specific tools and procedures to gather data and pinpoint the malfunction.
The exact tests you're performing will depend heavily on the type of waste management equipment - a compactor will require different checks than an incinerator or a baler. However, common diagnostic checks often include:
- Sensor Readings: Verify the accuracy of sensors related to weight, level, temperature, pressure, and other critical parameters. Compare readings against established baseline values and look for inconsistencies.
- Motor Current Analysis: Use a clamp meter to assess the current draw of motors. Excessive current can indicate overload, binding, or mechanical issues.
- Hydraulic Pressure Testing: For hydraulic systems, verify operating pressures are within specification. Leaks, pump failures, or valve malfunctions can be identified through pressure readings.
- PLC Data Logging: Waste management equipment is often controlled by Programmable Logic Controllers (PLCs). Accessing and analyzing PLC data logs can reveal error codes, fault sequences, and valuable insights into equipment behavior.
- Electrical Resistance Checks: Confirm the integrity of electrical connections and wiring by checking resistance values. High resistance can signal corrosion or damaged conductors.
- Software Diagnostics: Many modern waste management systems have built-in diagnostic software. Utilize these tools to run automated tests and identify system errors.
Crucially, always refer to the manufacturer's service manual for specific diagnostic procedures and safety precautions. Incorrect testing can damage the equipment or pose a safety hazard. Properly trained personnel with the right tools are essential for this stage.
7. Parts Replacement: When and How to Replace Faulty Components
Replacing parts is often the unavoidable outcome of equipment malfunctions. However, rushing into replacements can be costly and, more importantly, potentially unsafe. This section outlines when parts replacement is necessary and provides a general guide to the process.
Recognizing the Need for Replacement:
- Beyond Troubleshooting: If basic troubleshooting and diagnostic checks consistently fail to resolve an issue, a faulty component is likely the culprit.
- Physical Damage: Visible damage like cracks, leaks, excessive wear, or corrosion is a clear indicator of the need for replacement.
- Diagnostic Code Confirmation: Many waste management equipment systems generate diagnostic codes that specifically indicate failing components. Refer to the manufacturer's documentation for code definitions.
- Performance Degradation: A noticeable decline in equipment performance, such as reduced compaction force, slower conveyor speed, or inconsistent sorting, can also suggest a failing part.
Replacement Procedures - A General Guide (Always Consult Manufacturer's Instructions!):
Safety First: Disconnect power to the equipment before commencing any parts replacement. Lockout/Tagout procedures must be strictly adhered to.
- Identify the Correct Part: Double-check the part number and specifications using the manufacturer's parts catalog or system documentation. Using the wrong part can cause further damage.
- Gather Necessary Tools: Ensure you have the correct tools for the job - wrenches, sockets, screwdrivers, specialized lifting equipment, etc.
- Careful Removal: When removing the old part, be mindful of surrounding components. Label wires and hoses to ensure proper reconnection. Take pictures as you disassemble for reference.
- Clean the Area: Before installing the new part, clean the mounting surface and surrounding area. This prevents contamination and ensures proper sealing.
- Correct Installation: Install the new part following the manufacturer's instructions precisely. Torque fasteners to the specified values.
- Lubrication: Lubricate any moving parts as recommended by the manufacturer.
- Post-Replacement Inspection: After installation, visually inspect the new part and surrounding area for any issues.
Important Disclaimer: Waste management equipment can be complex and dangerous. This guide provides general advice. Always refer to the equipment's specific manufacturer's documentation for detailed instructions and safety guidelines. Improper parts replacement can lead to equipment damage, personal injury, or environmental hazards. If you lack the expertise, engage a qualified technician.
8. Calibration & Testing: Ensuring Accuracy and Performance
Following parts replacement or any significant repair, rigorous calibration and testing are crucial to guarantee your waste management equipment is operating correctly and maintaining its intended performance. This isn't just about getting it running - it's about verifying its accuracy and efficiency.
The specific calibration and testing procedures will vary based on the type of equipment (compactors, shredders, balers, etc.) and the manufacturer's recommendations. However, a general approach includes:
- Manufacturer's Instructions: Always refer to the manufacturer's manual for detailed calibration and testing protocols. These are the gold standard.
- Load Testing: This involves operating the equipment under a controlled load, simulating real-world conditions, to assess its compaction force, shredding capacity, or baling pressure.
- Pressure Checks: Verify pressure gauges and sensors are accurate and within specified ranges.
- Speed & Cycle Time Verification: Measure the speed of conveyor belts, the cycle time of compactors, or the shredding rate to ensure they meet performance benchmarks.
- Safety Feature Testing: Test emergency stop mechanisms, overload protection systems, and other safety features to confirm they function as intended.
- Sensor Calibration: Calibrate any sensors involved in automated processes, such as level sensors or weight sensors.
- Documentation: Thoroughly document all calibration and testing results, including readings, adjustments made, and the personnel involved.
Failure to perform adequate calibration and testing can lead to decreased efficiency, increased downtime, safety hazards, and potentially costly repairs in the long run.
9. Documentation & Reporting: Maintaining a Detailed Record
Thorough documentation is the bedrock of effective waste management equipment maintenance. It's more than just ticking boxes on a checklist; it's about creating a history of the equipment's health, identifying recurring issues, and demonstrating compliance.
Here's what should be included in your documentation:
- Date and Time of Inspection/Repair: Essential for tracking frequency and identifying trends.
- Equipment Identification: Clearly state the equipment's unique identifier (model number, serial number, location).
- Technician's Name/Signature: Accountability and expertise validation.
- Detailed Description of the Malfunction: Don't just say compactor not working. Describe how it's not working. Include noises, error codes, unusual behavior, and any initial observations.
- Troubleshooting Steps Taken: Record each step taken, the expected outcome, and the actual result. This helps others understand your process and can prevent repeating ineffective solutions.
- Parts Replaced (with Part Numbers): Vital for inventory management and future repairs.
- Calibration & Test Results: Document readings and observations from all calibration and testing procedures.
- Corrective Actions Taken: Clearly state what was done to resolve the malfunction.
- Recommendations for Future Prevention: Note any potential causes of the problem and suggest preventative measures.
- Photos/Videos: Visual records are invaluable, especially for complex issues.
This documentation should be readily accessible to authorized personnel and retained for a defined period, aligning with regulatory requirements and internal policies. Regular review of these records can highlight areas for improvement in equipment performance and maintenance procedures.
10. Final Verification & Handover: Confirming Functionality
This final step is crucial, bridging the repair process and ensuring the equipment returns to reliable service. It's not just about declaring the equipment "fixed"; it's about proving it.
Verification Checklist:
- Full Operational Test: Run the equipment through its complete operational cycle, mimicking real-world usage. Observe performance under various load conditions.
- Performance Against Specifications: Verify that key performance indicators (KPIs) - such as compaction rate, shredding capacity, or leachate collection volume - are within the manufacturer's specified range.
- Noise & Vibration Check: Listen and feel for any unusual noises or excessive vibrations that might indicate underlying issues.
- Leakage Check: Inspect for any leaks of fluids or materials, particularly around seals and connections.
- Safety Feature Validation: Test all safety interlocks, emergency stops, and warning systems to confirm they are functioning correctly.
- Operator Familiarization: Briefly demonstrate the repaired equipment to the designated operator(s), highlighting any changes made during the repair process. Ensure they understand the equipment's limitations and proper operation.
- Handover Documentation: Provide the operator with a concise handover document detailing the repairs performed, any new procedures, and recommended maintenance schedules.
Important Considerations:
- Independent Witness: Whenever possible, have a second qualified person witness the final verification process.
- Record Keeping: Document the results of the final verification, including any observations and any adjustments made.
- Return to Service Authorization: Obtain formal authorization (signed and dated) before declaring the equipment officially returned to service.
Conclusion: Preventing Future Malfunctions
Ultimately, a proactive approach to waste management equipment maintenance is far more cost-effective and efficient than reactive repairs. This checklist serves as a cornerstone of that approach, highlighting critical steps for diagnosing and resolving malfunctions. By consistently implementing this checklist and fostering a culture of preventative maintenance within your team, you can minimize downtime, extend the lifespan of your equipment, and ensure a safe and reliable waste management operation. Remember, consistent adherence to these steps, coupled with ongoing training and record-keeping, isn't just about fixing problems - it's about preventing them from happening in the first place. Investing the time and resources upfront will yield significant returns in the long run, protecting your business and the environment.
Resources & Links
- Occupational Safety and Health Administration (OSHA): OSHA provides essential safety regulations and guidelines applicable to waste management equipment operation and maintenance. Vital for understanding legal requirements and ensuring personnel safety. Focus on their standards for confined space entry, lockout/tagout procedures, and machinery guarding.
- United States Environmental Protection Agency (EPA): The EPA offers information regarding environmental regulations related to waste management operations. Understanding environmental compliance is crucial during troubleshooting and repair to prevent contamination and pollution. Explore their resources on hazardous waste management and spill prevention.
- Waste Management Inc.: While primarily a waste management provider, Waste Management's website often contains valuable insight into equipment operation and maintenance, particularly for common waste processing technologies. They might have publicly available resources or case studies that can be helpful.
- Rubbings Solutions: Rubbings Solutions provides information and troubleshooting guides related to conveyor belts, a common component in waste management systems. Useful for addressing issues with belt slippage, tracking, and wear.
- MPG Research: MPG Research specializes in waste processing equipment and technologies. Their website can provide insights into best practices for various equipment types and may offer resources for troubleshooting common problems.
- WasteCode: WasteCode offers regulatory compliance tools and resources for the waste management industry. Helpful for ensuring troubleshooting and repair activities adhere to environmental regulations and reporting requirements.
- Thomasnet.com: Thomasnet is an industrial marketplace. It can be a resource for identifying manufacturers and suppliers of waste management equipment parts and components for repairs and replacements. Use their search functionality to find specific equipment or components.
- Newell Recycling: Newell Recycling offers information related to recycling and waste management equipment. They may offer maintenance schedules and insight to common failure points in such equipment.
- Thermo Fisher Scientific: Thermo Fisher Scientific provides analytical instruments often used to monitor air and water quality during waste processing. Useful if dealing with potential environmental contamination issues identified during troubleshooting.
- ReliablePlant.com: ReliablePlant is a resource for maintenance professionals. Articles and forums often cover best practices for equipment reliability and troubleshooting across various industries, including waste management. Search for waste management specific content.
Frequently Asked Questions
What types of waste management equipment does this guide cover?
This guide covers common malfunctions in balers, compactors, shredders, conveyors, and incinerators used in waste management facilities. It's not exhaustive, but addresses frequent issues.
I'm not a trained technician. Can I use this checklist?
This guide is intended as a preliminary troubleshooting resource. It's best used by personnel with basic mechanical aptitude. Complex repairs should always be handled by qualified technicians. **Safety first!**
My baler won't start. What should I check first?
First, verify the power supply - check breakers, fuses, and ensure the machine is properly connected. Then, check for any visible obstructions preventing the start sequence. Consult your baler's manual for specific starting procedures and safety precautions.
The compactor is making unusual noises. What could be the problem?
Unusual noises could indicate several issues, including overloaded ram pressure, worn hydraulic lines, debris trapped within the compaction chamber, or a failing motor. Stop the machine and investigate carefully. Refer to your compactor's manual for specific noise troubleshooting.
My shredder is jamming frequently. What are potential causes?
Frequent jamming could be due to oversized materials being fed into the shredder, dull blades, or a blockage in the discharge chute. Ensure you're following material size restrictions and schedule regular blade maintenance.
The conveyor belt keeps slipping. What adjustments can be made?
Check the belt tension - it may be too loose. Also, inspect the pulleys for wear and alignment. Ensure the belt is properly tracked to prevent excessive wear. A misaligned motor or drum can also cause slipping.
How often should I be performing preventative maintenance on my waste management equipment?
Preventative maintenance schedules vary depending on the equipment type, usage frequency, and manufacturer recommendations. Consult your equipment manuals for specific timelines and tasks. Regular inspections are key.
Where can I find the specific manuals for my equipment?
The manuals should have been provided by the equipment manufacturer. If you don't have them, contact the manufacturer directly or check their website. Many manuals are available online.
What are some general safety precautions I should take before troubleshooting any of this equipment?
Always disconnect power before performing any maintenance or repairs. Wear appropriate personal protective equipment (PPE) such as gloves, eye protection, and hearing protection. Never enter a machine while it is running. Lockout/Tagout procedures are essential.
What does "Lockout/Tagout" mean, and why is it important?
Lockout/Tagout (LOTO) is a safety procedure to ensure machines are properly shut off and unable to be started up during maintenance or repair work. It involves physically locking and tagging the equipment to prevent accidental activation. It's a critical safety practice.
Found this Article helpful?
Support Management Solution Demo
Struggling to keep up with support requests? ChecklistGuro provides a centralized system for managing tickets, tracking progress, & ensuring customer satisfaction. Improve efficiency & reduce resolution times.
Related Articles
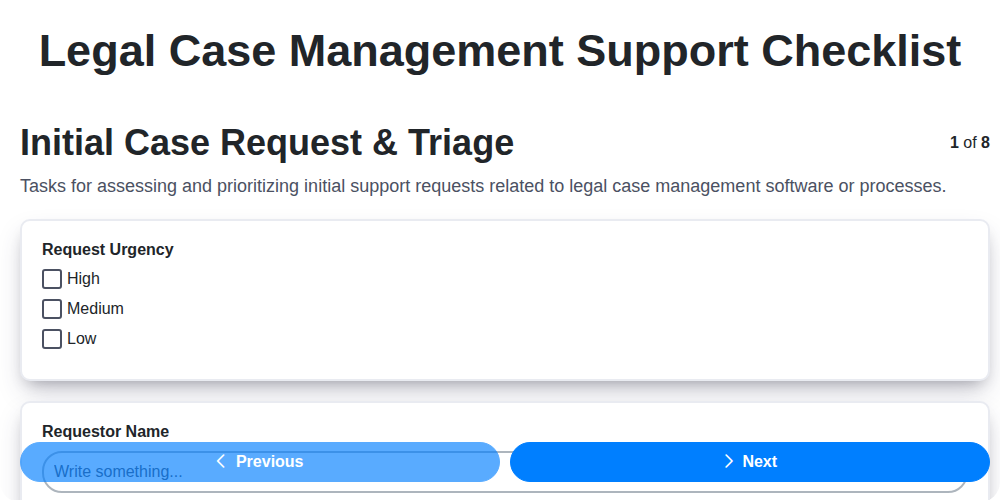
Legal Case Management Support Checklist: Your Guide to Seamless Implementation
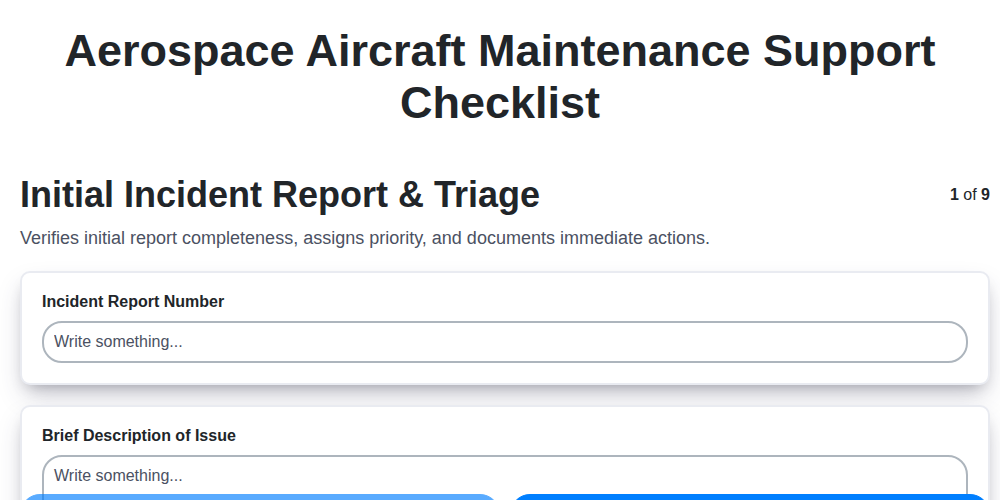
Mastering Aircraft Maintenance: Your Aerospace Support Checklist Template
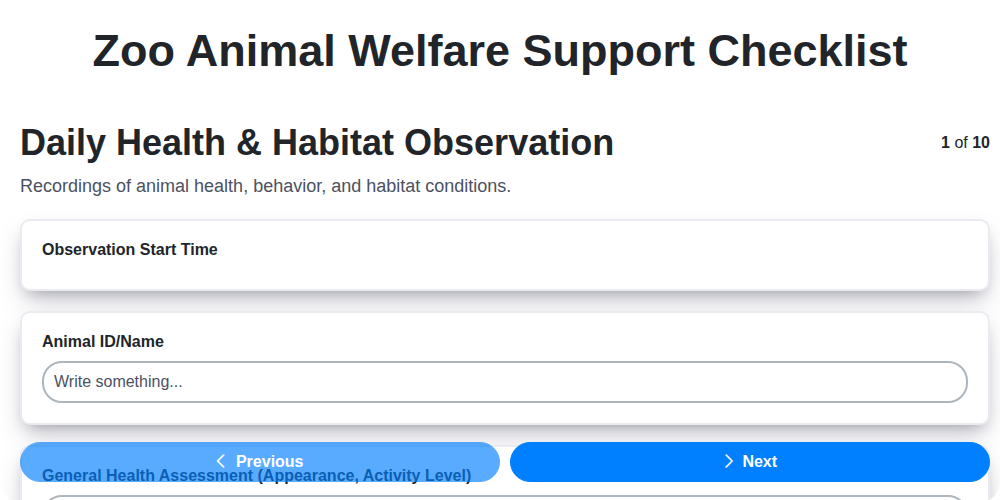
Ensuring Excellence: Your Zoo Animal Welfare Support Checklist Guide
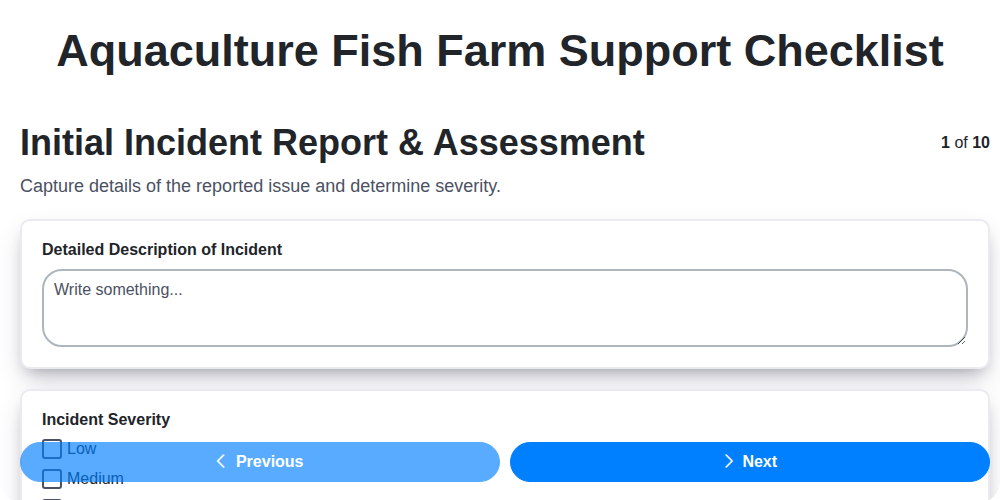
Keeping Your Fish Farm Running Smoothly: The Aquaculture Support Checklist
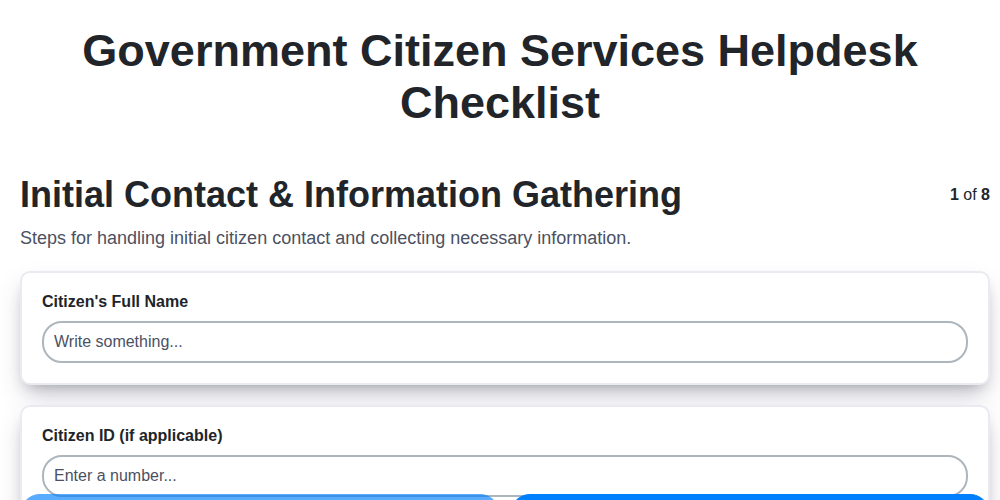
Mastering Citizen Service: Your Government Helpdesk Checklist Template
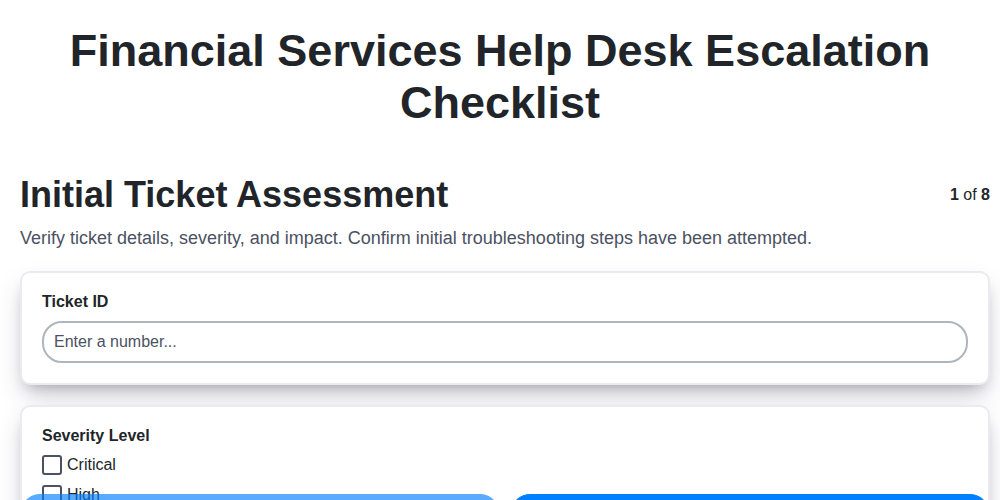
Streamlining Support: The Financial Services Help Desk Escalation Checklist You Need

Navigating Shipping & Fulfillment Mishaps: Your Resolution Checklist
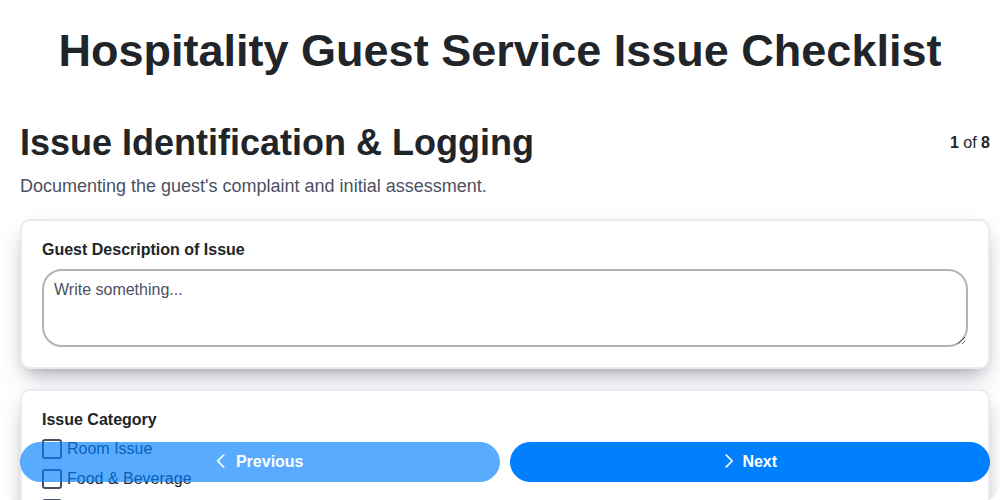
Mastering Guest Service Recovery: Your Hospitality Issue Checklist Template
We can do it Together
Need help with
Support Management?
Have a question? We're here to help. Please submit your inquiry, and we'll respond promptly.