Protecting Your Harvest: A Grain Storage & Handling Checklist for Success
Published: 11/22/2025 Updated: 12/14/2025
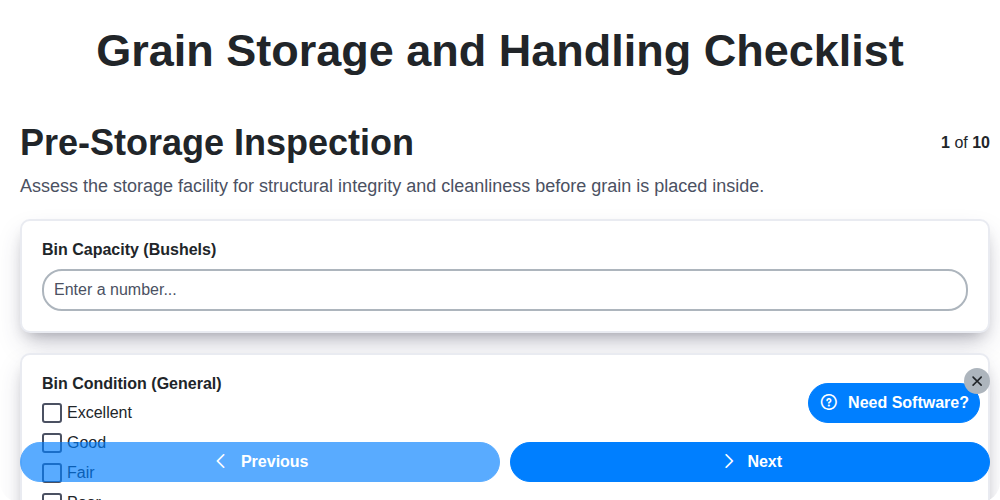
Table of Contents
- Introduction: Safeguarding Your Grain Investment
- 1. Pre-Storage Inspection: Laying the Foundation
- 2. Grain Moisture Testing: The Critical First Step
- 3. Pest Control Measures: Preventing Infestations
- 4. Aeration System Check: Ensuring Proper Airflow
- 5. Bin Cleaning and Sanitation: Maintaining a Healthy Environment
- 6. Temperature Monitoring: Early Problem Detection
- 7. Inventory Tracking: Knowing What You Have
- 8. Post-Storage Inspection & Emergency Procedures
- 9. Record Keeping: Documenting Your Process
- Resources & Links
TLDR: Don't lose your hard-earned harvest! This checklist guides you through essential steps - from pre-storage inspections and moisture testing to pest control, aeration, and emergency preparedness - to ensure safe, quality grain storage and minimize losses. It's your roadmap to a successful harvest season!
Introduction: Safeguarding Your Grain Investment
Grain storage is a critical link in the agricultural supply chain, representing a significant investment for farmers and agribusinesses alike. Improper storage practices can lead to devastating losses due to spoilage, pest infestations, and diminished quality. Protecting your grain from these risks requires a proactive and systematic approach. This isn't just about filling a bin; it's about implementing a comprehensive grain storage and handling plan - one that encompasses consistent monitoring, preventative measures, and readily available emergency protocols. This checklist provides a detailed roadmap to help you safeguard your grain, minimize losses, and ensure a consistent, high-quality product throughout the storage period. By diligently following these steps, you're investing in the longevity and value of your harvest.
1. Pre-Storage Inspection: Laying the Foundation
Before a single kernel enters your grain storage facility, a thorough pre-storage inspection is absolutely critical. This isn't just about aesthetics; it's about identifying potential problems before they become major headaches and quality losses.
Start with a comprehensive visual assessment of your bins and handling equipment. Check for cracks, rust, or any structural weaknesses in the bins themselves. Ensure walkways are clear and safe, and that all electrical components are in good working order and properly grounded. Don't overlook the surrounding grounds - ensure proper drainage to prevent moisture buildup around the bins.
Inspect your conveyance systems - augers, elevators, and conveyors - for wear and tear. Check chains, belts, and sprockets for damage. A breakdown during the busy harvest season can be incredibly disruptive and costly. Lubricate all moving parts according to the manufacturer's recommendations.
Finally, evaluate your overall storage plan. Consider the type of grain, expected storage duration, and anticipated market conditions. This initial assessment will shape your subsequent storage strategies and help you proactively address potential issues. A little upfront effort here can save you a lot of trouble later.
2. Grain Moisture Testing: The Critical First Step
Moisture content is arguably the most critical factor in ensuring long-term grain quality and preventing spoilage. Improper moisture levels create a breeding ground for mold, bacteria, and insects, leading to significant losses and potential safety concerns. Don't skip this crucial step - it's your first line of defense!
Why is it so important? Each grain type has an optimal moisture threshold for safe storage. Exceeding this threshold drastically increases the risk of:
- Mold Growth: Mold produces mycotoxins, which are harmful to humans and livestock, and degrade grain quality.
- Insect Infestation: Many insect pests thrive in high-moisture grain.
- Respiration: Grain continues to respire (breathe) after harvest. High moisture levels accelerate this process, generating heat and further degrading the grain.
Testing Methods: Several methods exist for measuring grain moisture, each with its advantages and disadvantages:
- Moisture Meters (Electrical): These are quick and convenient, but accuracy can be affected by grain density and temperature. Calibration is essential.
- Drive-Over Sensors: Useful for large volumes of grain as they provide continuous readings during unloading.
- Oven-Drying Method: Considered the gold standard for accuracy, but it's time-consuming and requires specialized equipment.
- Near-Infrared (NIR) Spectroscopy: A rapid and non-destructive method that can be quite accurate with proper calibration.
Best Practices:
- Test Multiple Samples: Don't rely on just one test. Take several samples from different locations within the grain mass to ensure a representative reading.
- Record Results: Keep a detailed log of moisture readings, including date, location, grain type, and method used.
- Understand Your Grain: Know the recommended moisture levels for the specific grain you are storing (e.g., corn, soybeans, wheat).
3. Pest Control Measures: Preventing Infestations
Grain storage is a feast for unwanted guests - insects, rodents, and birds can quickly turn a valuable harvest into a damaged loss. A proactive pest control strategy is absolutely vital for preserving grain quality and minimizing losses. This isn't just about reacting to an infestation; it's about preventing one from happening in the first place.
Before Storage:
- Cleanliness is Key: Thoroughly clean the storage area, removing any spilled grain, dust, and debris that can serve as food sources for pests.
- Exterior Inspection & Sealing: Walk the perimeter of your grain storage facility. Seal any cracks, holes, or gaps in walls, floors, and around doors and vents. Pay close attention to areas where pipes or wires enter the building.
- Vegetation Control: Keep vegetation trimmed back around the building's foundation. Tall grass and weeds provide shelter and breeding grounds for rodents and insects.
- Bird Proofing: Install bird netting or other deterrents to prevent birds from entering and contaminating the grain.
During Storage:
- Regular Monitoring: Implement a routine inspection program. This includes visually checking for signs of pests (droppings, damaged kernels, webbing) and using traps to identify potential infestations early on.
- Proper Sanitation: Maintain a clean environment inside the storage bin. Promptly remove any spilled grain.
- Professional Assistance: Consider contracting with a licensed pest control professional for regular inspections and treatments. They can identify potential risks and recommend targeted solutions.
Treatment Options (Use with Caution & Following Regulations):
- Sanitation Products: Approved sanitation products can be applied to bin walls to kill eggs and larvae. Always follow label instructions carefully and adhere to local regulations regarding food-grade products.
- Insecticides: Use insecticides only as a last resort and strictly according to label directions and legal guidelines. Ensure the product is approved for use in grain storage and allows for safe re-entry times before the grain can be used.
Important Note: Prevention is always better (and more cost-effective) than reaction. A consistent and proactive pest control program is your best defense against costly grain losses.
4. Aeration System Check: Ensuring Proper Airflow
Proper aeration is critical for maintaining grain quality and preventing spoilage during storage. A malfunctioning system can lead to hot spots, mold growth, and significant losses. Here's what to check:
- Fan Operation: Verify the aeration fan is operating correctly, including its motor and belt system. Listen for unusual noises and check for any signs of wear or damage.
- Airflow Distribution: Ensure airflow is evenly distributed throughout the bin. Use pitot tubes or other methods to measure airflow at different locations and identify any areas with restricted airflow.
- Air Filters: Clean or replace air filters regularly to prevent dust and debris from entering the system and impacting fan efficiency.
- Vents & Ductwork: Inspect vents and ductwork for blockages, cracks, or damage. Clear any obstructions, and repair any issues promptly.
- Timer Settings: Review and adjust timer settings to ensure adequate aeration cycles based on grain type, moisture content, and environmental conditions.
- Electrical Connections: Check all electrical connections for tightness and corrosion.
- Documentation: Document aeration system maintenance and any repairs made.
5. Bin Cleaning and Sanitation: Maintaining a Healthy Environment
A clean bin is a happy bin - and a safe one for your grain. Accumulated dust, chaff, and old grain residue aren't just unsightly; they provide a breeding ground for mold, insects, and other pests that can severely impact grain quality and quantity.
Before every grain storage cycle, thorough bin cleaning is crucial. This involves more than just a quick sweep. Here's a breakdown of what's involved:
- Remove All Residue: This includes any remaining grain, dust, and debris. A pressure washer or blower is highly effective for this, especially when combined with a vacuum system.
- Surface Disinfection: After removing the bulk of the residue, disinfect all interior surfaces - walls, floor, and roof. Use a USDA-approved disinfectant specifically designed for grain storage facilities. Follow the manufacturer's instructions carefully for proper application and contact time.
- Inspect and Repair: While the bin is empty, take the opportunity to inspect for any cracks, leaks, or damage to the bin's structure. Repair these issues promptly to prevent moisture infiltration and further contamination.
- Focus on Trouble Spots: Pay particular attention to corners, brackets, and any areas where grain tends to accumulate. These are prime locations for pest infestations and mold growth.
- Ventilation After Cleaning: Ensure the bin is well-ventilated after cleaning and disinfecting to allow it to completely dry. This minimizes the risk of mold growth before storage begins.
Regular bin cleaning and sanitation aren't just about aesthetics; they are a vital investment in protecting your grain and ensuring its long-term quality and marketability.
6. Temperature Monitoring: Early Problem Detection
Maintaining consistent grain temperatures is absolutely critical to preventing spoilage and maintaining quality. Temperature stratification within a bin - where the top is cooler than the bottom - is a common sign of potential issues. Regularly monitoring temperatures at multiple points within the bin is your first line of defense against mold, insect infestations, and other problems.
Here's what to do:
- Establish a Monitoring Schedule: Determine a frequency based on the type of grain, storage conditions, and time of year. Weekly checks are a good starting point, increasing frequency during warmer months or if issues are suspected.
- Multiple Probe Points: Don's rely on just one or two temperature readings. Install probes at various depths and locations within the bin - at the top, middle, and bottom, and around the perimeter.
- Record and Analyze Readings: Meticulously record temperatures each time you check. Compare readings to established benchmarks for your specific grain type. Significant temperature spikes or gradients (differences between top and bottom) require immediate investigation.
- Utilize Technology: Consider automated temperature monitoring systems that provide continuous data and alerts you to out-of-range readings. These systems can dramatically improve your responsiveness and reduce the risk of loss.
- Don't Ignore Minor Fluctuations: Even small changes in temperature can be early warning signs. Investigate any deviation from the norm, even if it's initially minor.
7. Inventory Tracking: Knowing What You Have
Accurate inventory tracking is the unsung hero of successful grain storage. It's more than just knowing how many bushels are in your bins; it's about having a clear picture of your grain's quality, location, and value. Effective inventory management allows for informed decision-making - knowing when to market, identifying potential issues early, and ultimately maximizing profitability.
Start with a robust system. This could be a simple spreadsheet, a more sophisticated farm management software, or even a combination of methods. Regardless of the tool, consistency is key. Regularly (at least monthly, and more frequently for high-turnover grain) update your records with:
- Bin Location: Clearly identify the specific bin each grain lot is stored in.
- Grain Type: Specify the grain variety (e.g., corn, soybeans, wheat, and the specific variety if applicable).
- Quantity: Record the initial quantity stored and any withdrawals.
- Quality Data: Link your grain quality data (moisture content, test weight, etc.) to each inventory lot.
- Dates: Track dates of storage, movement, and potential sales.
Regular reconciliation is essential. Physically verify your bin levels against your records, noting any discrepancies and investigating the cause. Don't underestimate the importance of a reliable system - it's a crucial safeguard against loss and a powerful tool for optimizing your grain handling operation.
8. Post-Storage Inspection & Emergency Procedures
As your grain storage period nears its end, a thorough post-storage inspection is crucial to assess the quality and identify any potential issues that may have developed. This isn't just about confirming everything looks right; it's about preventing future problems and ensuring a safe, efficient unloading process.
Post-Storage Inspection Checklist:
- Visual Inspection: Carefully examine the grain as it's being unloaded. Look for signs of mold, discoloration, insect damage, or any unusual odors. Note any areas that seem different from others.
- Quality Assessment: Take representative samples from various locations within the bin and perform additional quality testing (e.g., test weight, dockage) as needed. Compare these results to your initial storage parameters.
- Structural Assessment: While unloading, briefly inspect the bin's structural integrity. Look for cracks, rust, or any signs of damage that might require attention before the bin is put out of service.
- Equipment Check: Ensure unloading equipment (augers, conveyors, etc.) are functioning correctly and safely.
Emergency Procedures - Be Prepared!
Grain storage inherently carries risks. Having clear, practiced emergency procedures in place is vital for the safety of personnel and the preservation of your grain.
- Grain Entrapment: This is a serious risk. Ensure all personnel understand the dangers of entering a bin and the proper lockout/tagout procedures. Emergency rescue equipment (bin rescue tubes, harnesses) should be readily available and personnel trained in their use. Never enter a bin without proper safety equipment and a trained observer.
- Fire: Develop a fire prevention and suppression plan. Know the location of fire extinguishers and have a designated fire response team.
- Dust Explosion: Grain dust is highly flammable. Minimize dust accumulation through proper cleaning and ventilation. Eliminate ignition sources.
- Power Outage: Have a backup power solution in place to maintain aeration systems during extended outages.
- Communication Plan: Establish a clear communication system for emergency situations, including contact information for key personnel and emergency services. Regularly review and update this plan.
Regular drills and refresher training for all personnel are key to ensuring everyone knows what to do in an emergency.
9. Record Keeping: Documenting Your Process
Consistent, accurate record keeping is the backbone of successful grain storage. It's more than just a bureaucratic formality; it's a vital tool for identifying trends, troubleshooting problems, and demonstrating due diligence. What gets measured, gets managed - and in grain storage, that's the key to minimizing losses and maximizing quality.
Here's what you should be documenting:
- Moisture Test Results: Keep a log of every moisture test you perform, including the date, time, bin location, and the recorded moisture content. This is crucial for identifying any moisture fluctuations that could trigger spoilage.
- Pest Control Actions: Detail all pesticide applications, including the product used, application rate, date, and area treated. This helps maintain a safe and compliant storage environment.
- Aeration Logs: Record aeration start and stop dates, fan speeds, and air temperatures. This helps optimize aeration strategies and identify potential issues with your aeration system.
- Temperature Readings: Maintain a comprehensive record of temperature monitoring data, noting bin locations and dates. Look for patterns and trends that might indicate problem areas.
- Inspection Findings: Document the results of all pre-storage and post-storage inspections, noting any issues found and the corrective actions taken.
- Inventory Levels: Track grain inflows and outflows to maintain accurate inventory records.
- Equipment Maintenance: Log all maintenance performed on your storage and handling equipment, including dates, repairs, and parts replaced.
Why is this important?
- Early Problem Detection: Records can reveal subtle changes that indicate potential issues before they become major problems.
- Compliance: Accurate records are essential for meeting regulatory requirements and demonstrating responsible grain handling.
- Improved Efficiency: Analyzing historical data can help you optimize your storage and handling practices.
- Traceability: Records allow you to trace the history of a specific batch of grain, which is crucial for quality control and traceability in the supply chain.
Consider using a digital system or spreadsheet to organize your records for easy access and analysis. Don't underestimate the power of a well-maintained record-keeping system - it's an investment in the longevity and success of your grain storage operation.
Resources & Links
- USDA Economic Research Service - Grain Storage: Provides extensive data, analysis, and information on grain storage and handling practices, including infrastructure, challenges, and trends. A great foundational resource for understanding the broader context.
- United States Grain Storage Cooperative: A collaborative of grain handling professionals. Their website offers resources, technical assistance, and industry best practices related to grain storage.
- Preventive Controls: Offers integrated pest management strategies and equipment, important for the 'Pest Control Measures' section. Provides information on insect identification and control.
- Midwest Bus Inc.: Supplier of aeration systems, temperature cables, and other grain storage equipment. Provides technical information and product specifications useful for the 'Aeration System Check' section. Focuses primarily on solutions for aeration & temperature monitoring.
- Grain Handling Systems: Offers a wide range of grain storage and handling equipment, cleaning solutions, and technical information. Helpful for understanding bin cleaning and sanitation options.
- Purvis Industries: Provides storage solutions and equipment, including sanitation systems. Useful for understanding the options and technology available for bin cleaning.
- Agri-Tech: Focuses on precision agriculture and sensing technologies. While not exclusively grain storage, they offer information on temperature and moisture sensors which ties into 'Temperature Monitoring' and 'Grain Moisture Testing'.
- CAATS - Computer Aided Technology Solutions: Provides automated grain bin monitoring systems. Helpful for the 'Temperature Monitoring' section and inventory tracking.
- USDA Farm Service Agency: While not directly focused on storage, the FSA offers resources on disaster assistance and risk management, important for 'Post-Storage Inspection & Emergency Procedures' in case of issues.
- University of Minnesota Extension: Offers a variety of extension resources on agriculture, including grain storage and handling. Can provide regionally-specific advice and best practices. Search their site for 'grain storage'.
- Ohio State University CropWatch: Provides timely information on crop production and storage, including grain storage topics. Similar to the UMN extension, allows a region specific look at recommendations.
Frequently Asked Questions
Why is proper grain storage so important?
Proper grain storage prevents spoilage, insect infestations, and mold growth, preserving its quality, market value, and ensuring it's safe for consumption or livestock feed. It also minimizes losses and saves money in the long run.
What are the key factors to consider before storing grain?
Consider moisture content, temperature, aeration, pest control, bin cleanliness, and proper sealing. Knowing your grain type and its specific storage requirements is also crucial.
What is the ideal moisture content for storing different types of grain?
Generally, corn should be stored at 13-14%, soybeans at 13%, wheat at 13.5%, and barley at 14.5%. Always consult specific recommendations for your grain variety and local conditions.
How often should I monitor my grain bins?
Regular monitoring is essential! Check bins at least weekly, and more frequently during periods of temperature or humidity fluctuations. Use a temperature probe to check multiple locations within the bin.
What is the significance of bin cleanliness?
Clean bins prevent the carryover of pests and diseases from previous harvests. Thoroughly clean bins between harvests, removing all grain residue and debris.
What is 'bin venting' and why is it needed?
Bin venting allows warm, moist air to escape and cool, dry air to enter, preventing condensation and temperature buildup, especially in the upper layers of grain.
Where can I find more detailed information about grain storage best practices?
Consult your local agricultural extension office, grain handling experts, and reputable online resources for detailed guidelines specific to your region and grain type.
Found this Article helpful?
Farm Management Solution Demo
Grow your farm smarter & more efficiently! ChecklistGuro streamlines crop planning, task management, & resource tracking. Maximize yields, reduce waste, & improve profitability. Manage it all with our Work OS.
Related Articles
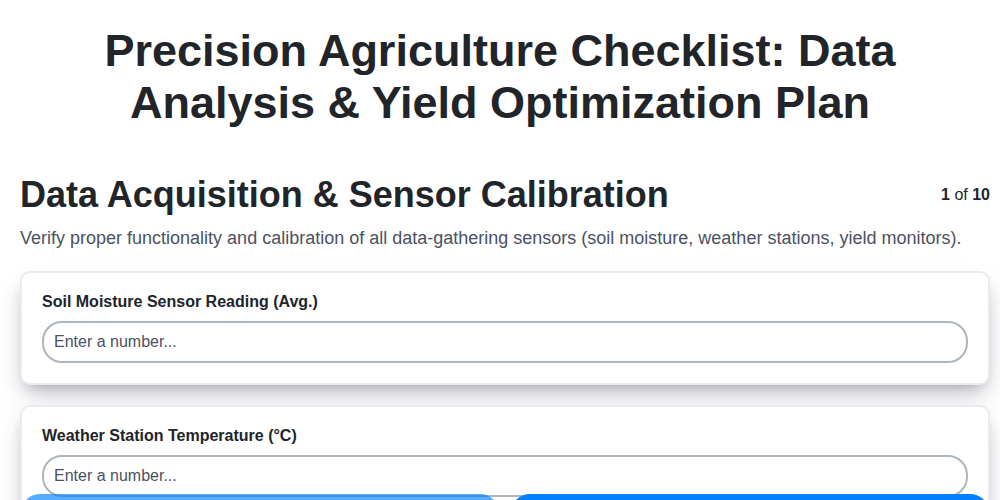
Unlock Higher Yields: Your Precision Agriculture Checklist Template
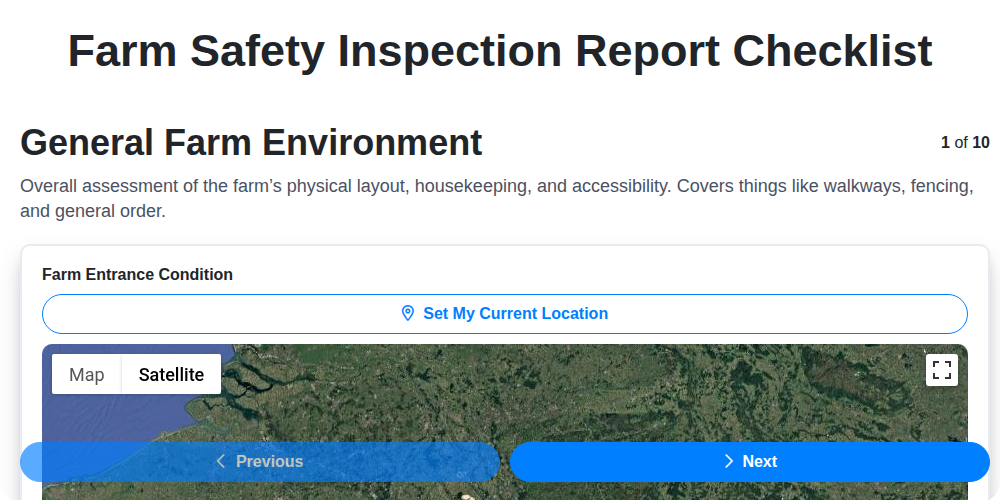
The Ultimate Farm Safety Inspection Report Checklist Template

Irrigation System Checklist: Farm Water Management & Crop Yield Optimization

Livestock Health & Welfare Checklist: Your Farm Animal Care & Biosecurity Template

Crop Insurance Policy Review Checklist: A Farmer's Guide

Water Discharge Permit Compliance Checklist Template

The Ultimate GPS & Precision Farming Calibration Checklist Template

Mapping the Threat: A Checklist for Proactive Pest & Disease Pressure Management
We can do it Together
Need help with
Farm Management?
Have a question? We're here to help. Please submit your inquiry, and we'll respond promptly.