The Ultimate Vehicle Return Checklist for Auto Repair Shops
Published: 09/29/2025 Updated: 03/24/2026

Table of Contents
- Why a Vehicle Return Checklist Matters
- Building Customer Trust: The Return Experience
- 10 Essential Steps of the Vehicle Return Checklist
- Step 1: Initial Vehicle Condition Assessment
- Step 2: Repair Verification and Documentation
- Step 3: Parts Handling and Core Charge Explanation
- Step 4: Clear Communication with the Customer
- Step 5: Final System Checks and Diagnostic Scan
- Step 6: Ensuring Vehicle Cleanliness
- Step 7: Payment and Paperwork Completion
- Step 8: Key and Security Protocol
- Step 9: Customer Acknowledgement and Signature
- Step 10: Shop Checklist Completion and Record Keeping
- Customizing Your Checklist for Maximum Effectiveness
- Resources & Links
TLDR: Want happier customers & less hassle? This checklist ensures every vehicle return is smooth: document condition, explain repairs clearly, verify everything works, get a signed acknowledgement, and protect your shop from potential disputes. Download our free template and streamline your process!
Why a Vehicle Return Checklist Matters
Beyond simply ticking boxes, a Vehicle Return Checklist acts as a cornerstone of your shop's reputation and a shield against potential disputes. Think of it as the final handshake - a chance to leave a lasting positive impression that fosters loyalty and generates valuable word-of-mouth referrals. Without a structured return process, you risk overlooking critical details, leading to dissatisfied customers, escalated complaints, and even legal challenges. A consistent checklist ensures every vehicle leaves your shop with the same level of care and attention, minimizing the chance of misunderstandings about repairs, warranties, or the vehicle's condition upon return. It's an investment in customer satisfaction and a proactive step towards protecting your business's bottom line.
Building Customer Trust: The Return Experience
The vehicle return isn't just the end of a repair; it's the culmination of the entire customer experience. A rushed or impersonal handover can quickly undo all the effort invested in quality workmanship. Customers aren't just paying for a fixed problem; they're investing in peace of mind and a reliable partner for their vehicle's care.
A well-executed return process - one that prioritizes clear communication, patient explanation, and genuine concern - builds trust and fosters loyalty. Taking the time to thoroughly explain the repairs, addressing any anxieties, and demonstrating a commitment to their vehicle's long-term health transforms the return from a transactional moment into a relationship-building opportunity. It reinforces the message that you value their business and are dedicated to providing exceptional service, leading to referrals and repeat customers. Remember, a satisfied customer is your best advertisement.
10 Essential Steps of the Vehicle Return Checklist
This step is absolutely critical for avoiding misunderstandings and potential disputes down the road. Double-check everything listed on the original work order to ensure all authorized repairs are unequivocally completed. Don't just rely on the technician's memory; physically verify the work. Review the completed work order with the customer, highlighting what was done and why. Clearly explain any warranty information associated with the parts or labor performed - including the duration of the warranty and what it covers. Document this conversation on the checklist itself, noting any specific points discussed or questions the customer raised. This creates a clear record of agreement and understanding.
Step 1: Initial Vehicle Condition Assessment
Before the repairs even begin, a meticulous initial vehicle condition assessment is absolutely critical. This isn't just about noting existing damage; it's about establishing a baseline and protecting your shop from potential disputes later. Walk around the entire vehicle with the customer, pointing out any scratches, dents, chips, or other imperfections. Don't gloss over anything, no matter how minor it may seem. Document everything - ideally with photographs - and have the customer acknowledge these conditions on a written form. This simple step can prevent misunderstandings about pre-existing damage upon return. Be sure to also note the condition of the interior, including upholstery, carpets, and dashboard. This pre-repair record serves as a clear reference point and demonstrates your commitment to transparency.
Step 2: Repair Verification and Documentation
Before the vehicle leaves your shop, a meticulous review of the completed repairs is absolutely critical. This isn't just about ticking boxes on the work order; it's about confirming that everything authorized has been done correctly and to the manufacturer's specifications.
Start with a detailed comparison of the original work order against the actual repairs performed. Ensure every item listed has been addressed, and any deviations (if pre-approved by the customer) are clearly documented with supporting explanations. Technicians should sign off on the completed work, acknowledging their responsibility for the quality of the repair.
Beyond the core repairs, be sure to note any additional findings during the diagnostic process. Were any other potential issues identified that the customer should be aware of, even if they weren't part of the original request? Document these thoroughly, along with recommendations for future service. This proactive approach builds trust and demonstrates your commitment to the customer's long-term vehicle health. Finally, retain copies of all diagnostic reports, invoices, and any supporting documentation - these records are invaluable for warranty claims and future reference.
Step 3: Parts Handling and Core Charge Explanation
Replacing parts is a common service, and how you handle those parts-both the old ones and the new-directly impacts customer perception and your shop's reputation. Here's how to ensure a transparent and professional experience.
Returning Old Parts: Many customers appreciate seeing the parts that were replaced. If your shop policy allows for it (and if the part isn't hazardous or poses a risk), consider returning them to the customer. Clearly explain why the part needed replacing - was it worn, damaged, or causing a specific problem? This transparency builds trust and reinforces your expertise. Document the return on the checklist, noting whether the customer received the part and acknowledged its receipt.
Understanding Core Charges: Core charges are fees applied to certain parts (like alternators, starters, or ECUs) that are returned to the manufacturer for rebuilding or recycling. These charges are passed on to the customer to cover the manufacturer's processing costs. It's essential to clearly explain core charges before beginning the repair and detail the amount on the initial estimate. During the return process, reiterate the core charge amount and explain how the customer can receive a refund once the core part is returned to the manufacturer. Provide clear instructions on how and where to return the core, including any deadlines for return. Failing to do so is a common source of customer frustration and potential disputes. Always document the core charge explanation and acknowledgement on the vehicle return checklist.
Step 4: Clear Communication with the Customer
Clear communication is arguably the most crucial element of a successful vehicle return. It's not just about handing back the keys; it's about ensuring the customer feels informed, confident, and valued. This step goes beyond simply reciting the work order-it's about genuine explanation and proactive concern addressing.
Beyond the Work Order: Don't just read off the list of repairs. Explain why those repairs were necessary. Use plain language, avoiding technical jargon that might confuse the customer. For example, instead of saying repaired the upper ball joint, say the joint that connects the wheel to the suspension was worn and needed replacing to ensure smooth steering and safe handling."
Anticipate Questions: Think about the customer's perspective. What would they want to know about the work performed? Be prepared to answer questions about the process, the parts used, and any alternative solutions considered.
Highlighting Potential Future Issues: If your inspection revealed any other potential maintenance needs down the line (e.g., tire wear, brake pad thickness), bring them to the customer's attention now. Explain the potential consequences of neglecting these issues and offer a timeline for addressing them. This builds trust and positions your shop as a long-term partner in vehicle care.
Active Listening and Empathy: Encourage the customer to express any concerns or questions they may have. Listen attentively and respond with empathy. Acknowledge their concerns and demonstrate a genuine desire to resolve them.
Document the Conversation: Briefly note key points of the conversation on the checklist itself, particularly if any significant concerns were discussed or any recommendations were made. This provides a record of the interaction and helps ensure follow-up if necessary.
Ultimately, a well-communicated repair fosters trust and builds lasting customer loyalty.
Step 5: Final System Checks and Diagnostic Scan
Before handing back the keys, a comprehensive final check is crucial. This isn't just about a quick glance; it's about ensuring every system is functioning correctly and the repair has resolved the initial issue-and hasn't inadvertently created new ones. Begin with a visual inspection of all lights - headlights, brake lights, turn signals, hazard lights - confirming they operate as intended. Test the windshield wipers, horn, and steering responsiveness. Gently apply the brakes to verify proper function and feel.
Following this, connect a diagnostic scan tool to the vehicle's onboard computer. This scan will reveal any stored error codes, which could indicate underlying problems requiring further attention. Even if no codes are present, it's a good practice to note the last scan results for future reference, establishing a baseline for the vehicle's health. Finally, briefly observe the engine's idle and listen for any unusual noises that might suggest a lingering issue. This final sweep provides a critical layer of assurance before returning the vehicle to the customer.
Step 6: Ensuring Vehicle Cleanliness
While mechanical repairs are paramount, a clean vehicle upon return significantly impacts customer perception. It's the final touch that demonstrates your shop's commitment to professionalism and attention to detail. We're not expecting a full-blown detailing service in every case, but a basic level of cleanliness goes a long way.
Here's what we recommend:
- Exterior Wipe-Down: A quick wipe-down of the vehicle's exterior, removing any dust, dirt, or fingerprints, is a simple yet impactful gesture.
- Interior Spot Cleaning: Address any noticeable debris, spills, or smudges inside the cabin. A vacuuming of loose items and a wipe of the dashboard can make a big difference.
- Tire Shine (Optional): A touch of tire shine can add a polished look, but it's not mandatory.
- Odor Check: Briefly assess the vehicle's interior for any lingering odors and, if possible, air it out.
Remember, a clean vehicle signals respect for your customer and their property, reinforcing a positive overall experience.
Step 7: Payment and Paperwork Completion
This is often the final interaction, so it's crucial to leave a positive lasting impression. Present the final invoice clearly and concisely, ensuring the customer understands each charge. Take the time to explain any discrepancies or unexpected fees proactively - transparency builds trust. Accept various payment methods for customer convenience. Once payment is processed, provide a detailed receipt. Don't overlook the paperwork! Ensure all necessary release of liability forms are completed and signed. This step not only finalizes the transaction but also protects your shop from potential future claims. A well-managed payment and paperwork process demonstrates professionalism and reinforces your commitment to excellent service.
Step 8: Key and Security Protocol
Returning keys with confidence is a small detail that speaks volumes about your professionalism. Beyond simply handing over the keys, this step involves a brief but crucial security check. First, confirm you've returned the correct key set - double-checking against the vehicle's information is essential. If the vehicle has a key fob or remote, verify its functionality for the customer. Demonstrate that the locks, trunk/hatch, and panic button are all operating as expected. Clearly label the keys (with the customer's name or vehicle information, if shop policy allows) to prevent future confusion. This simple act of verification builds trust and significantly reduces the risk of a customer experiencing issues later. Briefly mentioning that the shop is taking extra care to ensure their security provides a reassuring touch and reinforces your commitment to exceptional service.
Step 9: Customer Acknowledgement and Signature
Having the customer formally acknowledge receipt of their vehicle and understanding of the completed repairs is arguably one of the most crucial steps. This isn't just about getting a signature; it's about creating a clear record that they're satisfied with the service and aware of any discussed issues. We recommend a dedicated Vehicle Return Acknowledgement Form that clearly outlines:
- Vehicle Details: Year, Make, Model, VIN
- Services Performed: Briefly list the completed repairs.
- Condition at Return: A brief statement confirming the vehicle's condition upon return (or a reference to photographic evidence).
- Customer Signature & Date: Space for their signature and the date.
Beyond the signature, strongly consider incorporating a photo acknowledgement. This involves taking a quick photo of the customer standing next to their vehicle, visibly acknowledging its condition. This provides compelling visual evidence that the vehicle was returned in the understood condition. While not legally binding in all cases, it can be a powerful tool in preventing misunderstandings and disputes. Always explain to the customer the purpose of the form and the photo, ensuring they understand and consent.
Step 10: Shop Checklist Completion and Record Keeping
Ensuring meticulous shop checklist completion isn't just about ticking a box - it's about establishing a robust system for accountability and continuous improvement. Here's how to make Step 10 truly effective:
- Technician Verification: The technician responsible for the repairs must sign and date the checklist, confirming that all listed actions were performed and documented accurately. This provides a direct link to the person who performed the work.
- Service Advisor Review: The service advisor should thoroughly review the completed checklist to ensure every step was followed, and any customer concerns were addressed. This is a final quality control check.
- Secure Record Keeping: The completed checklist becomes a permanent part of the vehicle's service record. Store it securely, both physically and digitally, readily accessible for future reference. A well-organized digital system allows for easy searching and analysis of trends.
- Data Analysis (Optional): Periodically review completed checklists to identify areas for improvement in your processes, training, or communication. Are there recurring issues? Can certain steps be streamlined? This data can be invaluable for boosting efficiency and customer satisfaction.
- Retention Policy: Establish a clear policy for how long you retain completed checklists, complying with legal and industry requirements.
Customizing Your Checklist for Maximum Effectiveness
While our template provides a solid foundation, true effectiveness lies in tailoring it to your shop's unique operations and typical customer interactions. Think of it as a framework-you need to build on it. Consider these key areas for customization:
- Service Specialization: If your shop specializes in a particular vehicle type (e.g., European cars, diesel engines), add steps relevant to those specific systems and potential issues.
- Customer Demographics: Do your customers primarily expect detailed explanations, or are they often in a hurry? Adjust your communication steps accordingly.
- Shop Policies: Integrate your shop's specific policies regarding warranties, core charges, or loaner vehicles.
- Common Repairs: If certain repairs are frequently performed, add dedicated sections for those processes to ensure consistency.
- Digital Integration: If you use a shop management system, explore ways to integrate your checklist into the system for automated data capture and reporting.
- Regular Review & Feedback: Don't set it and forget it. Regularly solicit feedback from your technicians and service advisors to identify areas for improvement and ensure the checklist remains relevant and effective. A checklist that feels burdensome won't be followed consistently.
Resources & Links
- Auto Repair Shop Manager : Offers a suite of software solutions for auto repair shops, including tools for managing work orders, inventory, and customer communication. Provides articles and resources related to shop efficiency and customer satisfaction, which would be highly relevant to building trust and optimizing the return experience.
- Repair Driven : Provides software and resources for auto repair shop owners focused on marketing, customer experience, and shop operations. They have articles, webinars, and courses that cover customer service best practices, which tie into the 'Building Customer Trust' section.
- Automotive Service Association (ASA) : A leading association for automotive service professionals. Their website provides resources, training programs, and industry best practices that inform ethical and professional vehicle return procedures, supporting the integrity of the repair process.
- Repair Shop Ink : Offers marketing and management resources for independent auto repair shops. They frequently publish articles on customer service, reputation management, and building a positive shop image, all crucial for the 'Building Customer Trust' section.
- NAPA Auto Parts Resources : While primarily a parts supplier, NAPA's resource section provides a range of articles and guides related to vehicle maintenance and repair. These can be helpful for understanding common repair issues and providing accurate explanations to customers during the return process. Specifically, their how-to guides could be helpful in Step 2.
- Mitchell 1 : Provides repair information systems and diagnostic tools for auto repair shops. Relevant for Step 5 (Final System Checks & Diagnostic Scan) - understanding how to properly utilize diagnostic scans is key for confident vehicle returns.
- Shop Talk : A community forum and resource for auto repair shop owners and technicians. Discussions on vehicle returns and best practices can offer practical insights and solutions to common challenges.
- CCC News : Provides industry news and information for the automotive repair industry, including updates on legal and regulatory requirements. Knowing relevant legal aspects supports professionalism and ethical vehicle returns.
- AutoData : Provides comprehensive technical information for automotive repair and maintenance professionals. Useful for ensuring accurate repair verification and explanation (Step 2).
- Wix Blog: Customer Feedback : While Wix is a website builder, their blog contains useful articles on gathering and using customer feedback. Relevant to 'Building Customer Trust' - actively soliciting feedback is a powerful trust-building tactic.
Frequently Asked Questions
What is the purpose of a vehicle return checklist for auto repair shops?
A vehicle return checklist ensures that every aspect of the repair process is verified before returning a vehicle to a customer, minimizing liability, improving customer satisfaction, and streamlining shop efficiency. It serves as a documented record of quality control and communication.
Who should be responsible for completing the vehicle return checklist?
Ideally, a trained technician and a service advisor should both participate. The technician verifies the mechanical work and repairs, while the advisor confirms customer communication, billing, and overall satisfaction.
What are the key sections typically included in a vehicle return checklist?
Common sections include: Vehicle Information & Customer Contact, Repair Verification (Mechanical & Cosmetic), Warranty Information, Customer Communication, Billing & Payment, and a Sign-Off section for both the technician and advisor.
Why is it important to document all communication with the customer on the checklist?
Documenting all communication (e.g., explaining the repair process, discussing unexpected issues, confirming the final bill) protects the shop from misunderstandings and potential disputes. It creates a clear record of what was discussed and agreed upon.
What types of mechanical and cosmetic repairs should be verified on the checklist?
Mechanical verification includes confirming repairs were completed correctly, test driving the vehicle, checking fluid levels, and checking lights/signals. Cosmetic verification includes checking for any new scratches, dents, or paint damage, and ensuring everything is properly aligned.
Should the checklist include a section for warranty information? Why?
Yes, absolutely. It's crucial to document warranty details - parts used, labor coverage, and any limitations - to avoid future confusion and customer dissatisfaction.
What is the significance of a 'test drive' section on the checklist?
The test drive allows the technician to confirm the repairs are functioning correctly and that there are no unusual noises or performance issues that need further attention.
What should happen if an issue is discovered during the return process?
Any new or unresolved issues should be immediately documented on the checklist, along with the plan for resolution. The customer needs to be informed and their approval (or acknowledgement) obtained before proceeding or delivering the vehicle.
How can auto repair shops customize their vehicle return checklists?
Shops can customize checklists to reflect their specific services, common repairs, and customer preferences. Adding specific checks relevant to certain vehicle makes/models can also be beneficial.
What are the benefits of using a digital vehicle return checklist versus a paper-based one?
Digital checklists offer advantages like improved data organization, easier tracking and reporting, automated notifications, and reduced paperwork, contributing to a more efficient and accurate process.
Found this Article helpful?
Auto Repair Shop Management Solution Demo
Level up your auto repair shop & boost profits! ChecklistGuro simplifies job tracking, inventory management, and customer communication. Improve efficiency, reduce errors, & enhance customer satisfaction. Manage it all with our Work OS.
Related Articles

The Ultimate Auto Repair Shop Customer Follow-Up Checklist Template
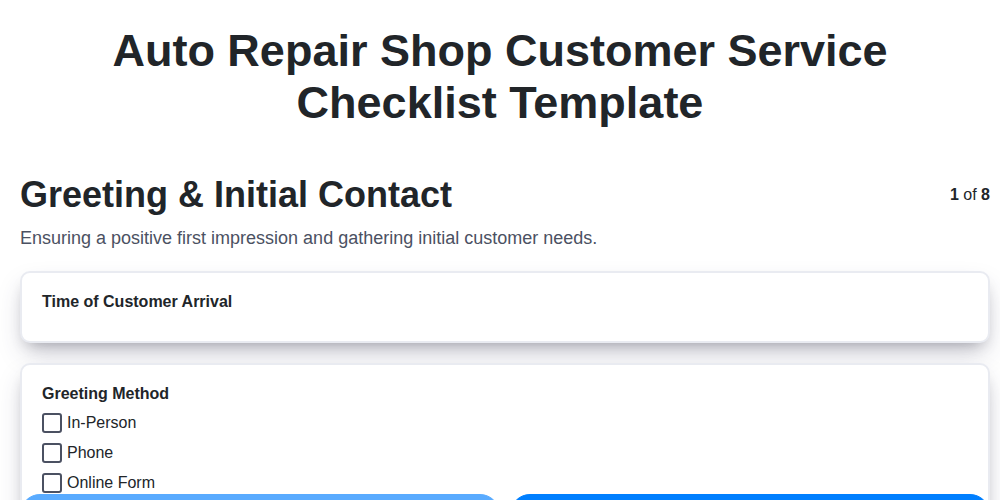
Level Up Your Auto Repair: The Ultimate Customer Service Checklist Template

Mastering Warranty Claims: Your Auto Repair Shop Checklist Template
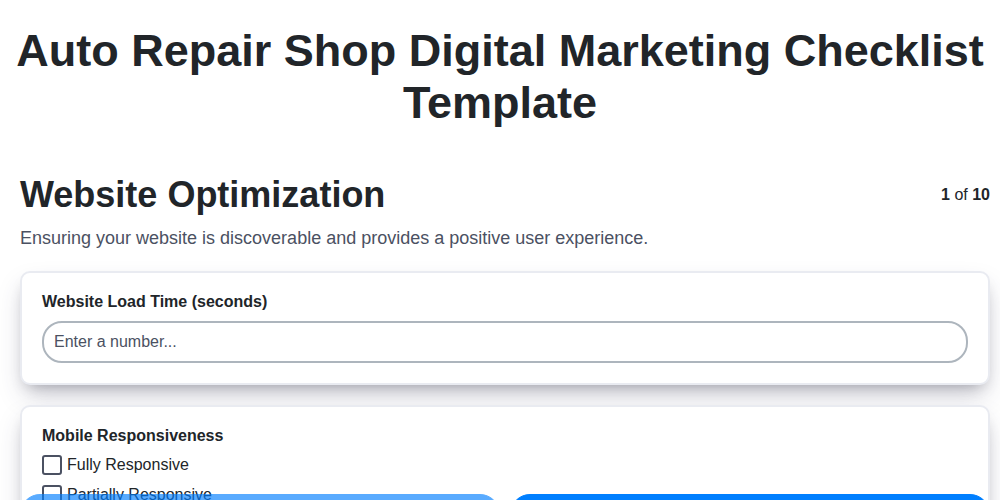
Auto Repair Shop Digital Marketing Checklist Template
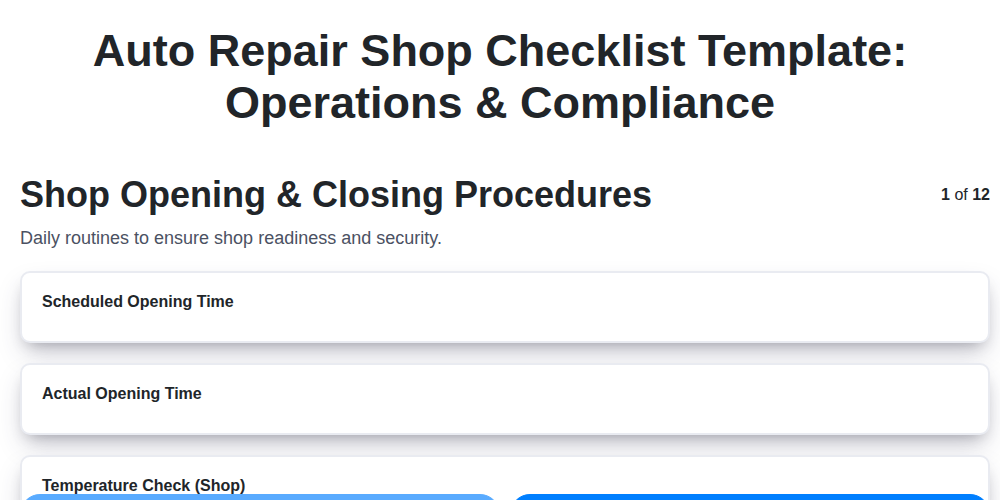
Auto Repair Shop Checklist Template: Operations & Compliance
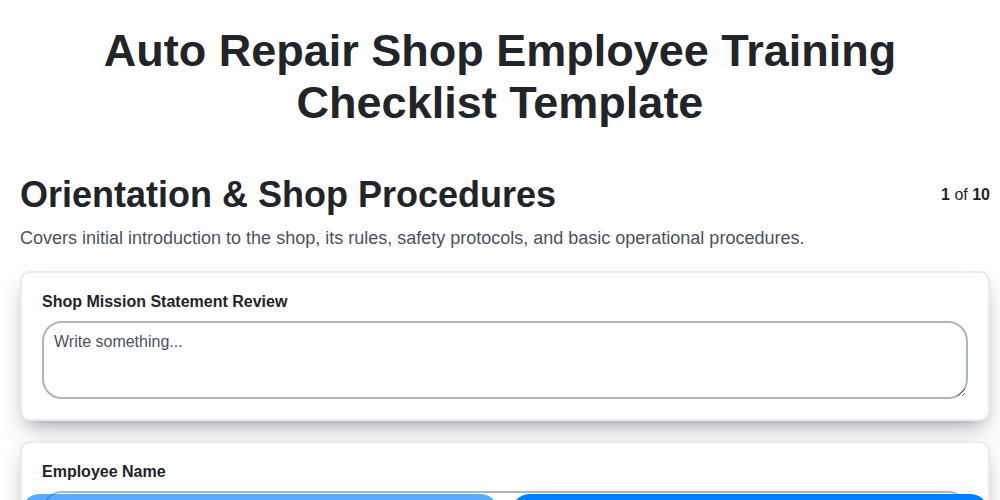
The Ultimate Auto Repair Shop Employee Training Checklist Template
Your Ultimate Guide to Auto Repair Shop Environmental Compliance: A Checklist Template
Streamline Your Shop: The Ultimate Auto Repair Parts Ordering Checklist Template
We can do it Together
Need help with
Auto Repair Shop Management?
Have a question? We're here to help. Please submit your inquiry, and we'll respond promptly.