Mastering Efficiency: A Step-by-Step Guide to the Customer Support Case Management Process Workflow
Published: 05/31/2026 Updated: 06/01/2026
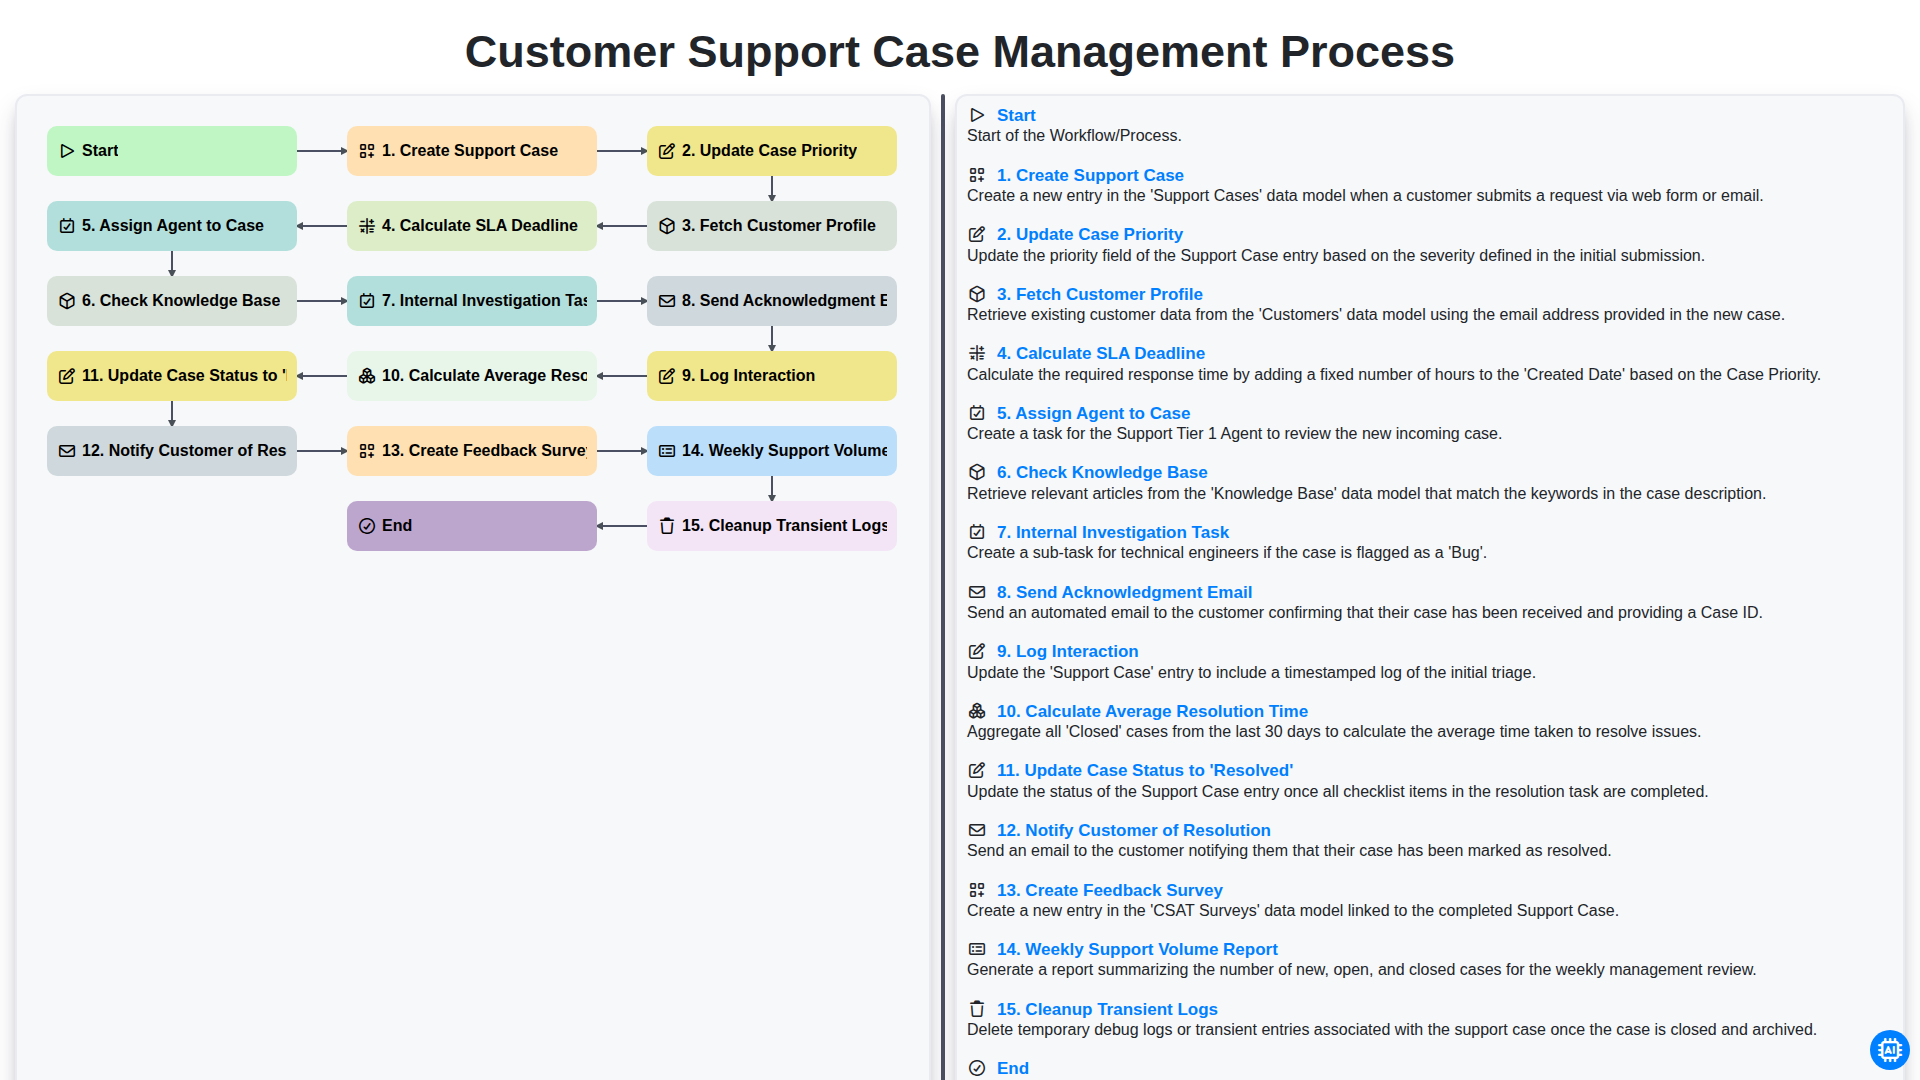
Table of Contents
- Introduction: Why a Structured Case Management Workflow Matters
- Phase 1: Case Initiation and Identification
- Step 1: Creating the Support Case
- Step 2: Assessing Urgency through Case Priority Updates
- Step 3: Fetching Customer Profiles for Personalized Support
- Phase 2: Triage and Resource Allocation
- Step 4: Determining Deadlines via SLA Calculations
- Step 5: Intelligent Agent Assignment
- Phase 3: Investigation and Resolution
- Step 6: Leveraging the Knowledge Base for Faster Answers
- Step 7: Conducting Internal Investigation Tasks
- Step 8: Maintaining Communication via Acknowledgment Emails
- Phase 4: Closing the Loop and Post-Resolution
- Step 9: Logging Interactions and Finalizing Resolution
- Step 10: Customer Notification and Feedback Collection
- Phase 5: Continuous Improvement and System Maintenance
- Analyzing Metrics: Average Resolution Time and Weekly Volume Reports
- System Hygiene: Routine Log Cleanup and Optimization
- Resources & Links
TLDR: Learn how to streamline your support operations with our comprehensive guide to the Customer Support Case Management Process. This post breaks down an automated end-to-end workflow-from initial case creation and SLA calculation to agent assignment and resolution-demonstrating how to reduce manual effort, improve response times, and maintain high customer satisfaction through consistent, automated oversight.
Introduction: Why a Structured Case Management Workflow Matters
In the fast-paced world of customer service, responding to a query is only half the battle. The real challenge lies in how that query is handled from the moment it arrives until it is officially closed. Without a structured case management workflow, support teams often fall into a cycle of reactive firefighting, leading to missed deadlines, inconsistent service quality, and burnt-out agents.
A well-defined workflow acts as the operational backbone of your support organization. It ensures that every incoming ticket follows a standardized path-moving seamlessly from initial creation and prioritization to assignment and resolution. By implementing a systematic approach, you eliminate the guesswork involved in deciding which issue takes precedence or which agent is best suited to handle a specific technical challenge.
Beyond mere organization, a structured process provides critical visibility. It allows managers to track essential metrics like SLA compliance and average resolution time, transforming raw data into actionable insights. Ultimately, a robust workflow does more than just manage tasks; it builds trust with your customers by ensuring their concerns are acknowledged promptly, investigated thoroughly, and resolved with precision.
Phase 1: Case Initiation and Identification
The lifecycle of a successful support interaction begins the moment a customer reaches out with an issue. This initial phase is critical, as it sets the foundation for the entire resolution journey. The process officially kicks off with the Create Support Case step, where every incoming inquiry-whether via email, chat, or phone-is logged into the system as a unique, trackable entity.
Once the case is created, the system immediately moves to Fetch Customer Profile to provide context. By pulling historical data, contact information, and previous interaction history, support agents can understand exactly who they are assisting and what their specific needs might be. To ensure the urgency of the issue is addressed appropriately, the team must then Update Case Priority. This step involves evaluating the impact and urgency of the request to determine how quickly it requires attention.
To maintain high service standards, the workflow automatically performs a Calculate SLA Deadline action. By establishing a clear Service Level Agreement deadline at the very beginning, the system ensures that the team is held accountable to specific response and resolution timeframes. This phase concludes with the Send Acknowledgment Email, a vital touchpoint that reassures the customer that their request has been received and is actively being processed, preventing the frustration of silence.
Step 1: Creating the Support Case
The lifecycle of a successful customer support interaction begins the moment a customer reaches out with an issue, a question, or a bug report. The Create Support Case step is the foundational stage of the entire workflow. Whether the inquiry arrives via email, a web form, live chat, or a social media mention, the primary goal is to transform a raw communication into a structured, trackable entity within your CRM or helpdesk system.
During this phase, the system captures essential metadata such as the timestamp, the channel used, and the initial description of the problem. Properly initiating a case ensures that no customer inquiry falls through the cracks. A well-structured creation process sets the stage for all subsequent automation-such as priority assessment and SLA calculations-ensuring that your support team has the organized data necessary to provide timely and effective assistance.
Step 2: Assessing Urgency through Case Priority Updates
Once a support case is initially created, the next critical stage in the workflow is determining its level of importance. Updating Case Priority is not merely an administrative task; it is a strategic necessity that dictates how your team allocates its limited resources.
In this step, the support lead or the automated triage system evaluates the incoming issue against predefined criteria, such as the impact on the customer's operations and the number of affected users. By accurately adjusting the priority-moving a case from Low to Urgent or Critical-you ensure that high-stakes bottlenecks are addressed immediately. This prevents minor queries from clogging the queue while ensuring that system-wide outages or mission-critical bugs receive the immediate, high-priority attention they require to prevent further escalation.
Step 3: Fetching Customer Profiles for Personalized Support
Once a support case is created and its priority is established, the workflow moves into a critical phase: Fetching Customer Profiles. Effective case management isn't just about solving a problem; it's about understanding the person behind the ticket.
By automatically pulling data from your CRM, the system retrieves essential context such as the customer's subscription tier, previous support history, and contact preferences. This step ensures that the assigned agent isn't starting from zero. Instead of asking repetitive questions, the agent can see immediately if the user is a VIP client, if they have recurring issues with the same product, or if there are open dependencies from previous interactions. This level of personalization transforms a standard transaction into a high-touch, professional experience that builds long-term loyalty.
Phase 2: Triage and Resource Allocation
Once a case has been successfully created, the focus shifts from simple intake to intelligent prioritization and routing. This phase is critical because it determines how quickly a customer receives a meaningful response and ensures that your most skilled agents are working on the most urgent issues.
The process begins with updating the case priority based on the severity of the reported problem. To provide context for this decision, the system must fetch the customer profile, allowing the team to understand the user's history, subscription tier, and previous interactions. With this data in hand, the system can automatically calculate the SLA deadline, establishing a clear time-bound commitment for resolution.
Once the urgency is established, the next step is to assign an agent to the case. A well-structured workflow matches the complexity of the issue with the specific expertise of a support representative. To empower the agent from the moment they take ownership, the system should automatically check the knowledge base for similar documented issues, providing them with instant access to potential solutions. This proactive step minimizes downtime and sets the stage for a swift and accurate resolution.
Step 4: Determining Deadlines via SLA Calculations
Once the customer profile has been fetched and the case priority is established, the system must perform a critical calculation: Calculate SLA Deadline. Service Level Agreements (SLAs) are the backbone of customer trust, defining the promised timeframe in which a support issue must be acknowledged and resolved.
This step involves an automated logic engine that analyzes the case priority against your organization's specific service commitments. For instance, a Priority 1 - Critical case might trigger a 2-hour response deadline, whereas a Priority 4 - Low case might allow for a 48-hour window. By automatically calculating this deadline at the moment of creation, the system ensures that both agents and managers have a clear, visible countdown. This eliminates guesswork, prevents breaches of contract, and allows the support team to prioritize their queue based on urgency rather than just arrival time.
Step 5: Intelligent Agent Assignment
Once a case is created and its priority is established, the workflow moves into the critical phase of Assigning an Agent to the Case. This step is the bridge between identifying a problem and initiating a solution.
In a high-performing support ecosystem, assignment is rarely a random event. Instead, it is driven by intelligent routing logic designed to match the complexity of the issue with the specific expertise of your support staff. By leveraging skills-based routing, the system can evaluate the case metadata-such as the product type or the urgency level-to ensure the ticket lands in the inbox of an agent best equipped to handle it. This strategic allocation minimizes ping-ponging between departments and significantly reduces the initial time-to-resolution.
Phase 3: Investigation and Resolution
Once a case has been assigned to a qualified agent, the focus shifts from initial intake to active problem-solving. This phase is where the technical heavy lifting occurs, transitioning from administrative routing to deep-dive diagnostics.
The investigation begins with a Check Knowledge Base step, where agents leverage existing documentation and historical solutions to see if the issue has been encountered previously. If a known fix exists, the resolution can be swift; however, if the problem is novel, the agent initiates an Internal Investigation Task. This may involve reproducing the error, analyzing system logs, or collaborating with engineering teams to identify the root cause.
Throughout this investigative stage, maintaining transparency is critical. As the agent works through the complexities, they must consistently Log Interaction details within the case file to ensure a complete audit trail. This ensures that if the case needs to be escalated, no context is lost.
The goal of this phase is to reach a definitive fix that allows the agent to Update Case Status to 'Resolved'. Once the solution is verified, the workflow moves toward closing the loop with the customer, ensuring that the resolution is not just implemented, but communicated effectively.
Step 6: Leveraging the Knowledge Base for Faster Answers
Once an agent has been assigned to a case, the next critical step in the workflow is to Check the Knowledge Base. Instead of treating every inquiry as a brand-new problem, agents should use the internal knowledge base as a primary resource to identify documented solutions, troubleshooting guides, and past resolutions for similar issues.
Leveraging existing documentation serves two vital purposes: it ensures consistency in the information provided to the customer and significantly reduces the Time to Resolve. By searching for patterns or specific error codes within the knowledge base, agents can often bypass lengthy manual research, allowing them to move directly to the investigation phase with a much higher confidence level. This step turns the support process from a reactive struggle into a streamlined, data-driven operation.
Step 7: Conducting Internal Investigation Tasks
Once the initial triage is complete and the case has been assigned to the appropriate agent, the workflow moves into the critical phase of Internal Investigation Tasks. This is where the detective work happens.
During this stage, the assigned agent goes beyond a surface-level reading of the ticket. The goal is to uncover the root cause of the issue through systematic deep-dives. This may involve reviewing technical logs, replicating the reported error in a sandbox environment, or consulting with engineering teams if a bug is suspected.
An effective investigation task is not just about finding a quick fix, but about gathering enough data to prevent recurrence. By documenting every step taken during this investigation-such as error codes discovered or specific configuration changes tested-the agent ensures that the knowledge gained is captured for future use. This phase is vital for transforming a simple support interaction into a valuable learning opportunity for the entire organization.
Step 8: Maintaining Communication via Acknowledgment Emails
Once a case has been successfully assigned to an agent and the initial investigation or automated triage has begun, the next critical step in the workflow is to Send an Acknowledgment Email.
Communication is the cornerstone of excellent customer service. Even if a solution isn't immediately available, silence is often interpreted by customers as neglect. An automated or manual acknowledgment email serves as a vital touchpoint that confirms their request has entered our system and is being actively processed.
A well-structured acknowledgment email should do more than just say we received this. To manage expectations effectively, it should include:
- A Unique Case Reference Number: This allows the customer to track their request easily.
- A Summary of the Issue: This ensures both the agent and the customer are aligned on the problem being reported.
- Expected Timelines: Based on the calculated SLA deadline, providing a realistic window for the next update helps reduce follow-up inquiries and lowers customer anxiety.
By prioritizing this step, you bridge the gap between the initial creation of the support case and the actual resolution, building trust through transparency from the very first interaction.
Phase 4: Closing the Loop and Post-Resolution
Once a case reaches the Update Case Status to 'Resolved' stage, the workflow transitions from active troubleshooting to the critical phase of finalization and continuous improvement. The process begins by immediately moving to Notify Customer of Resolution, ensuring the user is informed that their issue has been addressed and providing them with the details of the fix.
To ensure long-term satisfaction, the system will automatically Create Feedback Survey, allowing the customer to rate their experience. This data is vital for maintaining service quality. Simultaneously, behind the scenes, the system performs essential administrative maintenance, such as the Cleanup Transient Logs to ensure system performance remains optimal.
Finally, the resolution data feeds into broader business intelligence. The system will Calculate Average Resolution Time to measure team efficiency and generate a Weekly Support Volume Report. These metrics allow management to identify trends, recognize high-performing agents, and refine the support strategy to prevent future bottlenecks.
Step 9: Logging Interactions and Finalizing Resolution
Once the investigation is complete and the solution has been implemented, the workflow moves into the critical phase of documentation and closure. The first essential action is to Log Interaction; every communication,- whether via email, chat, or phone, must be meticulously recorded within the case history. This ensures a continuous audit trail, allowing any other agent to pick up the case seamlessly if follow-up is required.
After the logs are updated, the workflow triggers the final resolution sequence. The system will automatically Update Case Status to 'Resolved', officially moving the ticket out of the active queue. To ensure a professional finish, the process then triggers the Notify Customer of Resolution step, sending a clear summary of the fix to the user. To close the loop on customer experience, the workflow concludes this phase by Create Feedback Survey, inviting the customer to rate their experience, which provides the vital data needed to refine your support strategy.
Step 10: Customer Notification and Feedback Collection
Once the case status has been updated to 'Resolved', the workflow transitions from technical troubleshooting to closing the communication loop. The final stage of the process involves two critical steps: Notify Customer of Resolution and Create Feedback Survey.
Automating the resolution notification ensures that the customer is never left wondering about the status of their request. As soon as the agent closes the ticket, a personalized email is triggered, informing the user that their issue has been addressed and providing a summary of the solution. This transparency is vital for maintaining trust and ensuring the customer feels heard throughout their journey.
However, the process does not end with a single email. To drive continuous improvement, the system immediately triggers the creation of a Feedback Survey. By capturing the customer's sentiment while the interaction is still fresh in their mind, you gather the qualitative data necessary to refine your support strategies. These insights serve as the foundation for analyzing agent performance and identifying recurring friction points in your product or service.
Phase 5: Continuous Improvement and System Maintenance
Once a support case reaches its final resolution, the workflow shifts from active troubleshooting to long-term optimization. This phase is critical for ensuring that the support ecosystem remains efficient, scalable, and data-driven. It involves three key pillars: performance analysis, customer sentiment tracking, and system hygiene.
To drive continuous improvement, the process includes the following automated and manual steps:
- Calculate Average Resolution Time: By analyzing the time elapsed from case creation to resolution, we can identify bottlenecks in our workflows and determine if certain types of queries require more specialized training or better documentation.
- Create Feedback Survey: Closing a case is not the end of the customer journey. We automatically trigger a satisfaction survey to capture direct feedback, allowing us to measure CSAT (Customer Satisfaction) and identify areas for service enhancement.
- Weekly Support Volume Report: Data is aggregated into a weekly report that tracks ticket trends, volume spikes, and agent performance. This high-level oversight helps management make informed decisions regarding staffing and resource allocation.
- Cleanup Transient Logs: To ensure system performance and data security, we perform regular maintenance by cleaning up transient logs. This prevents database bloat and ensures that our support tools remain fast and responsive for the next wave of incoming inquiries.
By treating the post-resolution phase as an opportunity for refinement rather than just an endpoint, we transform individual support interactions into actionable intelligence for the entire organization.
Analyzing Metrics: Average Resolution Time and Weekly Volume Reports
To drive continuous improvement within your support operations, tracking raw data is not enough; you must transform that data into actionable intelligence. Two of the most critical metrics to monitor are Average Resolution Time (ART) and Weekly Support Volume Reports.
Measuring Efficiency with Average Resolution Time
Calculating the Average Resolution Time is the pulse check of your support team's efficiency. By measuring the duration from the moment a case is Created to the moment the status is updated to Resolved, you gain a clear view of how effectively your agents are navigating the workflow. A rising ART can signal bottlenecks in the investigation phase or a need for more robust training, while a stable or decreasing ART indicates a well-optimized process. However, it is vital to analyze this alongside your SLA deadlines to ensure that speed is never prioritized at the expense of quality.
Scaling Operations with Weekly Support Volume Reports
While ART measures depth, the Weekly Support Volume Report measures breadth. By aggregating the total number of cases processed each week, leadership can identify patterns in customer demand and potential surges in ticket creation. This high-level overview allows for proactive resource management-helping you decide when it is time to scale your team or update your Knowledge Base to address recurring issues. Combined, these two metrics provide the dual perspective needed to maintain a high standard of service and a sustainable operational workflow.
System Hygiene: Routine Log Cleanup and Optimization
To maintain a high-performing support ecosystem, it is not enough to simply manage incoming tickets; you must also focus on the health of the underlying infrastructure. The final, often overlooked step in an efficient workflow is the Cleanup of Transient Logs.
As your support volume grows, the sheer amount of data generated by automated processes-such as automated status updates, email triggers, and SLA calculations-can accumulate rapidly. If left unmanaged, bloated log files can degrade system performance, slow down database queries, and complicate troubleshooting during critical outages.
Implementing a routine automated cleanup of transient logs ensures that your support platform remains agile and responsive. By purging unnecessary temporary data and optimizing storage, you ensure that your team always has access to clean, actionable information, allowing the focus to remain where it matters most: resolving customer issues and improving the overall support experience.
Resources & Links
- Zendesk Resource Center: Comprehensive guides and best practices for implementing modern customer service workflows and omnichannel support.
- Salesforce Service Cloud Documentation: Detailed technical insights into automated case assignment, SLA management, and CRM-driven customer profiling.
- Atlassian Service Management Insights: Expert articles on managing incident lifecycles, internal investigation processes, and knowledge base integration.
- Intercom Customer Service Blog: Deep dives into customer communication strategies, including automated acknowledgments and feedback loop optimization.
- HubSpot Service Hub Academy: Educational resources focused on analyzing support metrics like Average Resolution Time and managing support volume reporting.
- Freshdesk Workflow Automation Guide: Practical tutorials on automating routine tasks such as case priority updates and agent assignment logic.
Found this Article helpful?
Case Management Solution Demo
Streamline your casework & improve outcomes! ChecklistGuro centralizes case details, tasks, & communication. Enhance efficiency, ensure compliance, & deliver exceptional service. Manage it all with our Work OS.
Related Articles

Streamline Your Deals: The Ultimate Real Estate Case Management Checklist Template
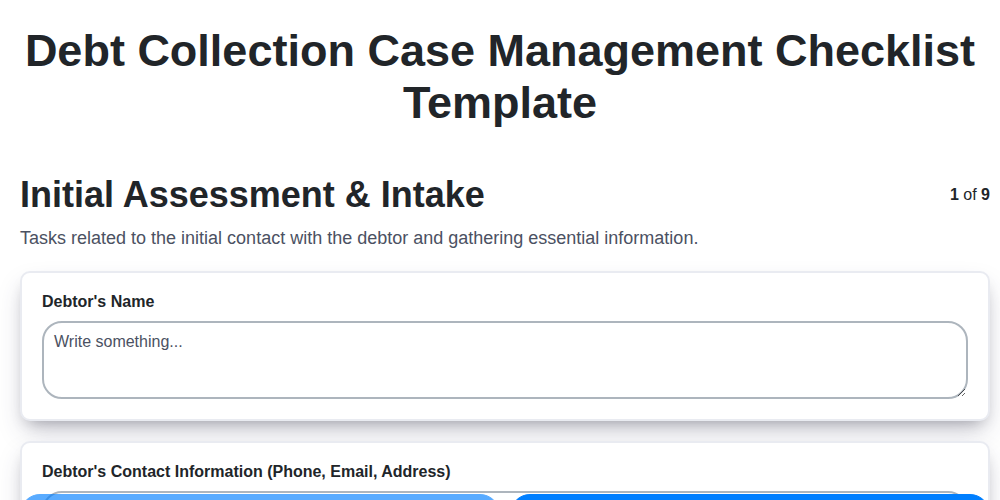
Streamline Your Debt Collection: A Case Management Checklist Template
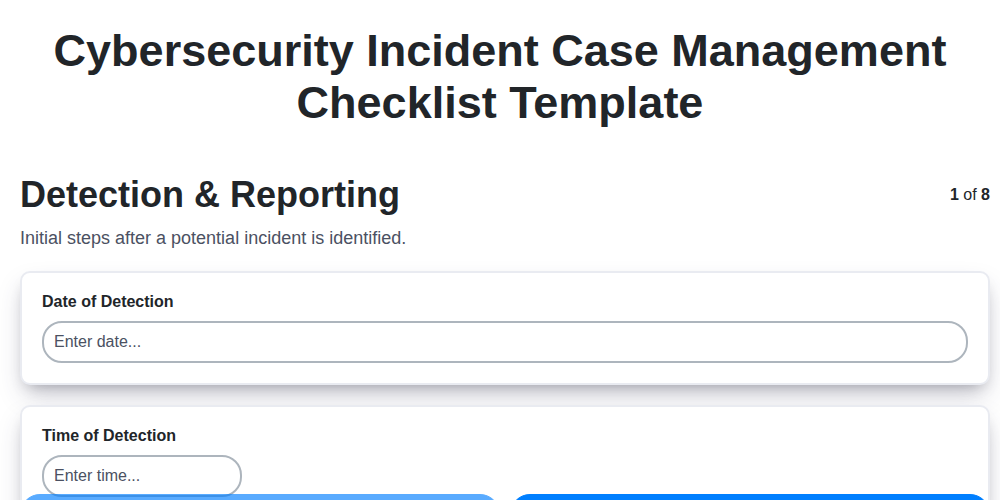
Cybersecurity Incident Response: Your Checklist Template for Success
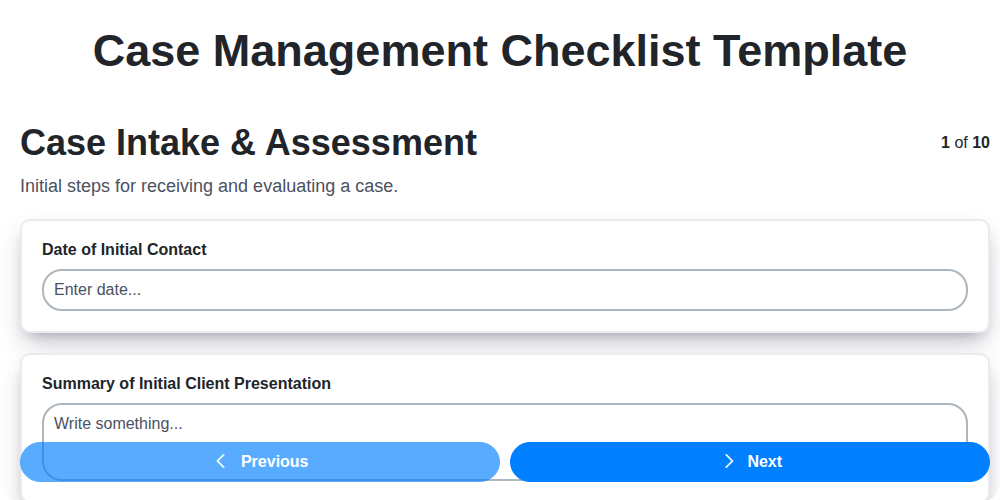
Streamline Your Case Management: The Ultimate Checklist Template
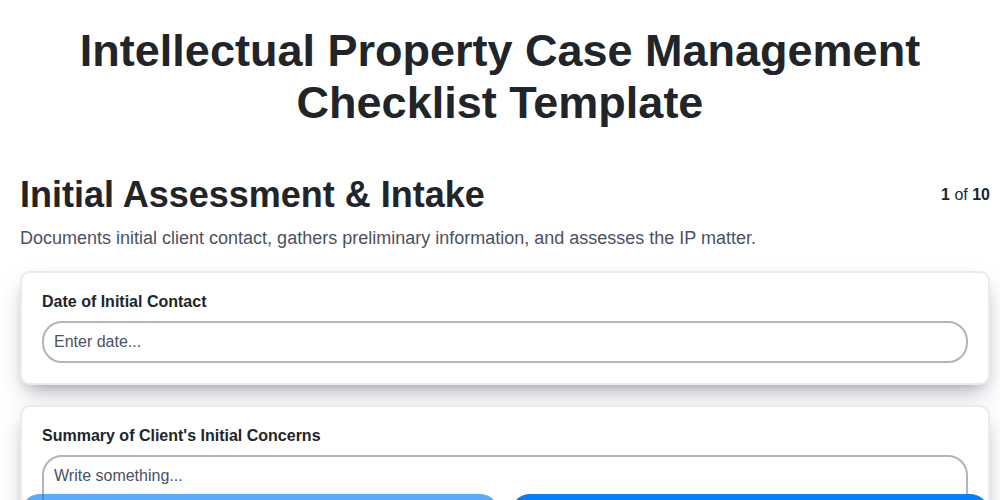
Mastering IP: Your Intellectual Property Case Management Checklist Template
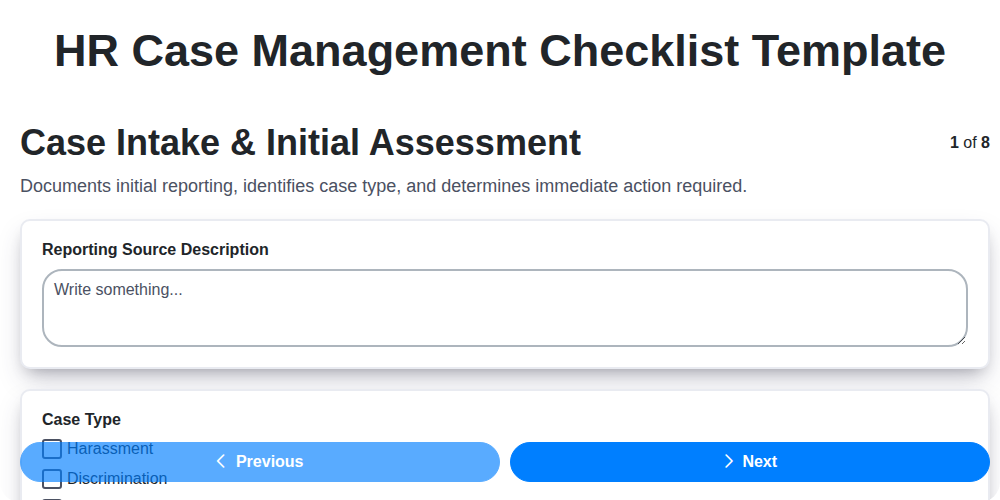
HR Case Management Checklist Template: Your Guide to Fair & Compliant Investigations

Streamlining Veteran Care: Your Comprehensive Case Management Checklist Template
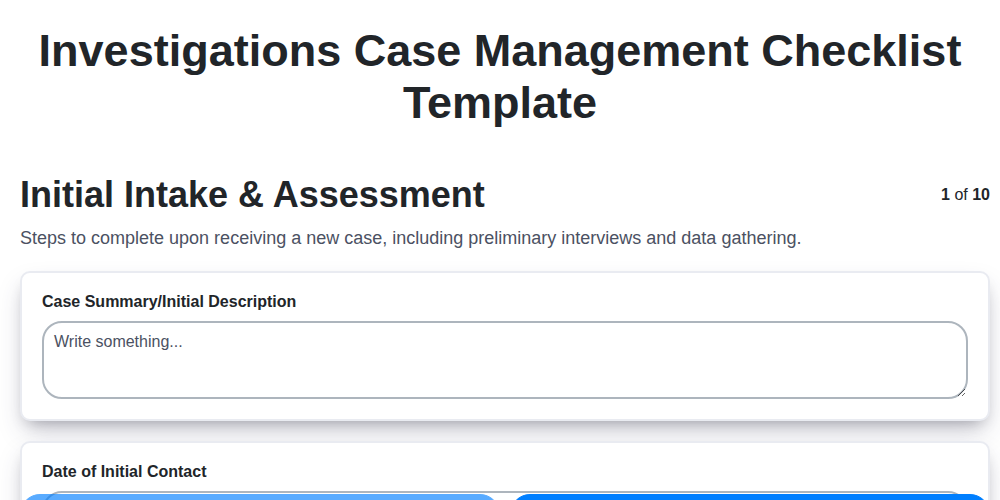
Mastering Investigations: Your Case Management Checklist Template Guide
We can do it Together
Need help with
Checklists?
Have a question? We're here to help. Please submit your inquiry, and we'll respond promptly.