The Ultimate Bank Reconciliation Procedure Checklist: A Step-by-Step Guide to Error-Free Accounting
Published: 07/12/2026 Updated: 07/13/2026
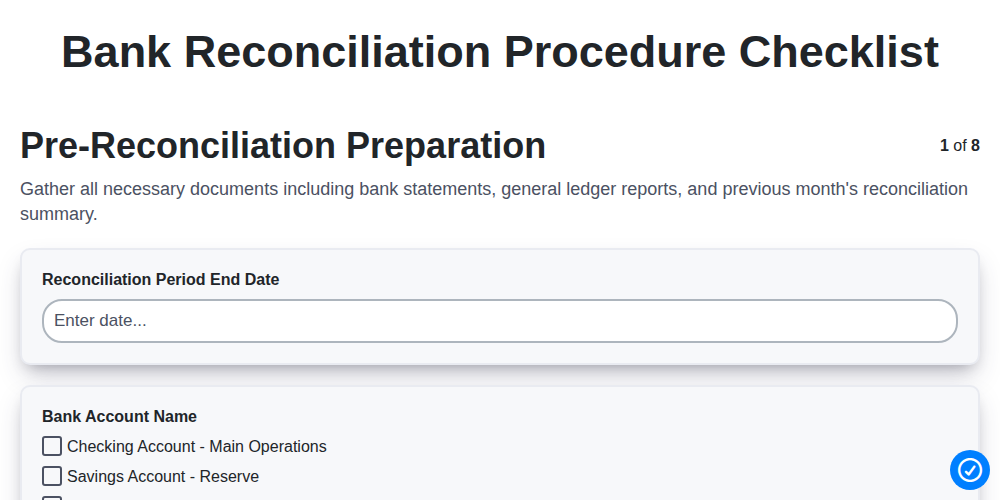
Table of Contents
- Introduction: Why Bank Reconciliation is Critical for Financial Accuracy
- Step 1: Pre-Reconciliation Preparation
- Step 2: Data Verification & Import
- Step 3: Transaction Matching
- Step 4: Discrepancy Identification
- Step 5: Adjusting Journal Entries
- Step 6: Final Reconciliation & Balancing
- Step 7: Review & Approval
- Step 8: Documentation & Archiving
- Common Pitfalls to Avoid During Reconciliation
- Conclusion: Maintaining a Smooth Monthly Closing Process
- Resources & Links
TLDR: Streamline your month-end closing and eliminate costly accounting errors with our comprehensive Bank Reconciliation Procedure Checklist. This guide provides a step-by-step framework-from pre-reconciliation preparation to final documentation-to help finance professionals ensure every penny is accounted for, identify discrepancies quickly, and maintain an audit-ready trail of accuracy.
Introduction: Why Bank Reconciliation is Critical for Financial Accuracy
In the world of accounting, the bank reconciliation process is far more than just a routine monthly task; it is a fundamental safeguard for your company's financial integrity. At its core, bank reconciliation is the process of comparing your internal financial records-such as your general ledger-against your official bank statements to ensure they align perfectly.
When this process is performed accurately, it serves as a vital check against errors, omissions, and potential fraud. Discrepancies can arise from various sources, including bank fees, interest earned, outstanding checks, or simple human error during data entry. Without a systematic reconciliation, these small inconsistencies can snowball into significant financial distortions, leading to inaccurate cash flow projections, distorted balance sheets, and even severe tax or audit complications.
By following a structured procedure, you ensure that your book balance truly reflects your bank balance. This provides leadership with a clear, real-time view of available liquidity, enables confident decision-making, and maintains the overall health of your organization's financial ecosystem. In short, a rigorous reconciliation process is your first line of defense in maintaining a single, reliable version of the truth for your business finances.
Step 1: Pre-Reconciliation Preparation
Before you dive into the numbers, the foundation of a successful reconciliation lies in the preparation phase. Rushing straight into the software without a clear setup often leads to overlooked entries and wasted time.
The goal of this stage is to ensure you have all the necessary tools and information at your fingertips. Start by gathering your most recent bank statement and comparing it against your internal general ledger. You should also ensure that all sub-accounts and related subsidiary ledgers are ready for comparison.
Crucially, verify that the period you are reconciling is clearly defined-ensure you aren't accidentally including transactions from the previous or following month. Checking for completeness before you begin prevents the frustration of discovering missing data halfway through the process, allowing you to focus entirely on the accuracy of the matching phase.
Step 2: Data Verification & Import
Before you begin the actual matching process, you must ensure that the data you are working with is accurate and complete. This stage is critical because any error in your source data will lead to a cascading error, making it nearly impossible to balance your books later on.
The process involves two primary actions:
- Verifying the Bank Statement: Confirm that you have downloaded the complete statement for the specific period in question. Check the beginning and ending balances against your previous month's closing figures to ensure no pages or transactions are missing.
- Importing Transaction Data: Import your bank activity and your internal general ledger (GL) data into your accounting software or reconciliation tool. If you are performing a manual reconciliation, ensure all entries from your check register or cash journal are accounted for.
Pro-Tip: Always double-check that the Statement End Date in your software matches the actual closing date on your bank statement. A mismatch here is a common pitfall that leads to frustrating, unresolved discrepancies.
Step 3: Transaction Matching
This is the core of the entire reconciliation process. During this stage, you are performing a line-by-line comparison between your internal accounting records (the general ledger) and the corresponding entries on your bank statement. The goal is to ensure that every single outflow and inflow recorded in your books has a matching counterpart in the bank's records.
To perform this step effectively, follow these sub-steps:
- Automated Matching: If you use accounting software (like QuickBooks, Xero, or Sage), utilize the auto-match feature first. The system will automatically pair transactions with identical amounts and dates.
- Manual Verification: For transactions that the software cannot automatically pair-often due to slight date discrepancies or manual entry errors-you must manually inspect each line item.
- Check for Date Alignment: Pay close attention to timing differences. A check you wrote on the 30th of the month might not appear on the bank statement until the 2nd of the following month. These are expected and should be noted.
- Verify Amounts: Ensure that every deposit and withdrawal matches to the cent. Even a minor decimal error can lead to significant imbalances during the final balancing stage.
The objective here isn't just to find matches, but to identify the orphaned transactions-those present in your books but not the bank, and vice versa-which will become the focus of your discrepancy analysis in the next step.
Step 4: Discrepancy Identification
Once you have matched all the transactions that align between your internal records and your bank statement, you will inevitably be left with items that do not correspond. This is the most critical phase of the reconciliation process, as it is where you uncover the errors, omissions, or fraudulent activities that impact your financial accuracy.
During this stage, you must scrutinize the unmatched items on both sides of the ledger. Your goal is to categorize these discrepancies into specific, actionable groups:
- Timing Differences: Look for items that are legitimate but simply haven't cleared yet, such as outstanding checks (payments you've recorded but the recipient hasn't cashed) or deposits in transit (funds you've recorded but are not yet reflected on the bank statement).
- Bank-Initiated Transactions: Identify fees, interest earned, or NSF (non-sufficient funds) charges that appear on your bank statement but have not yet been recorded in your internal books.
- Errors and Omissions: Check for manual data entry mistakes, such as transposed numbers (e.g., recording $54 as $45), duplicate entries, or missed transactions entirely.
- Unexplained Discrepancies: Flag any amounts that cannot be immediately attributed to a known error or timing difference. These may require deeper investigation to rule out unauthorized withdrawals or banking errors.
By systematically identifying exactly why the balances do not match, you move from simply noticing a problem to actively preparing for the necessary corrections.
Step 5: Adjusting Journal Entries
Once you have identified discrepancies between your bank statement and your general ledger, the next critical step is to bridge the gap through adjusting journal entries. Discrepancies are rarely just errors; they are often the result of timing differences or unrecorded transactions that have finally cleared the bank.
This stage of the process involves recording items that appear on your bank statement but are not yet reflected in your internal accounting software. Common examples include:
- Bank Service Fees: Recording monthly maintenance fees, overdraft fees, or wire transfer charges.
- Interest Income: Recognizing interest earned on the account balance.
- NSF (Non-Sufficient Funds) Checks: Reversing entries for customer checks that bounced.
- Errors: Correcting any internal bookkeeping mistakes discovered during the matching process.
The goal of this step is to ensure that your internal books accurately reflect the true cash position. By systematically recording these adjustments, you ensure that your ledger is updated and that the final reconciliation results in a zero-sum difference between your adjusted book balance and the bank balance. Failing to perform these entries will result in a perpetual cycle of unreconciled differences in future periods.
Step 6: Final Reconciliation & Balancing
This is the most critical moment in the process-the moment of truth where you determine if your records align with the bank's reality. Once you have accounted for all outstanding checks, deposits in transit, and bank fees, you must calculate the adjusted balances for both your internal general ledger and your bank statement.
The goal is to reach a state of zero variance. If the adjusted bank balance equals the adjusted book balance, the reconciliation is successful. However, if a discrepancy remains, do not proceed to the next step. A remaining imbalance indicates that an error-such as a missed transaction, a recording error, or a mathematical mistake-still exists within your data. Take a moment to re-examine your previous steps before attempting to finalize the period. Only when both totals are perfectly synchronized should you consider the reconciliation complete.
Step 7: Review & Approval
Once the reconciliation is balanced and all discrepancies have been addressed, the process moves into the critical stage of oversight. The Review & Approval step serves as the final internal control to ensure accuracy and prevent fraud or human error.
The person who performed the reconciliation should not be the same person who approves it. This segregation of duties is a fundamental accounting principle designed to maintain integrity within your financial reporting. The reviewer's role is to examine the completed reconciliation, verify that all outstanding checks and deposits are accounted for, and ensure that any adjusting entries made during the process are legitimate and properly supported by documentation.
Key actions during this step include:
- Verification of Balances: Confirming that the adjusted bank balance matches the adjusted book balance.
- Audit Trail Check: Ensuring all supporting documents (bank statements, deposit slips, and receipts) are attached or easily accessible.
- Signature/Digital Sign-off: Formalizing the completion of the task via a physical signature or an electronic timestamp in your accounting software.
By implementing a rigorous review process, you transform the reconciliation from a simple math exercise into a robust financial safeguard, providing leadership with the confidence that the company's cash position is reported accurately.
Step 8: Documentation & Archiving
Once the reconciliation is complete and approved, the process isn't truly finished until it is properly documented. Documentation and archiving serve as your audit trail, providing proof that the reconciliation was performed accurately and according to company policy.
To ensure your records are audit-ready, follow these essential sub-steps:
- Compile the Reconciliation Package: Gather all supporting documents used during the process, including the completed reconciliation report, the bank statement, the general ledger printout, and any documentation regarding identifying discrepancies.
- Store Digital and Physical Evidence: Save digital copies of all reports in a secure, centralized location (such as a dedicated folder on a secure cloud drive or your accounting software's document management system). If your company uses physical filing, ensure all paper statements are filed in a way that is easily retrievable.
- Maintain an Audit Trail for Adjustments: Ensure that every adjusting journal entry made during the process is clearly linked to the specific bank statement period. An auditor should be able to trace a discrepancy from the bank statement directly to the final adjusted balance in your ledger.
- Implement a Retention Policy: Follow your organization's data retention policy to determine how long these records must be kept (typically 7 years for tax and compliance purposes).
- Ensure Security and Access Control: Since bank reconciliations contain sensitive financial data, ensure that archived files are protected by appropriate permissions, limiting access only to authorized personnel.
Proper archiving not only simplifies the annual audit process but also protects the company against fraud and historical errors by providing a clear, permanent record of financial integrity.
Common Pitfalls to Avoid During Reconciliation
Even with a solid checklist in hand, the reconciliation process can still be derailed by avoidable errors. Recognizing these common pitfalls can help you maintain accuracy and ensure your financial statements remain reliable.
- Ignoring Small Discrepancies: It is tempting to overlook a few cents or small rounding differences to save time. However, these minor errors can accumulate over several months, leading to significant imbalances that become much harder to trace later. Always investigate every discrepancy, no matter how small.
- Failing to Account for Timing Differences: One of the most frequent mistakes is forgetting that bank statements and internal ledgers operate on different timelines. Unpresented checks or deposits in transit are not errors, but they must be identified and accounted for to bridge the gap between your books and the bank balance.
- Relying Solely on Automated Matching: While modern accounting software is powerful, it isn't infallible. Over-reliance on auto-matching without a manual spot-check can lead to false positives, where a transaction is matched to the wrong entry simply because the amounts and dates are similar.
- Neglecting Bank Fees and Interest: Many professionals forget to record bank-initiated transactions, such as monthly service fees, overdraft charges, or earned interest. If you don't adjust your books for these items, your internal balance will never truly align with the bank's reality.
- Lack of Proper Documentation: Reconciling the numbers is only half the battle. If you fail to attach supporting documentation-such as copies of cleared checks or deposit slips-to your reconciliation report, you leave the company vulnerable during audits or internal reviews.
- Skipping the Review Phase: Treating reconciliation as a check-the-box task without a secondary review increases the risk of human error. Without a formal approval step, mistakes made during the identification or adjustment phases can go undetected for entire fiscal quarters.
Conclusion: Maintaining a Smooth Monthly Closing Process
Mastering the bank reconciliation process is about much more than just ensuring your numbers match; it is a fundamental pillar of financial integrity. By implementing a standardized checklist, you transform a potentially chaotic end-of-month scramble into a predictable, streamlined, and audit-ready routine. Consistency in following these steps reduces the risk of costly errors, prevents undetected fraud, and provides leadership with the accurate data needed to make informed strategic decisions.
As you integrate this checklist into your monthly closing cycle, remember that reconciliation is an ongoing discipline rather than a one-time task. A disciplined approach not only saves time and reduces stress for your accounting team but also builds a foundation of transparency and trust within your entire organization. Start applying these steps today to ensure your financial records remain a reliable compass for your business growth.
Resources & Links
- Investopedia: Bank Reconciliation Guide: A comprehensive guide to understanding the fundamental principles of bank reconciliation and its importance in accounting.
- AccountingTools: Reconciliation Best Practices: In-depth technical resources and definitions regarding transaction matching and discrepancy identification.
- AICPA: Financial Reporting Standards: Professional standards and regulatory guidance for maintaining accurate financial records and internal controls.
- Sage: Automated Reconciliation Solutions: Information on how modern accounting software streamlines data verification and the import process.
- QuickBooks: Monthly Bookkeeping Checklist: Practical templates and workflows for managing adjusting journal entries and monthly closing processes.
- Forbes Advisor: Small Business Finance: Strategic insights into preventing common financial pitfalls and managing business cash flow accuracy.
Frequently Asked Questions
What is bank reconciliation?
Bank reconciliation is the process of matching the balances in an organization's accounting records for a cash account to the corresponding information on a bank statement to ensure accuracy.
How often should bank reconciliations be performed?
For optimal accuracy and error detection, bank reconciliations should be performed at least once a month, though businesses with high transaction volumes may benefit from performing them weekly or even daily.
What are the most common causes of discrepancies during reconciliation?
Common causes include bank fees, interest earned, outstanding checks, deposits in transit, data entry errors, and unrecorded bank transactions.
What documents are needed to complete a bank reconciliation?
You will need your internal general ledger (cash account), your bank statement for the corresponding period, and any documentation regarding outstanding checks or deposits in transit.
What should I do if I find an error during the reconciliation process?
Once an error is identified, you must investigate its source, determine if it requires an adjusting journal entry in your books, and ensure all discrepancies are accounted for so the adjusted balances match.
Comments
There are no comments yet. Be the first to add one!
Accounting Management Solution Demo
Move beyond rigid, one-size-fits-all software. Leverage a fully programmable accounting environment designed to adapt to your unique workflows, complex hierarchies, and evolving business logic.
Related Articles
The Ultimate Financial Data Integrity Audit Checklist: A Step-by-Step Template for Precision and Compliance
The Ultimate Financial Statement Review Checklist: A Step-by-Step Guide to Ensuring Accuracy and Compliance
Mastering Financial Control: The Ultimate Departmental Budget Monitoring Checklist
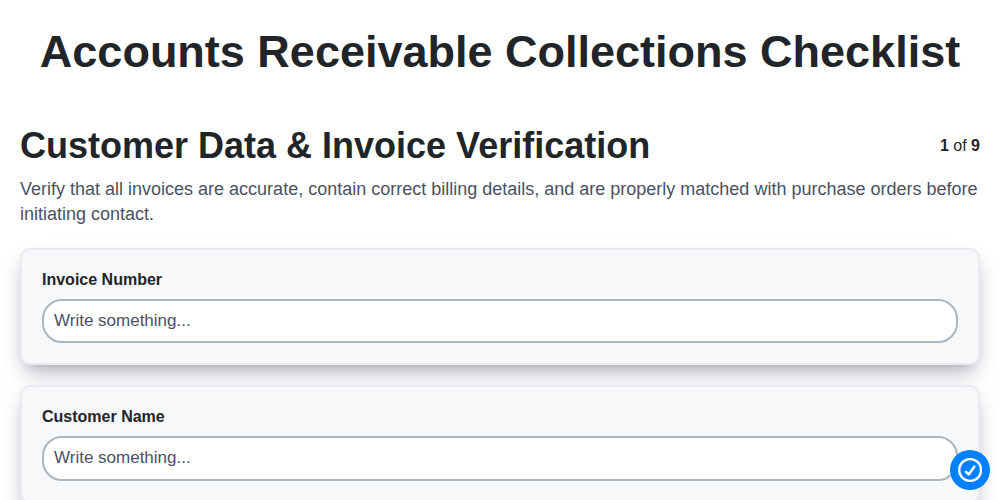
The Ultimate Accounts Receivable Collections Checklist: A Step-by-Step Guide to Streamlining Your Cash Flow
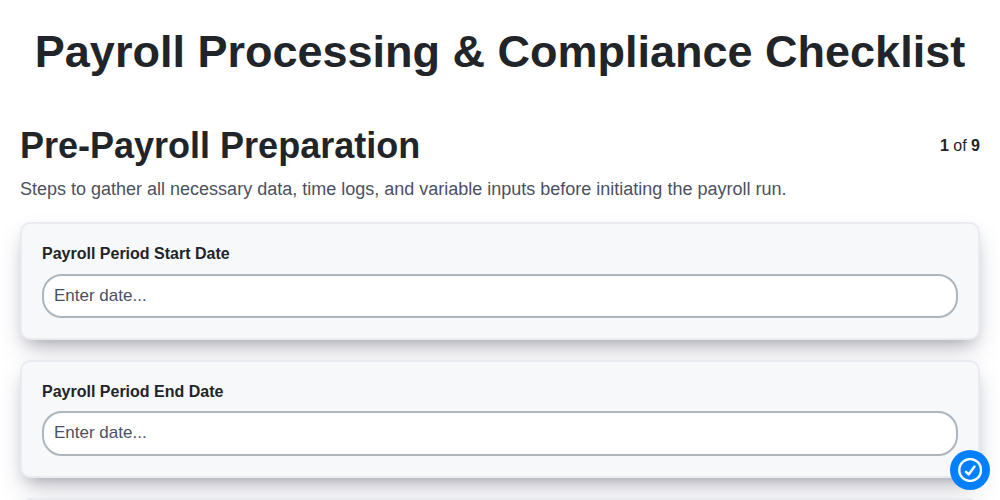
The Ultimate Payroll Processing & Compliance Checklist: A Step-by-Step Guide to Error-Free Payroll
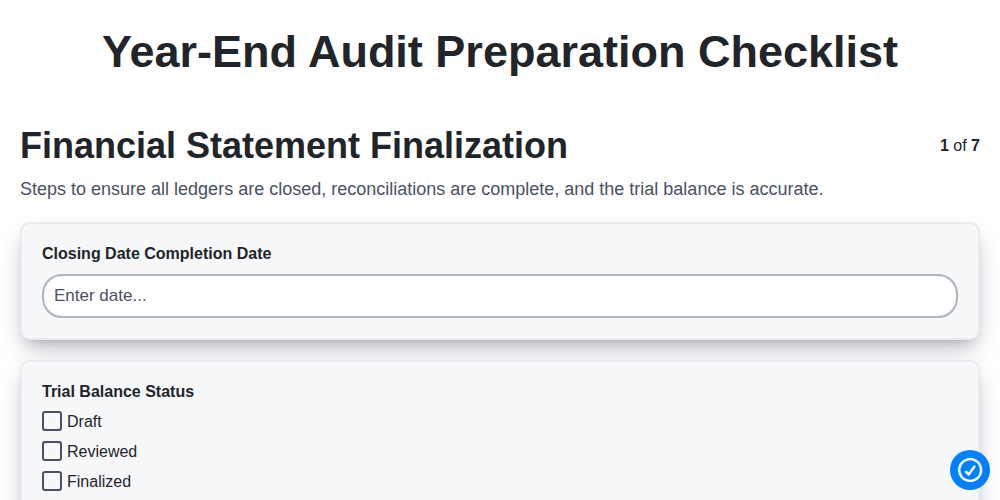
The Ultimate Year-End Audit Preparation Checklist: A Step-by-Step Guide to a Stress-Free Audit
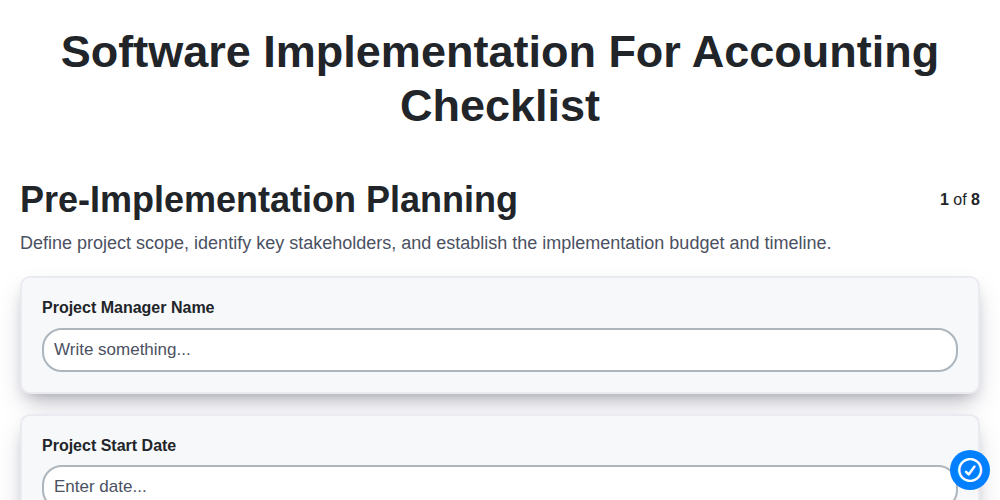
The Ultimate Software Implementation Checklist for Accounting Teams: A Step-by-Step Guide to a Seamless Transition
The Ultimate Inventory Valuation & Audit Checklist: A Step-by-Step Guide to Accuracy and Compliance
We can do it Together
Need help with
Accounting Management?
Have a question? We're here to help. Please submit your inquiry, and we'll respond promptly.