The Ultimate Fixed Asset Management Checklist: A Step-by-Step Guide to Ensuring Accuracy and Compliance
Published: 07/12/2026 Updated: 10/05/2026
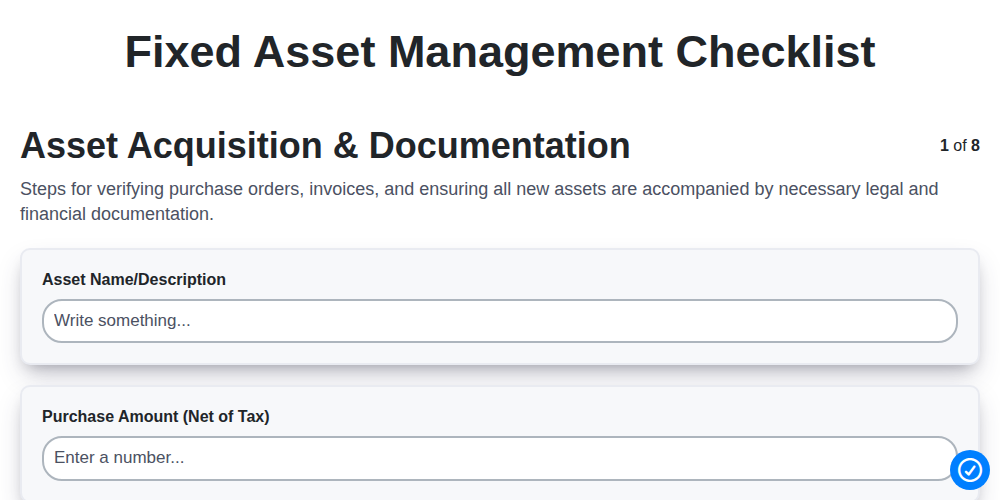
Table of Contents
- Introduction: Why a Structured Fixed Asset Management Process Matters
- Step 1: Asset Acquisition & Documentation
- Step 2: Asset Tagging & Physical Identification
- Step 3: Capitalization & Depreciation Setup
- Step 4: Asset Registry Maintenance
- Step 5: Physical Verification & Audit
- Step 6: Maintenance & Impairment Review
- Step 7: Asset Disposal & Retirement
- Step 8: Reporting & Compliance
- Conclusion: Building a Sustainable Asset Management Strategy
- Resources & Links
TLDR: Managing fixed assets can be a complex challenge, but this comprehensive guide provides a structured checklist to streamline your entire lifecycle-from acquisition and tagging to disposal and auditing. Learn how to use this template to maintain an accurate asset registry, ensure tax compliance, and prevent costly errors in depreciation and physical tracking.
Introduction: Why a Structured Fixed Asset Management Process Matters
Managing fixed assets is far more than just keeping a running list of company property. For any growing organization, fixed assets-ranging from heavy machinery and vehicles to IT hardware and office furniture-represent significant capital investments that directly impact the balance sheet. Without a structured management process, these assets can quickly become a source of financial leakage and operational inefficiency.
A fragmented approach to asset management often leads to ghost assets (items listed on the books that no longer exist) or zombie assets (items physically present but not recorded), both of which can lead to inflated tax burdens and inaccurate financial statements. Furthermore, failing to track maintenance and depreciation can result in unexpected equipment failures and compliance penalties during audits.
Implementing a systematic checklist ensures that every stage of an asset's lifecycle-from the moment it is acquired to its final disposal-is documented, tracked, and optimized. By adopting a structured framework, businesses can improve decision-making accuracy, optimize tax benefits through precise depreciation, and ensure full regulatory compliance, ultimately protecting the company's bottom line and operational continuity.
Step 1: Asset Acquisition & Documentation
The lifecycle of a fixed asset begins long before it reaches your factory floor or office desk. The foundation of a robust management system is laid during the Acquisition & Documentation phase. This step ensures that every new purchase is formally recognized, authorized, and recorded with complete traceability.
Effective acquisition management involves more than just processing a purchase order; it requires a standardized workflow to capture essential data points immediately. To avoid discrepancies later in the audit cycle, your documentation process should include:
- Purchase Verification: Confirming that the asset received matches the purchase order (PO) and invoice in terms of quantity, specifications, and condition.
- Comprehensive Data Capture: Recording critical details such as the vendor name, date of purchase, purchase price, delivery date, and warranty terms.
- Authorization Trails: Ensuring that all acquisitions have gone through the proper approval hierarchy to prevent unauthorized spending or ghost assets.
- Digital Record Creation: Uploading all relevant invoices, shipping receipts, and certificates of authenticity into your central management system or ERP.
By establishing a rigorous documentation protocol at the point of entry, you eliminate the information gap that often leads to inaccurate balance sheets and much harder reconciliation efforts during year-end audits.
Step 2: Asset Tagging & Physical Identification
Once an asset has been acquired and documented, the next critical step is to bridge the gap between your digital records and the physical world. Asset tagging and physical identification involve assigning a unique, traceable identifier to every piece of equipment, machinery, or furniture in your organization.
This process serves as the foundation for all future audits and tracking. To implement this step effectively, follow these best practices:
- Select the Right Tagging Technology: Depending on your industry and asset value, choose a method that suits your needs. Options range from simple barcode stickers (cost-effective for low-value items) to QR codes (which can link directly to digital maintenance logs) and RFID tags (ideal for high-value assets requiring real-time, automated tracking).
- Ensure Durability: A common mistake is using labels that peel off or fade. Ensure your tags are made of materials capable of withstanding your specific environment-whether that means heat-resistant labels for a factory floor or waterproof tags for outdoor equipment.
- Implement a Standardized Naming Convention: Every tag should correspond to a unique ID in your Asset Registry. This ID should be easy to scan and should link directly to the asset's metadata, such as its location, department, and owner.
- Establish a Physical Location Protocol: Physical identification isn't just about the tag; it's about the placement. Create a standard procedure for where tags are applied (e.g., always on the top-right corner of the chassis) to ensure that any technician or auditor can find them instantly.
By ensuring every asset is physically identifiable, you eliminate the guesswork during audits and significantly reduce the risk of loss, theft, or ghost assets appearing on your balance sheet.
Step 3: Capitalization & Depreciation Setup
Once an asset has been acquired and properly documented, the next critical step is determining how it will be recorded on your balance sheet. This stage involves two core accounting processes: capitalization and depreciation setup.
Capitalization is the process of deciding which costs should be added to the asset's initial value. Not every expense related to a new purchase is a capital expenditure; while the purchase price and delivery fees are capitalized, routine maintenance is typically treated as an immediate expense. Accurately defining your capitalization threshold-the minimum cost an item must incur to be considered a fixed asset-is essential to prevent your asset registry from becoming cluttered with insignificant items.
Following capitalization, you must establish a depreciation schedule. Since fixed assets lose value over time due to wear and tear or obsolescence, you must determine an appropriate depreciation method (such as straight-line or declining balance) and an estimated useful life for each asset. Setting this up correctly from the start ensures that your financial statements accurately reflect the asset's declining book value and prevents significant discrepancies during year-end audits.
Step 4: Asset Registry Maintenance
The asset registry is the heartbeat of your fixed asset management process. It serves as the single source of truth, housing all critical data points that allow your organization to track, manage, and account for its physical wealth. Maintaining this registry is not a one-and-done task; it requires consistent, disciplined updates to ensure the information remains reliable for both operational and financial purposes.
To maintain an effective registry, your team must ensure that every movement or change in an asset's status is captured in real-time. This includes updating information when assets are relocated between departments, when they undergo significant upgrades, or when their cost centers change. A neglected registry leads to ghost assets-items that appear on your books but no longer exist-or zombie assets-items that are in use but are missing from your records.
A robust maintenance routine should include:
- Data Integrity Checks: Periodically reviewing entries for accuracy in descriptions, serial numbers, and locations.
- Standardized Data Entry: Ensuring all team members use uniform formats for naming conventions and categorizations.
- Real-time Updates: Implementing a workflow where any change in the asset's lifecycle (from arrival to retirement) triggers an immediate update to the digital record.
By treating the asset registry as a living document, you reduce the risk of audit discrepancies and provide management with the accurate data needed for strategic budgeting and resource allocation.
Step 5: Physical Verification & Audit
Even the most robust digital asset registry is only as reliable as the actual physical items in your building. Physical verification and auditing are the critical reality checks of the entire management lifecycle. This process involves conducting periodic, systematic inspections to ensure that every asset listed in your records can be physically located and is in the condition described.
A thorough audit serves three primary purposes: it detects discrepancies such as lost, stolen, or misplaced equipment; it confirms the operational status of your assets; and it ensures that your financial statements accurately reflect your company's true value. To perform an effective audit, you should implement a rotating schedule-performing full counts annually and high-value item checks quarterly. During this process, your team should cross-reference physical asset tags with your digital registry, noting any inconsistencies, damages, or unrecorded movements. This step is your best defense against ghost assets-items that appear on your books but no longer exist-which can lead to inflated tax liabilities and inaccurate financial reporting.
Step 6: Maintenance & Impairment Review
Managing your fixed assets isn't just about tracking where they are; it's about ensuring they remain functional, efficient, and accurately valued on your balance sheet. This stage of the checklist focuses on the ongoing lifecycle and the health of your physical and financial data.
Preventative Maintenance To protect your investment and extend the useful life of your assets, a robust maintenance schedule is essential. Implementing a regular maintenance program helps prevent costly emergency repairs and unexpected downtime. Your checklist should include tracking service dates, managing manufacturer warranties, and documenting all repairs performed to ensure the asset's history is complete.
Impairment Testing Not all assets retain their value indefinitely. An impairment review is necessary when there is an indication that an asset's market value or utility has dropped significantly below its carrying amount. This could be due to physical damage, technological obsolescence, or changes in the business environment.
During this review, you must assess whether the recoverable amount of the asset is lower than its current book value. If it is, you must record an impairment loss in your financial statements. Proactively identifying these signs of impairment ensures your financial reporting remains transparent and prevents the overstatement of company assets.
Step 7: Asset Disposal & Retirement
The lifecycle of an asset does not end when it stops being useful; it ends only when it is formally removed from your books. The Asset Disposal & Retirement phase is a critical internal control step that ensures your balance sheet remains accurate and prevents ghost assets-items that are no longer in your possession but are still being tracked and taxed.
To manage this stage effectively, follow these essential sub-steps:
- Formal Authorization: Never retire an asset without a documented approval process. Ensure that the decision to scrap, sell, or trade in an asset is signed off by a department head or authorized manager to prevent unauthorized removals.
- Determination of Disposal Method: Clearly document how the asset is leaving the company. Common methods include:
- Sale: Selling the asset to a third party.
- Scrapping/Littering: Discarding the asset due to lack of value or physical damage.
- Trade-in: Using the old asset as credit toward a new purchase.
- Donation: Transferring the asset to a non-profit organization.
- Financial Derecognition: Once the disposal is finalized, update your accounting records. You must remove the asset's original cost and its accumulated depreciation from the general ledger.
- Calculate Gain or Loss: Calculate the difference between the net book value (NBV) of the asset and the proceeds received from the sale. This ensures that any gain or loss is accurately recorded in your profit and loss statement.
- Update the Asset Register: The final step is administrative. Update your asset registry to reflect the new status of the asset as Disposed and record the date of retirement and the disposal method. This ensures your next physical audit is seamless.
Step 8: Reporting & Compliance
The final and perhaps most critical stage of the lifecycle is ensuring that your fixed asset data is transparent, accurate, and audit-ready. Reporting and compliance act as the safety net that validates all previous steps in your management process.
To maintain full compliance with financial regulations (such as IFRS or GAAP) and tax laws, your reporting must be consistent and timely. This involves generating periodic reports that detail asset values, accumulated depreciation, and net book values. Beyond simple financial statements, effective reporting should also include:
- Audit Trail Accuracy: Ensuring every movement, from acquisition to disposal, is backed by a clear, documented paper trail to satisfy internal and external auditors.
- Tax Compliance: Aligning your depreciation schedules with local tax regulations to ensure accurate tax filings and avoid penalties.
- Budget Variance Analysis: Comparing actual asset expenditures against your planned capital expenditure (CAPEX) budget to identify overspending or underutilization.
- Regulatory Adherence: Meeting industry-specific requirements regarding asset safety, environmental impact, or mandatory inspection logs.
By prioritizing robust reporting, you transform your asset registry from a mere list of items into a strategic financial tool that provides leadership with the insights needed for informed decision-making and long-term fiscal stability.
Conclusion: Building a Sustainable Asset Management Strategy
Implementing a robust fixed asset management checklist is more than just a way to stay organized; it is a strategic necessity for protecting your company's capital and ensuring long-term financial health. By moving from a reactive approach to a proactive, structured framework, you transform your fixed assets from a source of administrative headache into a well-monitored, high-performing component of your balance sheet.
A sustainable strategy relies on consistency. It is not enough to implement these steps once; the true value lies in the continuous cycle of verification, maintenance, and updates. As your organization grows, your asset management processes must scale alongside it, integrating seamlessly with your broader financial controls and digital infrastructure.
Ultimately, a disciplined approach to managing your lifecycle-from acquisition to disposal-minimizes risk, optimizes tax benefits through accurate depreciation, and provides the transparent data necessary for informed decision-making. Start implementing these checklist steps today to build a foundation of accountability and operational excellence that will serve your business for years to come.
Resources & Links
- IFRS - International Financial Reporting Standards: Essential guidelines for understanding global standards on property, plant, and equipment (IAS 16) and impairment (IAS 36).
- AccountingTools: Comprehensive resources and definitions regarding depreciation methods, capitalization rules, and fixed asset accounting principles.
- Gartner: Insights into IT asset management (ITAM) best practices and enterprise-level asset lifecycle management strategies.
- AuditNet: Professional resources and checklists for performing internal audits and physical verification of company assets.
- COSO: Frameworks for internal controls and risk management to ensure compliance and accuracy in asset reporting.
Frequently Asked Questions
What is fixed asset management?
Fixed asset management is the process of tracking, managing, and maintaining a company's long-term tangible assets, such as machinery, vehicles, equipment, and IT hardware, to ensure accurate financial reporting and operational efficiency.
Why is a checklist important for fixed asset management?
A checklist provides a structured approach to ensure that no critical steps-such as physical verification, depreciation calculation, or maintenance scheduling-are missed, thereby improving accuracy and ensuring regulatory compliance.
What are the key components of a fixed asset audit?
A comprehensive audit involves verifying the existence of assets through physical inspections, checking the accuracy of asset tags, reconciling the physical count with the fixed asset register, and ensuring depreciation values are correctly recorded.
How can I ensure compliance with accounting standards during asset management?
Compliance can be ensured by implementing standardized recording procedures, performing regular reconciliations, maintaining detailed audit trails, and adhering to recognized accounting principles like GAAP or IFRS regarding depreciation and impairment.
What are the benefits of using automated fixed asset management software?
Automated software reduces human error, simplifies complex depreciation calculations, provides real-time updates to the asset register, and generates automated alerts for maintenance or audits, significantly enhancing accuracy and compliance.
Comments
There are no comments yet. Be the first to add one!
Accounting Management Solution Demo
Move beyond rigid, one-size-fits-all software. Leverage a fully programmable accounting environment designed to adapt to your unique workflows, complex hierarchies, and evolving business logic.
Related Articles
The Ultimate Financial Data Integrity Audit Checklist: A Step-by-Step Template for Precision and Compliance
The Ultimate Financial Statement Review Checklist: A Step-by-Step Guide to Ensuring Accuracy and Compliance
Mastering Financial Control: The Ultimate Departmental Budget Monitoring Checklist
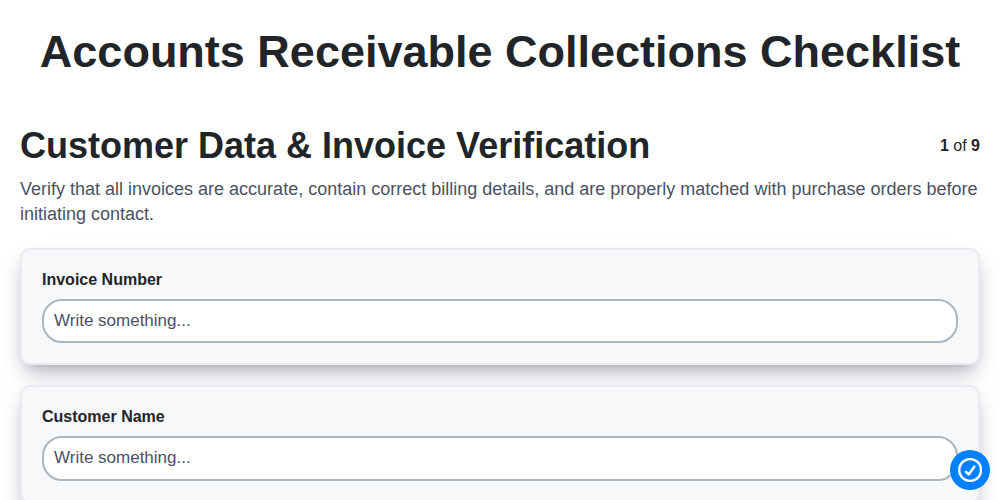
The Ultimate Accounts Receivable Collections Checklist: A Step-by-Step Guide to Streamlining Your Cash Flow
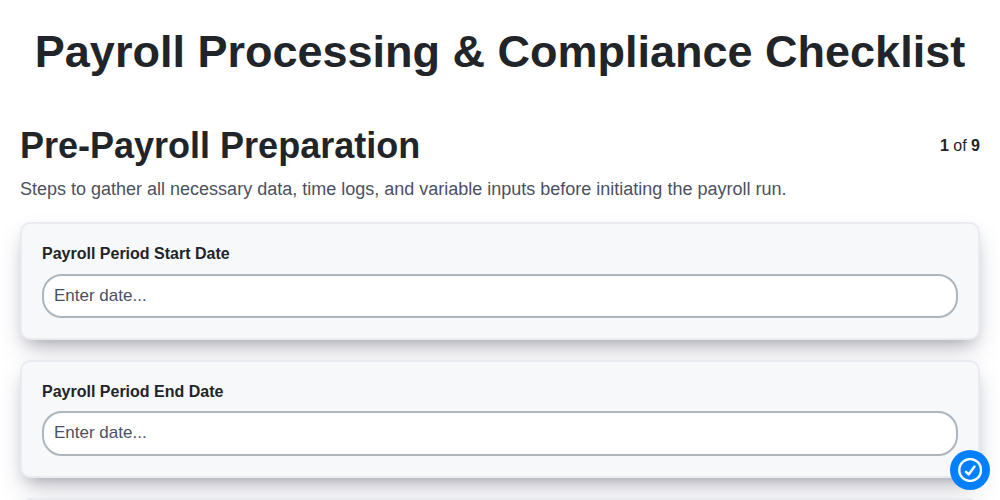
The Ultimate Payroll Processing & Compliance Checklist: A Step-by-Step Guide to Error-Free Payroll
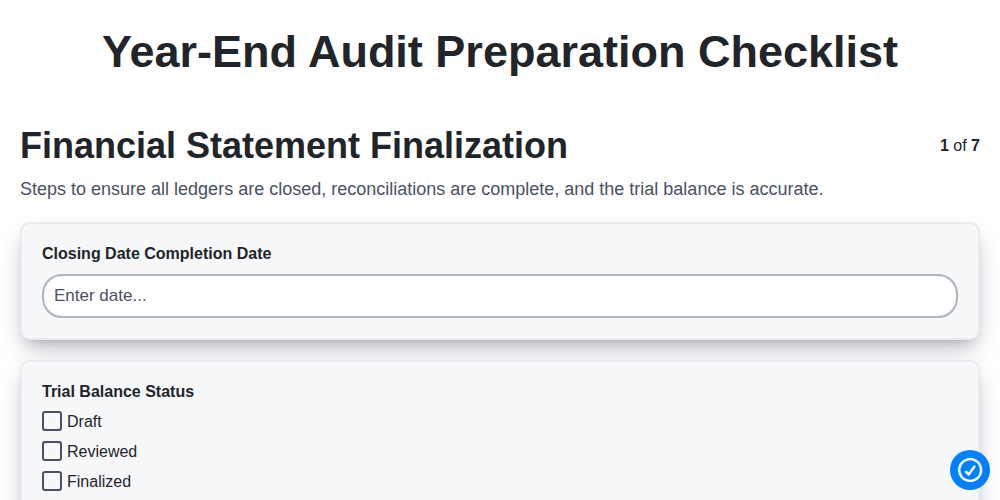
The Ultimate Year-End Audit Preparation Checklist: A Step-by-Step Guide to a Stress-Free Audit
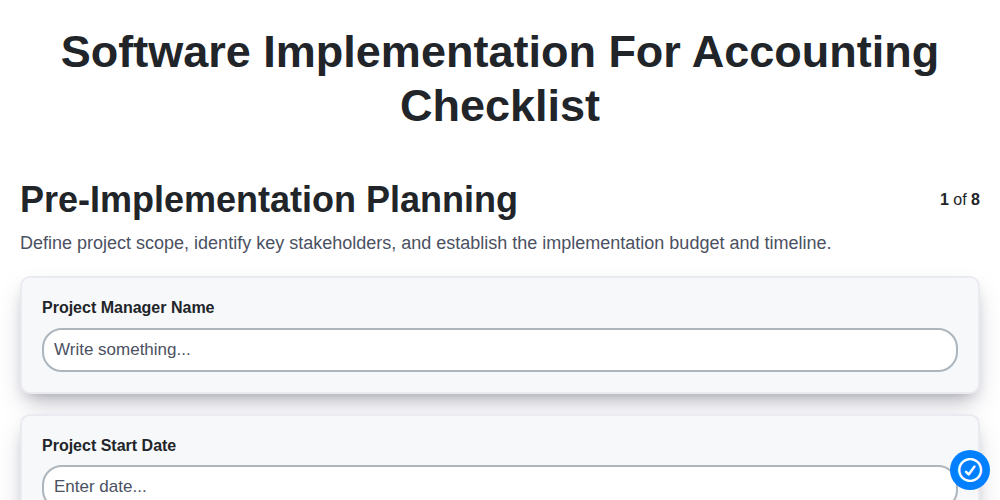
The Ultimate Software Implementation Checklist for Accounting Teams: A Step-by-Step Guide to a Seamless Transition
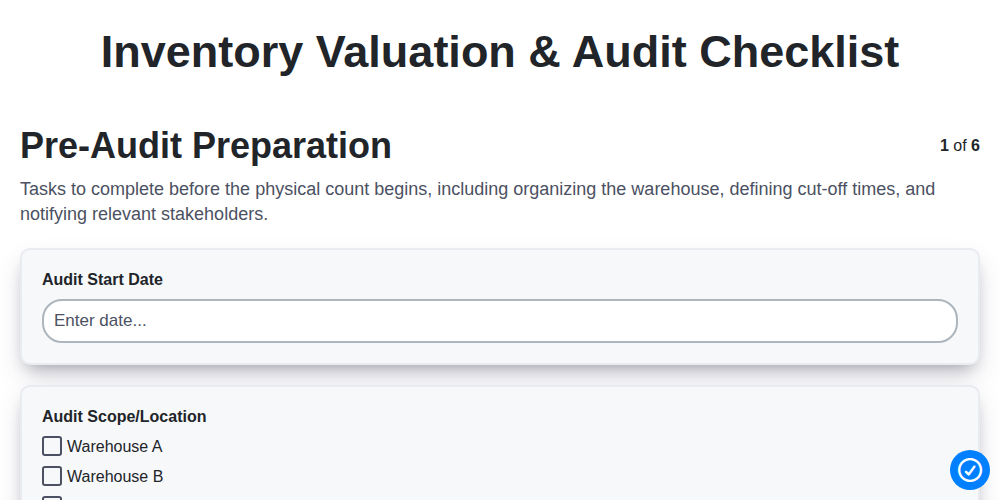
The Ultimate Inventory Valuation & Audit Checklist: A Step-by-Step Guide to Accuracy and Compliance
We can do it Together
Need help with
Accounting Management?
Have a question? We're here to help. Please submit your inquiry, and we'll respond promptly.